This article is useful because it treats App Clips as a full workflow, not only as a one-screen demo.
A lot of App Clip examples stop after the target builds. This one does not. It starts with the normal creation steps, then continues into the real questions that appear once you want the clip to carry context, verify where it was launched, schedule follow-up notifications, and nudge people toward the full app.
This article was written in the iOS 14 era, so some App Store Connect screens may have changed since then. But the architectural pieces still hold: the clip target, associated domains, site association, invocation path, shared storage, and the app-level handoff behavior.
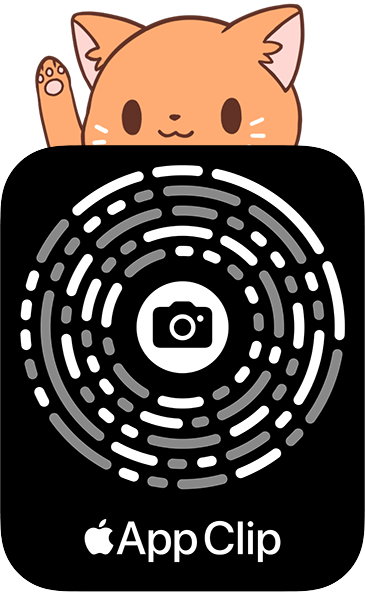
The article opens with a concrete reminder of what an App Clip actually is: something small enough to launch from a scan, a banner, or another lightweight entry point.
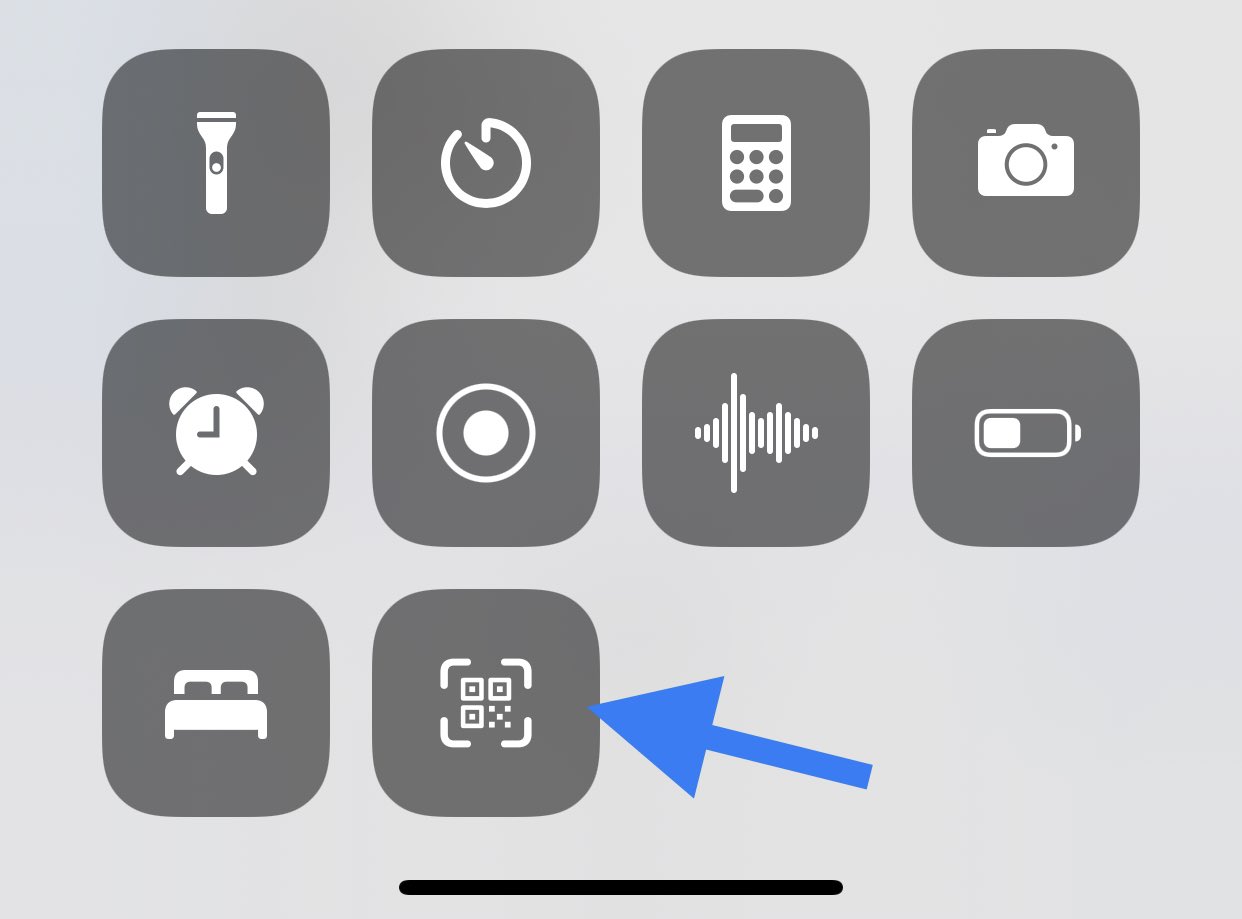
The sample project behind the article was an App Clip that presented a list of programming posts. The first screenshots show the simplest path: open the QR scanner from Control Center, then scan the code that launches the clip.
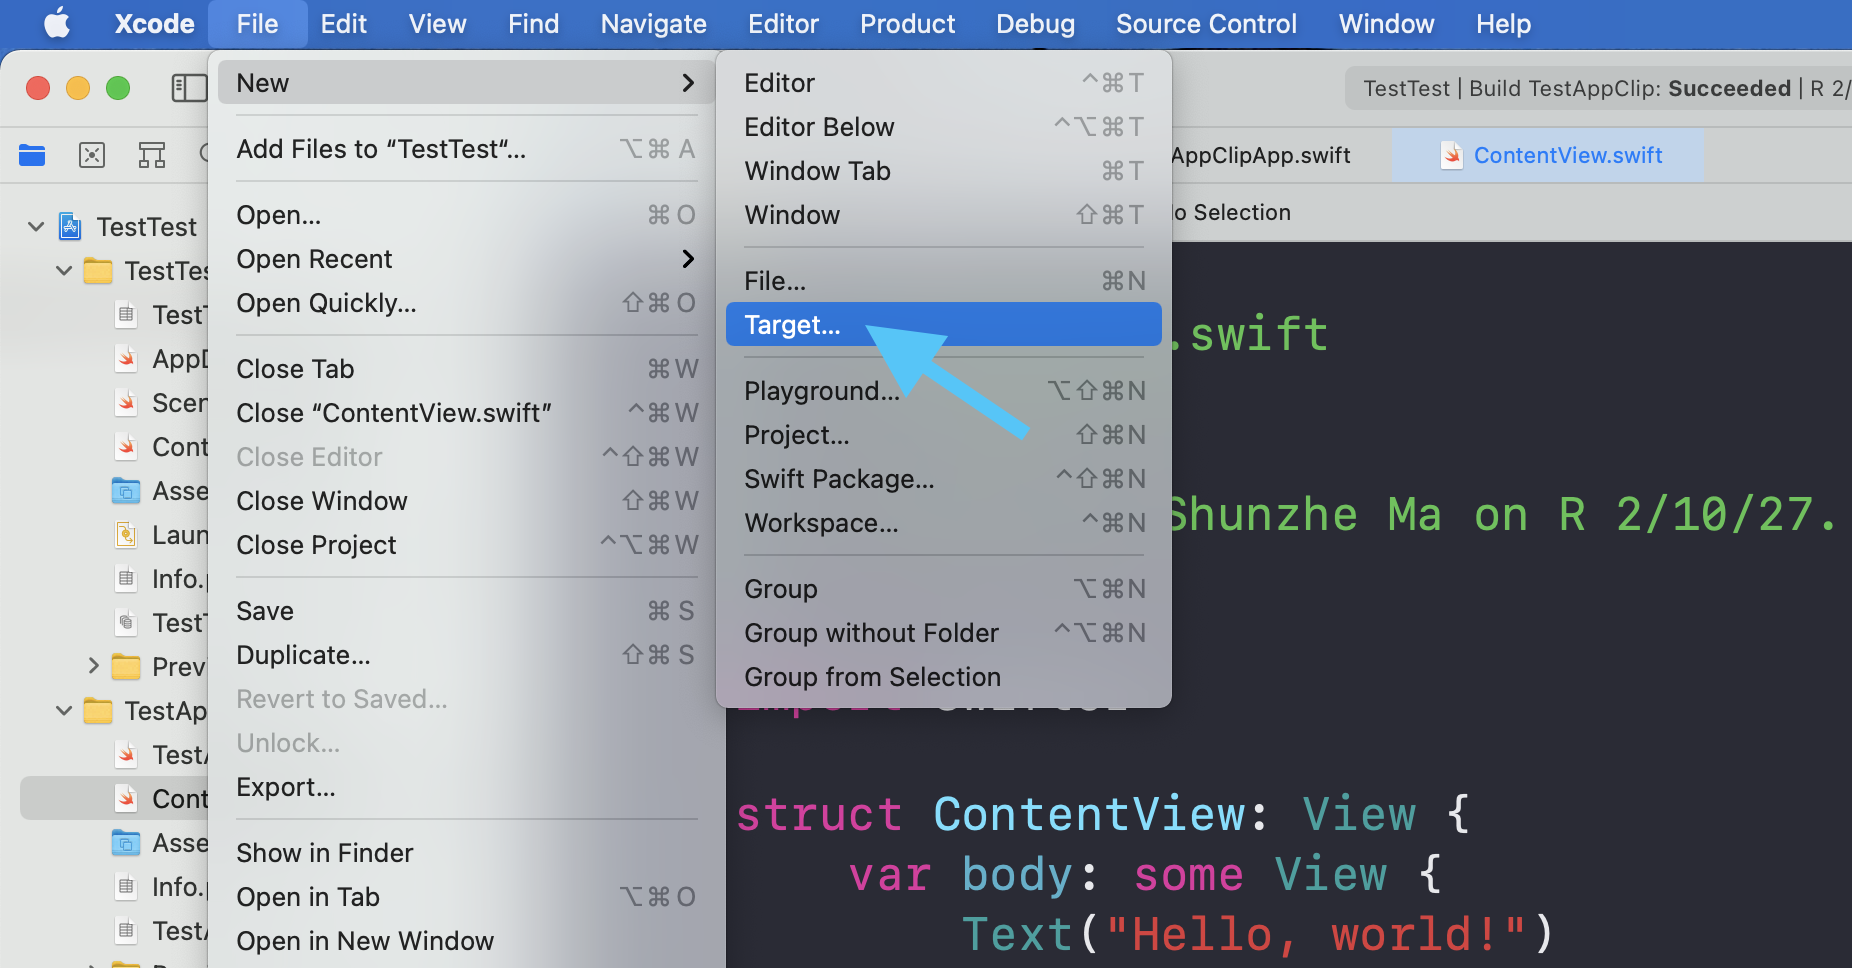
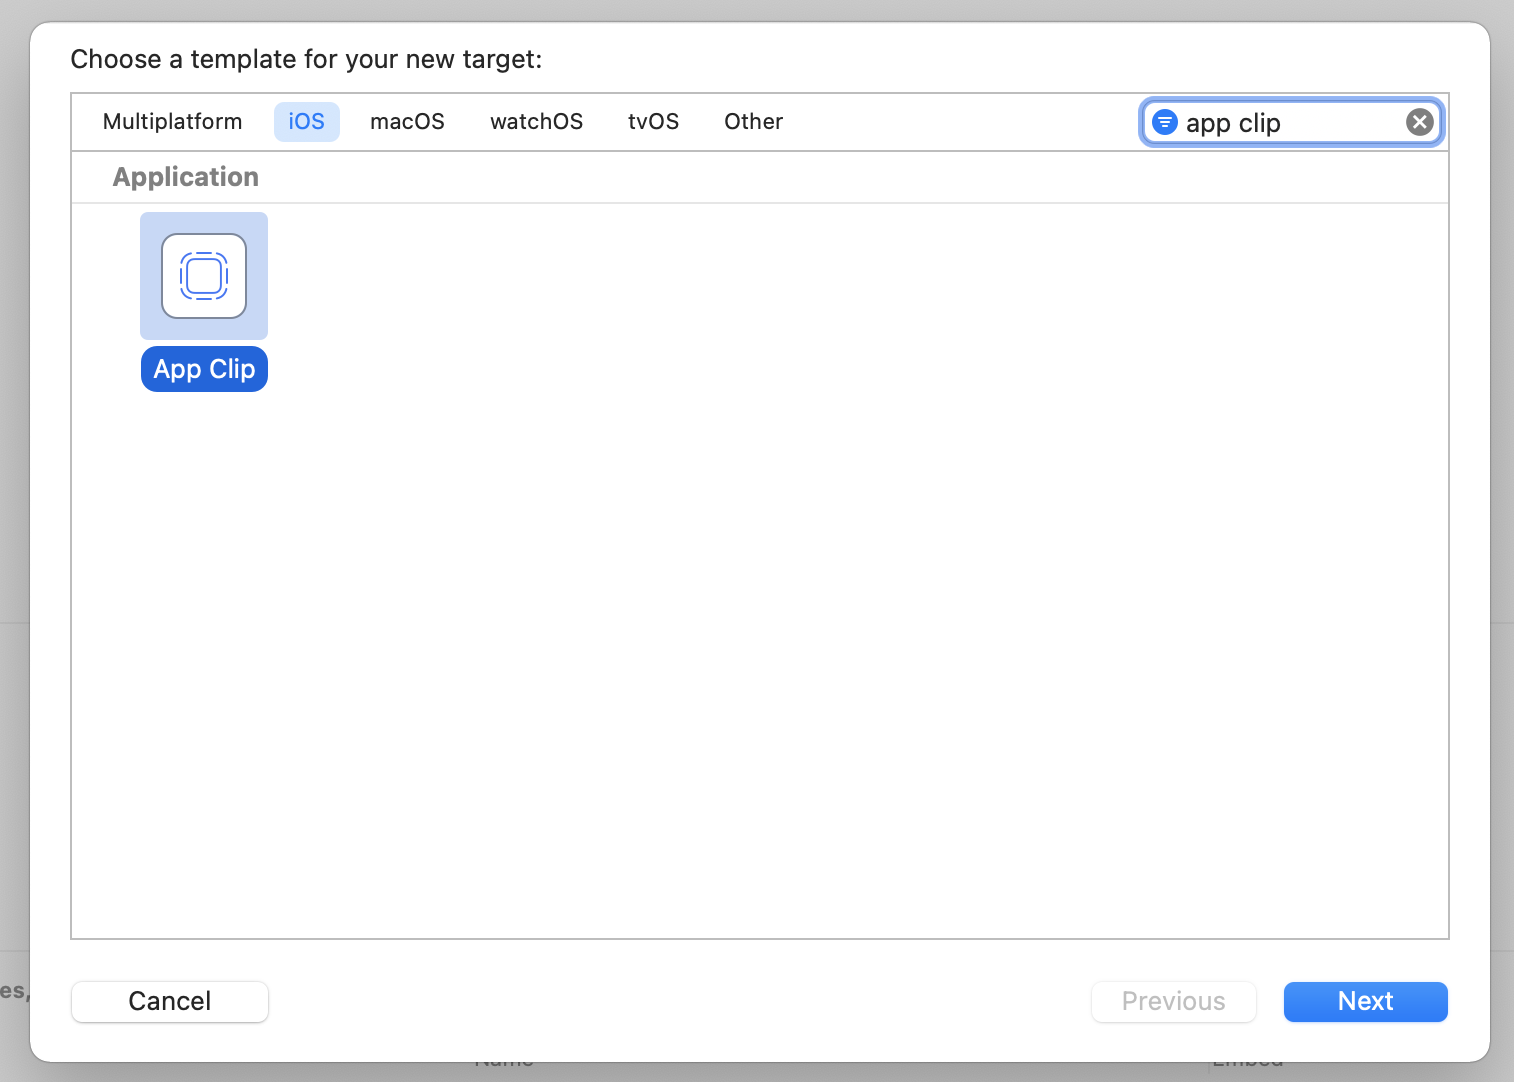
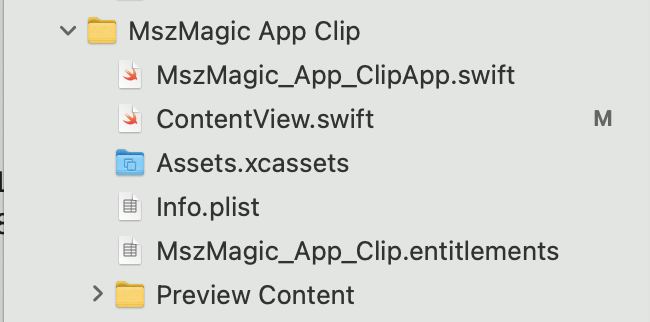
Create the App Clip target inside the existing iOS app, then keep the target lean enough for the App Clip delivery model.
The setup starts in Xcode by adding a new target. This article also calls out two early constraints worth remembering: some frameworks are unavailable to App Clip targets, and the delivered bundle needs to stay small. If you need account-backed state, the article suggests Sign in with Apple or your own backend rather than relying on frameworks that are not available to the clip target.
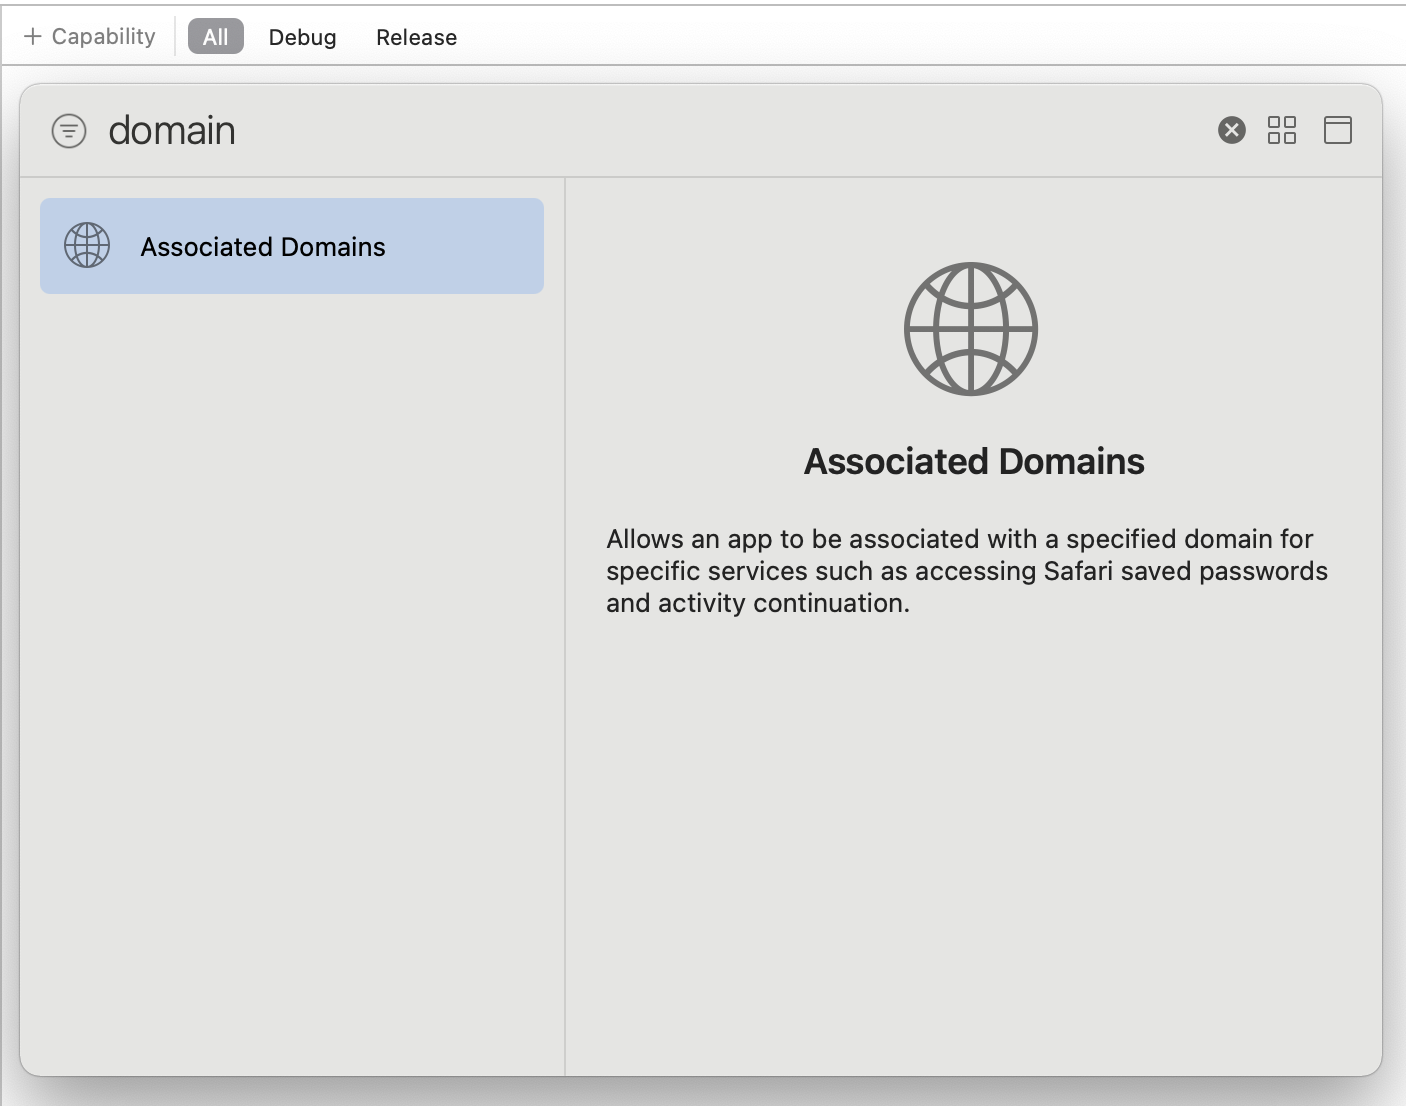
App Clips become real only after associated domains and the site-association file are wired correctly.
The next step is adding associated domains to both the main app and the clip target. The clip gets both
the appclips: and applinks: entries, while the main app keeps the App Clip entry
so the system can associate the full app with the invocation domain.
App Clip target:
appclips:[your-domain]
applinks:[your-domain]

Main iOS app:
appclips:[your-domain]
On the server side, this article adds an apple-app-site-association file under
/.well-known/ with the clip and full-app bundle IDs:
{
  "appclips": {
    "apps": [
      "[TeamID].[MainBundleID].Clip",
      "[TeamID].[MainBundleID]"
    ]
  }
}
Without this pair of steps, the rest of the launch experience will never feel stable. The scan might work in development, but production invocation and validation stay fragile until the domain and file are aligned.
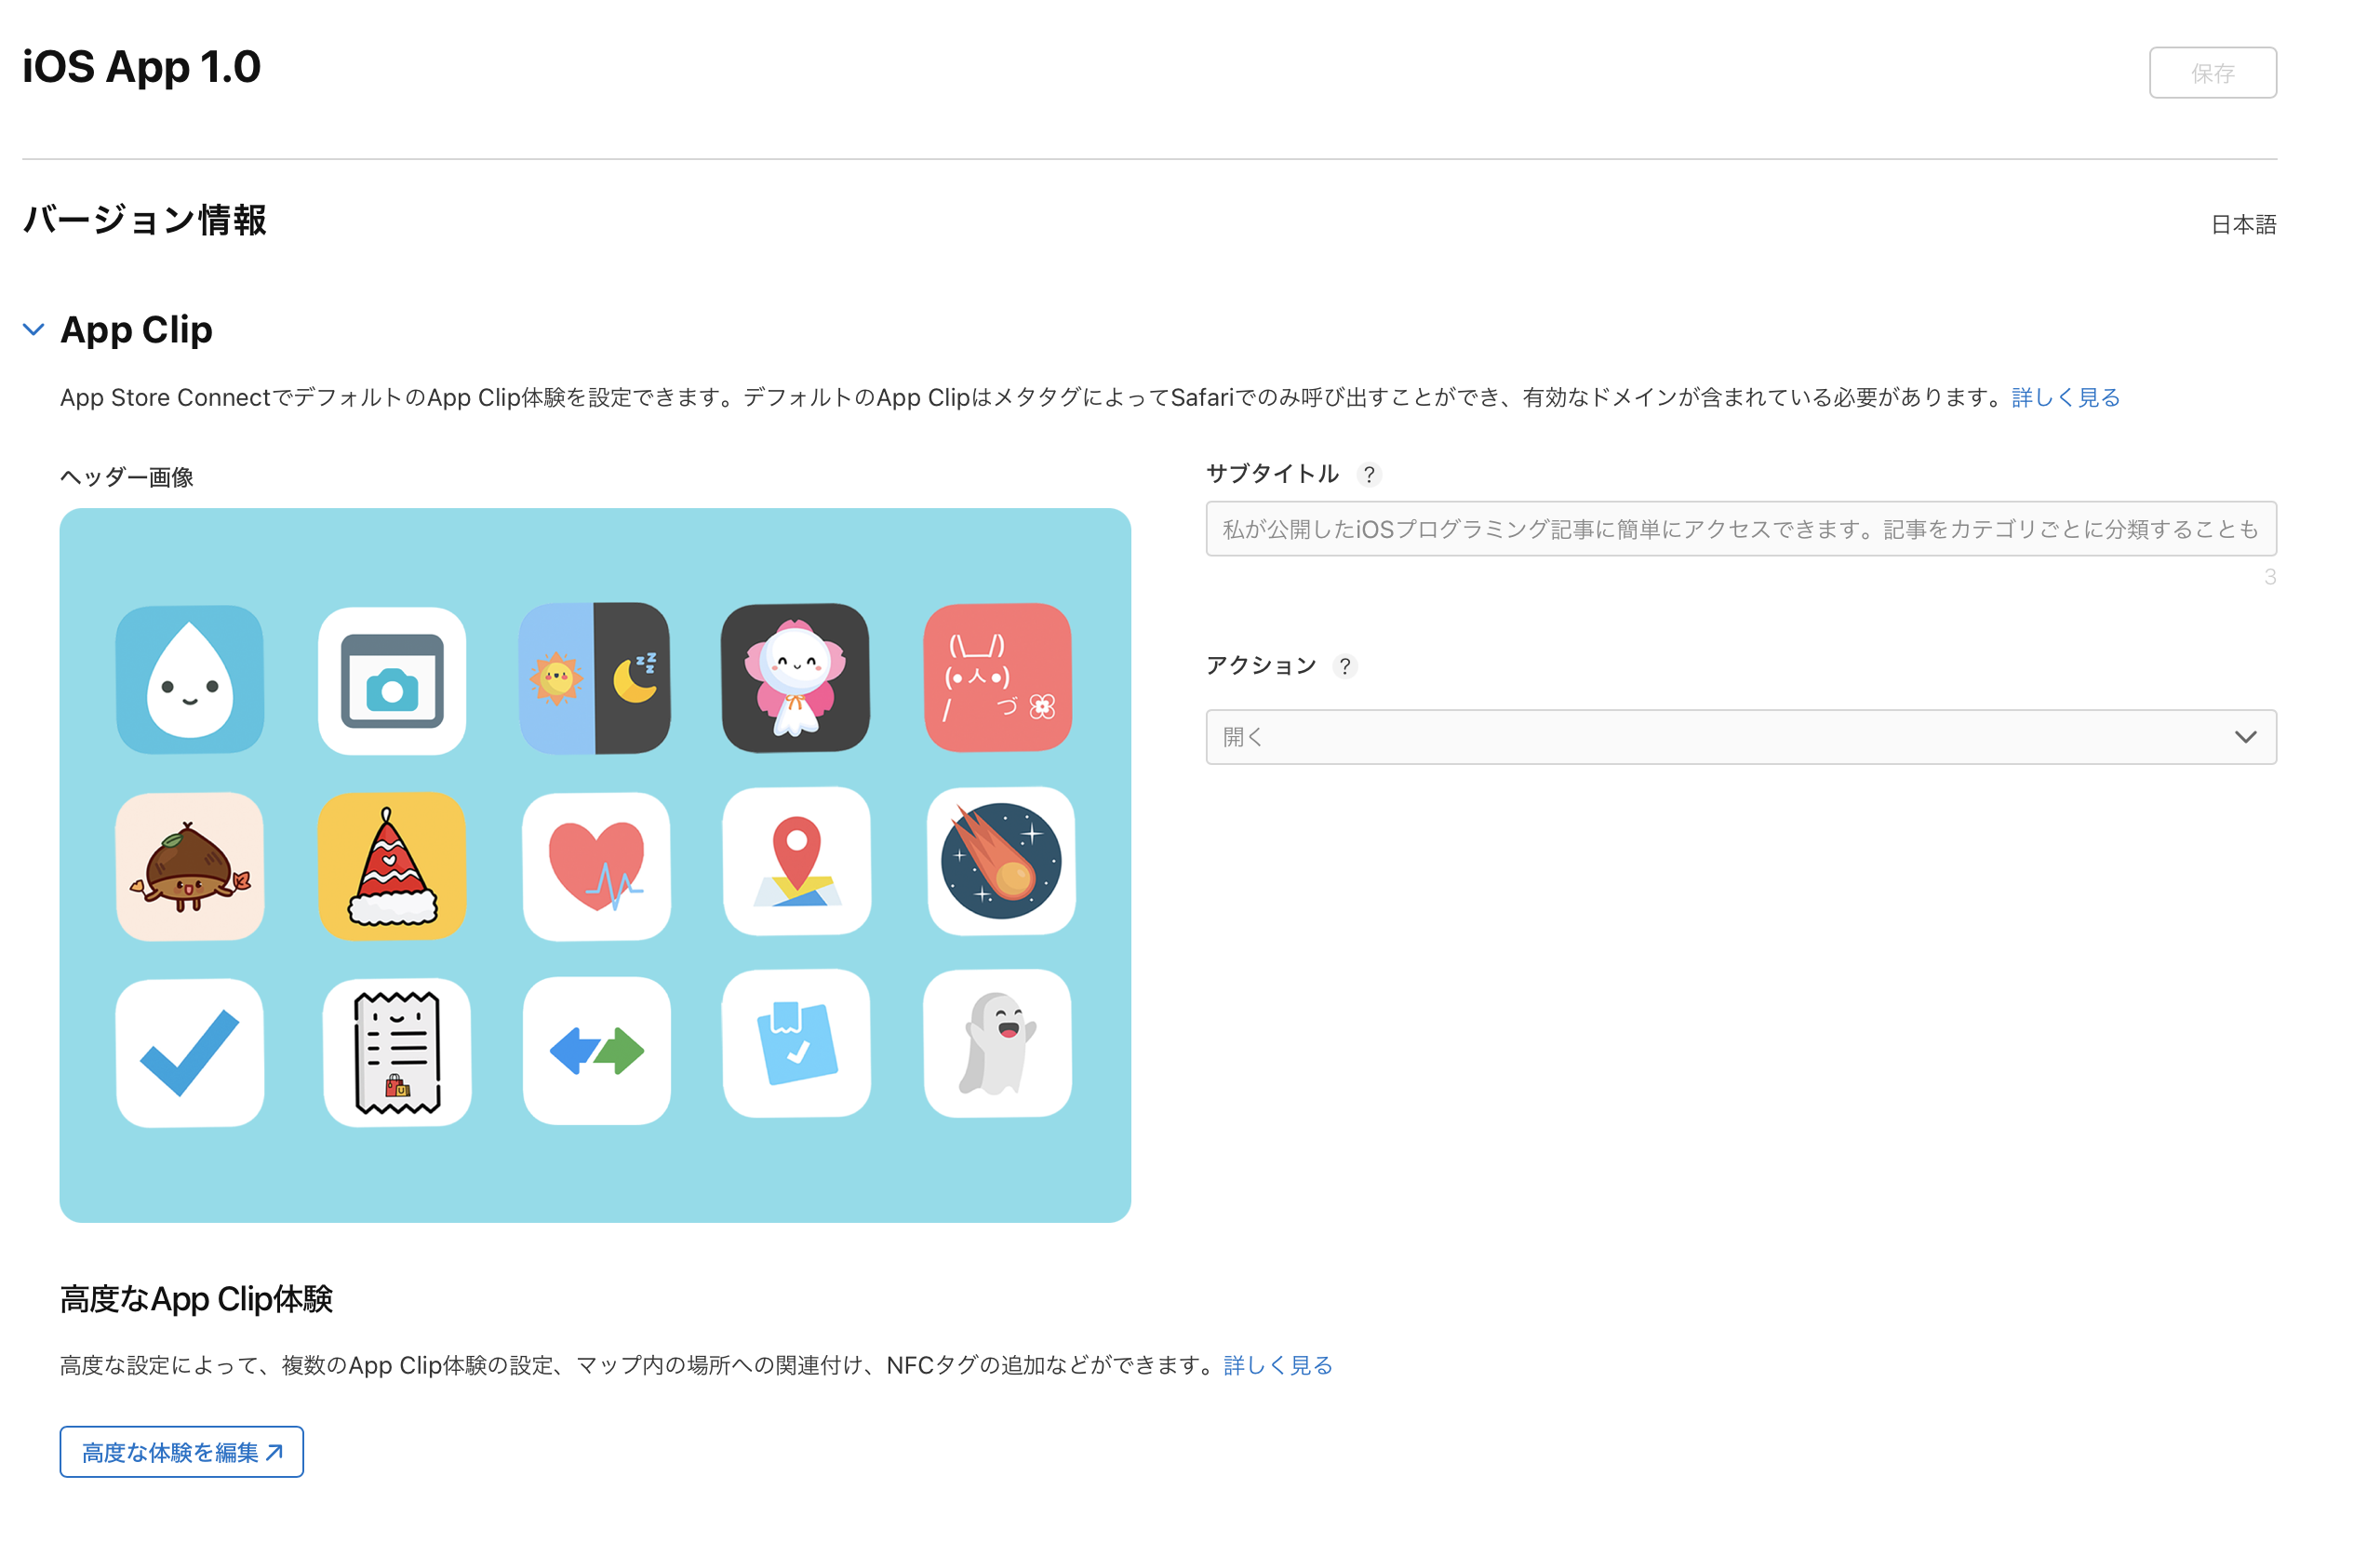
Once the build is uploaded, App Store Connect becomes part of the workflow too: you define the clip presentation, confirm verification, and optionally add a website banner.
This article shows the App Store Connect screens where the clip metadata is configured. If you want map- or NFC-based invocation, that is also where the more specific experience settings are created.

For web-based invocation, the article adds a Safari banner at the top of the site:
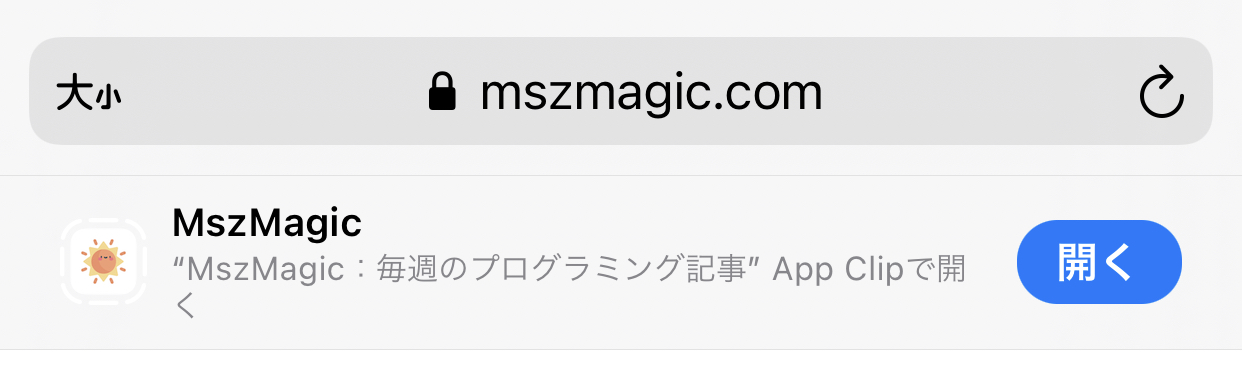
<meta
  name="apple-itunes-app"
  content="app-id=[App Store app ID], app-clip-bundle-id=[bundle id].Clip"
>If the user later installs the full app, the App Clip should not feel like a dead-end detour. Shared storage is how the article avoids that.
The post recommends creating an App Group and storing small pieces of state in a shared
UserDefaults suite. That lets the full app recover clip-saved information after installation.

if let sharedUserDefaults = UserDefaults(suiteName: "group.com.example.myapp") {
    sharedUserDefaults.set(...)
    sharedUserDefaults.string(...)
}
That is a small step, but it changes the product feel. The clip stops being disposable and starts acting like the first phase of the same app journey.
The middle of the article covers two behaviors that often matter for real-world App Clip flows: confirming the user's launch region and scheduling short-lived notifications.
For location-sensitive entry points such as NFC or physical place triggers, the article enables the needed
Info.plist setting and then calls confirmAcquired(in:) on the activation payload.


func checkLocation(activity: NSUserActivity) {
    guard activity.activityType == NSUserActivityTypeBrowsingWeb else { return }
    guard let payload = activity.appClipActivationPayload else { return }
    guard let openURL = activity.webpageURL else { return }

    payload.confirmAcquired(in: getRegionFromURL(openURL)) { withinRegion, error in
        if withinRegion {
            // The user is within the expected region
        } else {
            // The user is outside the expected region
        }
    }
}
The notification example follows the same pattern: enable the capability, check the notification authorization status, and then queue the local notification while the clip is still within its limited window.
let center = UNUserNotificationCenter.current()
center.getNotificationSettings { settings in
    if settings.authorizationStatus == .ephemeral {
        let content = UNMutableNotificationContent()
        content.title = "Notification"
        content.body = "This is a notification."

        var dateComponents = DateComponents()
        dateComponents.calendar = .current
        dateComponents.hour = 1
        dateComponents.minute = 20

        let trigger = UNCalendarNotificationTrigger(dateMatching: dateComponents, repeats: false)
        let request = UNNotificationRequest(
            identifier: UUID().uuidString,
            content: content,
            trigger: trigger
        )
        center.add(request)
    }
}The last part of the article focuses on how the clip points back to the full app and how it reads the URL that launched it in the first place.
To recommend installation, the post uses SKOverlay from the current window scene:
if let scene = view.window?.windowScene {
    let config = SKOverlay.AppConfiguration(
        appIdentifier: "1494658162",
        position: .bottom
    )
    let overlay = SKOverlay(configuration: config)
    overlay.present(in: scene)
}
And to recover the launch context, it adds .onContinueUserActivity to the SwiftUI app entry point:
@main
struct TestAppClipApp: App {
    var body: some Scene {
        WindowGroup {
            ContentView()
                .onContinueUserActivity(NSUserActivityTypeBrowsingWeb) { activity in
                    let openURL = activity.webpageURL
                    print(openURL)
                }
        }
    }
}
That is the detail that connects the invocation path back to the in-app experience. If the clip can read the incoming URL, it can restore the exact product or page the user meant to open instead of showing a generic entry screen.
The article's real value is that it treats App Clips as a complete system: invocation, constraints, state sharing, verification, and handoff all matter together.
The practical takeaways still hold up well: keep the clip small, wire associated domains carefully, host the site-association file correctly, use shared storage if the full app needs continuity, and treat the launch URL plus App Store follow-through as first-class parts of the experience rather than afterthoughts.