Grouping Core Data results is mostly about choosing the right section identifier.
This article starts with a familiar app shape: you fetch a list of Core Data items, but the UI is better if those
items are split into sections such as dates or categories. iOS 15 added a built-in SwiftUI answer for that:
@SectionedFetchRequest.
Instead of manually creating dictionaries or preprocessing arrays, you expose one grouping value on the model and let the fetch request return sectioned results. The same approach works for date-based task lists, star ratings, tags, or any other property that can be turned into a stable section key.
Create a string key on the Core Data model that describes the section each item belongs to.
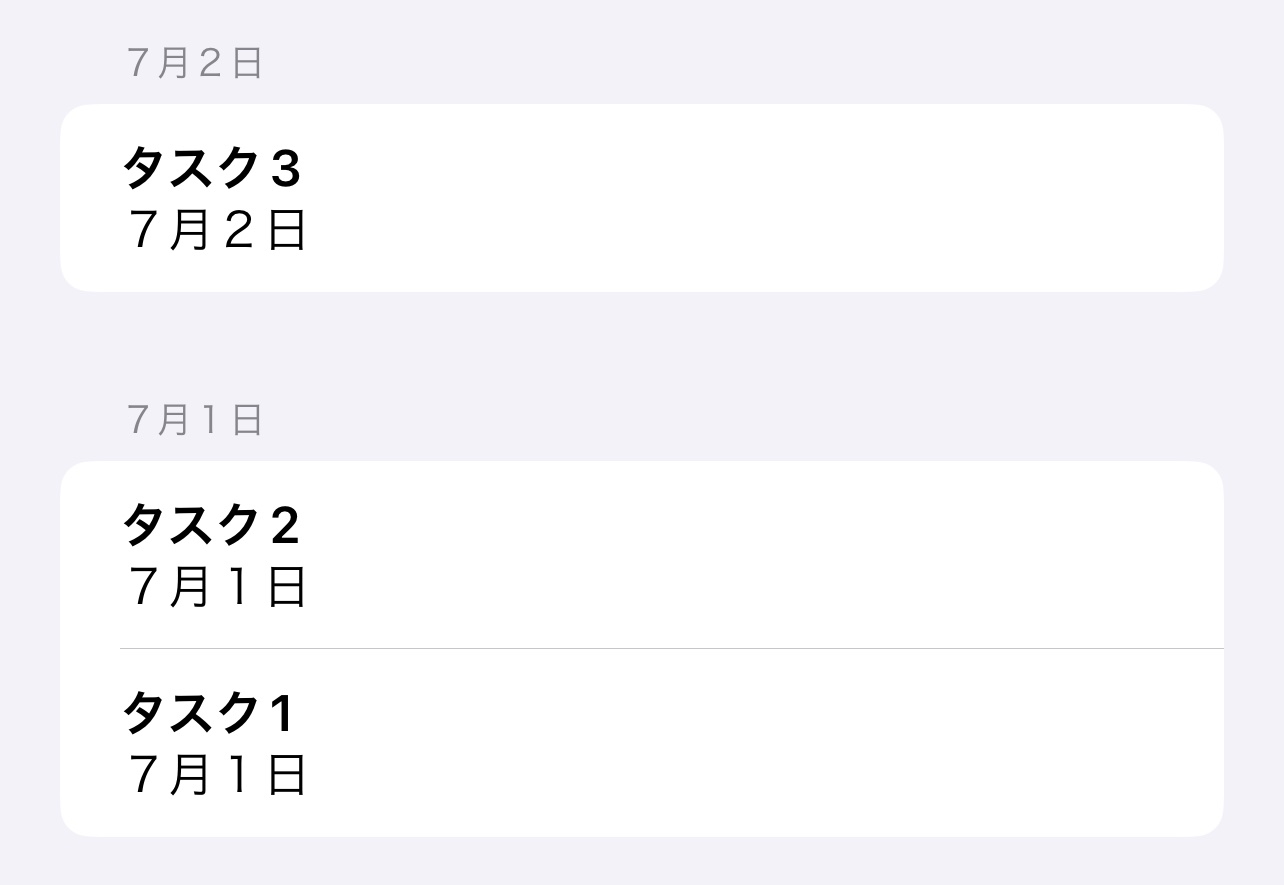
The post uses an extension on the Core Data entity to expose a computed string. For date-based grouping, the date becomes a short human-readable string such as `7/2/22`. That string serves two jobs at once: it is the section identifier for SwiftUI, and it is also ready to display as the section header.
extension Item {
@objc
var dateText: String {
guard let date = self.dueDate else {
return "Unknown"
}
return DateFormatter.localizedString(
from: date,
dateStyle: .short,
timeStyle: .none
)
}
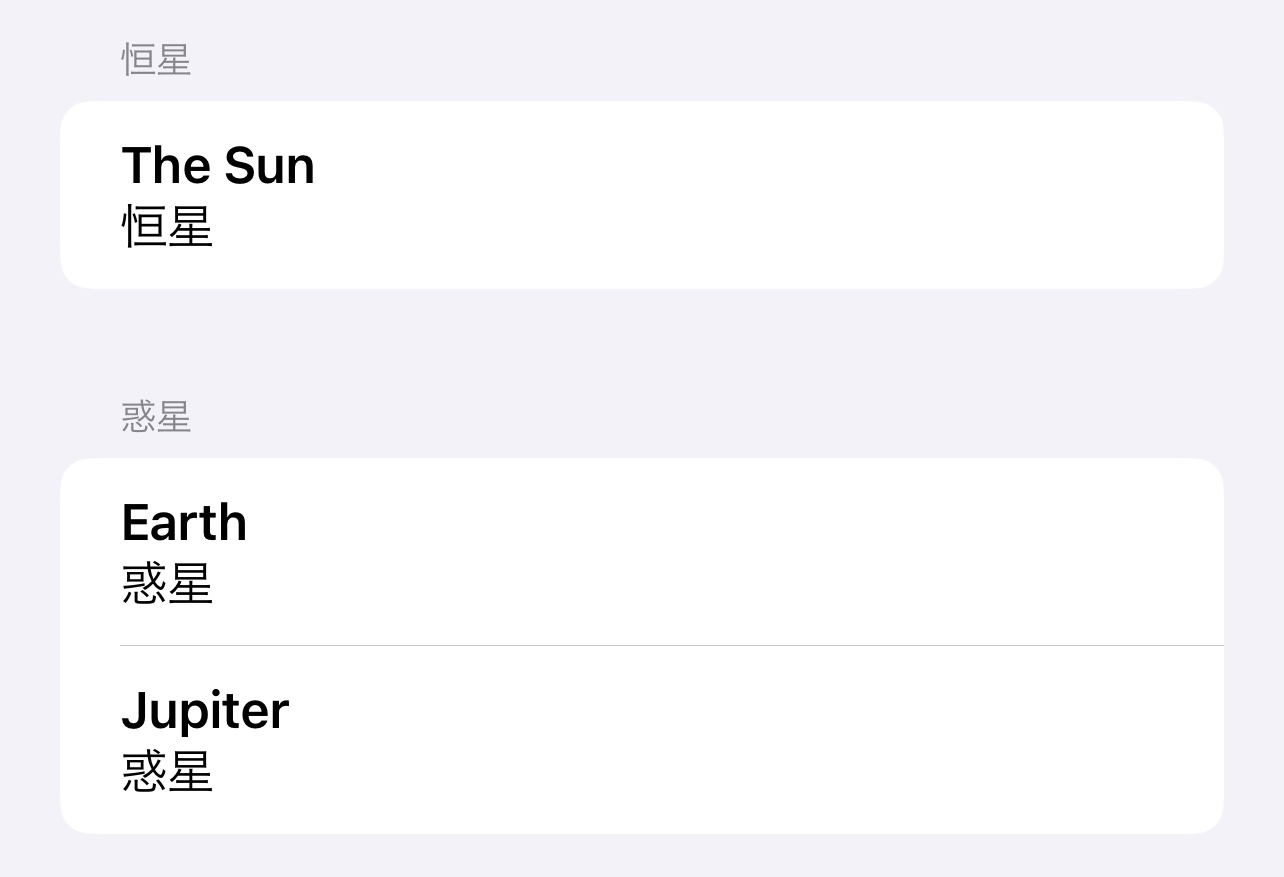
}The same idea applies if you want to group by category instead. Replace `dateText` with a category string property and use that as the section identifier.
Swap @FetchRequest for @SectionedFetchRequest and point it at that grouping key.
Once the model exposes a section identifier, the fetch definition becomes simple. The first generic type is the identifier
type, the second is the entity type, and the key path in sectionIdentifier decides how entries are grouped.
@SectionedFetchRequest<String, Item>(
    sectionIdentifier: \.dateText,
    sortDescriptors: [SortDescriptor(\.date, order: .reverse)]
)
private var itemSections: SectionedFetchResults<String, Item>
The article highlights two useful details here. First, items with the same identifier value end up in the same section. Second, changing the identifier key path is what lets you switch between date grouping, category grouping, and any other grouping strategy.
Loop over the sections first, then loop over the items inside each section.
The value returned by itemSections is not a flat array. It is an array of sections. Each section has an
id and can itself be iterated to access the matching entries.
ForEach(itemSections) { itemSection in
    Section(itemSection.id) {
        ForEach(itemSection) { itemEntry in
            VStack(alignment: .leading) {
                Text(itemEntry.content ?? "")
                    .font(.headline)

                Text(itemEntry.dateText)
            }
        }
    }
}
In the original example, the section title is just `itemSection.id`, which is the string generated by the extension above. The article also notes that the same grouping logic can be reused in UIKit apps even if the rendering code is different.
This article links to small demo projects for both grouping modes.
If you want to compare the date-based and category-based versions directly, this article links to two sample repos. They are useful mainly as reference implementations of the same pattern with different grouping keys.
SectionedFetchRequest works best when you treat grouping as model data, not view logic.
That is the real point of the post. Once each entity can expose a stable section key, SwiftUI can group the fetch results for you. The view becomes a straightforward nested `ForEach`, and switching from date sections to category sections is just a matter of changing which property you use as the identifier.