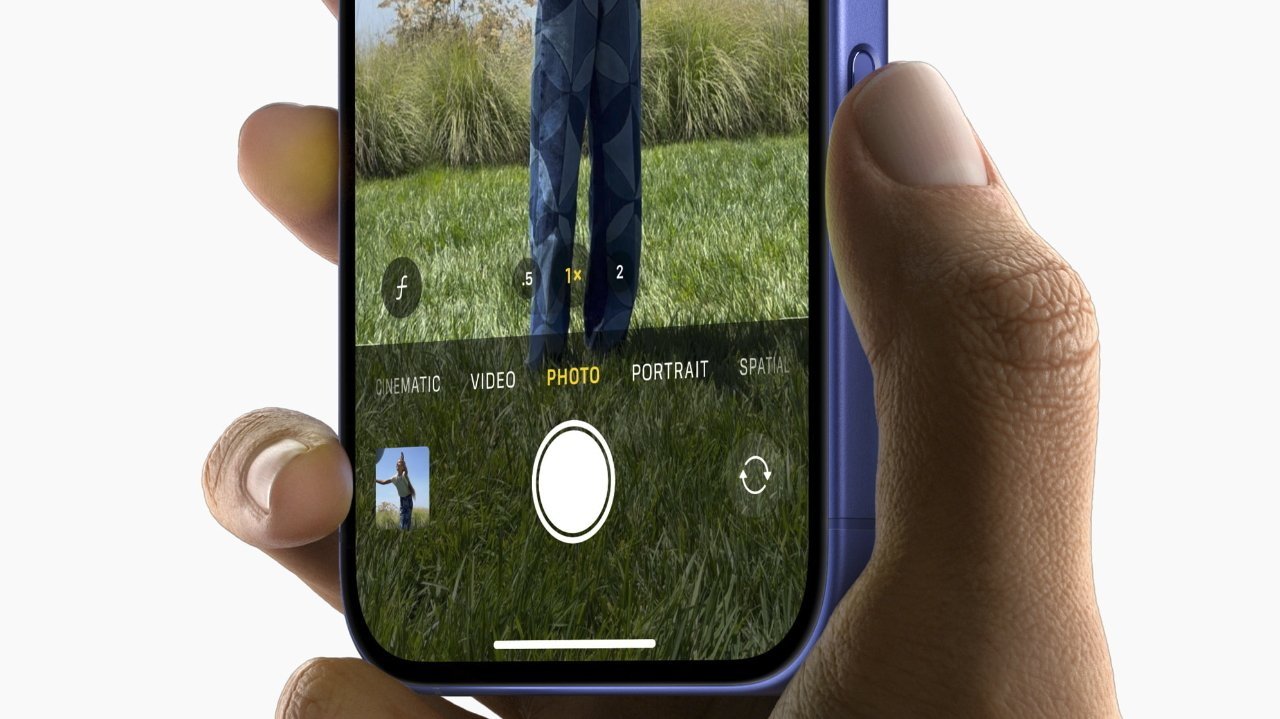
Do nothing, and the system Camera app takes over.
If your app shows its own camera experience but does not handle Camera Control, pressing the physical camera button can launch the system Camera app instead of staying inside your flow. That creates a sharp break in the user experience.
Once you wire the control into your own session, the same hardware interaction can trigger your capture action, drive zoom and exposure, or even surface your own swipe-driven controls. The control remains native, but the behavior becomes yours.
onCameraCaptureEvent(), AVCaptureSession.supportsControls, AVCaptureSystemZoomSlider, AVCaptureSystemExposureBiasSlider, AVCaptureSlider, and AVCaptureIndexPicker.
Begin with a small SwiftUI camera view.
The baseline is simple: hold an AVCaptureSession inside a view model, request camera permission,
attach an AVCapturePhotoOutput, and expose a capturePhoto() method.
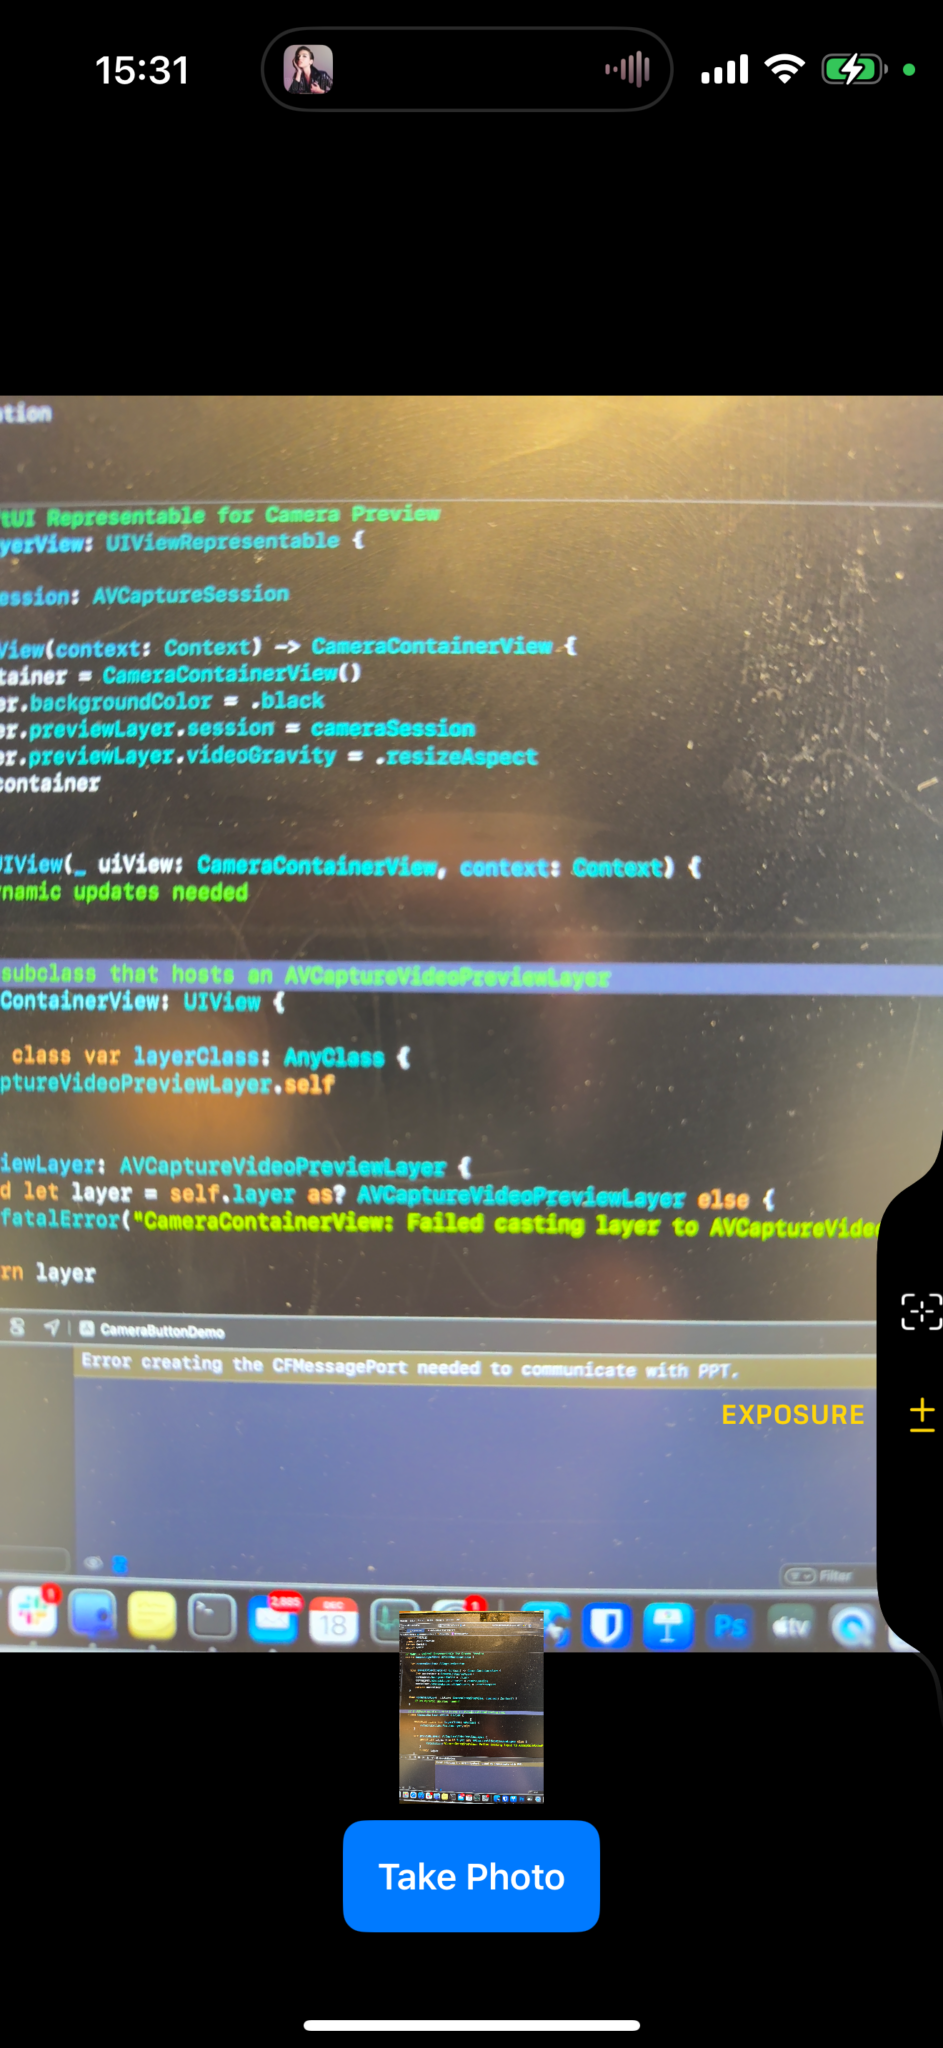
Then use a UIViewRepresentable wrapper to host an AVCaptureVideoPreviewLayer inside SwiftUI.
final class CameraViewModel: NSObject, ObservableObject {
    @Published var capturedPhoto: UIImage?

    let session = AVCaptureSession()
    private let photoOutput = AVCapturePhotoOutput()

    func requestAccessIfNeeded() {
        // Check permission and configure the session.
    }

    func capturePhoto() {
        let settings = AVCapturePhotoSettings()
        photoOutput.capturePhoto(with: settings, delegate: self)
    }
}
Once that foundation works, Camera Control support becomes an additive step instead of a separate camera architecture.
Handle the physical press with a dedicated SwiftUI modifier.
Import AVKit and attach onCameraCaptureEvent() to the view that hosts your camera preview.
When the press begins, call the same capture method you already use for your on-screen button.
CameraLayerView(cameraSession: viewModel.session)
    .onAppear {
        viewModel.requestAccessIfNeeded()
    }
    .edgesIgnoringSafeArea(.all)
    .onCameraCaptureEvent { event in
        if event.phase == .began {
            viewModel.capturePhoto()
        }
    }
That single hook is enough to keep the hardware press inside your app and route it into your own photo flow.
Check whether the current session supports camera controls.
Not every device exposes Camera Control. The clean way to branch is to inspect supportsControls
on your AVCaptureSession and gate advanced control setup behind it.
.task {
    let supportsCameraControl = viewModel.session.supportsControls
    print("Camera Control supported:", supportsCameraControl)
}
This is the right place to hide unsupported UI, skip control registration, or fall back to a fully on-screen control set.
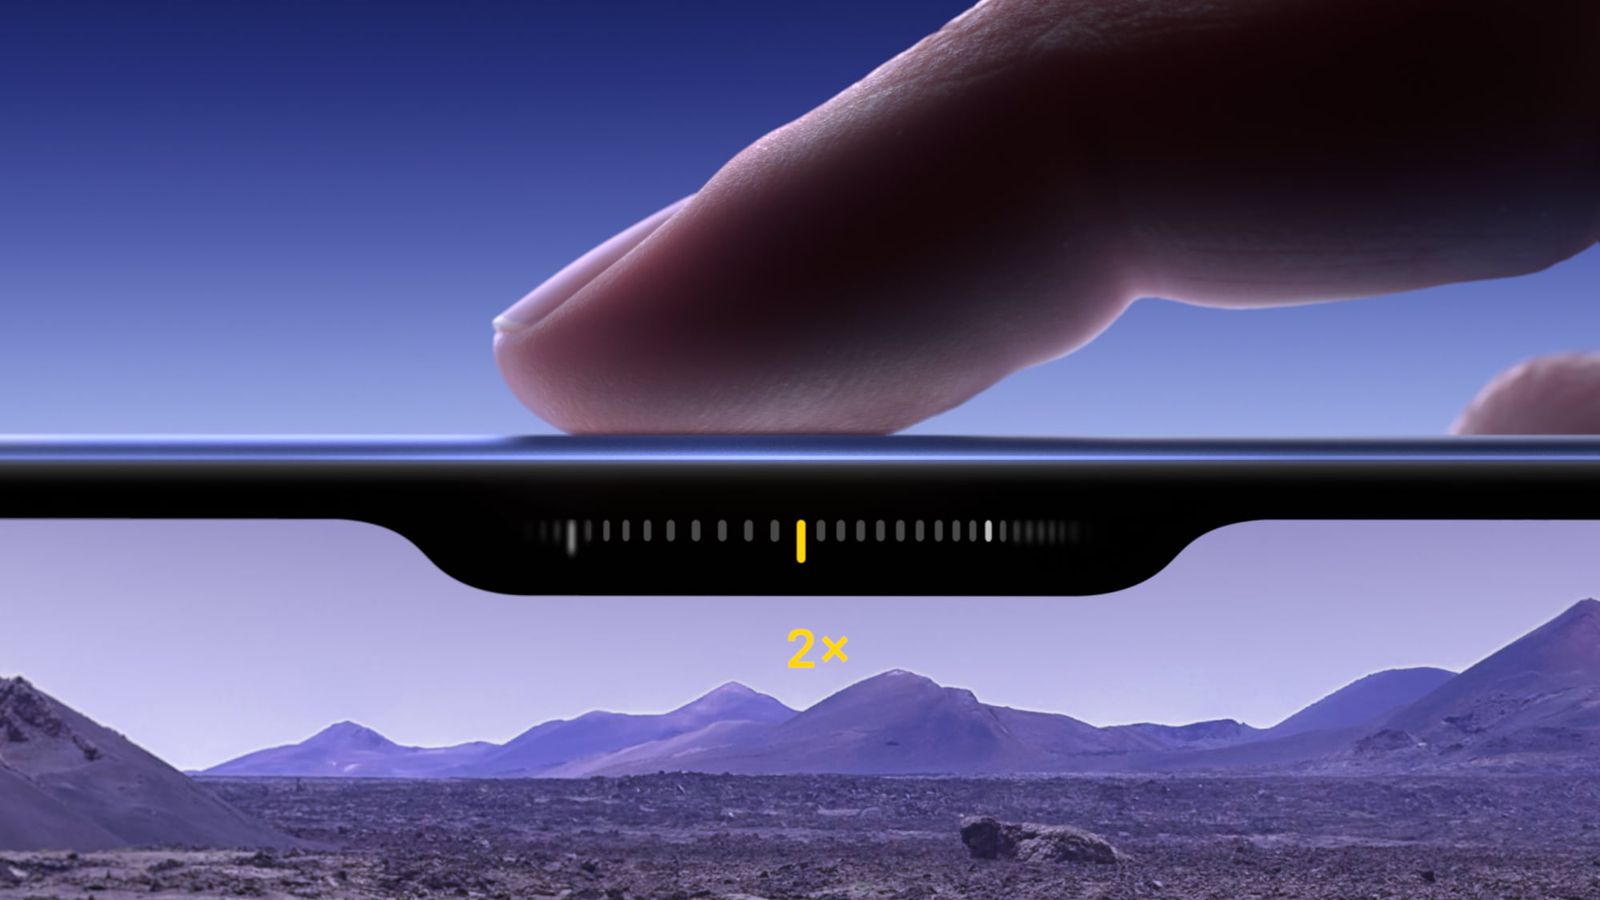
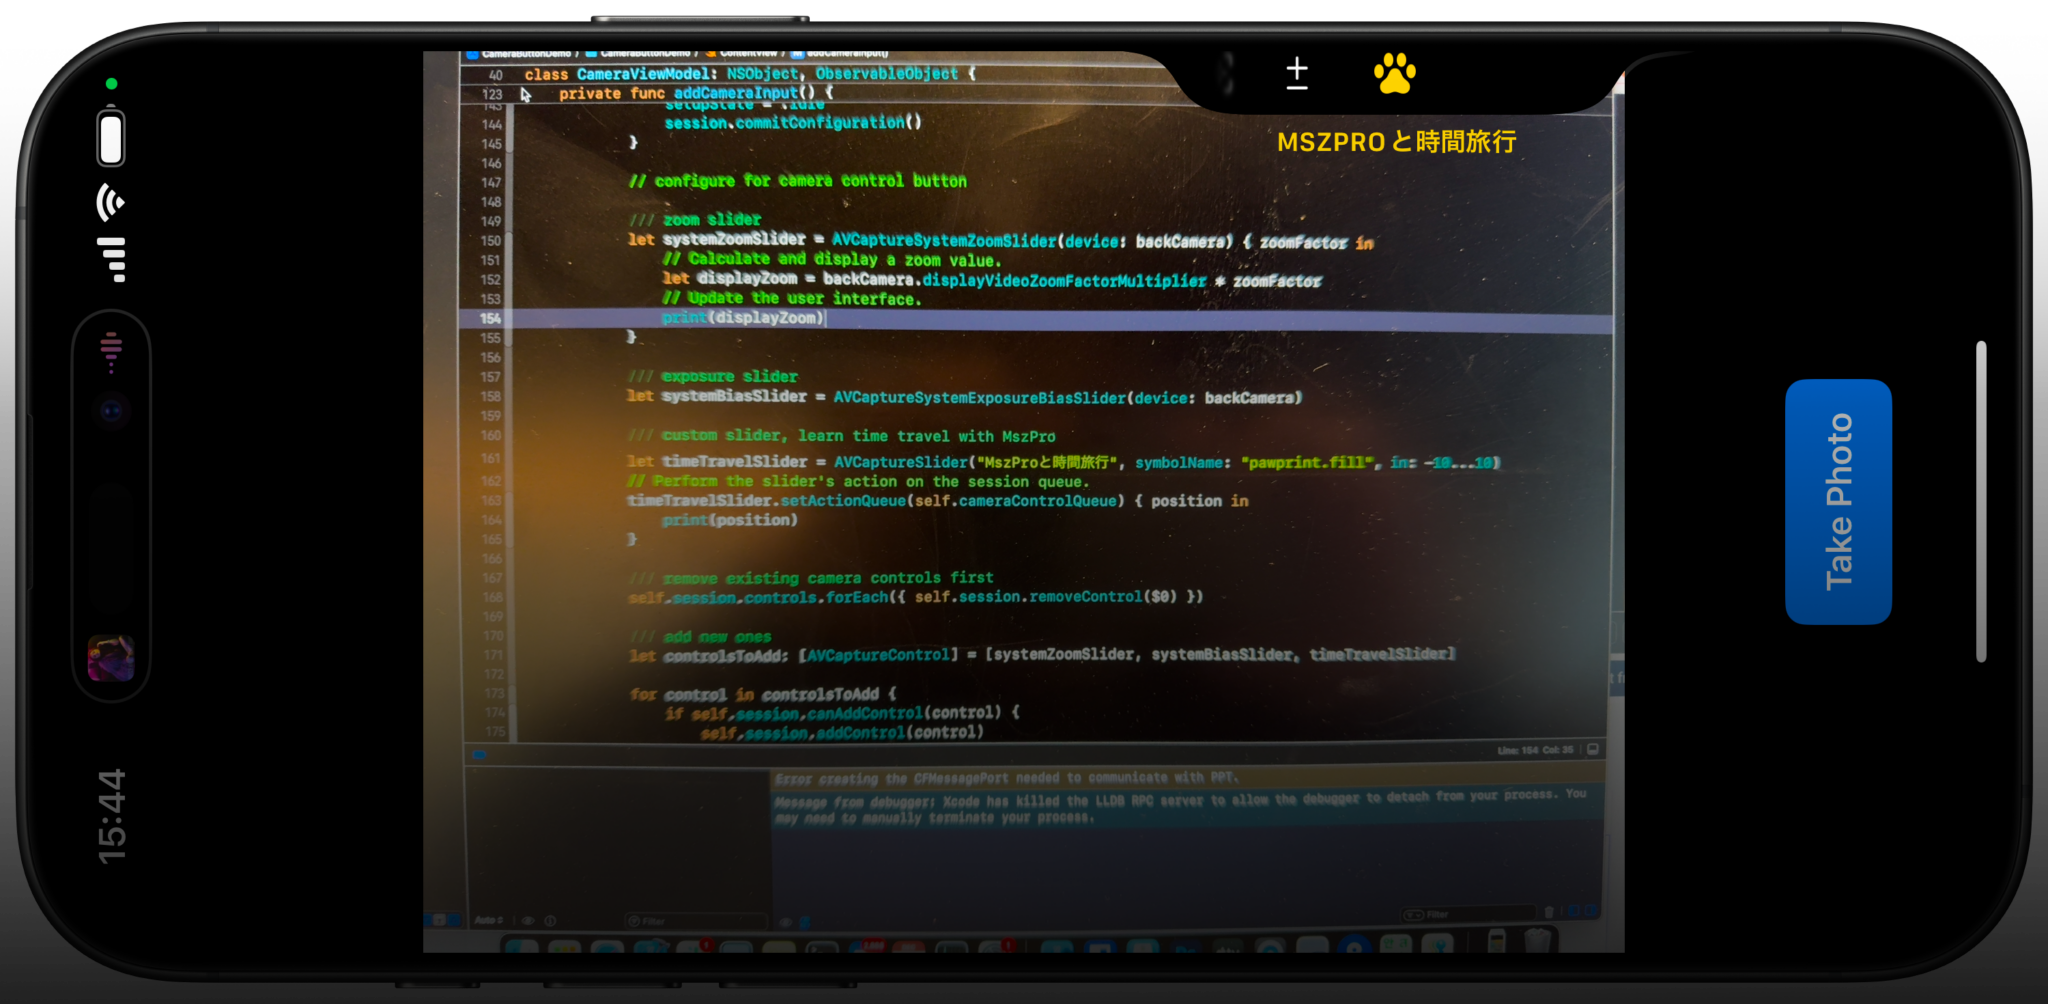
Add a system zoom slider and let iOS handle the gesture mechanics.
The first step is to register a controls delegate on the session. After that, create an
AVCaptureSystemZoomSlider with your camera device and respond to the zoom factor callback however you want.
private let cameraControlQueue = DispatchQueue(label: "com.example.camera.control")

session.setControlsDelegate(self, queue: cameraControlQueue)

let systemZoomSlider = AVCaptureSystemZoomSlider(device: backCamera) { zoomFactor in
    let displayZoom = backCamera.displayVideoZoomFactorMultiplier * zoomFactor
    print(displayZoom)
}

session.controls.forEach { session.removeControl($0) }
if session.canAddControl(systemZoomSlider) {
    session.addControl(systemZoomSlider)
}
The delegate methods themselves can be minimal. If you do not need special state tracking, empty implementations are enough to activate the feature.
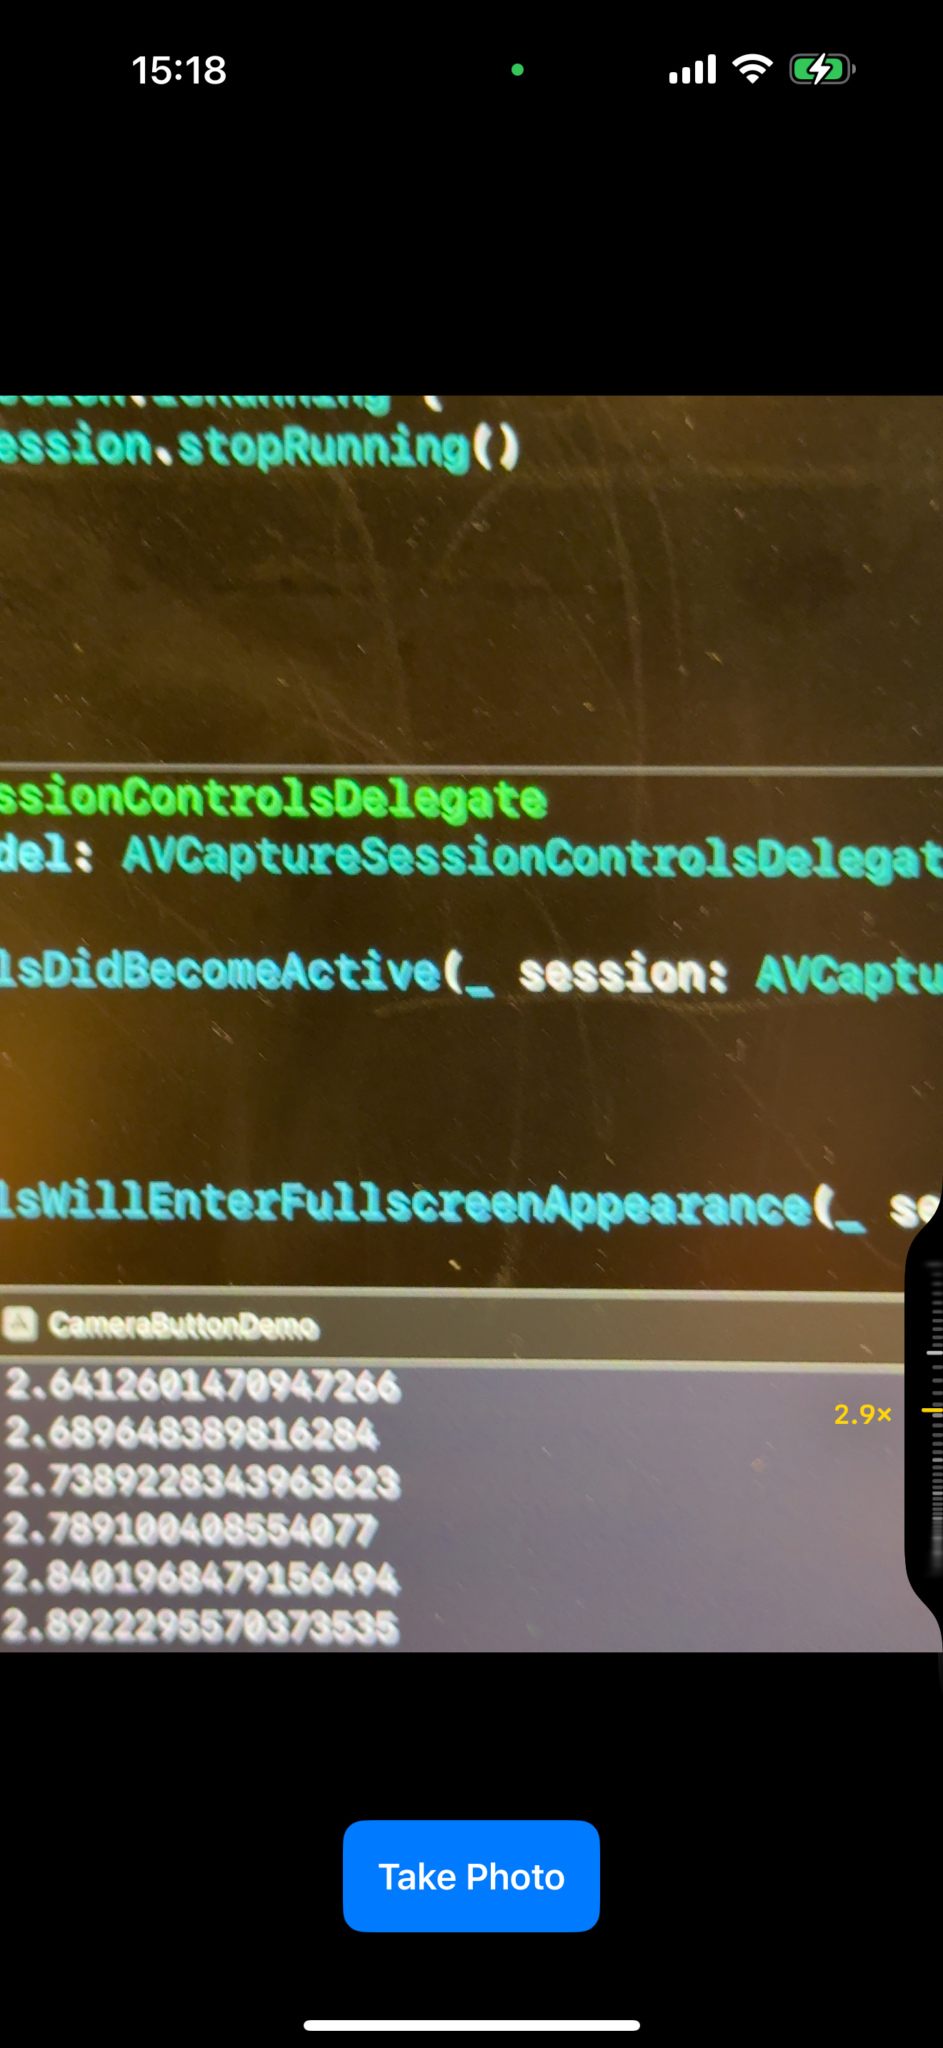
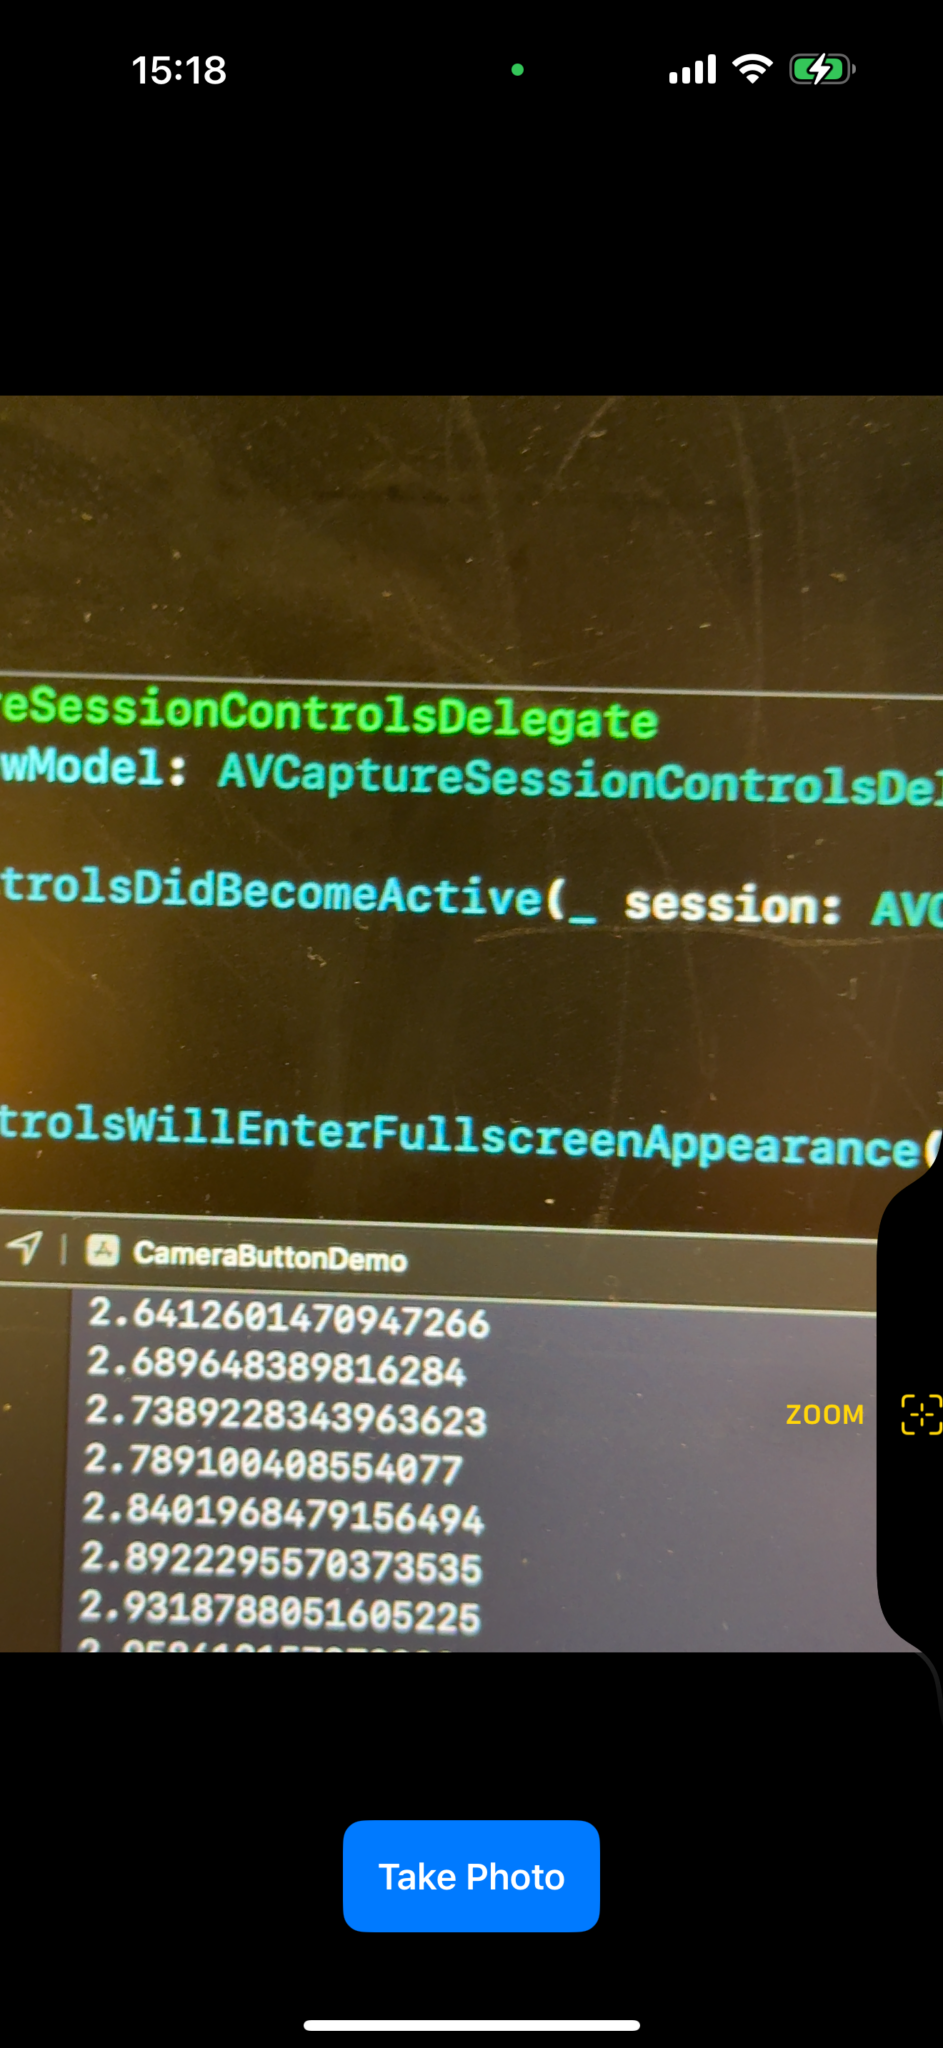
Exposure is almost free once the control pipeline exists.
After zoom works, exposure bias is only one more control object. Create an
AVCaptureSystemExposureBiasSlider and add it beside the zoom slider.
let systemZoomSlider = AVCaptureSystemZoomSlider(device: backCamera) { zoomFactor in
    let displayZoom = backCamera.displayVideoZoomFactorMultiplier * zoomFactor
    print(displayZoom)
}

let systemBiasSlider = AVCaptureSystemExposureBiasSlider(device: backCamera)

let controlsToAdd: [AVCaptureControl] = [systemZoomSlider, systemBiasSlider]
session.controls.forEach { session.removeControl($0) }

for control in controlsToAdd {
    if session.canAddControl(control) {
        session.addControl(control)
    }
}
On-device, you can bring up both zoom and exposure from the same control surface and move between them with the system interaction model.
Create your own swipeable control for app-specific behavior.
The system controls are useful, but the more interesting part is that you can add your own slider and react to value changes on your camera control queue. This article uses a playful time-travel example to show the shape of the API.
let timeTravelSlider = AVCaptureSlider(
    "Time travel with MszPro",
    symbolName: "pawprint.fill",
    in: -10...10
)

timeTravelSlider.setActionQueue(cameraControlQueue) { position in
    print(position)
}
In a real app, that callback could drive filters, focus presets, scene modes, or anything else that benefits from a compact hardware-backed slider.
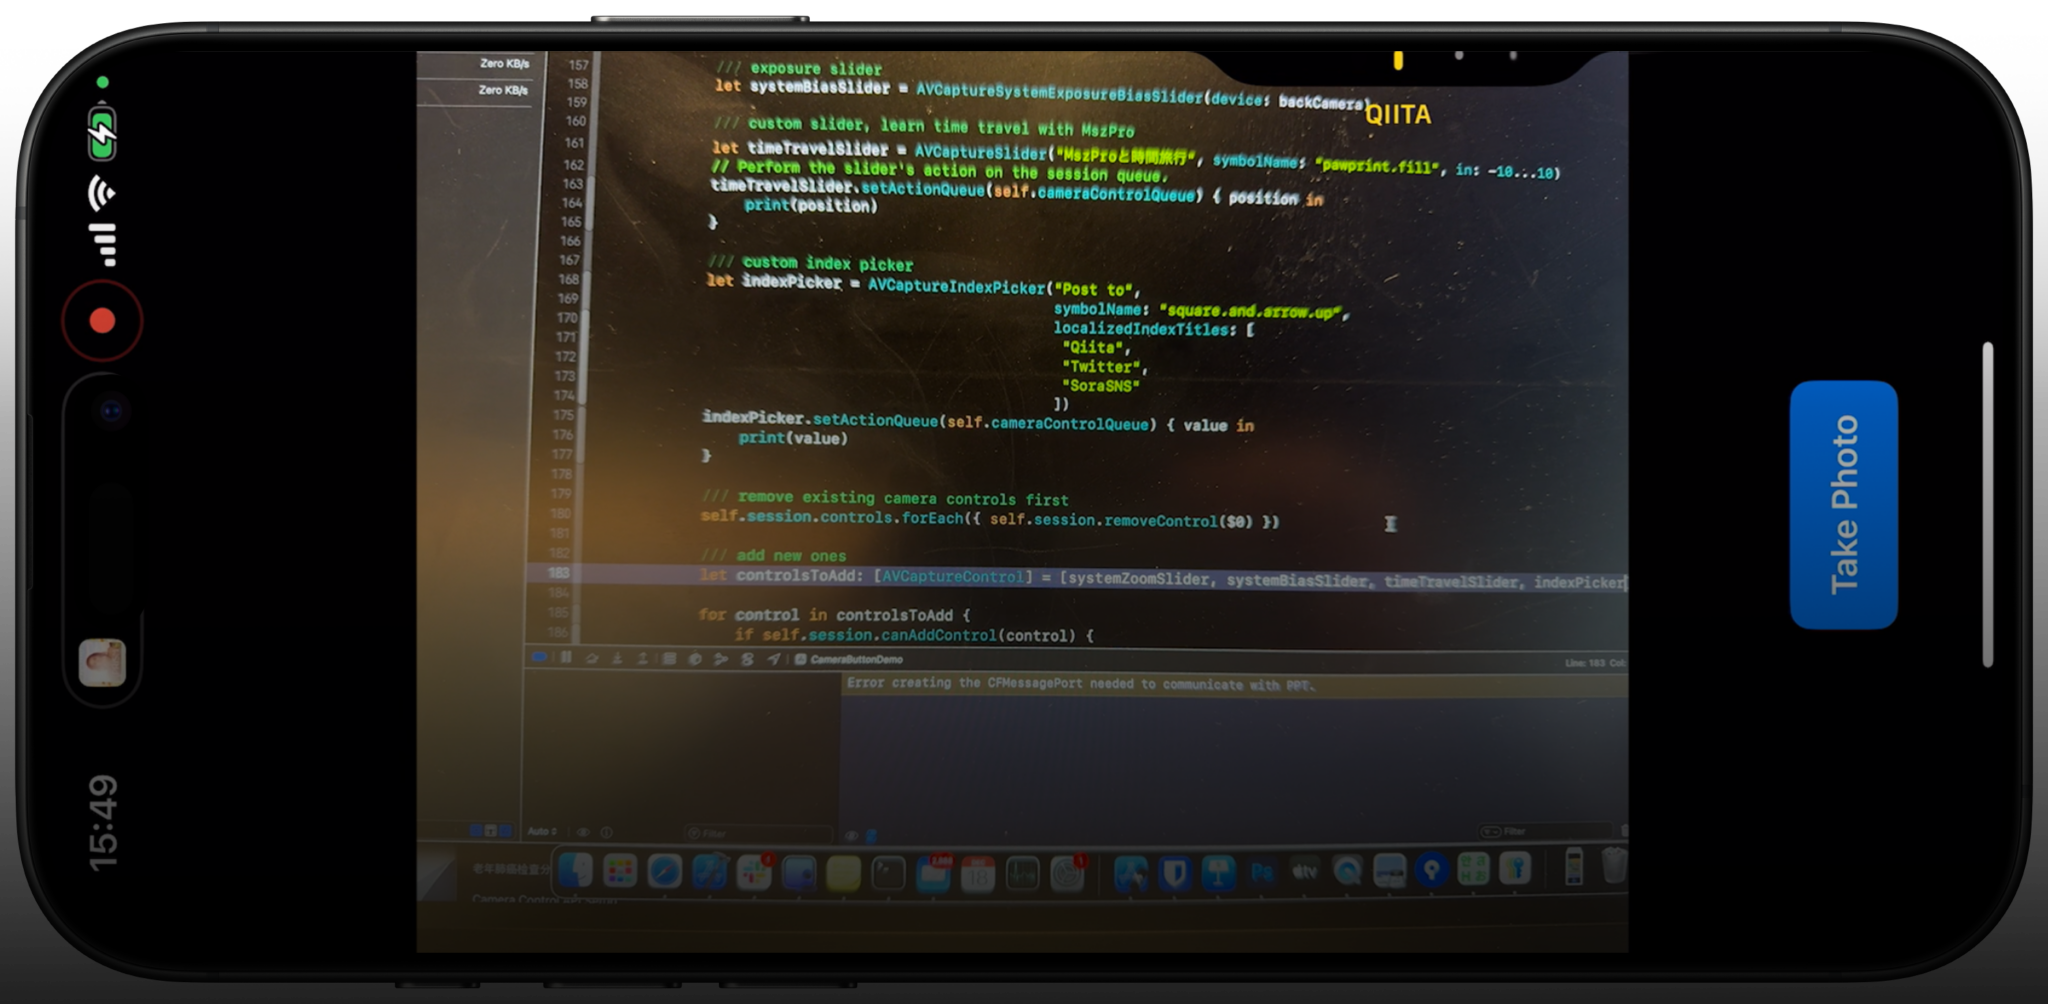
Use an index picker when the user should choose from named options.
If your control fits better as a list of discrete choices than a continuous range, use
AVCaptureIndexPicker. The callback returns the selected index, so you can map it directly to filters, destinations, or modes.
let indexPicker = AVCaptureIndexPicker(
    "Post to",
    symbolName: "square.and.arrow.up",
    localizedIndexTitles: ["Qiita", "Twitter", "SoraSNS"]
)

indexPicker.setActionQueue(cameraControlQueue) { selectedIndex in
    print(selectedIndex)
}
This is a good fit for option sets where the names matter more than the numeric value.
Once the session is wired correctly, the control surface becomes an extension of your app.
The overall recipe is straightforward: start from a normal SwiftUI camera view, intercept Camera Control presses,
check support with supportsControls, and then register the controls you want.
From there, you can stay close to the system with zoom and exposure, or go in your own direction with custom sliders and pickers. That makes the hardware feel native while still supporting app-specific capture experiences.