This article is most useful as a catalog of what ResearchKit already gives you before you build any custom study UI yourself.
Instead of inventing every interaction from scratch, this article walks through the built-in task
factories already available in ORKOrderedTask. The value is not only the screens
themselves. It is the pattern: create a task, present it with ORKTaskViewController, then
inspect the result object that matches that task type.
The integration steps are simple: bring the framework into your project, then embed the built product like any other dependency.
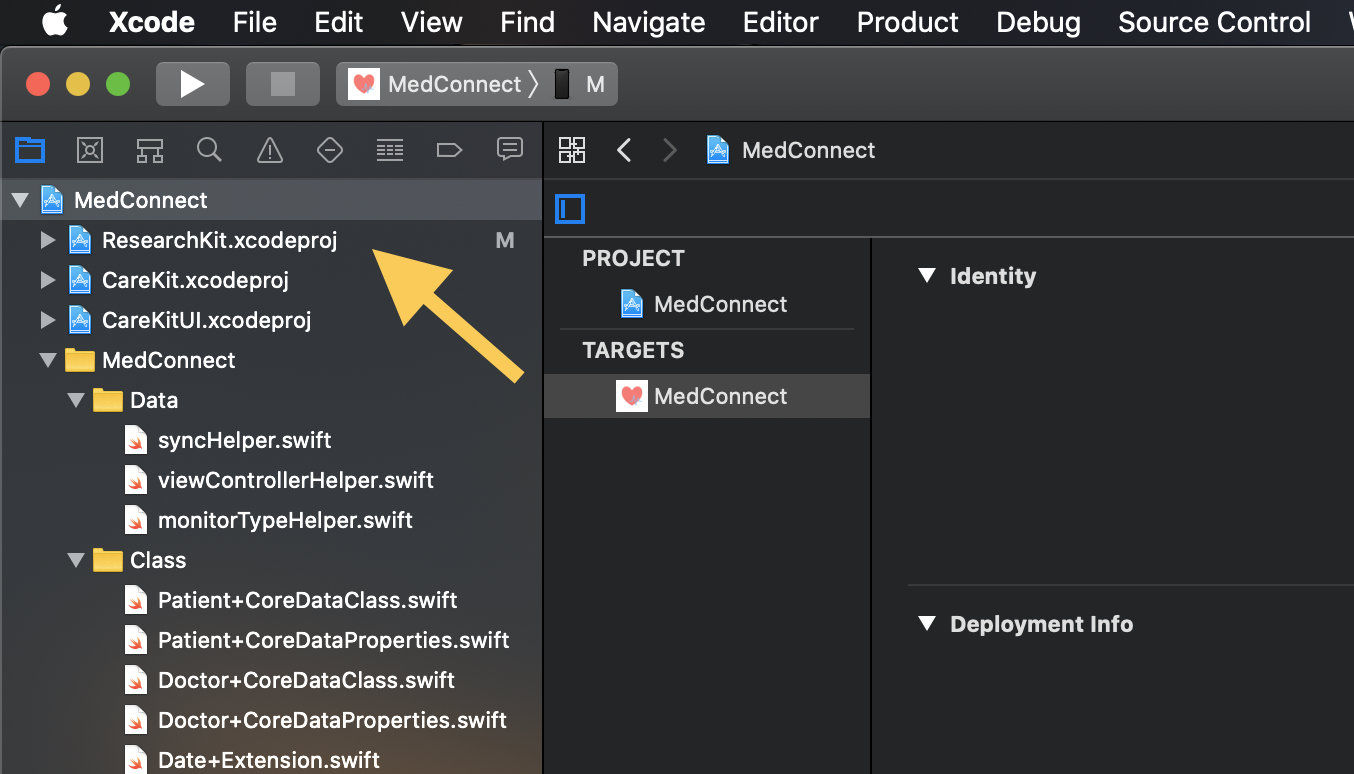
This article starts by cloning the open source framework from
git@github.com:ResearchKit/ResearchKit.git. After that, it uses the older but still
understandable manual Xcode route: drag the ResearchKit.xcodeproj file into your app project,
then add the built product under your target's Frameworks, Libraries, and Embedded Content
section with Embed & Sign.

Embed & Sign.Every task in the article follows the same lifecycle: create the task, present the controller, dismiss it, then cast the result back to the task-specific type you need.
The reusable part of the article is the controller pattern, not any one medical test. Once the framework
is linked, you import ResearchKit, build one task, and present an
ORKTaskViewController. Results come back through
ORKTaskViewControllerDelegate, where result.identifier and
stepResult(forStepIdentifier:) help you route the data to the correct parser.
import ResearchKit

let taskViewController = ORKTaskViewController(task: task, taskRun: nil)
taskViewController.outputDirectory = FileManager.default.temporaryDirectory
taskViewController.delegate = self
present(taskViewController, animated: true)
extension TestingViewController: ORKTaskViewControllerDelegate {
func taskViewController(
_ taskViewController: ORKTaskViewController,
didFinishWith reason: ORKTaskViewControllerFinishReason,
error: Error?
) {
taskViewController.dismiss(animated: true)
}
func taskViewController(_ taskViewController: ORKTaskViewController, didChange result: ORKTaskResult) {
if result.identifier == "spatialSpanMemory",
let memoryResult = result
.stepResult(forStepIdentifier: "cognitive.memory.spatialspan")?
.results?
.first as? ORKSpatialSpanMemoryResult {
let score = memoryResult.score
let failures = memoryResult.numberOfFailures
let totalGames = memoryResult.numberOfGames
}
}
}Most of the article is a tour of built-in ResearchKit tasks across memory, motor speed, puzzle solving, visual testing, and serial arithmetic.
This article groups a wide range of ready-made tasks in one place. That is helpful because the API naming is often more discoverable after you see the screen once. In this rewrite, the gallery below keeps the visual map while calling out the factory method each task came from.
spatialSpanMemoryTask(...).
twoFingerTappingIntervalTask(...).
towerOfHanoiTask(...).
trailmakingTask(...).
landoltCContrastSensitivityTask(...).
landoltCVisualAcuityTask(...).
psatTask(...).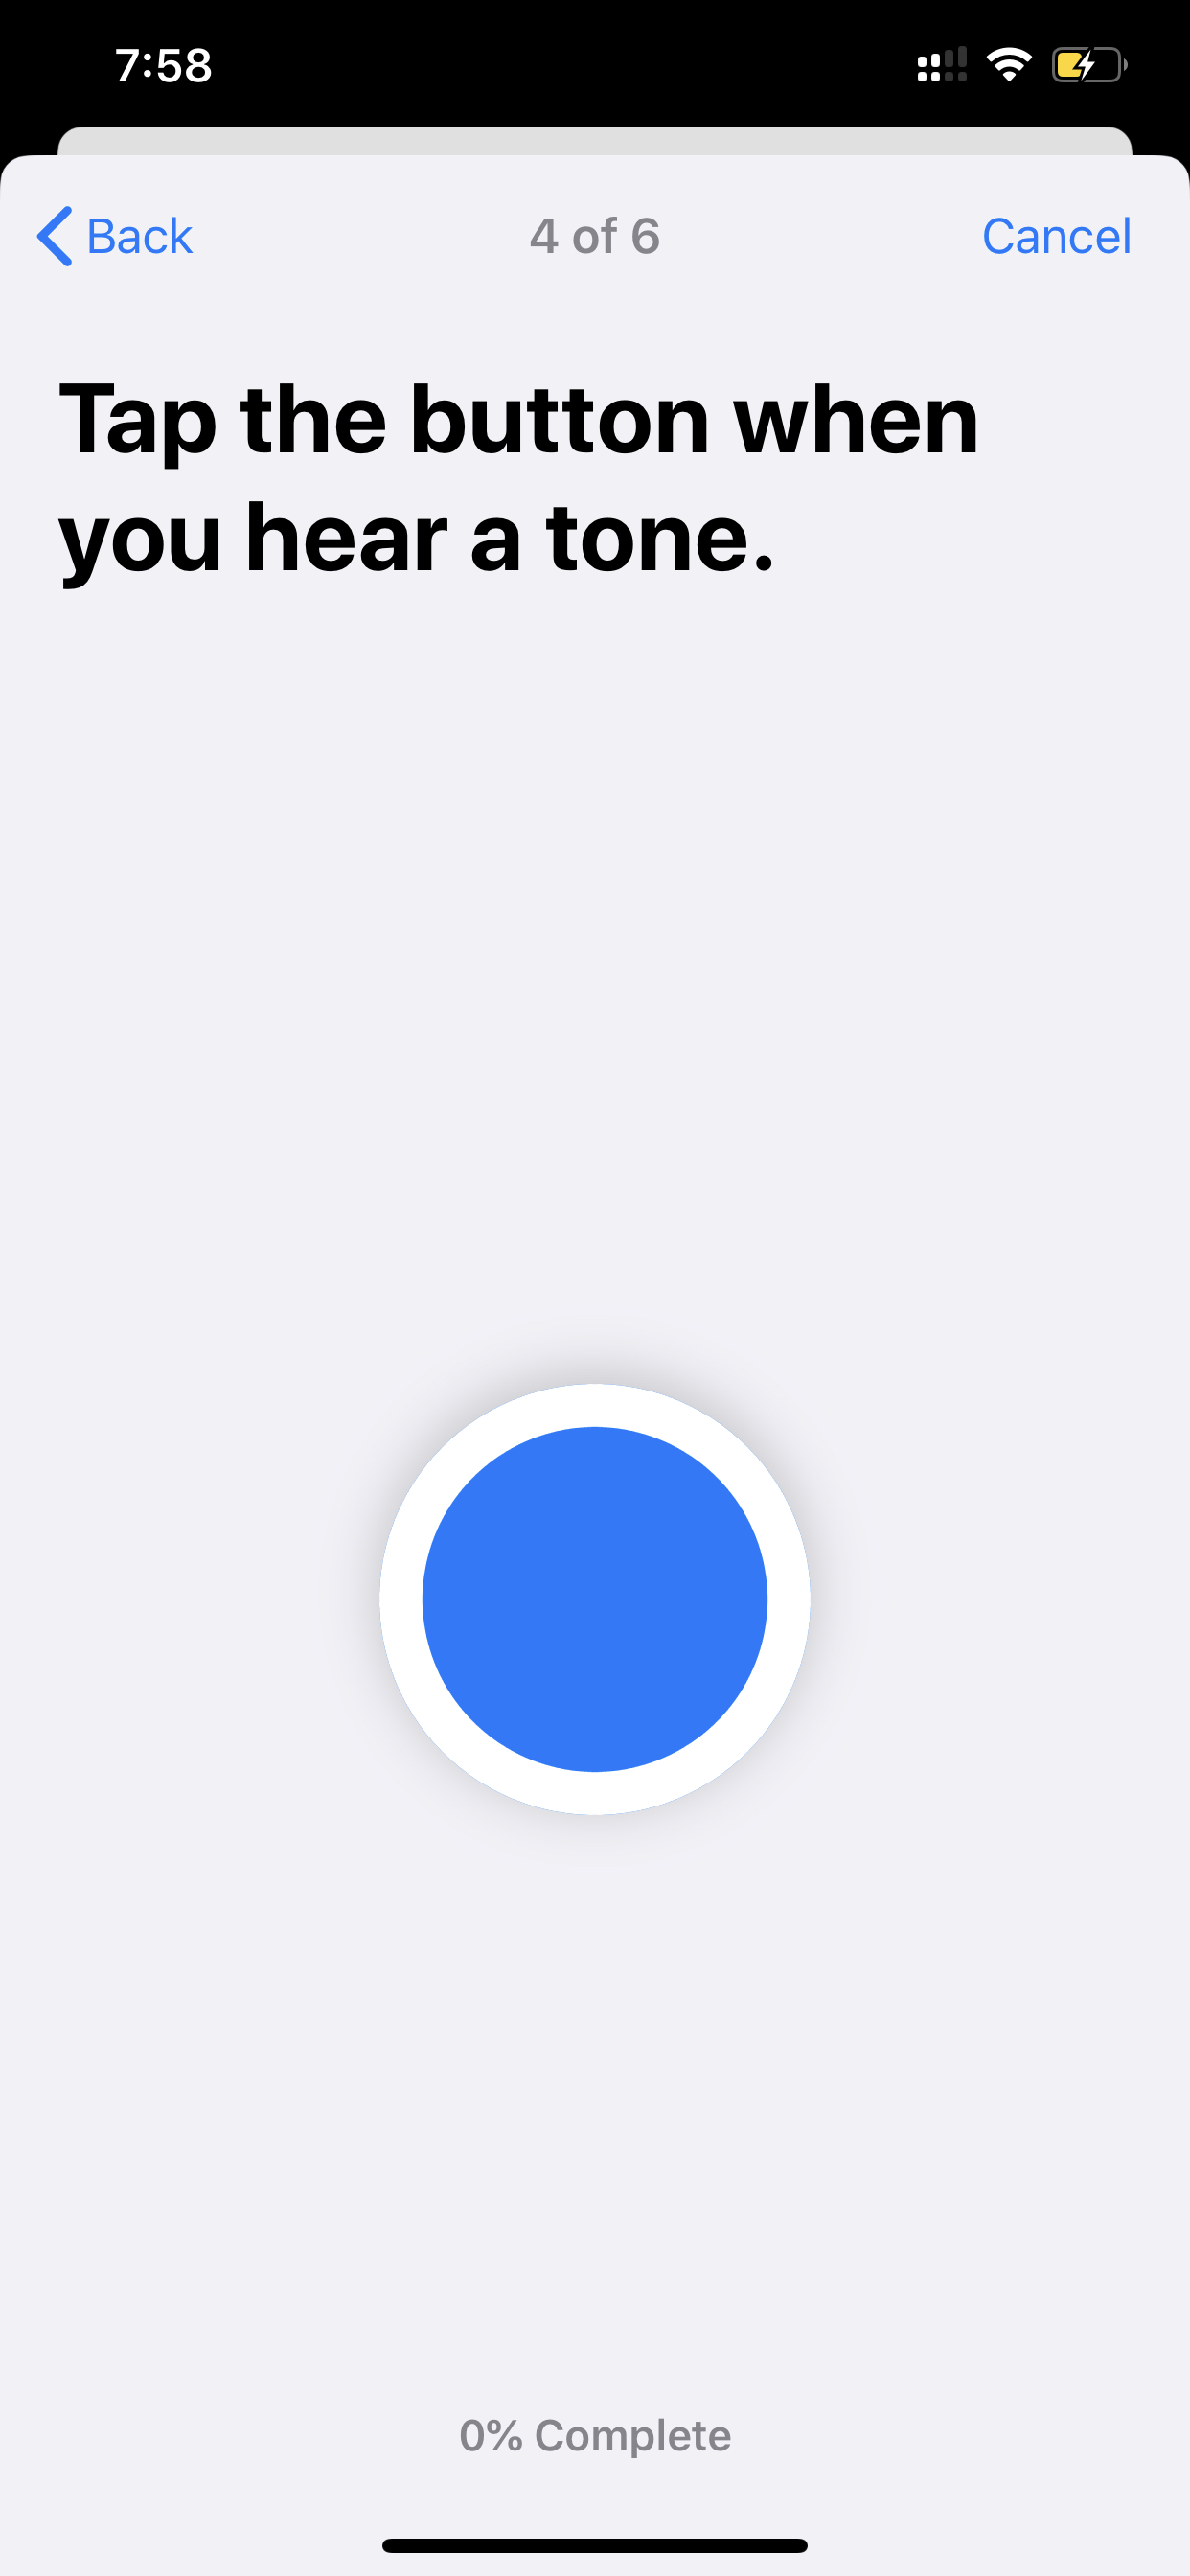
toneAudiometryTask(...).
The post does not treat these as one giant generic result. It handles each task through its matching result
type, such as ORKSpatialSpanMemoryResult, ORKPSATResult, or
ORKToneAudiometryResult.
The hearing sections are the most code-heavy part because the result data is more nested than the simpler cognitive tasks.
For the regular tone audiometry task, this article checks whether the selected channel matched the played channel and records the missed frequencies. For the dBHL task, it goes one level deeper and iterates through each sample's units to count how many loudness levels the participant acknowledged at each frequency.
if let audioResult = result
    .stepResult(forStepIdentifier: "tone.audiometry")?
    .results?
    .first as? ORKToneAudiometryResult,
   let samples = audioResult.samples {
    let totalTestCount = samples.count
    let matchedCount = samples.filter { $0.channel == $0.channelSelected }.count
    let missedFrequencies = samples
        .filter { $0.channel != $0.channelSelected }
        .map { String(format: "%.2f", $0.frequency) }
}
The dBHL variant uses dBHLToneAudiometryTask(...) and returns per-frequency samples whose
nested units carry individual dBHLValue measurements plus the tap timestamp that tells you
whether the tone was acknowledged. That makes the hearing flow the clearest example in the article of why
you usually need custom post-processing after the framework hands the raw result back.
The article still holds up because it treats ResearchKit less like a single framework import and more like a toolbox of typed study workflows.
The important takeaway is not any one memory or hearing task. It is the repeatable pattern: use the
built-in task factories when they match your prototype, present them through
ORKTaskViewController, then inspect the typed result objects instead of trying to force every
workflow through one generic parser. That is what makes this article a useful reference even years
later.