This is a good picture of how WidgetKit launched: simple SwiftUI views outside the main app, fed by timeline entries, then optionally configured through SiriKit-style intents.
This article uses a small cat-status example, but the structure is the real point. The same pattern works for habit trackers, to-do counts, package status, weather snapshots, or any app that wants a compact read-only view on the home screen.
The guide starts with a regular widget and then upgrades it to a user-configurable one. That split is still helpful because it shows the base WidgetKit workflow before introducing the extra target and intent-definition plumbing.
.intentdefinition,
IntentHandler, and IntentConfiguration. Newer Apple platforms also support newer
widget configuration systems, but this older flow is still useful when reading or maintaining early WidgetKit projects.
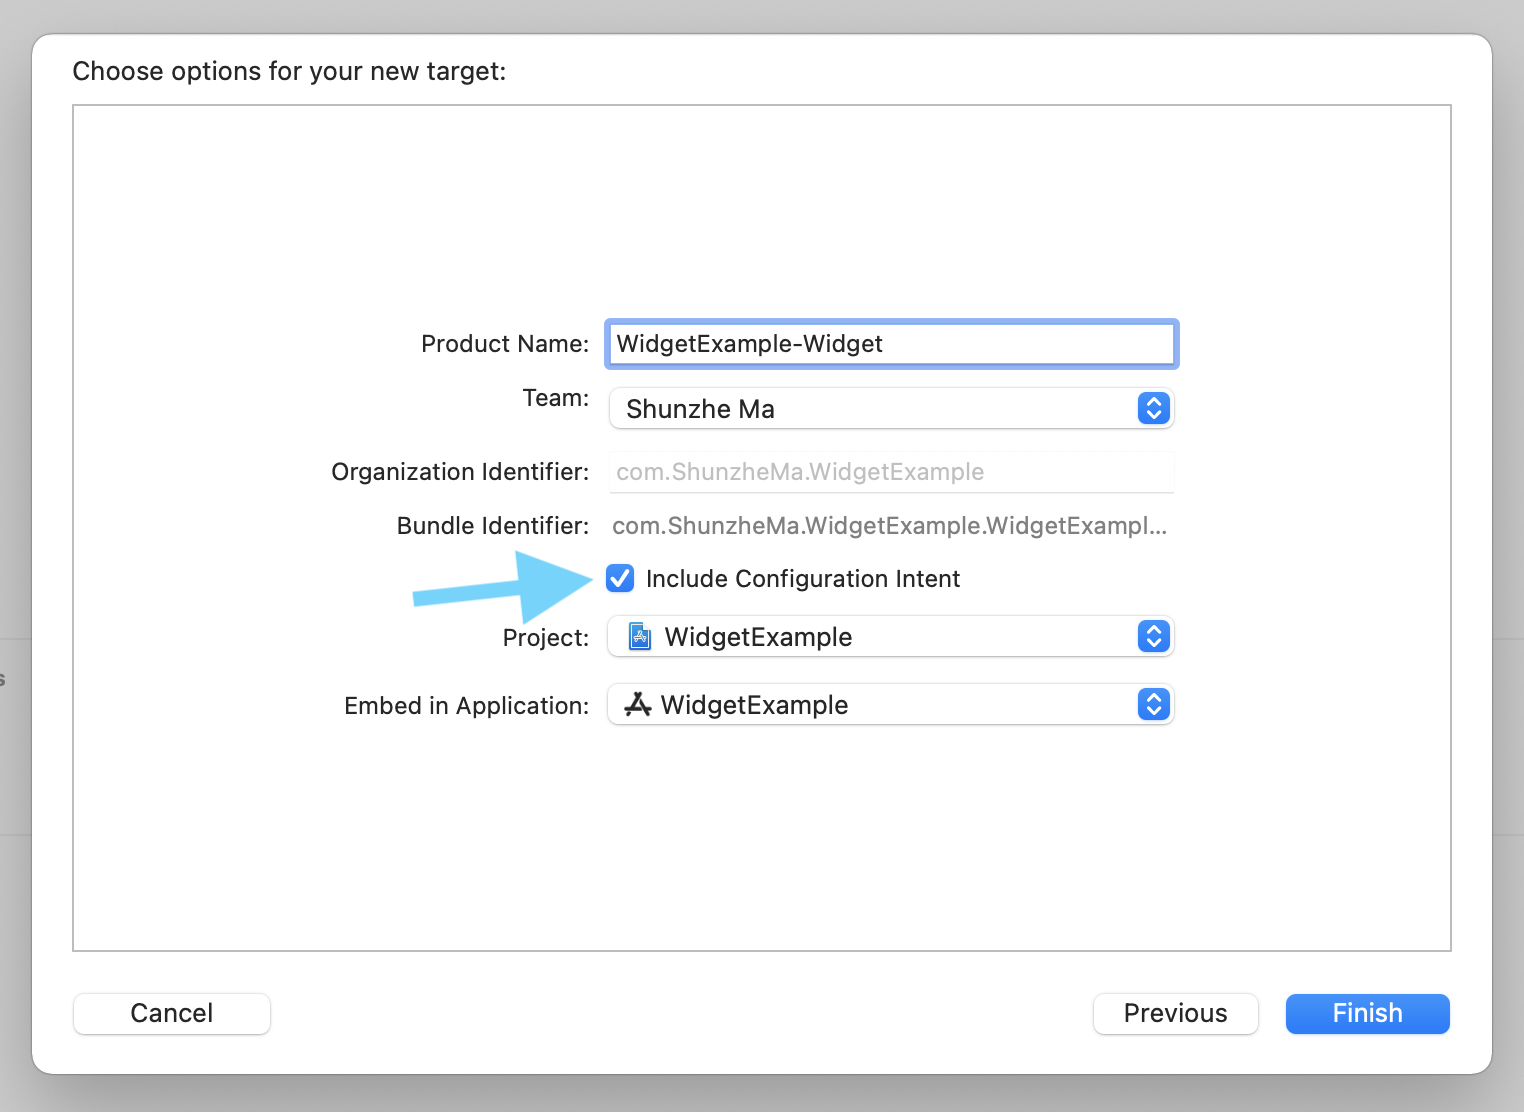
Start by adding a widget extension target to the existing app, then let Xcode generate the initial scaffold.
Once the new target exists, Xcode gives you a separate widget bundle, SwiftUI view, provider, and preview setup. That separation matters: the widget is its own extension with its own lifecycle and data-loading rules.
The article then replaces the generated placeholder content with a custom data model. That is the right move: get the target working first, then swap in the real entry type and view layout.
The widget's data contract is the timeline entry. Everything the view needs should already be on that entry when WidgetKit renders it.
In this article, the entry holds a date, the cat name, and two timestamps. That keeps the SwiftUI view simple: no extra async fetch, no database logic in the body, just render the supplied entry.
struct CatEntry: TimelineEntry {
    var date: Date
    var name: String
    var lastFed: Date
    var lastPlayedWith: Date
}
The provider then implements the standard three responsibilities: a placeholder while loading, a snapshot for the widget gallery, and a timeline for real display on the home screen.
struct CatProviderStatic: TimelineProvider {
    typealias Entry = CatEntry

    func placeholder(in context: Context) -> CatEntry {
        CatEntry(date: Date(), name: "Sample Cat",
                 lastFed: Date(), lastPlayedWith: Date())
    }

    func getSnapshot(in context: Context,
                     completion: @escaping (CatEntry) -> Void) {
        let entry = CatEntry(date: Date(), name: "Sample Cat",
                             lastFed: Date(), lastPlayedWith: Date())
        completion(entry)
    }

    func getTimeline(in context: Context,
                     completion: @escaping (Timeline<CatEntry>) -> Void) {
        let entry = CatEntry(date: Date(), name: "Nekonohi",
                             lastFed: Date(), lastPlayedWith: Date())
        let timeline = Timeline(entries: [entry], policy: .atEnd)
        completion(timeline)
    }
}
One useful detail in this article is that timelines do not need to be one item long. You can preload multiple entries for future moments, and WidgetKit will advance through them as their dates arrive.
func getTimeline(in context: Context,
                 completion: @escaping (Timeline<CatEntry>) -> Void) {
    var timelineEntries = [CatEntry]()

    if let date1 = Calendar.current.date(byAdding: .hour, value: 1, to: Date()) {
        timelineEntries.append(
            CatEntry(date: date1, name: "Nekonohi",
                     lastFed: date1, lastPlayedWith: date1)
        )
    }

    if let date2 = Calendar.current.date(byAdding: .hour, value: 2, to: Date()) {
        timelineEntries.append(
            CatEntry(date: date2, name: "Nekonohi",
                     lastFed: date2, lastPlayedWith: date2)
        )
    }

    let timeline = Timeline(entries: timelineEntries, policy: .atEnd)
    completion(timeline)
}
The article also notes that real data can come from shared persistence such as Core Data, CloudKit, UserDefaults, or an on-disk file the extension can read.
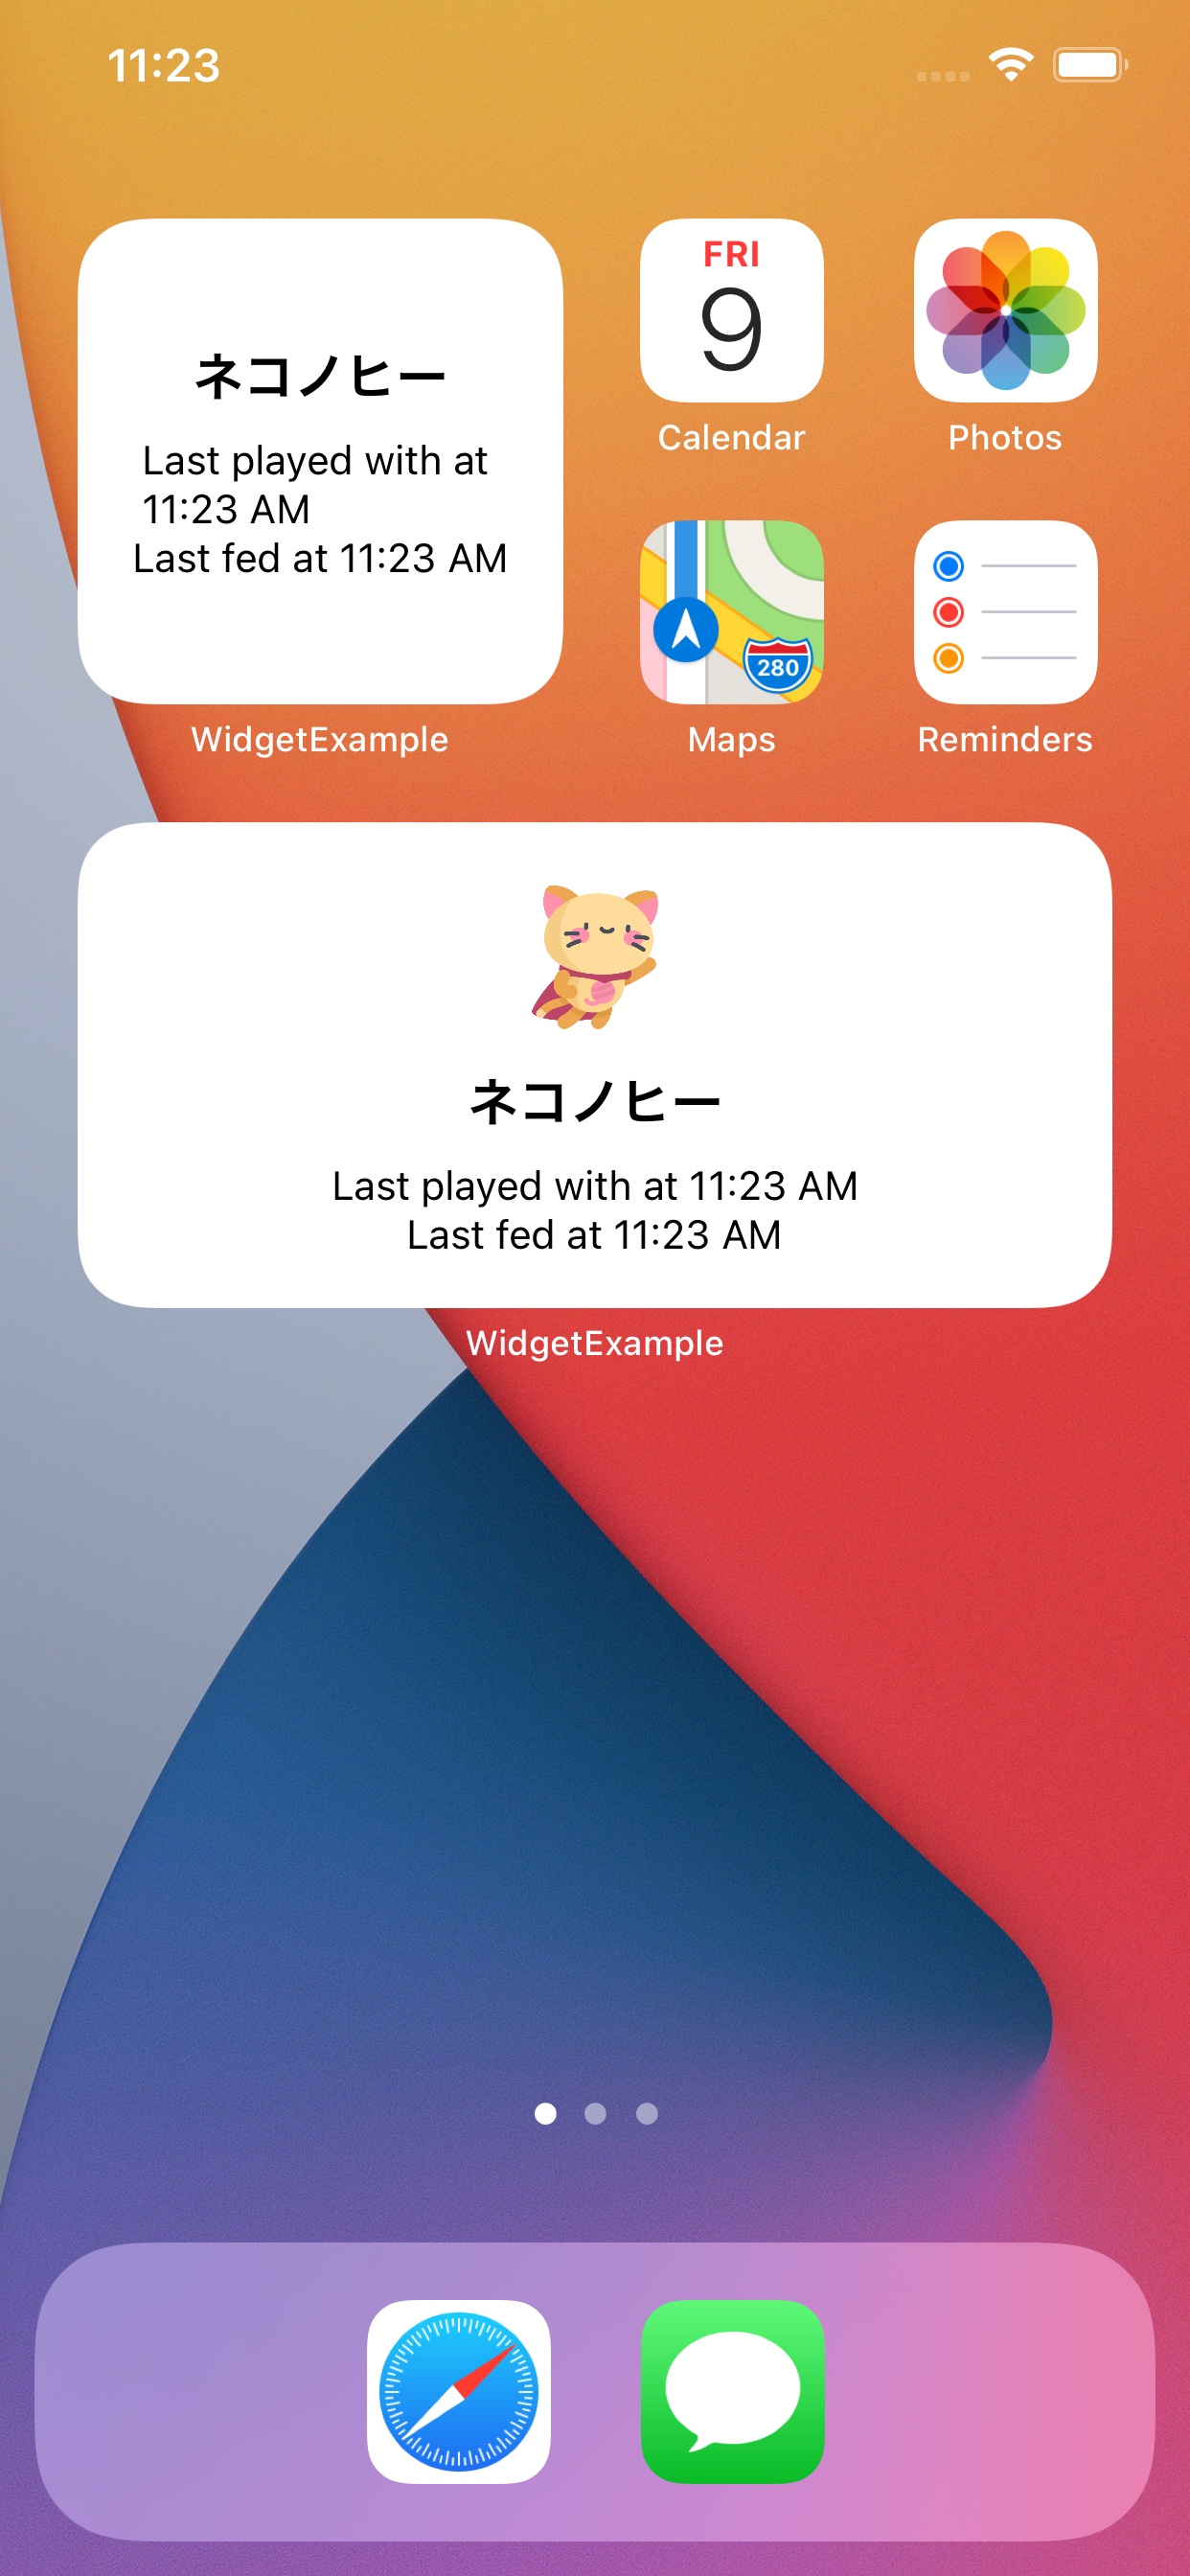
The widget SwiftUI view should stay compact and size-aware.
Widget views do not behave like full app screens. Space is limited, text should be short, and the layout should adapt to the current widget family instead of assuming a single size.
struct CatWidgetView: View {
    @Environment(\.widgetFamily) var family
    var entry: CatEntry

    var body: some View {
        VStack {
            Text(entry.name)

            if family == .systemMedium || family == .systemLarge {
                Image("kitty")
                    .resizable()
                    .frame(width: 50, height: 50)
                    .padding(.vertical, 5)
            }

            Text("Last played: " + entry.lastPlayedWith.formatted())
            Text("Last fed: " + entry.lastFed.formatted())
        }
    }
}
That @Environment(\.widgetFamily) check is the key design lesson here. The widget should decide what
to keep or drop as the available space changes rather than trying to force one exact layout onto every size.
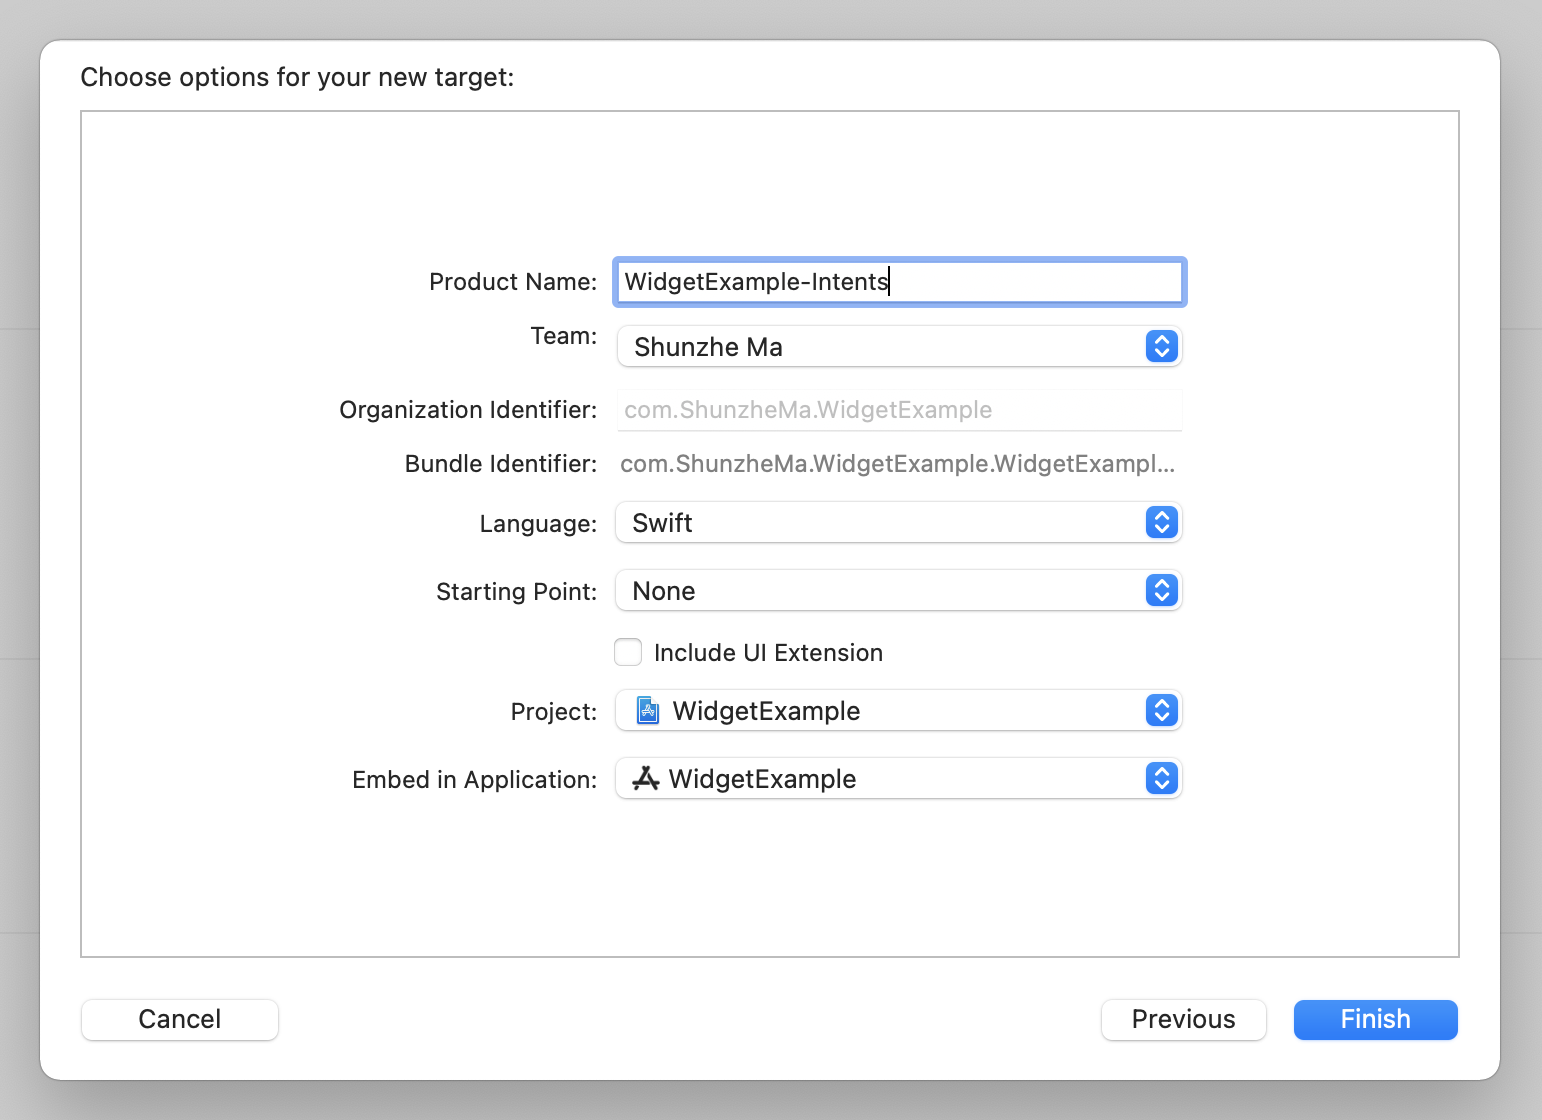
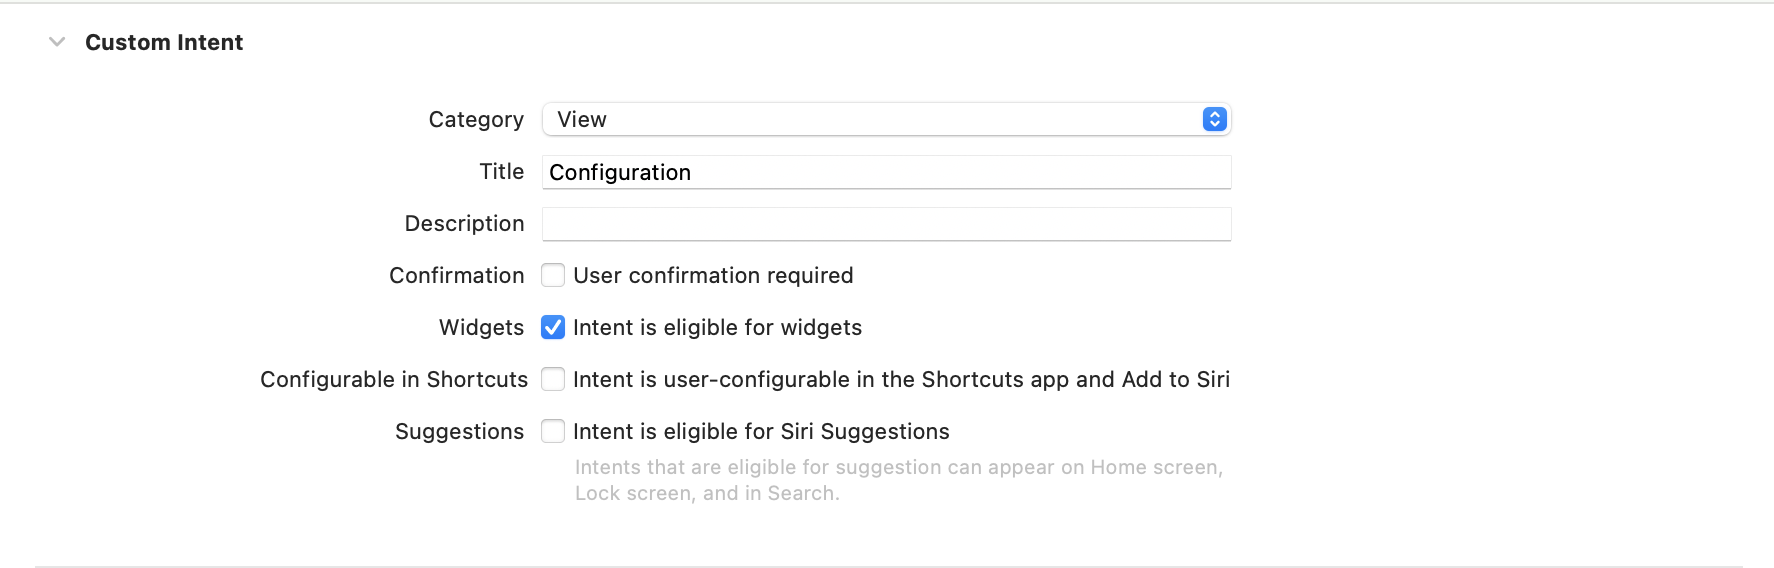
To let the user choose what the widget shows, the iOS 14 approach adds a separate Intents extension.
This is how weather-style widget configuration worked in the first WidgetKit generation. Instead of hardcoding one cat, city, list, or project, the widget asks an intent-backed extension for the set of options the user can pick.

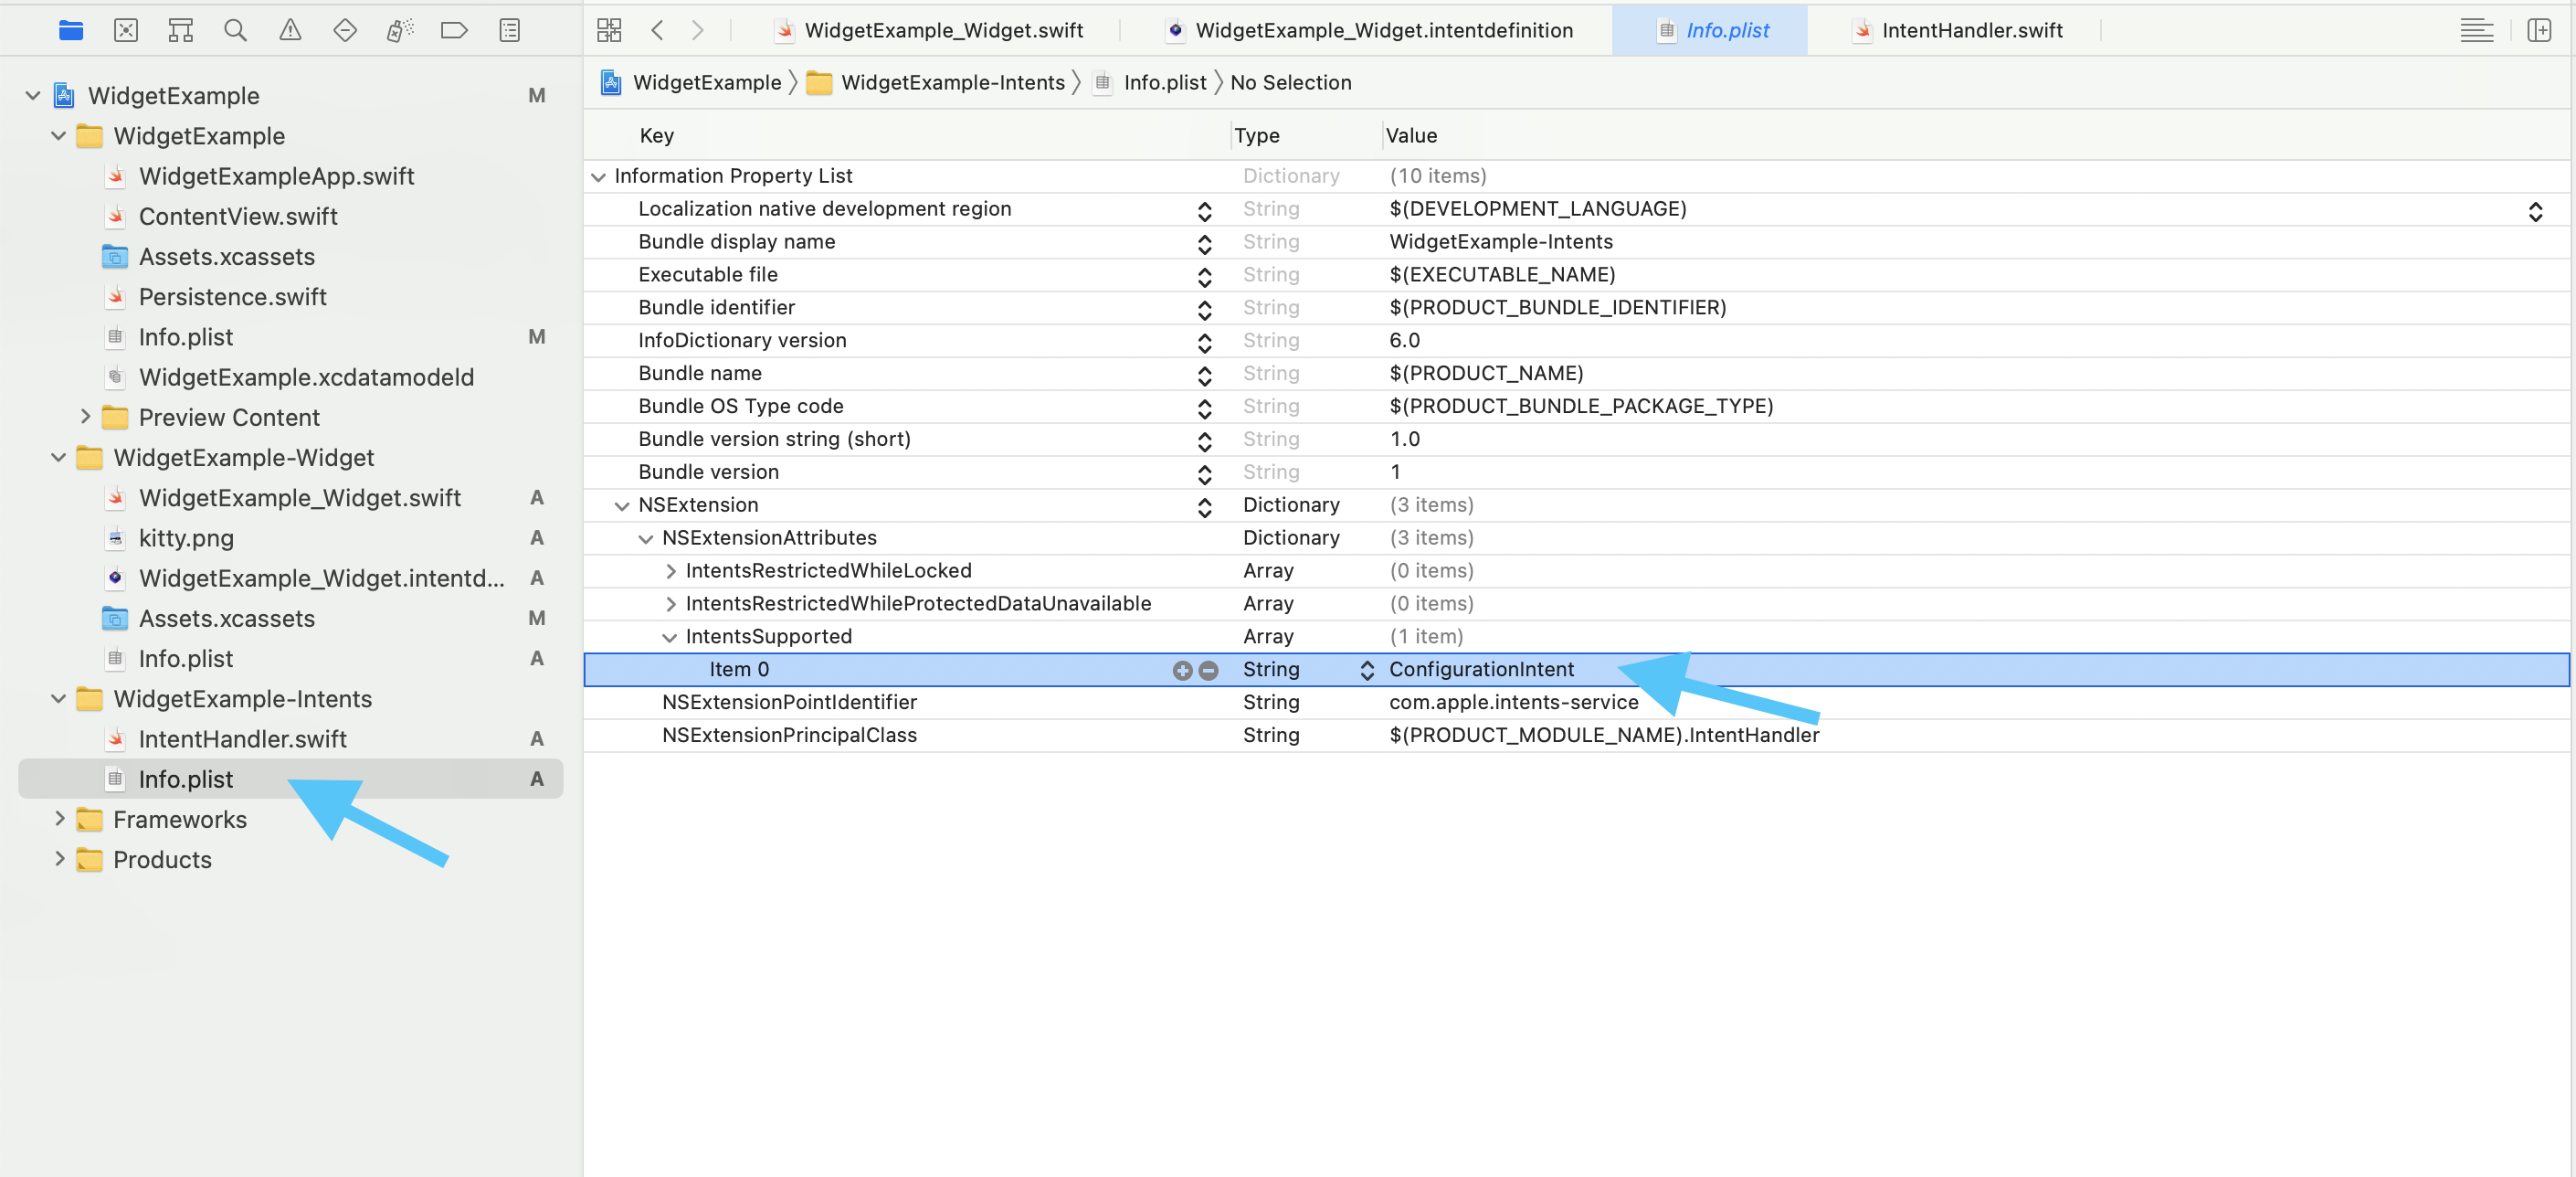
ConfigurationIntent for the widget setup flow.The intent definition is where the widget's configurable input becomes real.
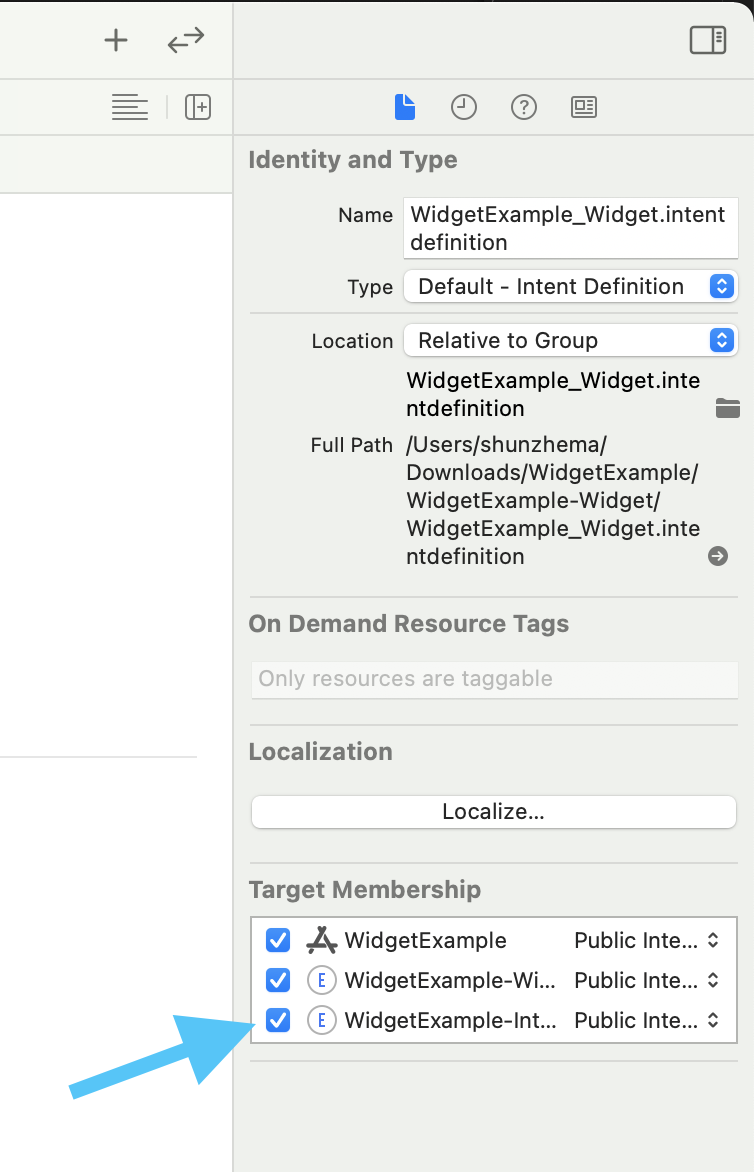
After the Intents target exists, the widget's .intentdefinition file needs to point at that target.
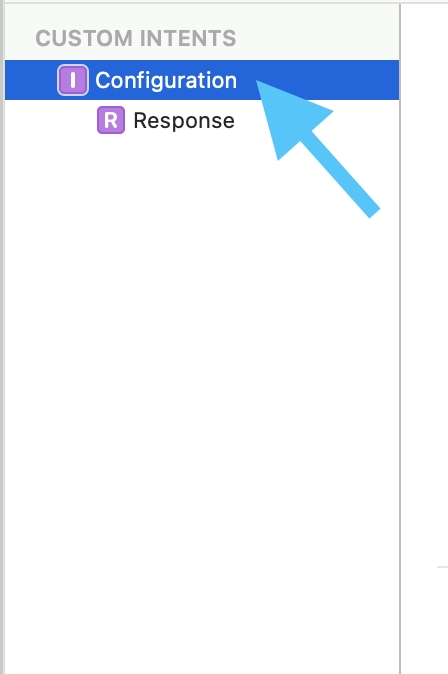
Then you define the configuration object itself and the parameters it should expose to the user.
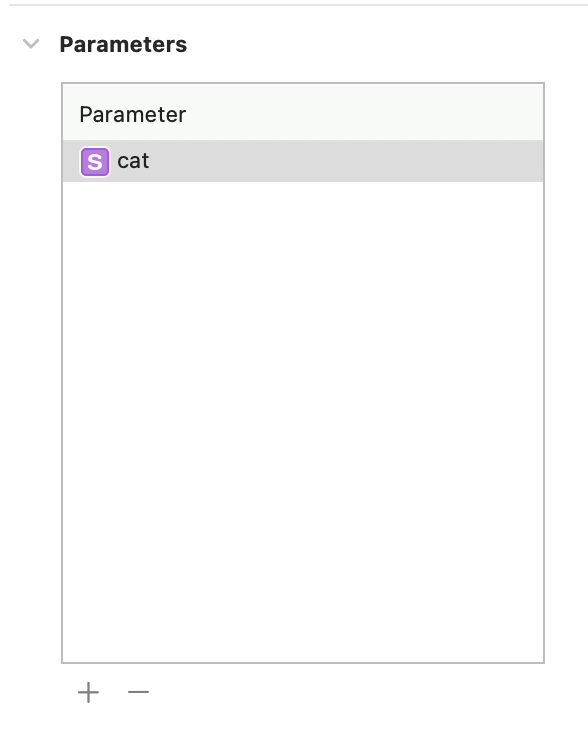
cat so the widget can receive the chosen item.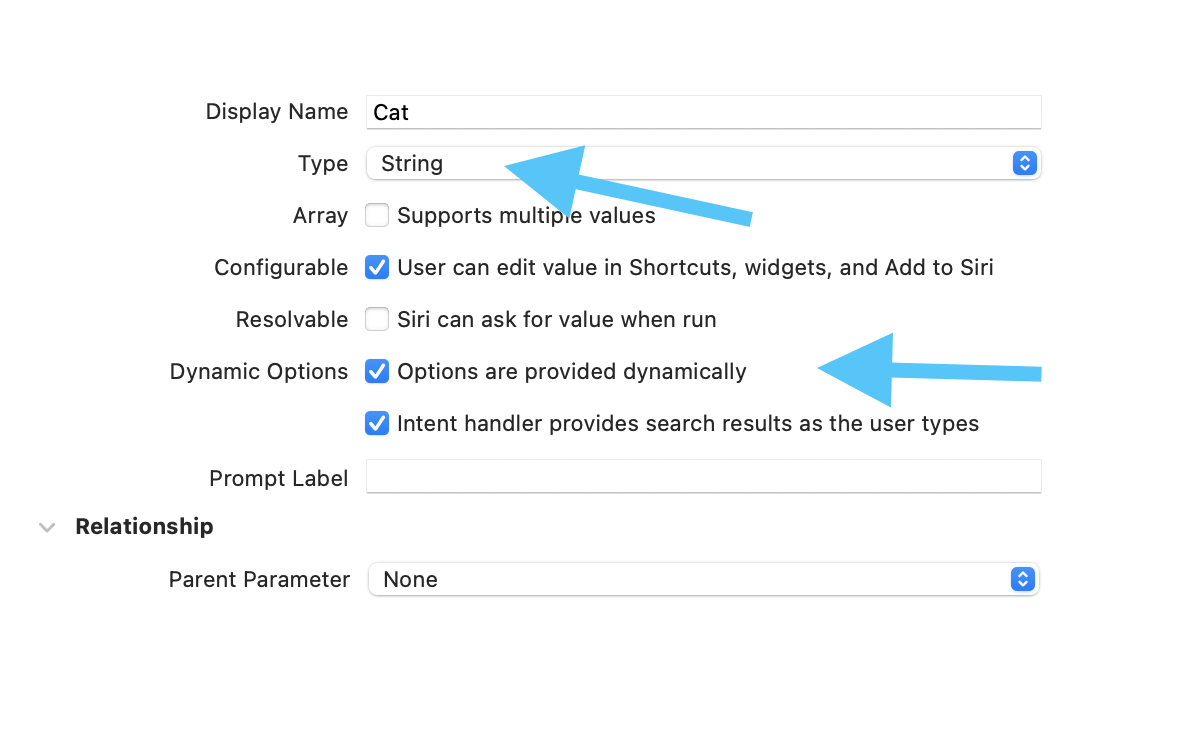
String.Once the definition exists, the widget needs two code changes: supply choices through IntentHandler, then swap the widget from StaticConfiguration to IntentConfiguration.
The handler is responsible for returning the allowed options the configuration UI should show. In the example, those options are just cat identifiers.
class IntentHandler: INExtension, ConfigurationIntentHandling {
    func provideCatOptionsCollection(
        for intent: ConfigurationIntent,
        searchTerm: String?,
        with completion: @escaping (INObjectCollection<NSString>?, Error?) -> Void
    ) {
        let items: [NSString] = ["Nekonohi", "Mike", "Mofu"]
        completion(INObjectCollection(items: items), nil)
    }
}
The provider also changes at this stage. Instead of ignoring configuration, it receives a
ConfigurationIntent and reads the user's choice from configuration.cat.
func getTimeline(for configuration: ConfigurationIntent,
                 in context: Context,
                 completion: @escaping (Timeline<CatEntry>) -> Void) {
    let entry = CatEntry(date: Date(),
                         name: configuration.cat ?? "",
                         lastFed: Date(),
                         lastPlayedWith: Date())
    let timeline = Timeline(entries: [entry], policy: .atEnd)
    completion(timeline)
}
Finally, the widget bundle itself switches from a static configuration to an intent-backed one.
@main
struct CatWidget: Widget {
var body: some WidgetConfiguration {
IntentConfiguration(kind: "CatWidget",
intent: ConfigurationIntent.self,
provider: CatProvider()) { entry in
CatWidgetView(entry: entry)
}
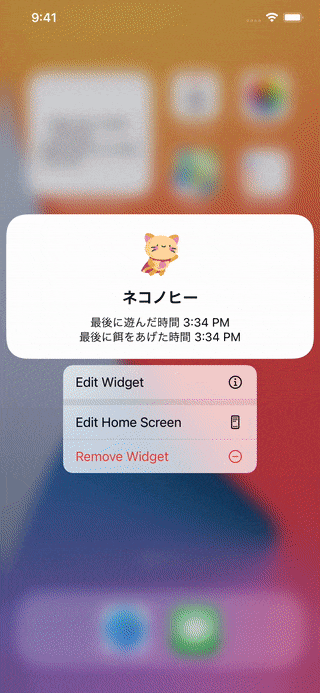
.configurationDisplayName("Cat")
.description("See when this cat was last fed or played with.")
}
}
When the host app changes the underlying data, it can ask WidgetKit to refresh the widget timelines.
This matters for real apps. If the widget shows task counts, package states, note summaries, or anything else updated by the main app, the extension should not wait passively for the next scheduled timeline boundary.
import WidgetKit

WidgetCenter.shared.reloadAllTimelines()
This article calls out a simple example: if a to-do app's widget shows the number of remaining items, the main app can trigger a reload immediately after an item is completed or created.
The useful takeaway is the shape of the system: extension target, entry model, provider, SwiftUI view, optional intent configuration, then explicit reloads when your source data changes.
Even though WidgetKit has evolved since iOS 14, this article still explains the original architecture clearly. If you are maintaining an older widget target or trying to understand how configurable widgets were first built, this is still a solid reference path.