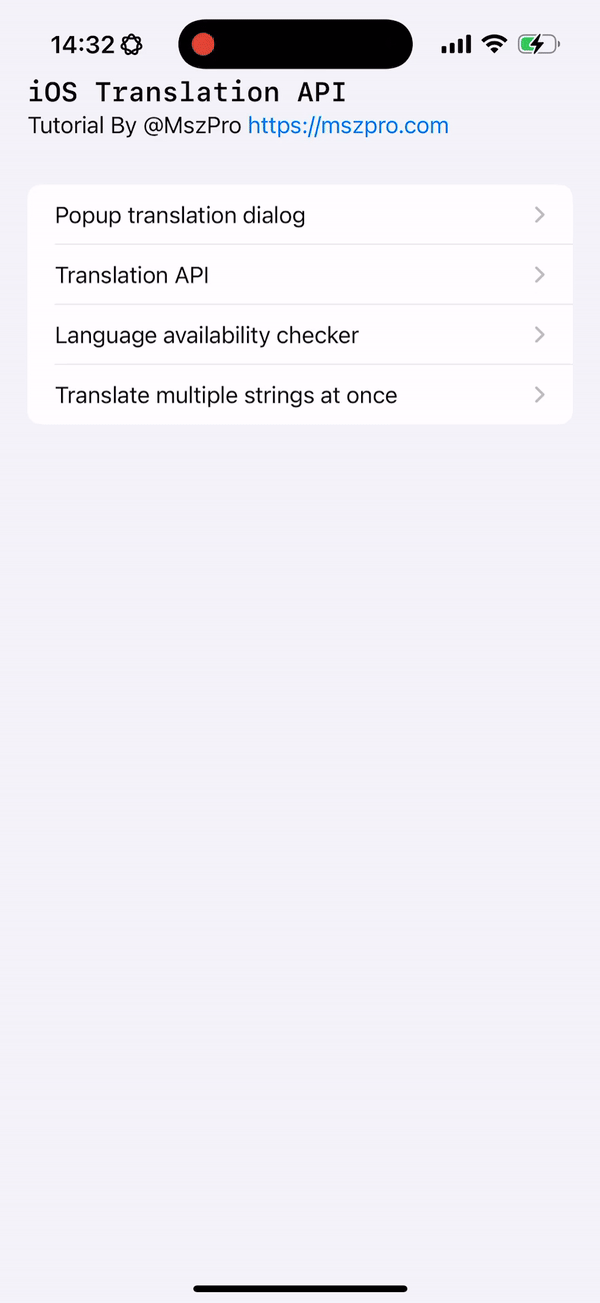
Apple already had Translate. iOS 18 is what makes it reusable inside your app.
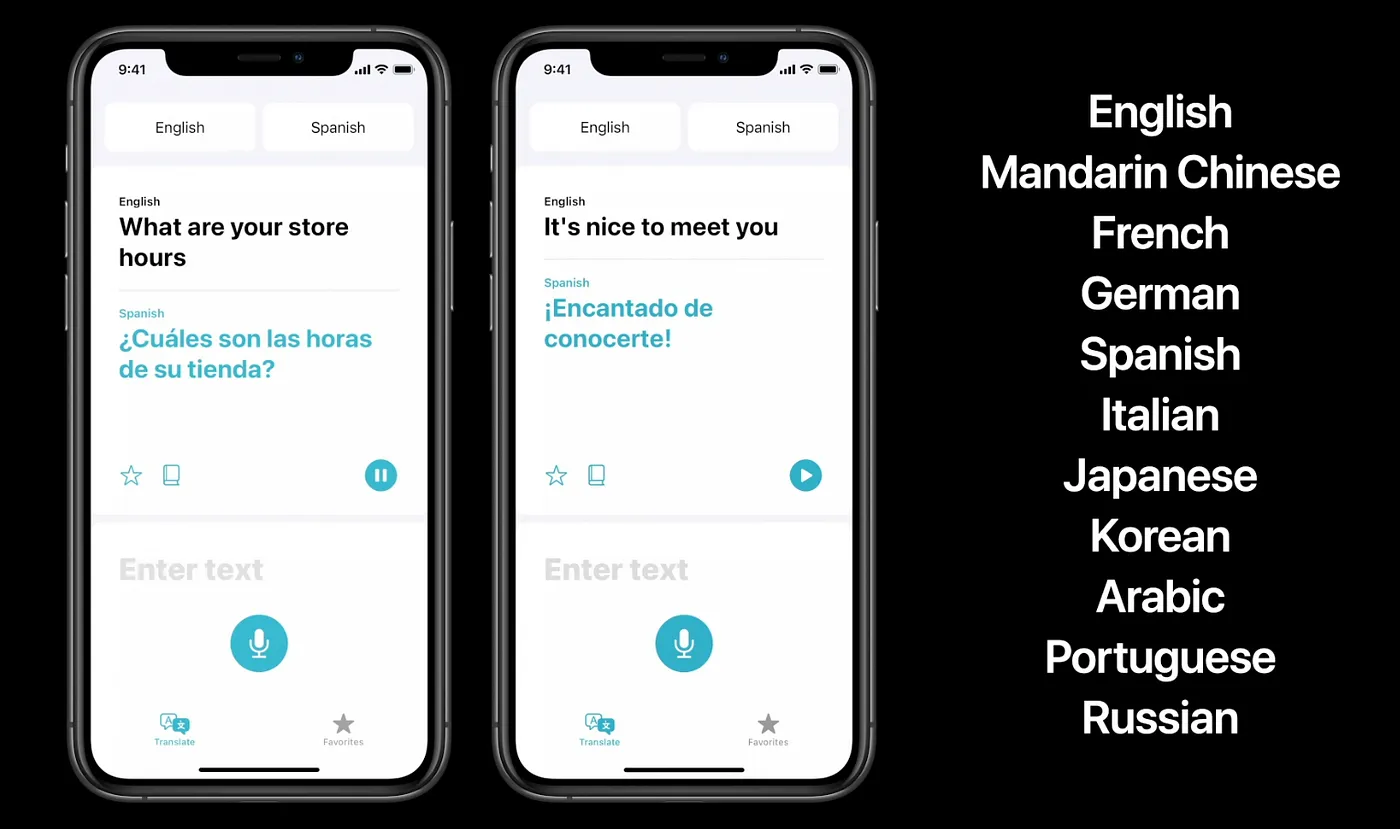
Since iOS 14, Apple has shipped a dedicated Translate app with downloadable on-device language models. Starting in iOS 18, app developers can tap into that same system capability instead of wiring every translation workflow to a third-party service.
That opens a practical path for multilingual content apps, social clients, note tools, and readers: use Apple's built-in sheet when you want the fastest integration, or work directly with translation sessions when you need the result in your own UI.
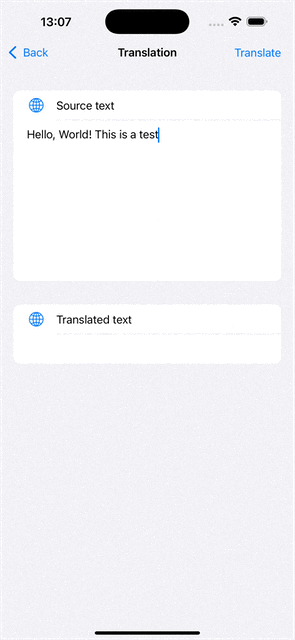
SwiftUI can present Apple's translation sheet with almost no custom UI work.
Start by conditionally importing Translation. Then keep a simple boolean state that controls when the translation sheet appears.
This is a clean fit when you want Apple's source-language detection and destination-language controls instead of building your own picker flow.
#if canImport(Translation)
import Translation
#endif

@State private var isTranslationShown: Bool = false

Form {
    // ...
}
#if canImport(Translation)
.translationPresentation(isPresented: $isTranslationShown,
                         text: self.sourceText)
#endif
The rest of the view can stay ordinary SwiftUI. A toolbar button flips the state to true, and the system translation popup takes over from there.
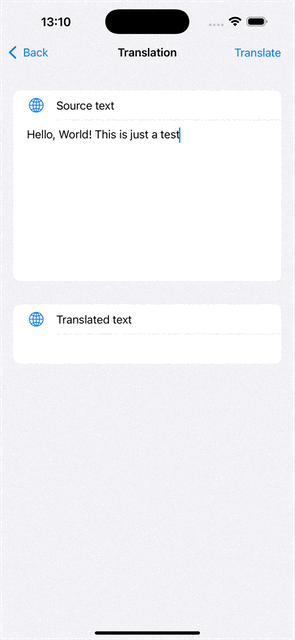
You can still keep the built-in sheet and capture the translated text back into your own state.
The built-in presentation API also accepts a closure. That lets the user work through Apple's translation UI, then hand the translated string back to your app for display, saving, or further processing.
@State private var sourceText = "Hello, World!"
@State private var targetText = ""
@State private var isTranslationShown: Bool = false

.translationPresentation(isPresented: $isTranslationShown,
                         text: self.sourceText) { newString in
    self.targetText = newString
}
This is a good middle ground: you do not need to build a full translation workflow yourself, but you still get app-owned output instead of a throwaway system modal result.
Check a language pair before you try to translate anything.
Apple exposes LanguageAvailability so you can ask whether a source and target language pair is already installed,
supported but not downloaded yet, or unsupported altogether.
func checkSpecificLanguagePairs() async {
    let availability = LanguageAvailability()

    let english = Locale.Language(identifier: "en")
    let japanese = Locale.Language(identifier: "ja")
    let status = await availability.status(from: english, to: japanese)

    switch status {
    case .installed:
        print("Ready to use now.")
    case .supported:
        print("Supported, but a model download is still needed.")
    case .unsupported:
        print("This language pair is not supported.")
    @unknown default:
        print("Unknown status")
    }
}
In practical UI terms, .installed means translate immediately, .supported means offer a download flow,
and .unsupported means hide or disable the feature for that pair.
Use NaturalLanguage when you want to guess the input language before translating.
This part is optional, but useful. If the user can paste or load arbitrary text, you can run it through
NLLanguageRecognizer first and use that signal to prefill the translation session or explain what the app detected.
import NaturalLanguage

func detectLanguage(for string: String) -> String? {
    let recognizer = NLLanguageRecognizer()
    recognizer.processString(string)
    return recognizer.dominantLanguage?.rawValue
}
It is not a replacement for the translation APIs themselves. It is a useful side tool for making your own translation UI feel less blind.
When a pair is supported but not installed, ask the system to prepare the translation model.
The download trigger lives inside translationTask. Calling session.prepareTranslation() prompts the system to fetch the required on-device model when needed.
struct TranslationModelDownloader: View {
    var configuration: TranslationSession.Configuration {
        .init(
            source: .init(identifier: "en"),
            target: .init(identifier: "ja")
        )
    }

    var body: some View {
        Text("Download translation files")
            .translationTask(configuration) { session in
                do {
                    try await session.prepareTranslation()
                } catch {
                    print("Error downloading translation: \\(error)")
                }
            }
    }
}
Once the model is installed, the device can keep reusing it. That is the main payoff of the system approach: the translation path can stay local after the model is present.

When you want a fully custom UI, translate inside the session and keep the result yourself.
The article's custom example loads text, stores a nullable translation configuration, then runs the translation in a
translationTask. This is the direction to take when the built-in sheet is not enough.
@State private var textToTranslate: String?
@State private var translationConfiguration: TranslationSession.Configuration?
@State private var translationResult: String?

.translationTask(translationConfiguration) { session in
    do {
        guard let textToTranslate else { return }
        let response = try await session.translate(textToTranslate)
        self.translationResult = response.targetText
    } catch {
        print("Error: \\(error)")
    }
}
.task {
    let (data, _) = try await URLSession.shared.data(
        from: URL(string: "https://raw.githubusercontent.com/swiftlang/swift/refs/heads/main/.github/ISSUE_TEMPLATE/task.yml")!
    )
    self.textToTranslate = String(data: data, encoding: .utf8)
    self.translationConfiguration = .init(target: .init(identifier: "ja"))
}
That pattern works well for imported files, fetched articles, chat messages, or any text pipeline where translation is one step in a larger app-owned workflow.
If you still support iOS 17, wrap the translation modifier instead of forking every screen.
translationTask only exists on iOS 18 and later. One practical way to keep the rest of the view code readable is to centralize the availability check inside a small compatible wrapper.
@ViewBuilder
public func translationTaskCompatible(
    shouldRun: Bool,
    textToTranslate: String,
    targetLanguage: Locale.Language = Locale.current.language,
    action: @escaping (_ detectedSourceLanguage: String, _ translationResult: String) -> Void
) -> some View {
    if shouldRun, #available(iOS 18.0, *) {
        self.translationTask(.init(target: targetLanguage), action: { session in
            do {
                let response = try await session.translate(textToTranslate)
                action(response.sourceLanguage.minimalIdentifier, response.targetText)
            } catch {
                print("Translation failed: \\(error.localizedDescription)")
            }
        })
    } else {
        self
    }
}
That way, iOS 18 devices take the system path, while older versions can fall back to an online service, a disabled button, or nothing at all.
You can translate many independent strings in one session and match them back by identifier.
For feeds, chat timelines, lists of notes, or imported subtitle segments, translating one item at a time is clumsy. The batch API takes a list of requests and streams the results back as they complete.
let allRequests = textsToTranslate.map {
    TranslationSession.Request(
        sourceText: $0.originalText,
        clientIdentifier: $0.id
    )
}

for try await response in session.translate(batch: allRequests) {
    if let i = self.textsToTranslate.firstIndex(where: { $0.id == response.clientIdentifier }) {
        var entry = self.textsToTranslate[i]
        entry.translatedText = response.targetText
        self.textsToTranslate.remove(at: i)
        self.textsToTranslate.insert(entry, at: i)
    }
}
The key design detail is the clientIdentifier. That gives you a stable way to map each translated response back onto the original row in your own model.
UIKit apps can still use the Translation APIs by embedding a small SwiftUI bridge view.
The practical constraint here is that the Translation APIs still want a SwiftUI trigger. The workaround is straightforward:
host a tiny SwiftUI view inside UIKit with UIHostingController and run .translationPresentation or .translationTask there.
struct EmbeddedTranslationView: View {
    var sourceText: String
    @State private var isTranslationShown: Bool = false

    var body: some View {
        VStack {
#if canImport(Translation)
            Button("Translate") {
                self.isTranslationShown = true
            }
            .translationPresentation(isPresented: $isTranslationShown,
                                     text: self.sourceText)
#else
            Text("Translation feature not available.")
#endif
        }
    }
}

class ViewController: UIViewController {
    override func viewDidLoad() {
        super.viewDidLoad()

        let embeddedSwiftUIView = EmbeddedTranslationView(
            sourceText: "Hello world! This is a test."
        )
        let hostingController = UIHostingController(rootView: embeddedSwiftUIView)

        addChild(hostingController)
        hostingController.view.translatesAutoresizingMaskIntoConstraints = false
        view.addSubview(hostingController.view)
        hostingController.didMove(toParent: self)
    }
}
That is enough to keep a UIKit codebase moving without rewriting the whole screen hierarchy just to access the new translation features.
The system sheet is the fastest path. Translation sessions are the scalable one.
The iOS 18 Translation framework is useful because it works at two levels. You can ship quickly with Apple's own translation UI, or step down into sessions when you need custom rendering, file flows, batch operations, or your own persistence layer.
This article also links the full sample code here: mszpro/iOS-System-Translation-Demo.