MapKit JS gives a static web page an Apple Maps view, but the setup starts in the Apple Developer portal rather than in HTML.
This article is deliberately simple: it explains how to get from zero to a visible Apple map on a plain web page. That means the real first steps are account configuration and token generation, not JavaScript.
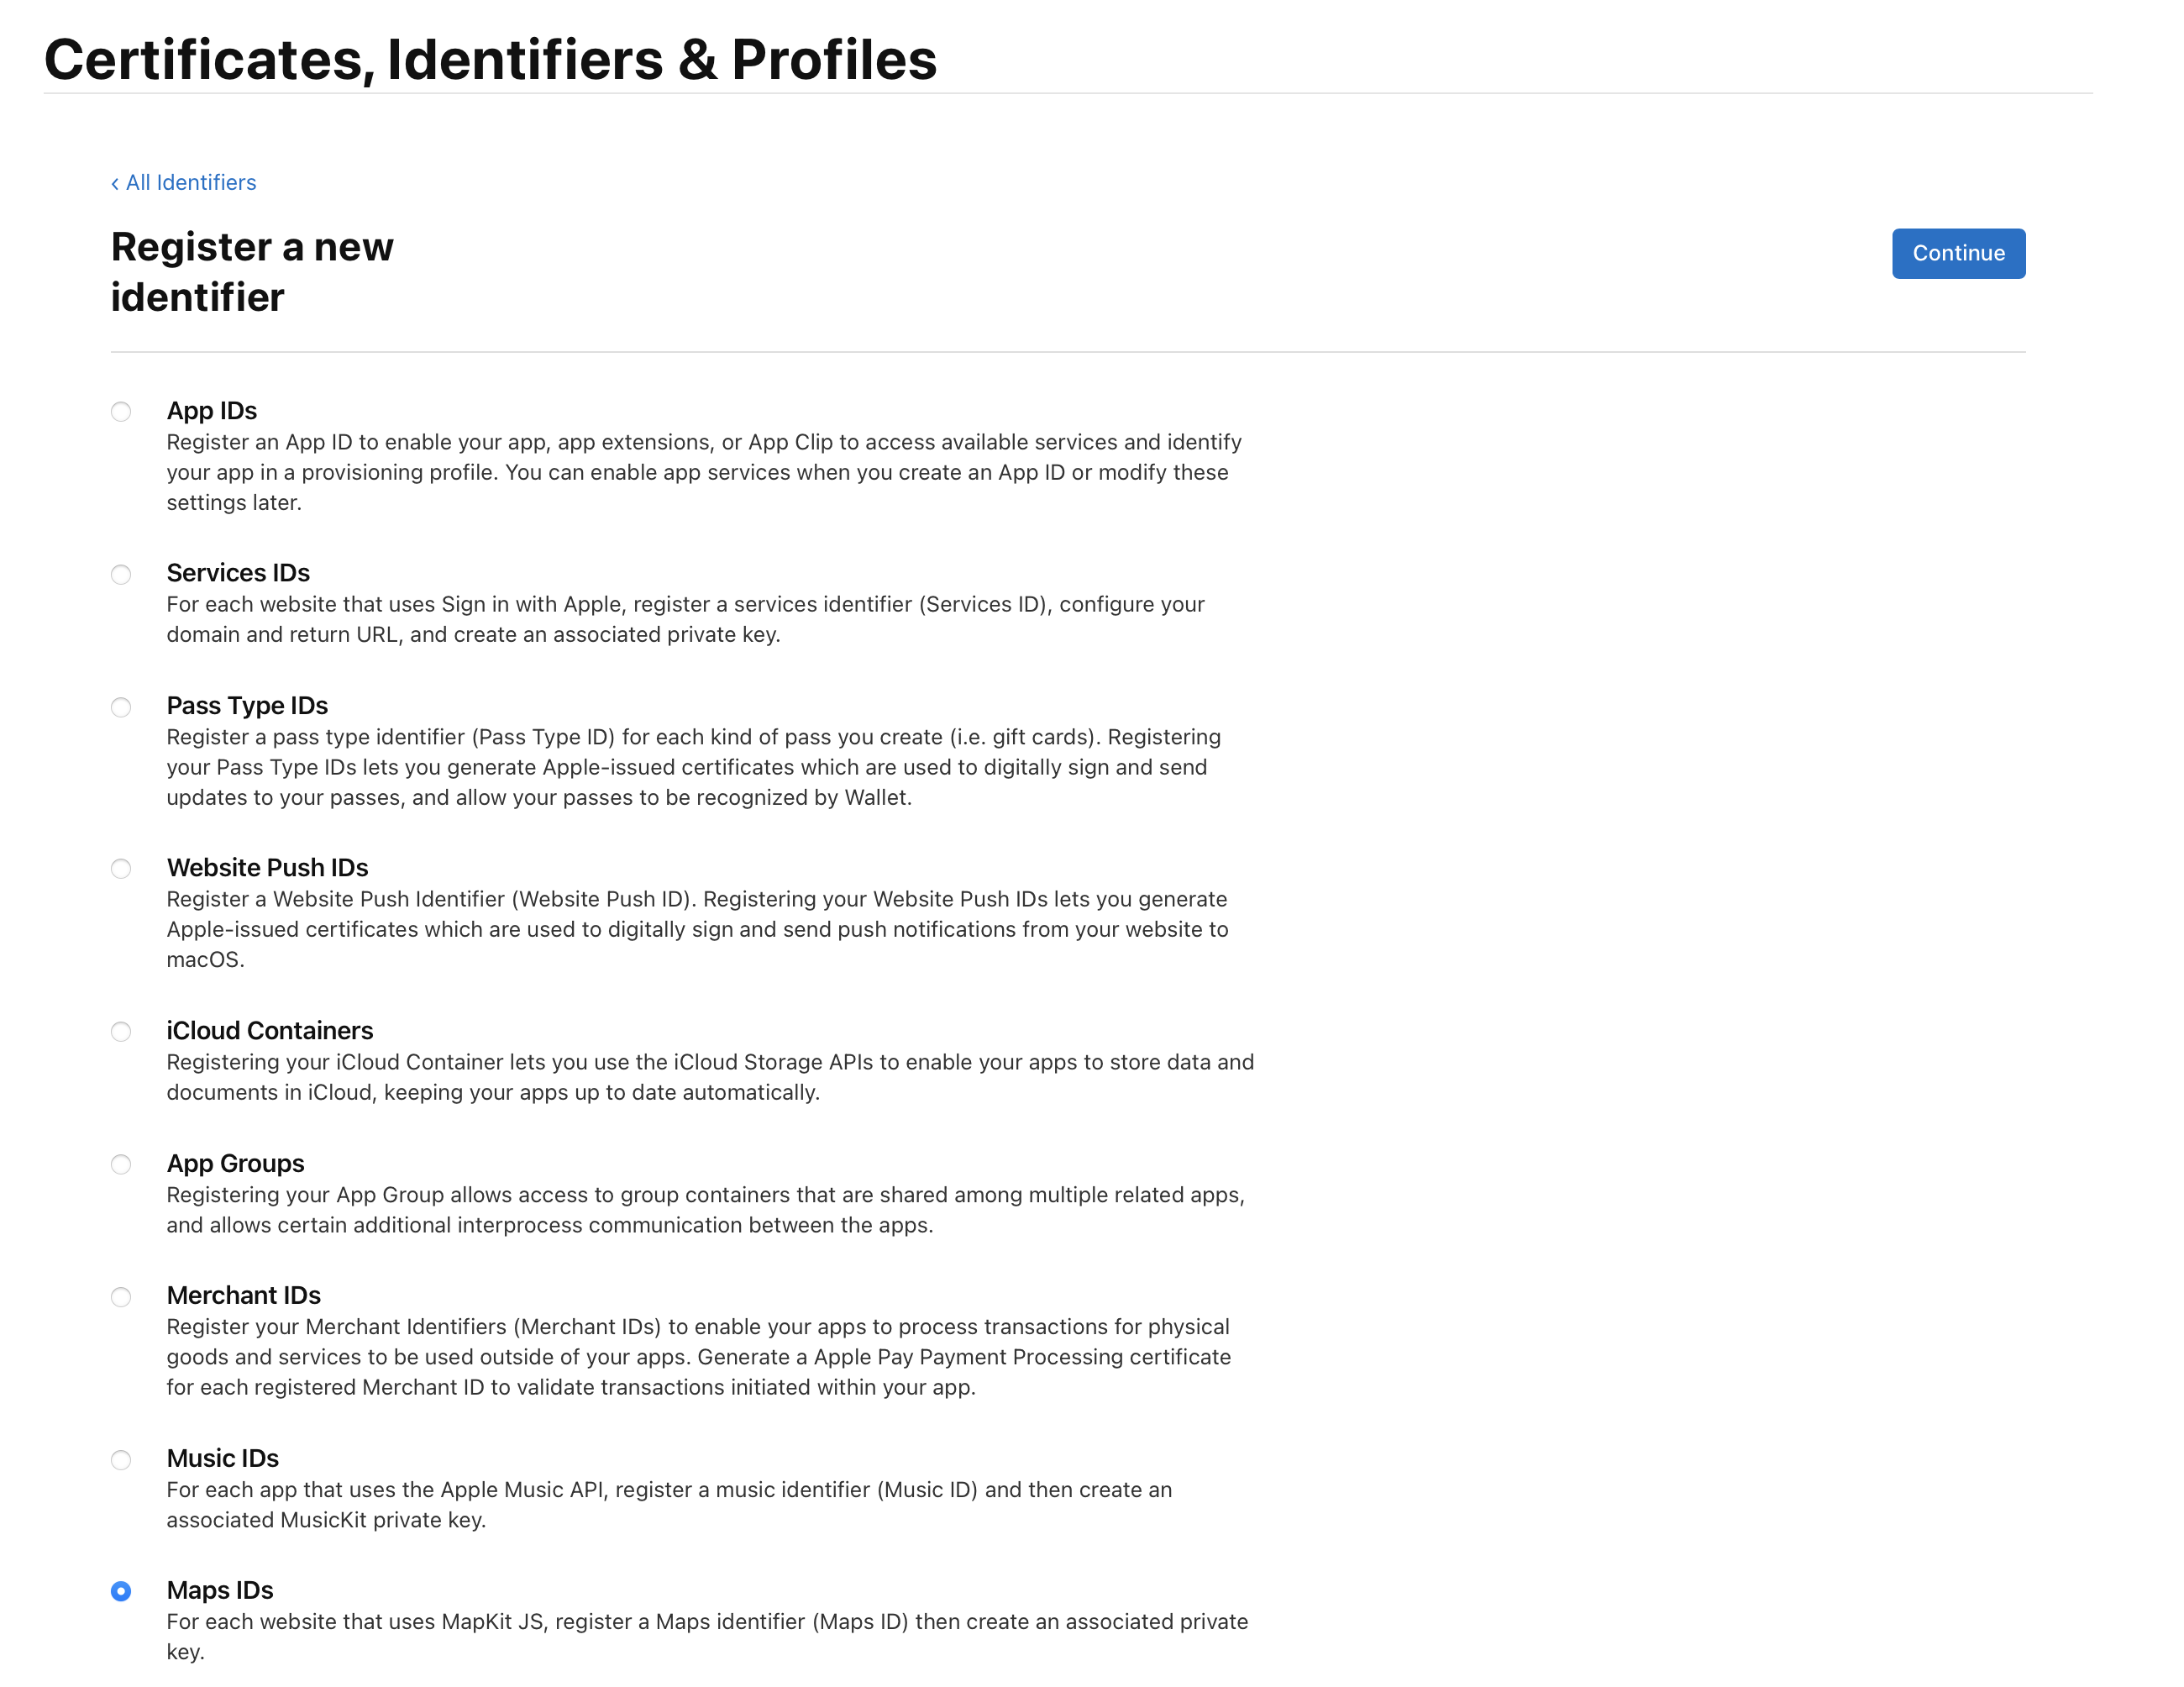
One requirement is explicit up front: you need an Apple Developer account before any of the MapKit JS provisioning screens are available.
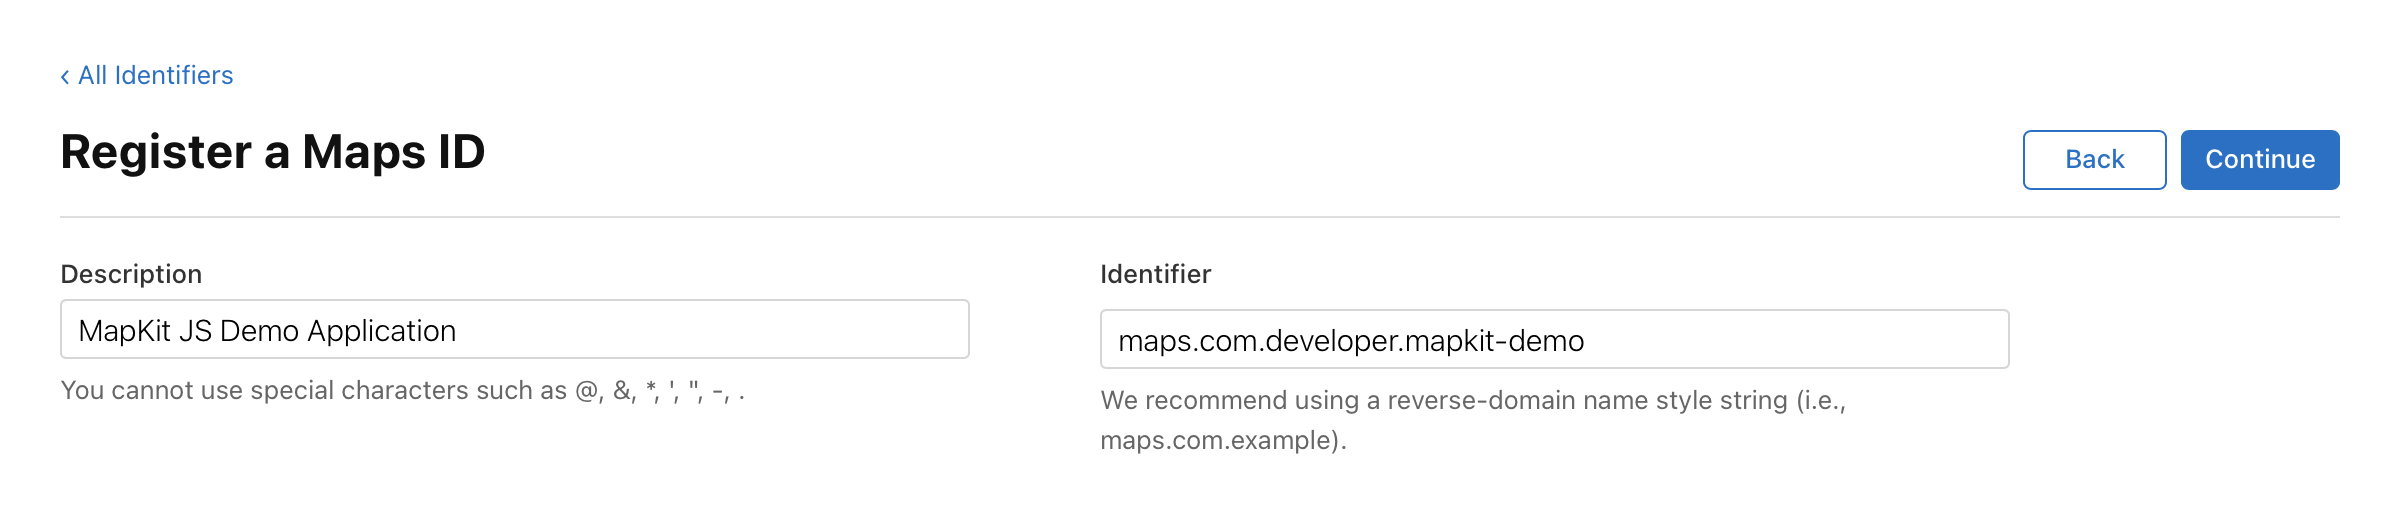
Create a Maps ID in the Apple Developer portal before you try to request a browser token.
The article treats a Maps ID the same way an app project treats its bundle-style identifier: it is the object that later gets tied
to the MapKit JS key. In the Apple Developer portal, create a new identifier and select the Maps IDs option.
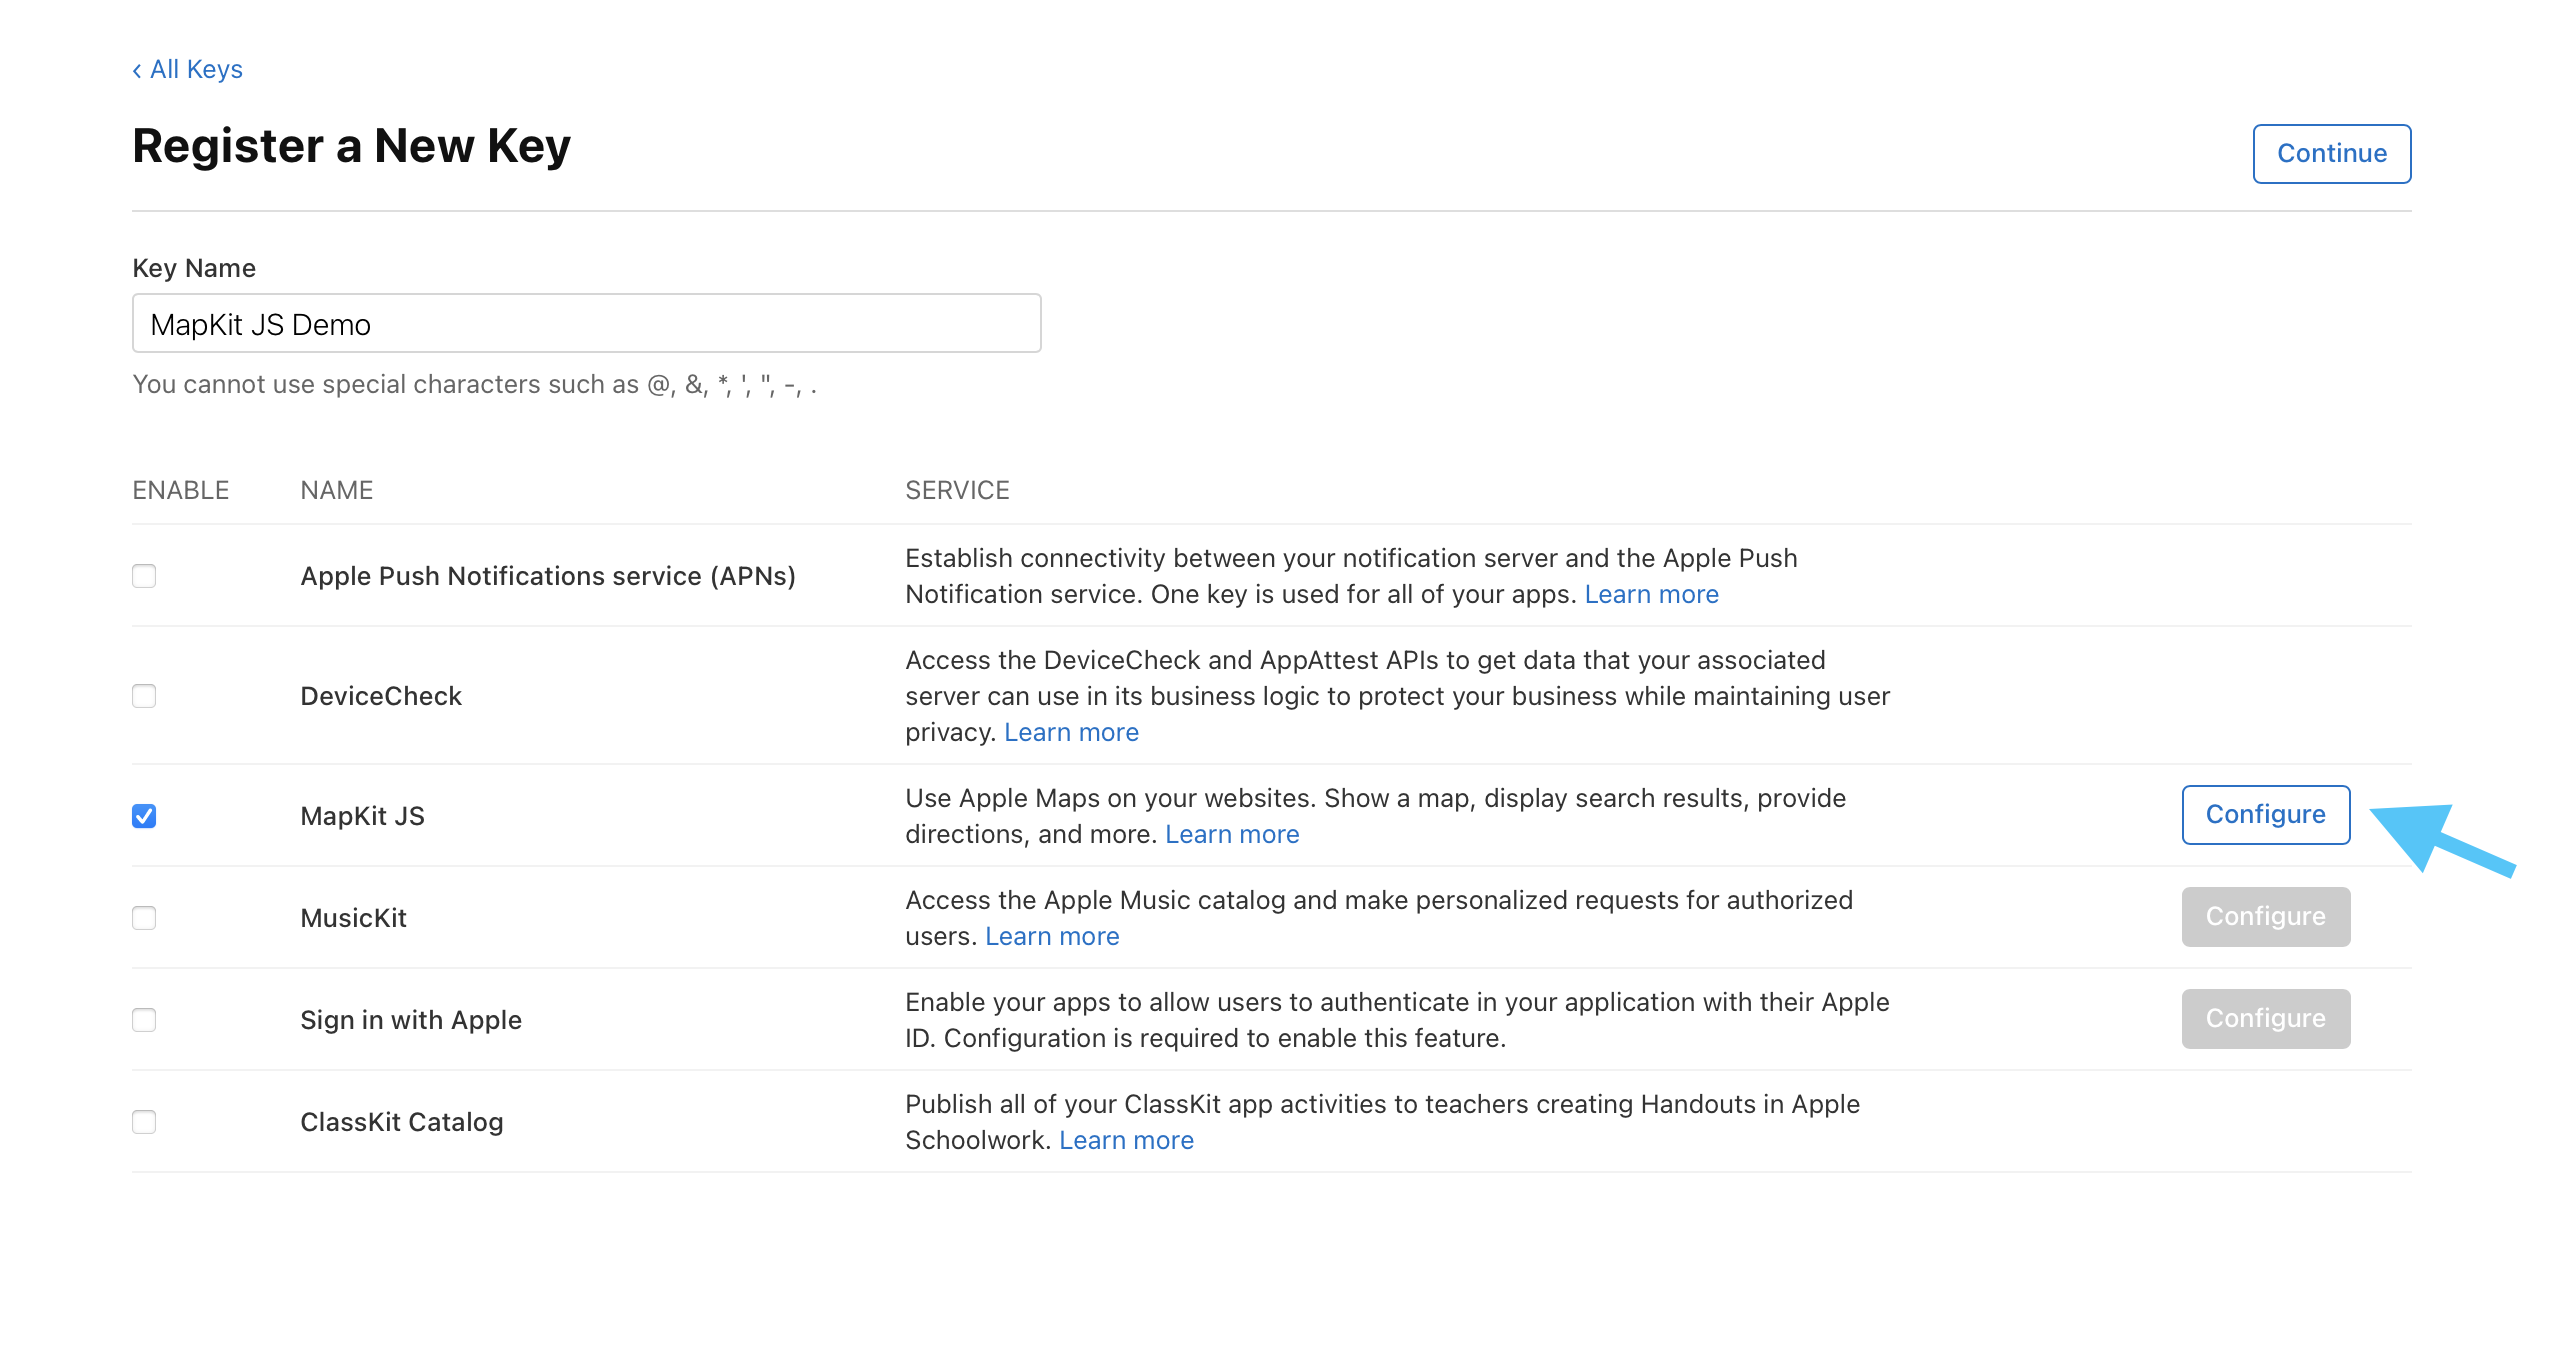
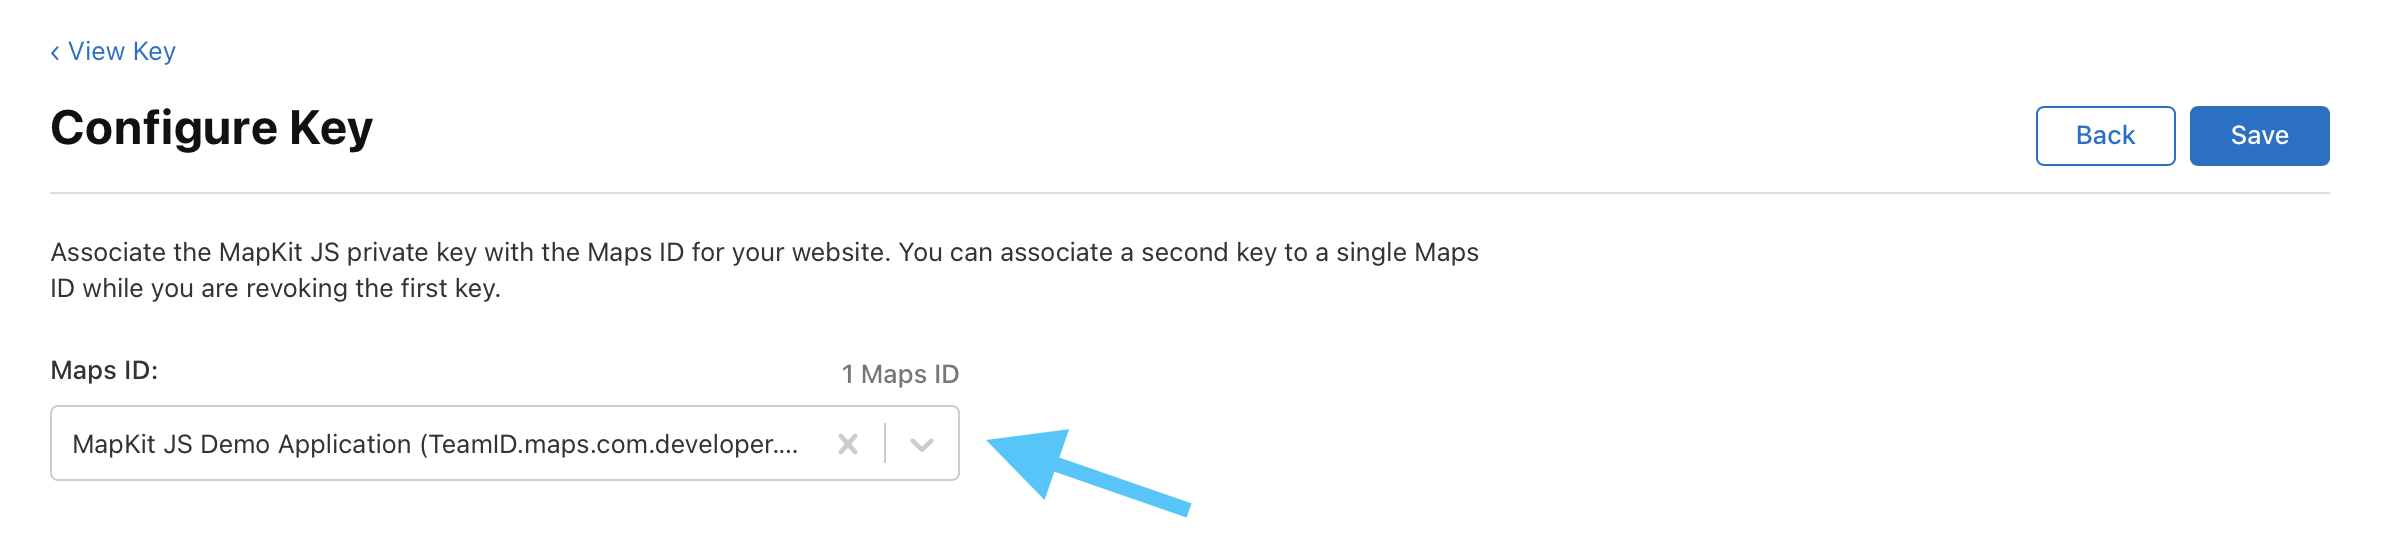
Create a key with the MapKit JS option enabled, then use Apple's token generator to produce the browser token.
After the Maps ID exists, the article moves to the Keys area in the Apple Developer portal. Create a new key,
enable the MapKit JS capability, and in the configuration screen choose the Maps ID you just created.
This article then uses Apple's token generator form. It calls out the fields you need to supply: the developer team ID, the MapKit JS key ID, the downloaded private key file, an expiration time, and optionally a domain restriction.
127.0.0.1.
Once all fields are filled, click Get Token and then open the MapKit JS Code tab to copy Apple's starter HTML.
The minimal HTML example is just the SDK script, a map container, mapkit.init(...), and a new mapkit.Map(...).
The article includes Apple's starter code almost verbatim. The one moving piece is the token string you generated in the previous step.
<!DOCTYPE html>
<html>
<head>
  <meta charset="utf-8">

  <script src="https://cdn.apple-mapkit.com/mk/5.x.x/mapkit.js"></script>

  <style>
    #map {
      width: 100%;
      height: 600px;
    }
  </style>
</head>

<body>
  <div id="map"></div>

  <script>
    const tokenID = "xxxxx";

    mapkit.init({
      authorizationCallback: function(done) {
        done(tokenID);
      }
    });

    var map = new mapkit.Map("map");
  </script>
</body>
</html>
That is enough to prove the token and SDK wiring work, but it still does not put useful content onto the map. The next step is to add annotation items.
After the map is visible, the first useful enhancement is to place annotation pins at known coordinates.
This article's next example shows a map with annotation items and points to a CodePen demo for the full code. A minimal version of that pattern looks like this:
const coordinate = new mapkit.Coordinate(35.681236, 139.767125);

const annotation = new mapkit.MarkerAnnotation(coordinate, {
  title: "Tokyo Station",
  subtitle: "Sample annotation",
  color: "#1f7aff"
});

map.showItems([annotation]);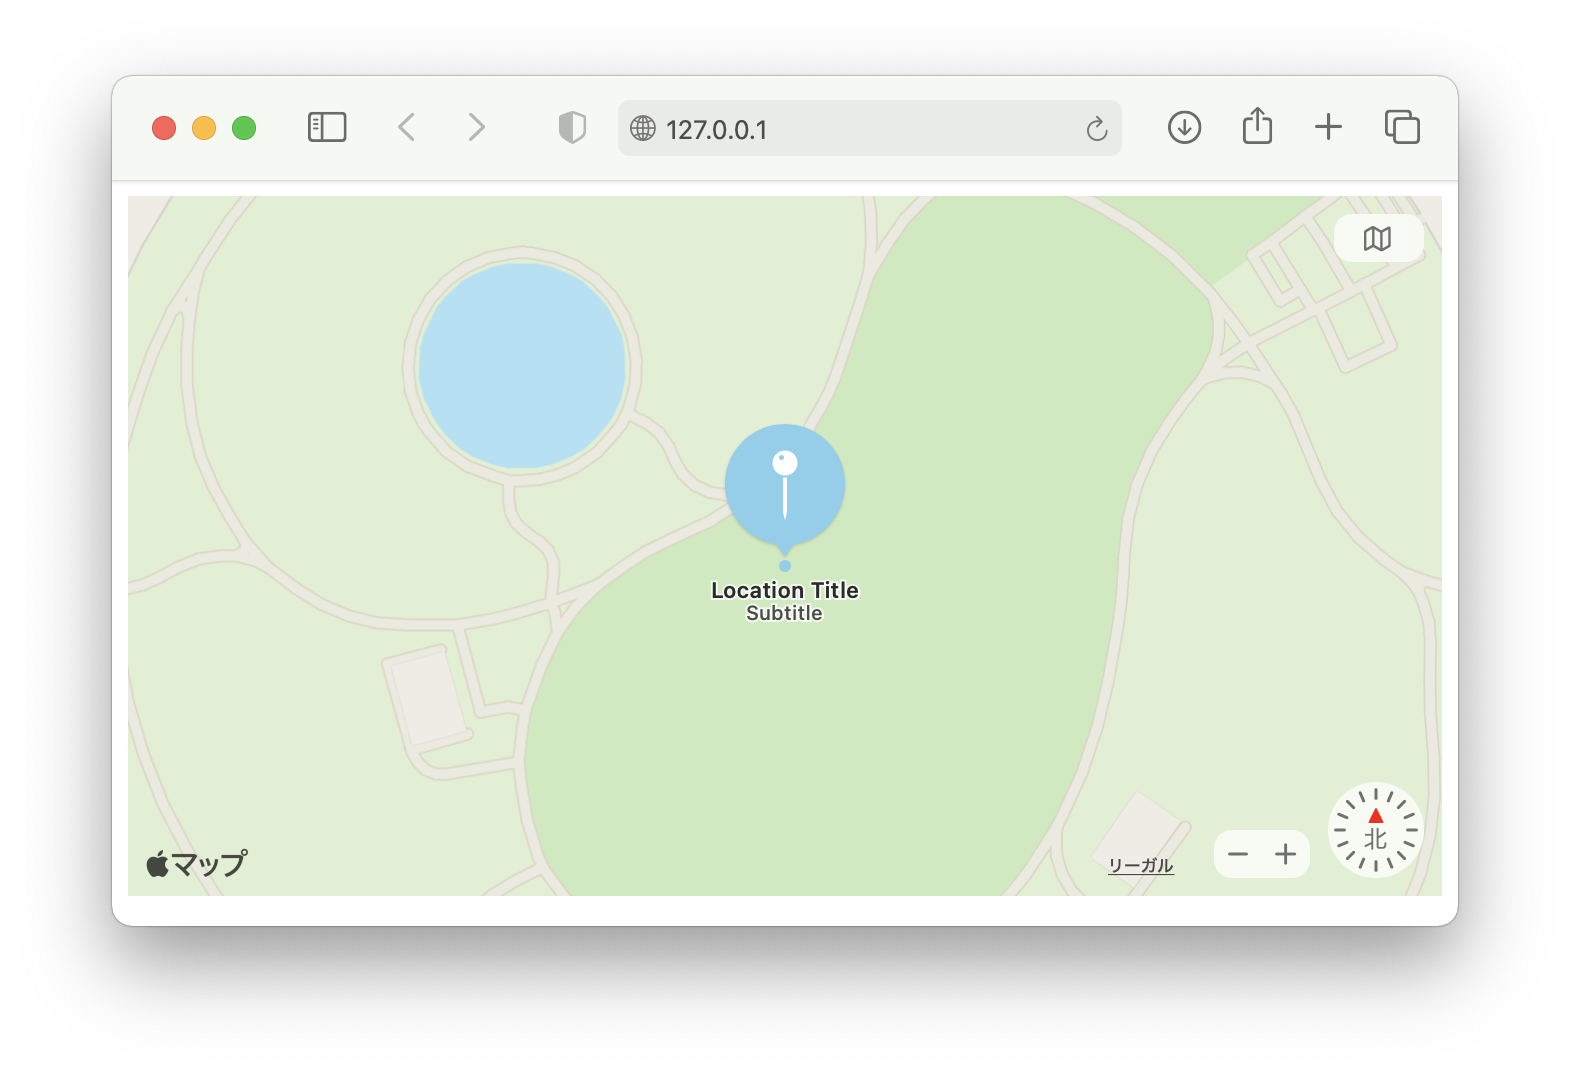
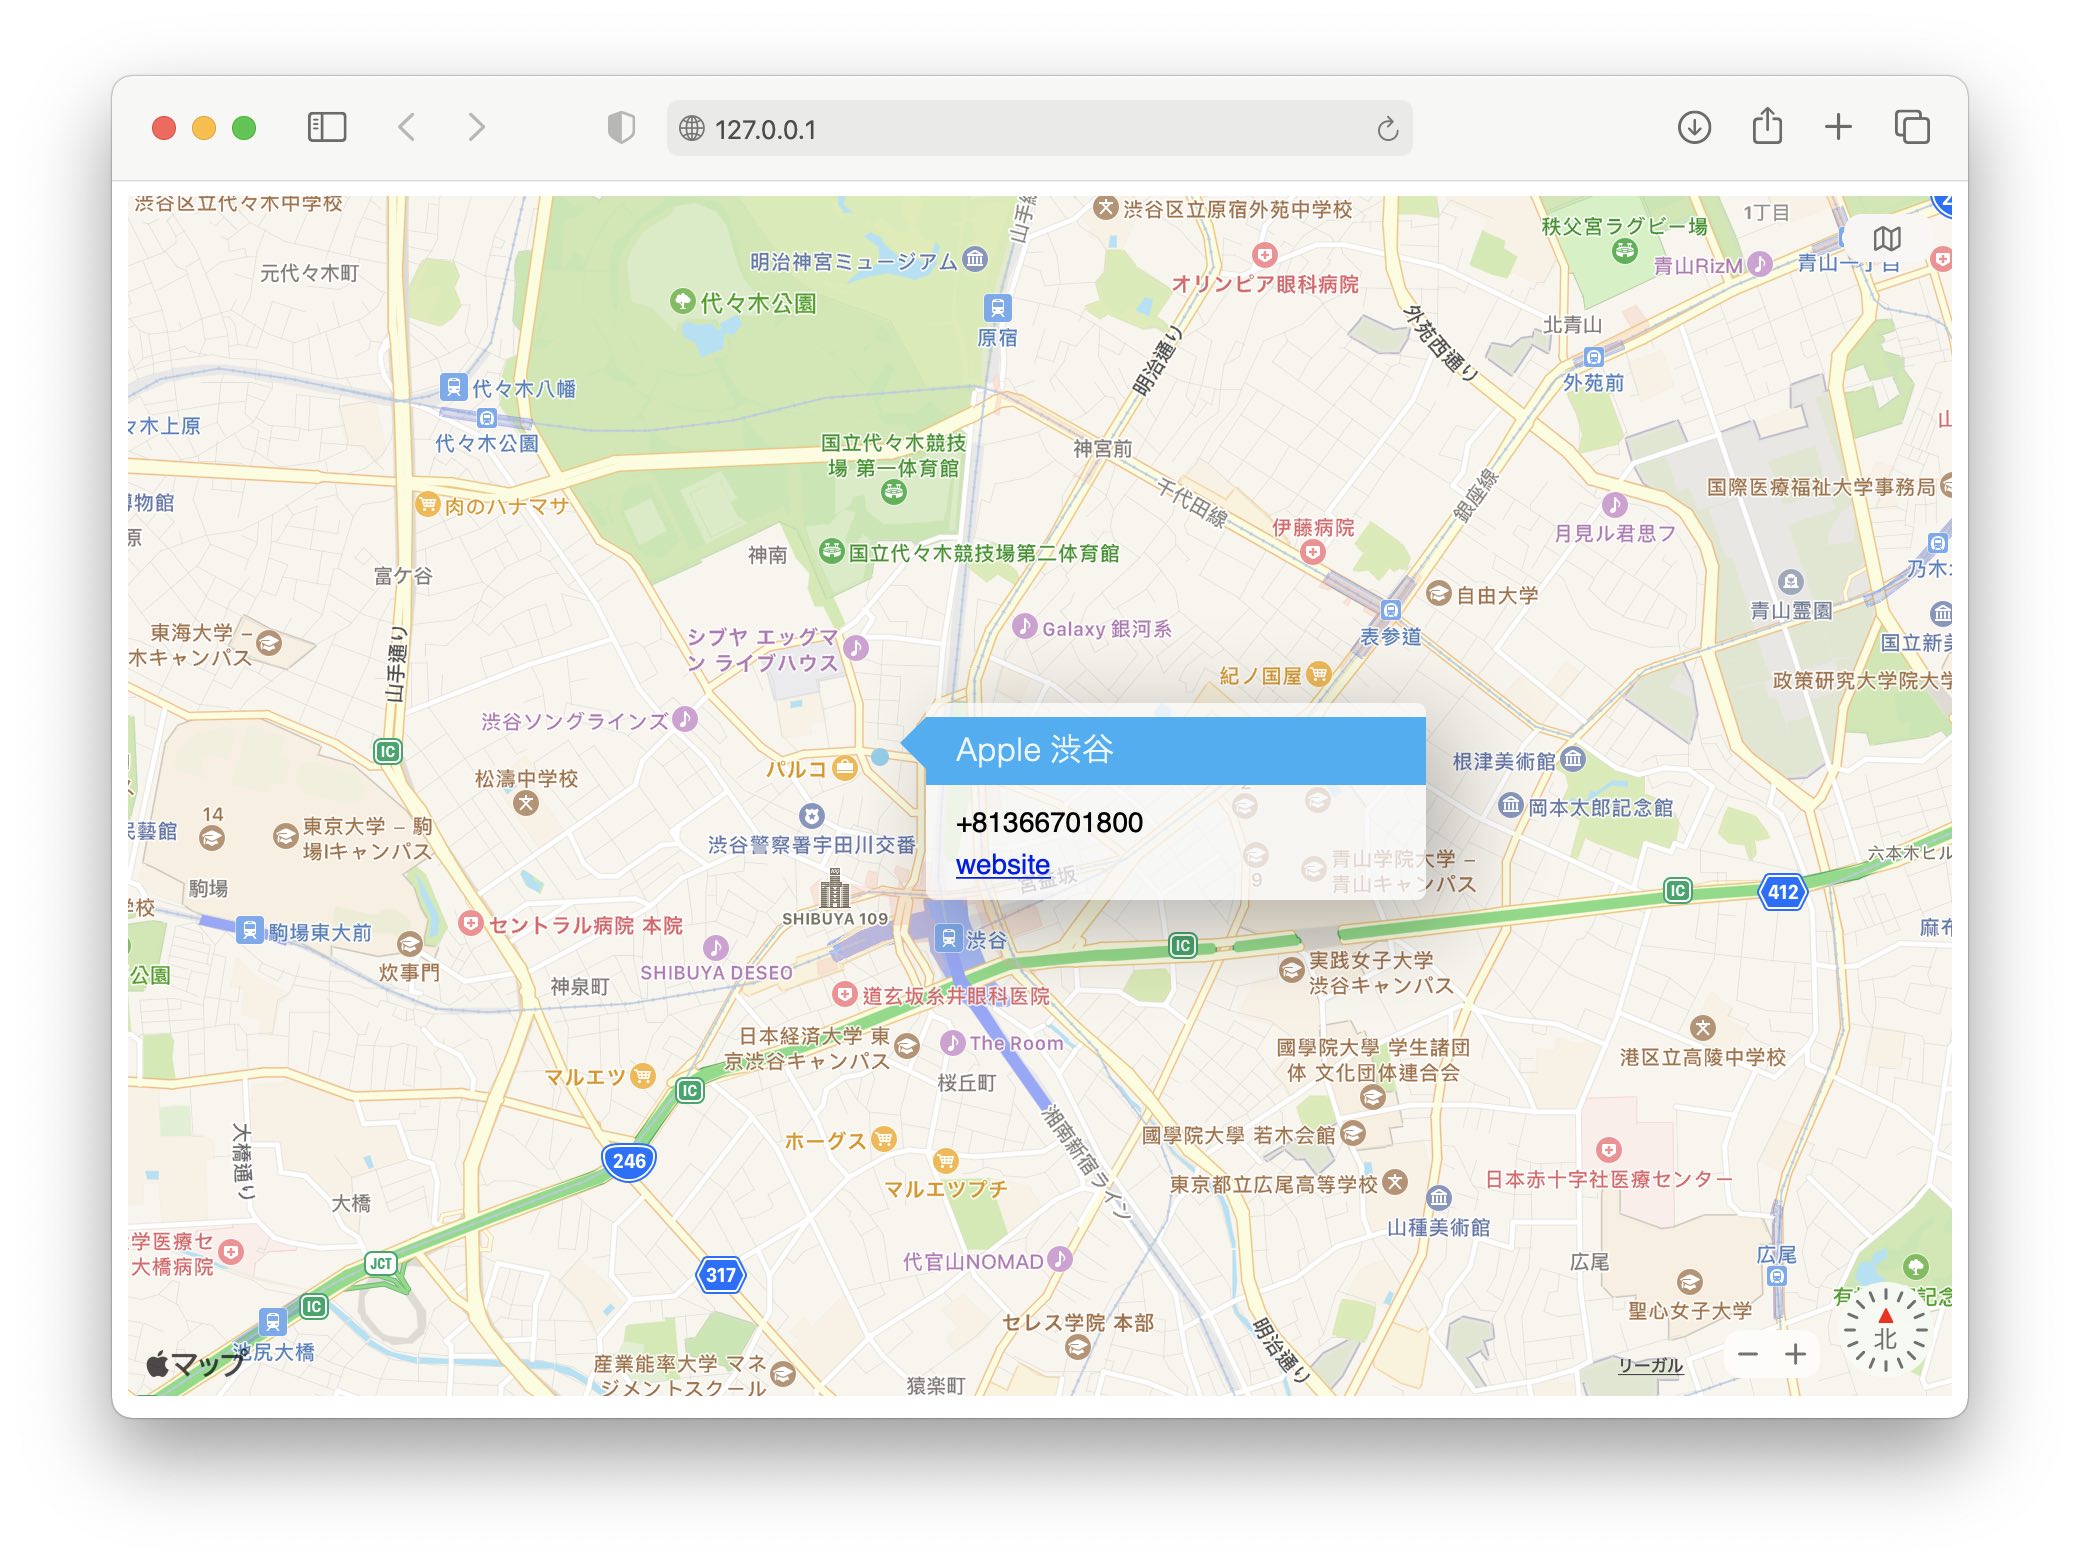
The post then goes one step further and shows that tapping an annotation can reveal a custom element. Rather than inlining that longer JavaScript in the article, it links to a second CodePen and notes that parts of the example are adapted from Apple's MapKit JS documentation.
After local testing, rotate or revoke the key if you generated a token without production-safe restrictions.
This article ends with a very practical warning: if you generated a token for quick local testing, especially without strong domain restrictions, do not leave that key in place indefinitely. In the Apple Developer portal, you can revoke the generated key and create a fresh one.
That advice is still sound. A browser token is easy to copy once it is exposed, so domain restrictions and key rotation matter more here than in many purely server-side integrations.
The real work in MapKit JS is provisioning, then the browser side becomes surprisingly small.
That is the main lesson from the article. Once the Maps ID, key, and token are in place, the HTML integration itself is just a short initialization block. From there you can grow into annotations, selection handling, and more advanced map UI without changing the overall structure.