The goal is not a new table view feature. It is a cleaner way to stop one controller from owning every table callback itself.
This article focuses on a simple refactor. If one screen needs more than one
UITableView, repeating delegate and data-source logic directly inside the controller gets noisy fast. A
separate helper object can own the table behavior instead.
That pattern works best when each table is mostly presentational and the screen just needs different datasets wired into the same reusable table logic.
The starting point is the standard UIKit approach: one outlet, then delegate and data-source methods on the controller.
The article first shows the common structure most UIKit projects begin with: the table view outlet is owned by the view
controller, and the controller itself conforms to both UITableViewDelegate and
UITableViewDataSource.
@IBOutlet weak var tableView: UITableView!

extension ViewController: UITableViewDelegate, UITableViewDataSource {
    func tableView(_ tableView: UITableView, numberOfRowsInSection section: Int) -> Int {
        // Return the row count
    }

    func tableView(_ tableView: UITableView, cellForRowAt indexPath: IndexPath) -> UITableViewCell {
        // Build a cell
    }
}
That is fine for one simple list. The problem starts when the controller has to manage two different table views, each with similar rendering logic but different data.
Move the table behavior into a standalone class so the controller stops being the only place where rows and cells are defined.
The rewriteable part of the article is this: create a helper class that subclasses NSObject and conforms to
UITableViewDelegate and UITableViewDataSource. That class owns the item array and implements the
table callbacks for any table that uses it.
class TableDataSource: NSObject, UITableViewDelegate, UITableViewDataSource {
    var items = [Item]()

    func tableView(_ tableView: UITableView, numberOfRowsInSection section: Int) -> Int {
        items.count
    }

    func tableView(_ tableView: UITableView, cellForRowAt indexPath: IndexPath) -> UITableViewCell {
        let item = items[indexPath.row]
        let cell = UITableViewCell(style: .subtitle, reuseIdentifier: nil)
        cell.textLabel?.text = item.title
        cell.detailTextLabel?.text = item.subtitle
        return cell
    }
}The post also sketches three built-in cell configurations: title only, title plus subtitle, and subtitle plus image.
One useful part of the original tutorial is that it stays with system-generated UITableViewCell styles rather
than introducing a custom nib or subclass too early.
// Title only
let cell = UITableViewCell(style: .default, reuseIdentifier: nil)
cell.textLabel?.text = item.title

// Title + subtitle
let cell = UITableViewCell(style: .subtitle, reuseIdentifier: nil)
cell.textLabel?.text = item.title
cell.detailTextLabel?.text = item.subtitle

// Title + subtitle + image
let cell = UITableViewCell(style: .subtitle, reuseIdentifier: nil)
cell.textLabel?.text = item.title
cell.detailTextLabel?.text = item.subtitle
cell.imageView?.image = UIImage(systemName: "person.circle.fill")
This article sketches the idea informally in one example, but the full reusable implementation below settles on
.subtitle, which is the practical choice when you want both a main label and a detail label.
The concrete demo uses one simple model and two separate data-source instances, one for cats and one for dogs.
The article's sample model is deliberately small:
struct Item {
    var title: String
    var subtitle: String
}
The controller then owns two table outlets and two independent data-source objects:
@IBOutlet weak var tableView1: UITableView!
var tableView1Data = TableDataSource()
@IBOutlet weak var tableView2: UITableView!
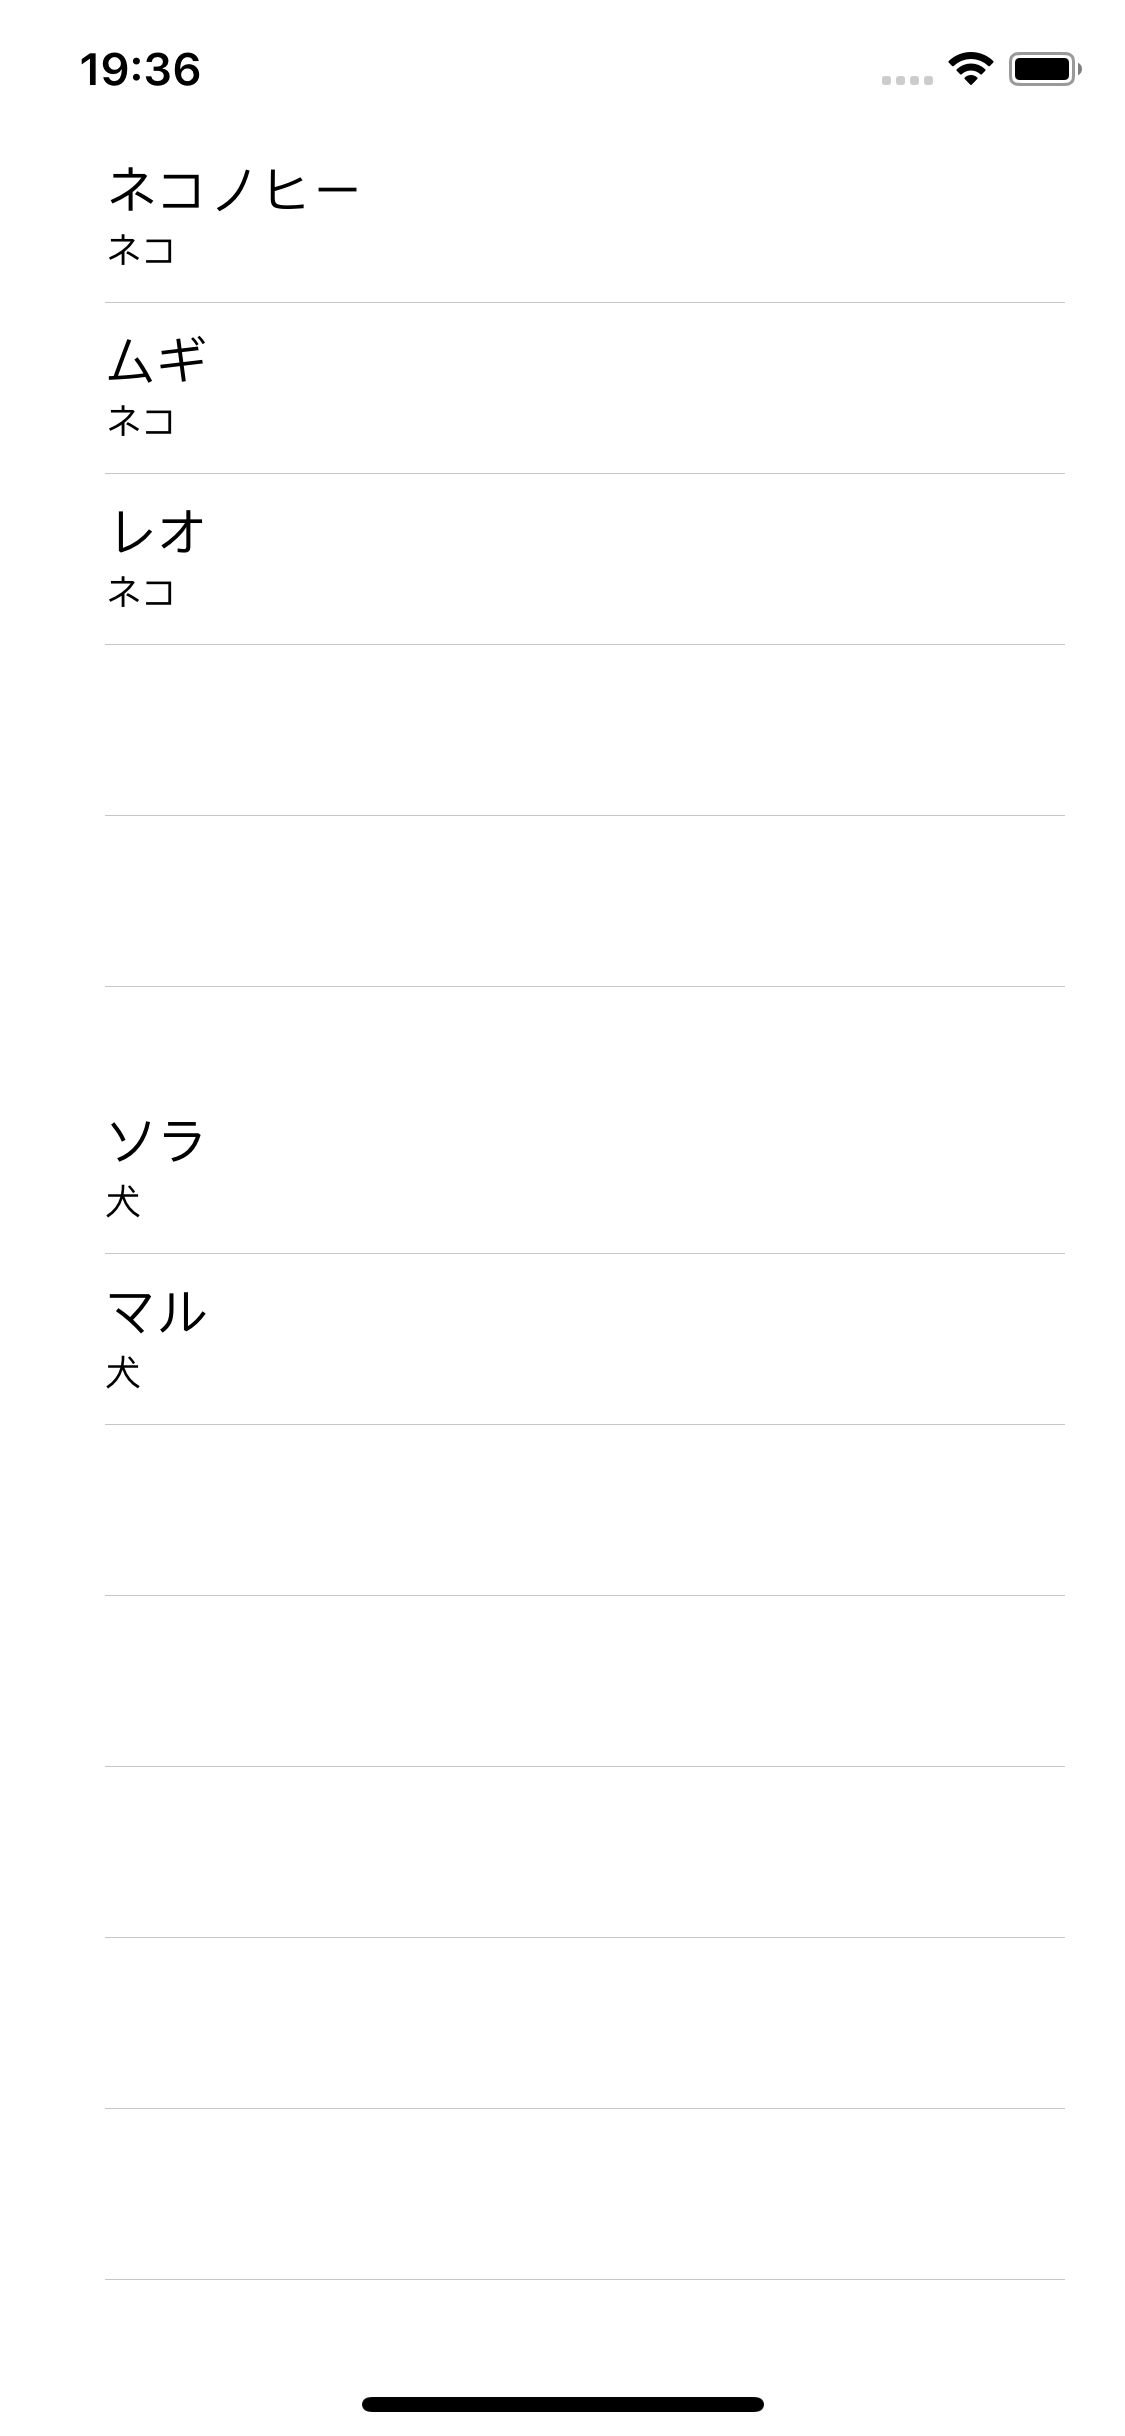
var tableView2Data = TableDataSource()Finally, each helper gets a different dataset. This article uses sample animal names in Japanese; the important part is just that the arrays are different.
let cat1 = Item(title: "Nekonohi", subtitle: "Cat")
let cat2 = Item(title: "Mugi", subtitle: "Cat")
let cat3 = Item(title: "Leo", subtitle: "Cat")

let dog1 = Item(title: "Sora", subtitle: "Dog")
let dog2 = Item(title: "Maru", subtitle: "Dog")

tableView1Data.items = [cat1, cat2, cat3]
tableView2Data.items = [dog1, dog2]Each table view gets its own delegate and data source object. That is the whole pattern.
After the objects and arrays exist, the controller only has to wire them up:
// tableView1
tableView1.delegate = tableView1Data
tableView1.dataSource = tableView1Data

// tableView2
tableView2.delegate = tableView2Data
tableView2.dataSource = tableView2Data
There is no special multi-table API here. The trick is simply that each table gets a separate object instance, so the two lists do not fight over the same backing data.
The demo screen ends up with two visibly separate lists on one screen, while the controller stays much smaller.
This pattern is really about separation of responsibility: the controller arranges the screen, and each helper object owns one table's behavior.
That is the useful takeaway from this article. Once tableDataSource is reusable, adding multiple
UITableView instances to one UIViewController stops feeling like copy-paste work and starts
looking like simple composition.