The value of this article is that it combines several small iOS techniques into one real workflow instead of treating them as unrelated tips.
The app is straightforward: given a Qiita account, it fetches article-level metrics and account data, then renders them in a small reporting UI. But the path there is a useful bundle of practical iOS work: browser-session reuse, local token storage, authenticated HTTP requests, lightweight JSON parsing, remote image loading, and a custom visualization for posting activity.
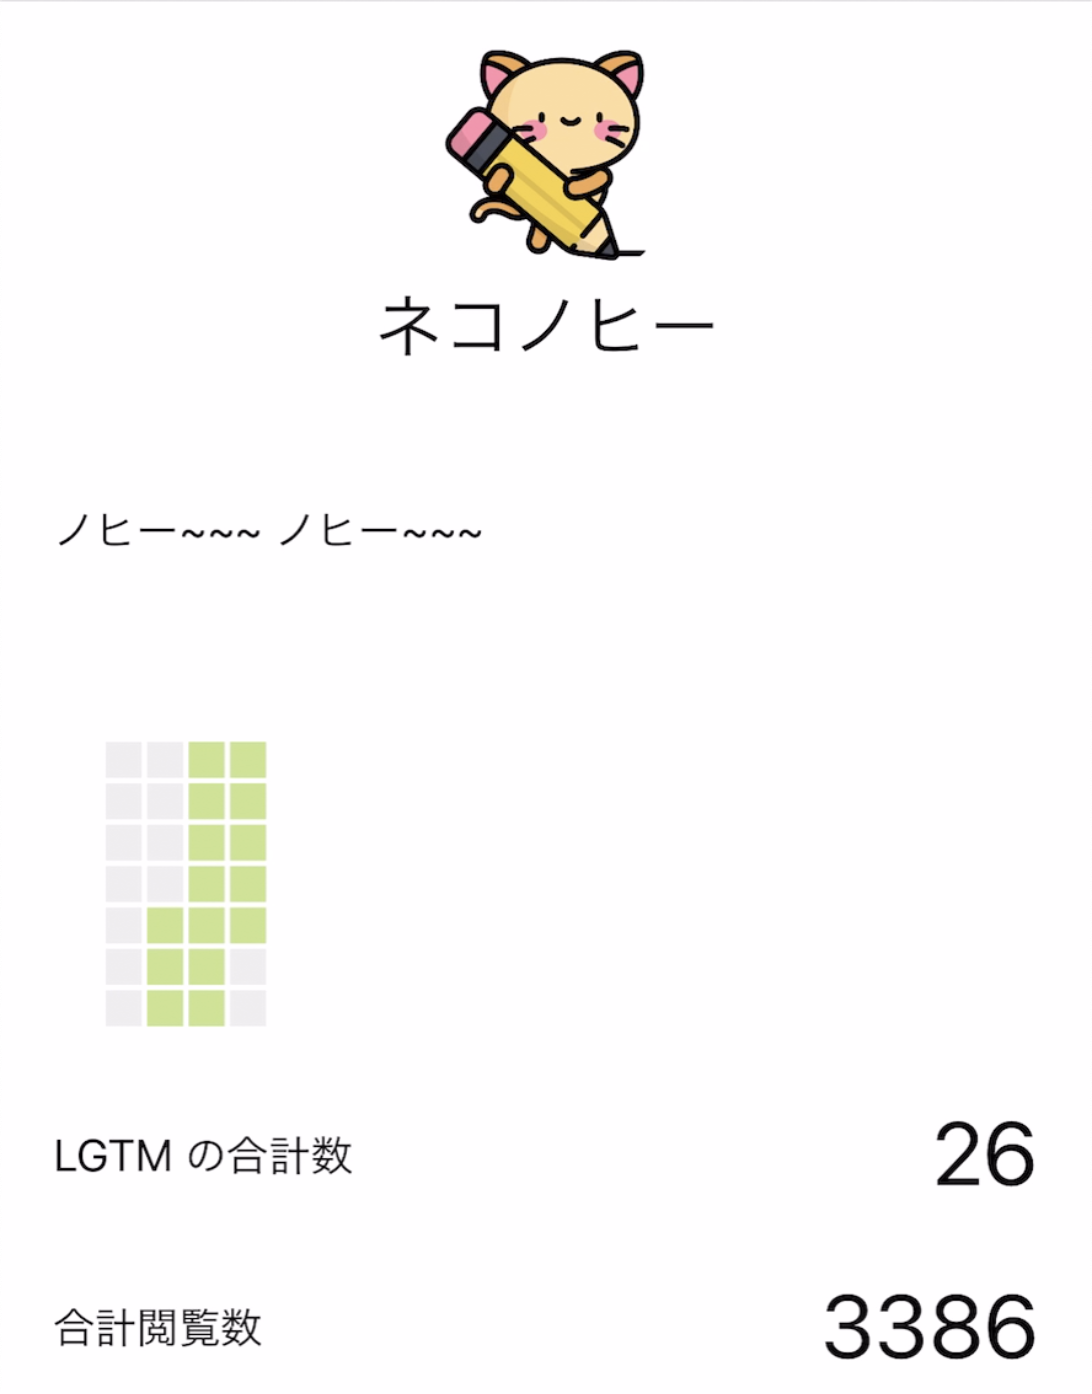
The app is meant to answer three questions fast: how many views each article has, how many likes it collected, and on which days you published during the month.
The article calls them views and LGTM counts because that was the language used on Qiita at the time. In current terms, you can read that as article views plus likes. The contribution area mirrors the kind of publishing heatmap people often expect from GitHub profiles.


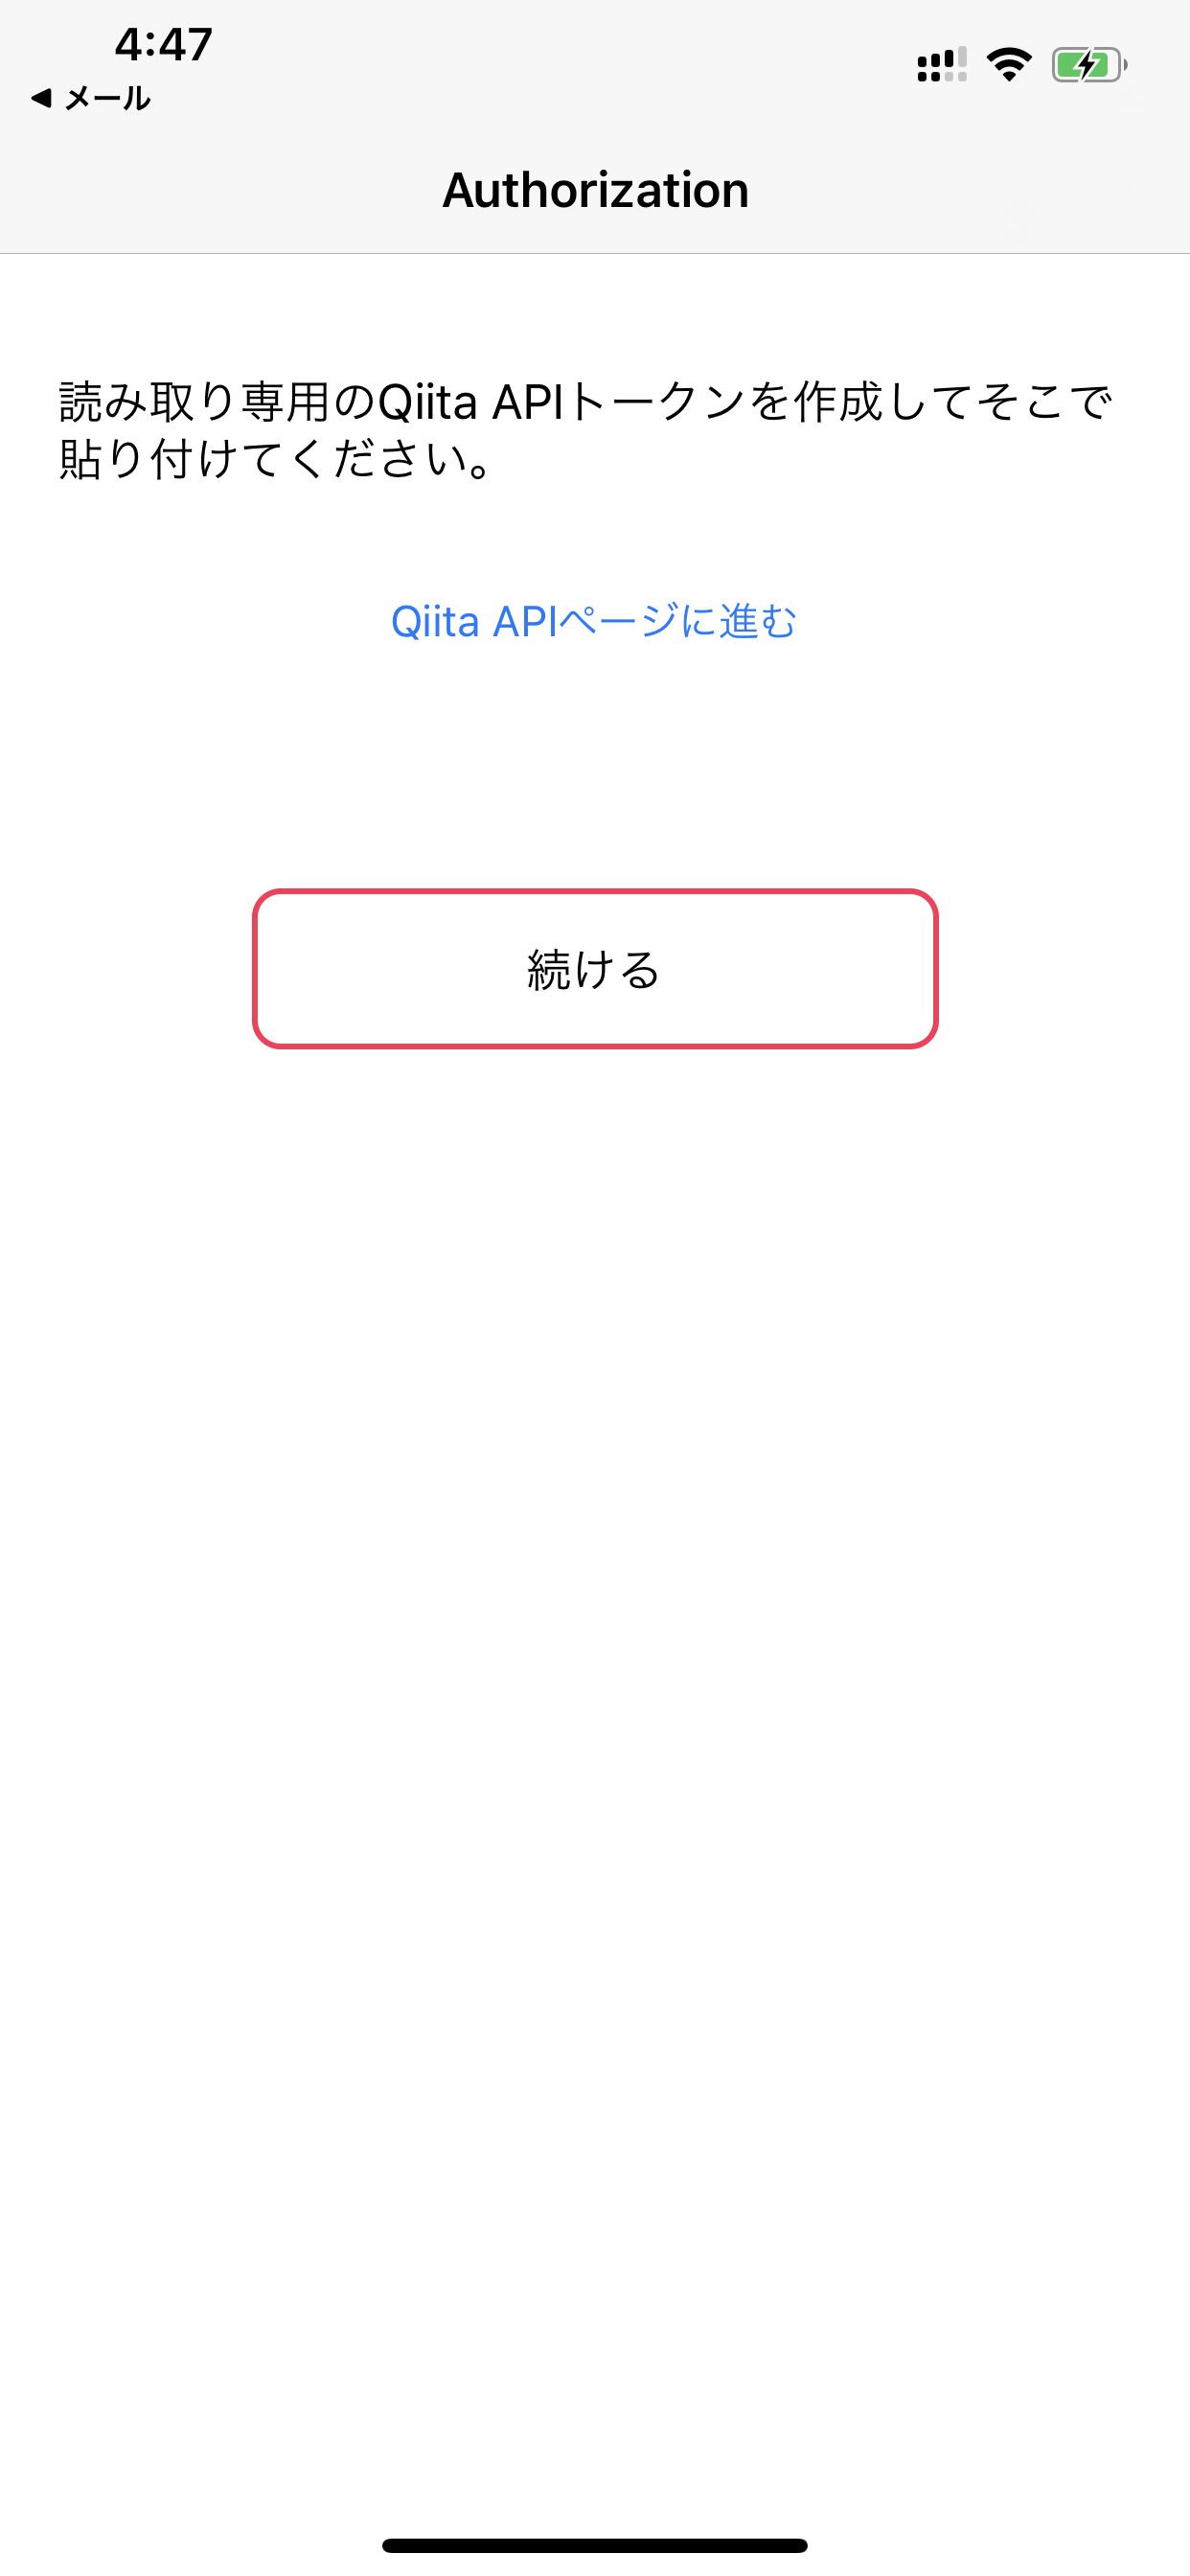
The first implementation choice is smart and simple: open Qiita's token page with ASWebAuthenticationSession so the app can reuse the user's existing Safari cookies.
The point is not OAuth in the full platform sense. The app just needs the user to land on Qiita's API token page without forcing another manual login if Safari already has a valid session.
guard let authURL = URL(string: "https://qiita.com/settings/tokens/new") else {
    return
}

let session = ASWebAuthenticationSession(
    url: authURL,
    callbackURLScheme: ""
) { callbackURL, error in
    // Handle the callback.
}

session.presentationContextProvider = self
session.start()
The article also shows the required presentation anchor hookup so the session knows where to appear:
extension ViewController: ASWebAuthenticationPresentationContextProviding {
    func presentationAnchor(for session: ASWebAuthenticationSession) -> ASPresentationAnchor {
        view.window!
    }
}
Once the user has a token, the article stores it in Keychain so the app does not force repeated manual entry.
This is the right boundary for a secret-like string. This article uses the KeychainSwift helper rather than raw Security framework calls.
let keychain = KeychainSwift()
keychain.set(tokenTextField.text ?? "", forKey: "qiitaToken")

tokenTextField.text = keychain.get("qiitaToken") ?? ""
The important design point is not the wrapper choice itself. It is that token persistence is isolated from the request layer, which keeps networking code free from text field state and makes relaunch behavior predictable.
The user-facing table also needs profile images, so the article reaches for an existing remote-image tool instead of rebuilding caching and async loading by hand.
The source uses Kingfisher. That is a pragmatic choice for a lightweight reporting app: one line to fetch and display, with caching and background work already solved.
@IBOutlet weak var profileImageView: UIImageView!

if let imagePath = profileImagePath,
   let convertedURL = URL(string: imagePath) {
    DispatchQueue.main.async {
        self.profileImageView.kf.setImage(with: convertedURL)
    }
}
The networking layer stays close to the metal: plain URLSession, explicit HTTP status handling, and separate fetches for article data.
The article's request helper builds authenticated GET requests, checks the HTTP response code, and then branches into success or failure callbacks. That is enough for this app because the request volume is small and the control flow is easy to reason about.
let sessionConfig = URLSessionConfiguration.default
let session = URLSession(configuration: sessionConfig, delegate: nil, delegateQueue: nil)

var request = URLRequest(url: requestURL)
request.httpMethod = "GET"
request.addValue("Bearer \(token)", forHTTPHeaderField: "Authorization")

let task = session.dataTask(with: request) { data, response, error in
    if let httpResponse = response as? HTTPURLResponse {
        let statusCode = httpResponse.statusCode
        if error == nil && statusCode >= 200 && statusCode < 400 {
            // success path
            return
        }
    }

    self.delegate?.onTaskFailed(
        reason: error?.localizedDescription ?? "Unknown error. Please check your token and try again."
    )
}

task.resume()
session.finishTasksAndInvalidate()
This article also notes that one endpoint provides the list of items first, then the app fans out into per-article fetches for detailed metrics. That is a practical compromise when the summary endpoint does not include every field the UI wants.
For JSON, the article chooses convenience over ceremony and uses SwiftyJSON to keep the parsing code compact.
The fetched response is decoded into a dictionary, then individual fields are read out for the user name, profile description, and profile image URL. This is exactly the kind of app where a small dynamic JSON helper can be enough, especially when the model layer is still simple.
if let fetchedData = data {
    if let parsedData = try? JSON(data: fetchedData).dictionary {
        let name = parsedData["name"]?.stringValue
        let description = parsedData["description"]?.stringValue
        let profileImage = parsedData["profile_image_url"]?.stringValue

        completionHandler(profileImage, name, description, nil)
    }
}
The article links to
SwiftyJSON.
Today you might reach for Codable by default, but for a quick API-driven utility app, the
tradeoff made sense at the time.
The most distinctive piece of UI is the GitHub-style contribution graph, which the article builds with an open-source view instead of drawing the heatmap from scratch.
The source uses LSHContributionView to visualize the days on which articles were published during the month. That keeps the project focused on the data plumbing and avoids turning a reporting app into a custom charting exercise.
This article works best as a reminder that small utility apps are often where a lot of practical iOS patterns meet.
No single piece here is unusually complex. But together they make a useful architecture sketch: reuse an existing browser session, store the token safely, keep requests explicit, parse the response simply, load remote images with a purpose-built helper, and borrow a specialized visualization instead of rebuilding it.
That is why the article still holds up as a case study. It is not about inventing new infrastructure. It is about choosing sensible building blocks and assembling them into a focused app that answers one user need well.