Stable Diffusion made text-to-image generation mainstream, but Apple devices needed a more native path than the original Python-first tooling.
This article explains how to bridge that gap using Apple's ml-stable-diffusion tools.
The idea is to either convert an existing Hugging Face Stable Diffusion model into Core ML artifacts yourself,
or download an already converted Apple-hosted repository and load the compiled resources from Swift.
The article also shows early example outputs and notes an important reality: the model can produce attractive environments and background art, but it does not reliably obey every keyword in a prompt.

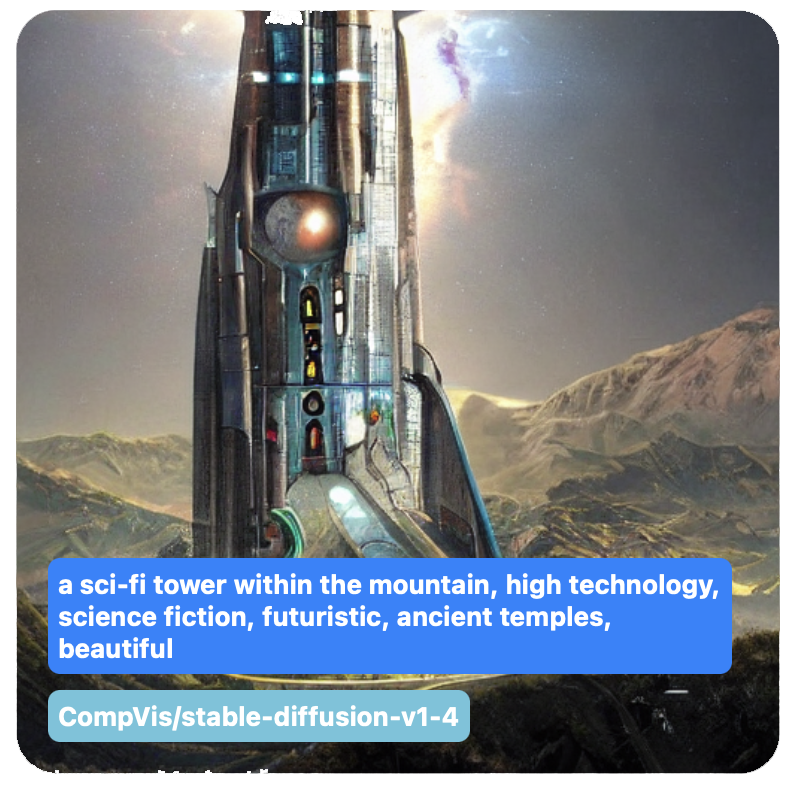
The article is optimistic about the technology, but not uncritical about the results.
The main conclusion is that Stable Diffusion can be strong for environments, concept art, and rough visual ideation, but less reliable when a prompt asks for many distinct objects or very specific composition details.
In that framing, the model is more of a research and iteration tool than a replacement for skilled illustration work. That is still a useful stance today because it explains why prompt-driven demos can feel impressive while remaining inconsistent.
Apple's December 2022 release turned Stable Diffusion into something Apple developers could actually run through Core ML on device.
Before this tooling, Stable Diffusion usage was mostly tied to Python workflows and hardware setups that were not specifically optimized for Apple silicon. Apple's project introduced a conversion path and a matching Swift package so the same model family could be used more naturally on iOS and macOS.
The post recommends Apple silicon machines and contemporary OS versions from that period, especially when doing the heavy conversion step locally.
If you want control over the model source, start by preparing a dedicated conda environment and Apple's conversion toolchain.
The article uses Miniconda, creates a dedicated environment, clones Apple's conversion repository, and installs the dependencies needed to fetch and translate Stable Diffusion weights into Core ML artifacts.
cd ~/Downloads
# Apple silicon
wget https://repo.anaconda.com/miniconda/Miniconda3-latest-MacOSX-arm64.sh

chmod +x Miniconda3-latest-MacOSX-arm64.sh
bash Miniconda3-latest-MacOSX-arm64.sh

conda create -n coreml_stable_diffusion python=3.8 -y
conda activate coreml_stable_diffusion

git clone https://github.com/apple/ml-stable-diffusion.git
cd ml-stable-diffusion
pip3 install -e .
It also installs auxiliary tools such as git-lfs, sentencepiece, rust,
and a Hugging Face client, then pins torch==2.0.0 because that was the tested version for the Core ML conversion stack at the time.
brew install git-lfs
git lfs install

pip3 install sentencepiece
pip3 install huggingface_hub
pip3 install torch==2.0.0The conversion tool downloads source models from Hugging Face, so authentication is part of the setup.
After creating a Hugging Face account and token, the article signs in with huggingface-cli login,
then converts each major model component separately: VAE decoder, UNet, text encoder, and safety checker.
huggingface-cli login

python -m python_coreml_stable_diffusion.torch2coreml \
  --convert-vae-decoder \
  -o <output-mlpackages-directory> \
  --bundle-resources-for-swift-cli \
  --attention-implementation SPLIT_EINSUM \
  --model-version CompVis/stable-diffusion-v1-4

python -m python_coreml_stable_diffusion.torch2coreml \
  --convert-unet \
  -o <output-mlpackages-directory> \
  --bundle-resources-for-swift-cli \
  --attention-implementation SPLIT_EINSUM \
  --model-version CompVis/stable-diffusion-v1-4
Two flags matter most in the explanation. --bundle-resources-for-swift-cli prepares the output for Swift-side consumption,
while --attention-implementation SPLIT_EINSUM targets the Apple-optimized path that can use the Neural Engine as well as CPU and GPU.
The post lists common English-language model IDs such as runwayml/stable-diffusion-v1-5,
stabilityai/stable-diffusion-2, and CompVis/stable-diffusion-v1-4, and notes that those models are English prompt models.
rinna/japanese-stable-diffusion, but ran into conversion and safety-checker issues that required manual patching.
If you do not want to convert a model yourself, you can clone Apple's already converted Core ML repositories from Hugging Face.
The simpler path is to clone one of Apple's prepared repositories such as
apple/coreml-stable-diffusion-v1-5. Those repos still use Git LFS, so the download can be large and slow,
but it avoids the full conversion pipeline.
git clone https://huggingface.co/apple/coreml-stable-diffusion-v1-5
The article also mentions a more selective pattern: clone only the pointers with GIT_LFS_SKIP_SMUDGE=1,
then pull individual compiled model folders one by one if you want to reduce the initial download size.
GIT_LFS_SKIP_SMUDGE=1 git clone https://huggingface.co/apple/coreml-stable-diffusion-v1-5
git lfs pull --include split_einsum/compiled/Unet.mlmodelc
git lfs pull --include split_einsum/compiled/VAEDecoder.mlmodelc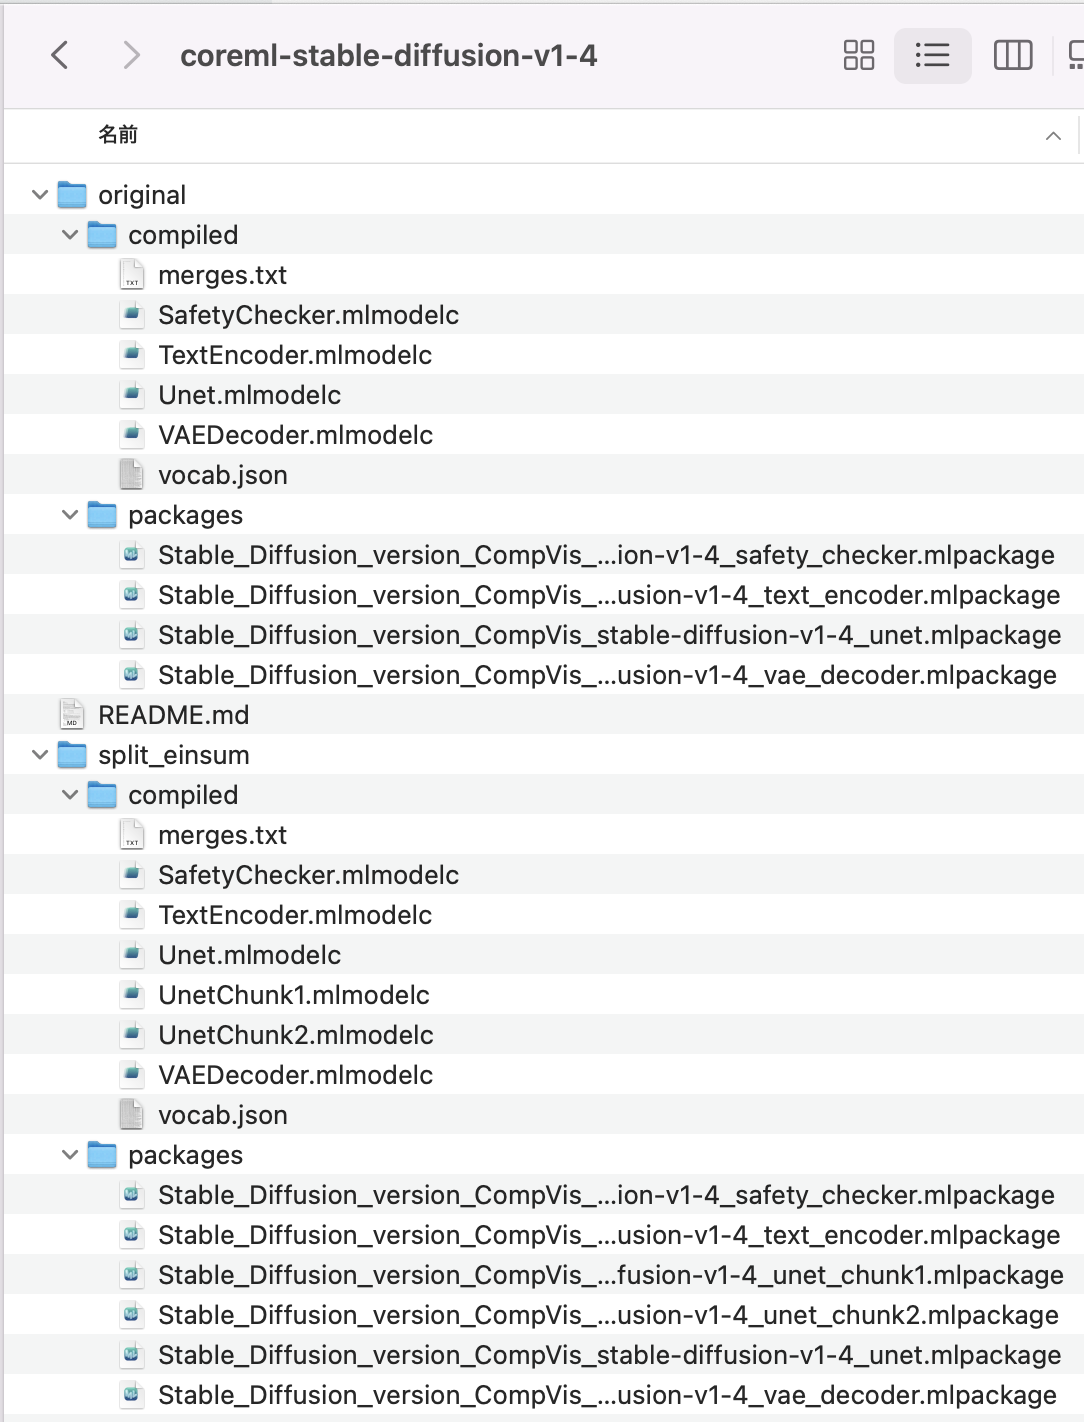
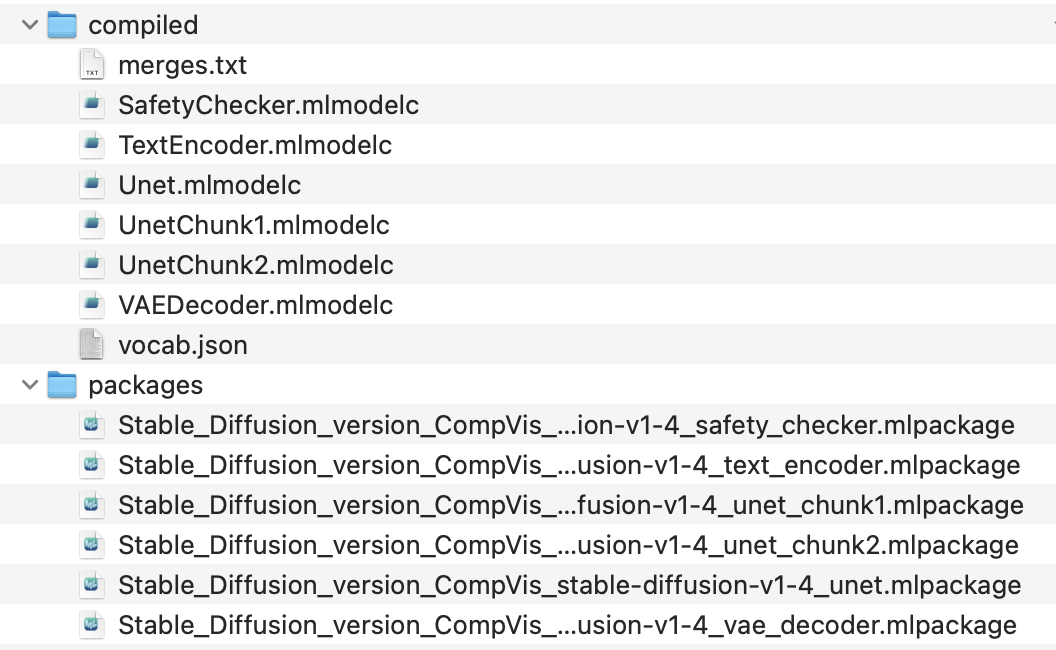
The article draws a sharp distinction between package files for Python and compiled files for Swift.
The important operational rule is simple: packaged model files are useful during Python-side conversion and tooling, while Swift code should point at the compiled Core ML resources.
It also distinguishes Apple's original and split_einsum layouts. The key claim is that
split_einsum is designed to work across CPU, GPU, and the Apple Neural Engine, although some devices may still see better speed from original.
Once the resources exist, the Python pipeline can already generate images directly from a prompt.
The example command points the pipeline at the converted model directory, chooses a compute-unit mode, seeds the generation, and writes the output image to disk.
python -m python_coreml_stable_diffusion.pipeline \
  --prompt "beautiful night sky, a lot of stars, beautiful, fantancy, vivid, colorful, meteor" \
  -i <output-mlpackages-directory> \
  -o </path/to/output/image> \
  --compute-unit CPU_AND_NE \
  --seed 93 \
  --model-version CompVis/stable-diffusion-v1-4
The article calls out the main controls clearly: the prompt text defines what to draw, the input directory points at the Core ML model resources, the seed gives reproducibility, and the compute-unit mode trades speed against available memory and hardware.
The Swift side uses Apple's StableDiffusion package, a model configuration, and a resource folder URL.
The article recommends testing the generation flow on macOS first, then moving to iOS after the resources and pipeline logic work.
In Xcode, add the Apple package, then import CoreML and StableDiffusion.
import CoreML
import StableDiffusion

let config = MLModelConfiguration()
config.computeUnits = .cpuAndNeuralEngine

let pipeline = try StableDiffusionPipeline(
    resourcesAt: resourcesFolderURL,
    configuration: config,
    disableSafety: true
)
The resource folder is expected to contain merges.txt, vocab.json,
and the compiled model folders such as TextEncoder.mlmodelc, Unet.mlmodelc,
VAEDecoder.mlmodelc, plus SafetyChecker.mlmodelc if the safety pass is enabled.
let resultingImages = try pipeline.generateImages(
    prompt: "beautiful night sky, a lot of stars, beautiful, fantancy, vivid, colorful, meteor",
    imageCount: 1,
    stepCount: 60,
    seed: 99
) { progress in
    print(progress.currentImages)
}

guard let resultCGImageObject = resultingImages.first?.imageData else {
    return
}
The post treats generateImages as a blocking call. It also explains the parameters:
imageCount controls how many outputs you request,
stepCount affects how long the diffusion process runs,
and seed is the reproducibility knob.
progress.step, progress.stepCount, and progress.currentImages while generation is still running.
The practical warning is memory: macOS is the easier place to start, while iPhone can run out of memory during generation.
The article says macOS was the easier initial target, while iPhone sometimes crashed during generation because the workload could exhaust the app's memory allowance. On an M1 iPad Pro, generation succeeded much more often.
It also mentions that adding the right entitlement can allow the app to access a larger memory budget, which mattered for this kind of model at the time.

The value of this article is not only that it generates an image. It documents the first workable Apple-platform path around the model.
The rewrite boils this article down to the core workflow: pick or convert a model, obtain the compiled Core ML resources, understand the folder layout, then load those resources in Python or Swift and accept that memory limits will shape where the result is practical.
For Apple developers exploring local image generation, this was the bridge from general Stable Diffusion excitement into something concrete on iPhone, iPad, and Mac.