Xcode 12 made it much easier to verify in-app purchase flows before the full App Store pipeline is in place.
The core idea is simple: define your products locally, tell Xcode which configuration file to use, and then buy those products in a simulator or on-device test run. That gives you a faster loop for storefront UI, unlock logic, and transaction handling.
This article focuses on a compact sample app that sells three types of products: a consumable, a non-consumable, and an auto-renewable subscription.
This article begins with a helper class and a small demo project that already knows how to request and process purchases.
The setup is intentionally simple so the article can focus on Xcode's testing tools instead of on a full StoreKit architecture. If you want the same sample used in this article, the helper lives here: StorePurchaseHelper.swift, and the full project is here: StoreKitTesting.
The demo products are:
virtualCatFood          // Consumable
virtualCatHouse         // Non-consumable
dailyVirtualCatFood     // Auto-renewable subscription
That combination is useful because it exercises the three main purchase categories most apps need to understand first.
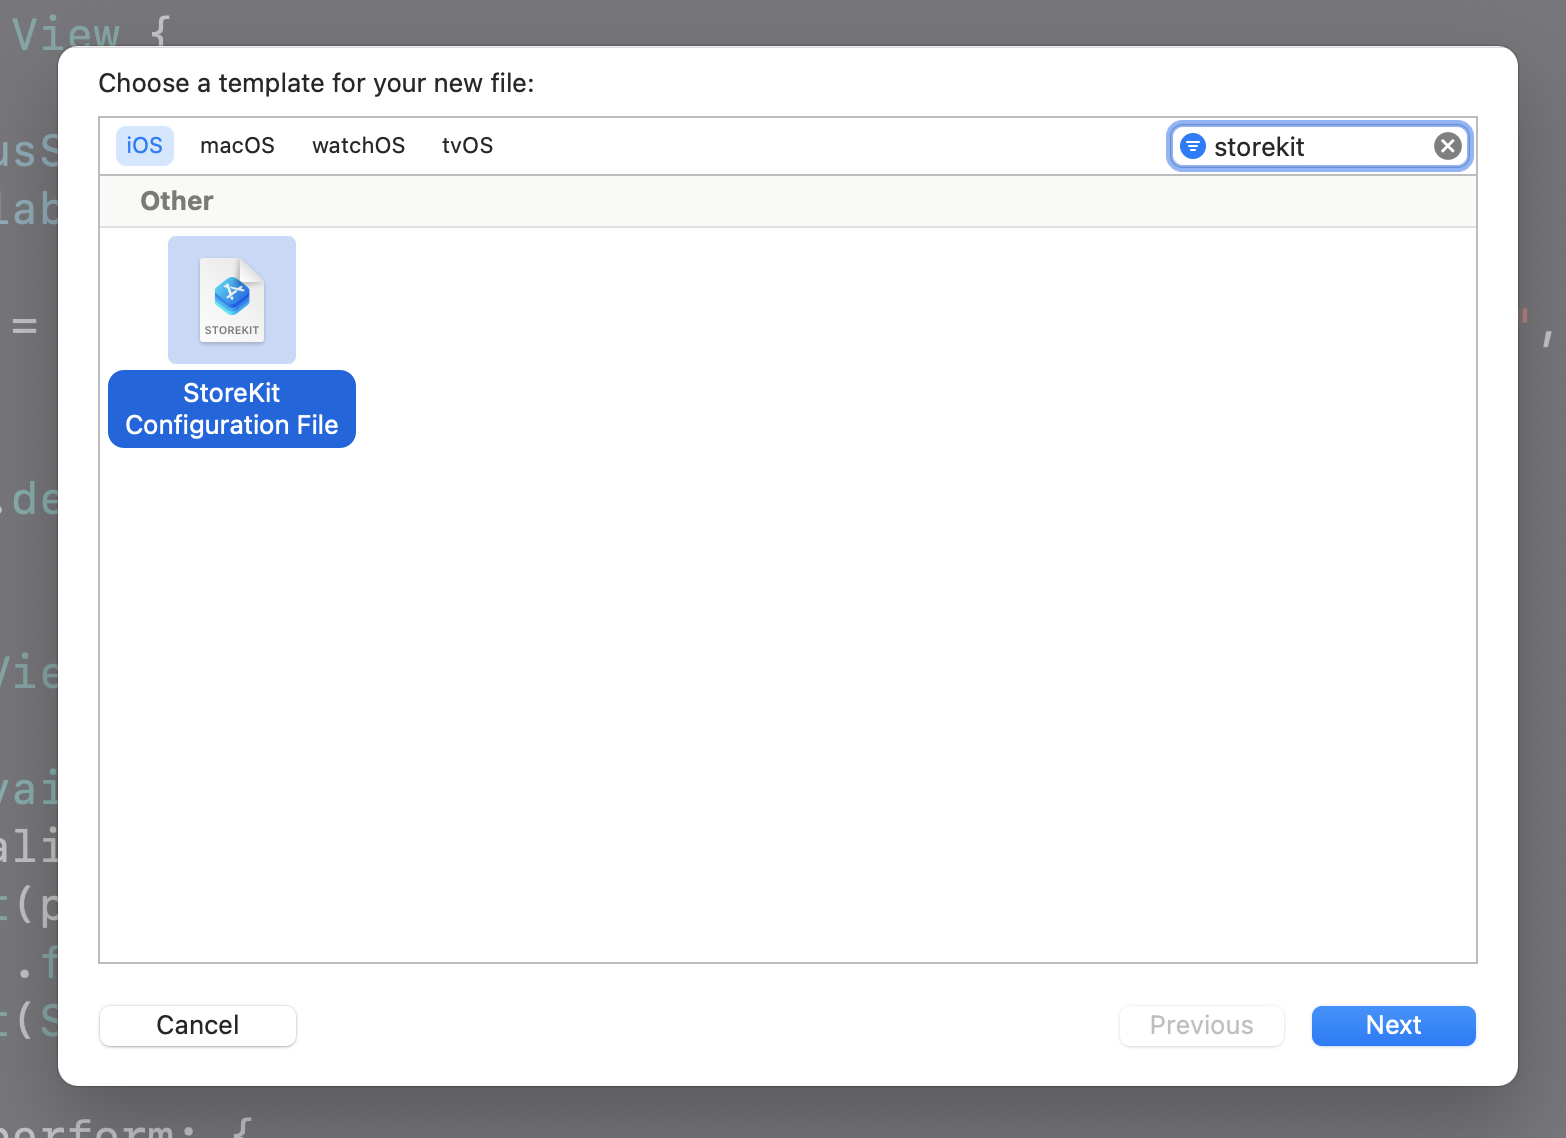
The first Xcode-side step is creating a StoreKit Configuration File.
In the article, this starts with Command-N and the template chooser.
The important output is a local .storekit file that Xcode can use as the fake storefront for the current scheme.
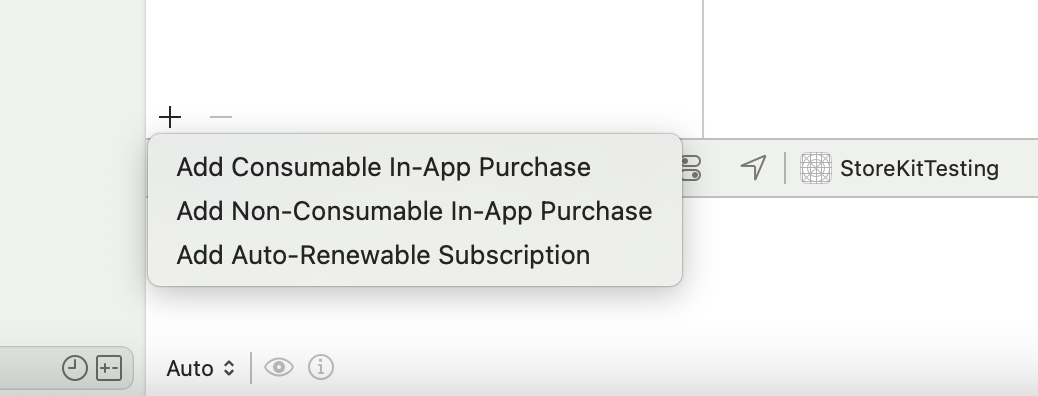
Once the file exists, add the products you want the test app to sell and fill in the same identifiers your app code expects.
The original walkthrough adds products with the plus button at the bottom of the configuration editor. That is where you create consumables, non-consumables, and subscriptions for the local test environment.
After adding a product, fill out its Product ID, Reference Name, and localization details.
The most important part is consistency: the product identifiers in the .storekit file must match the identifiers your app requests at runtime.

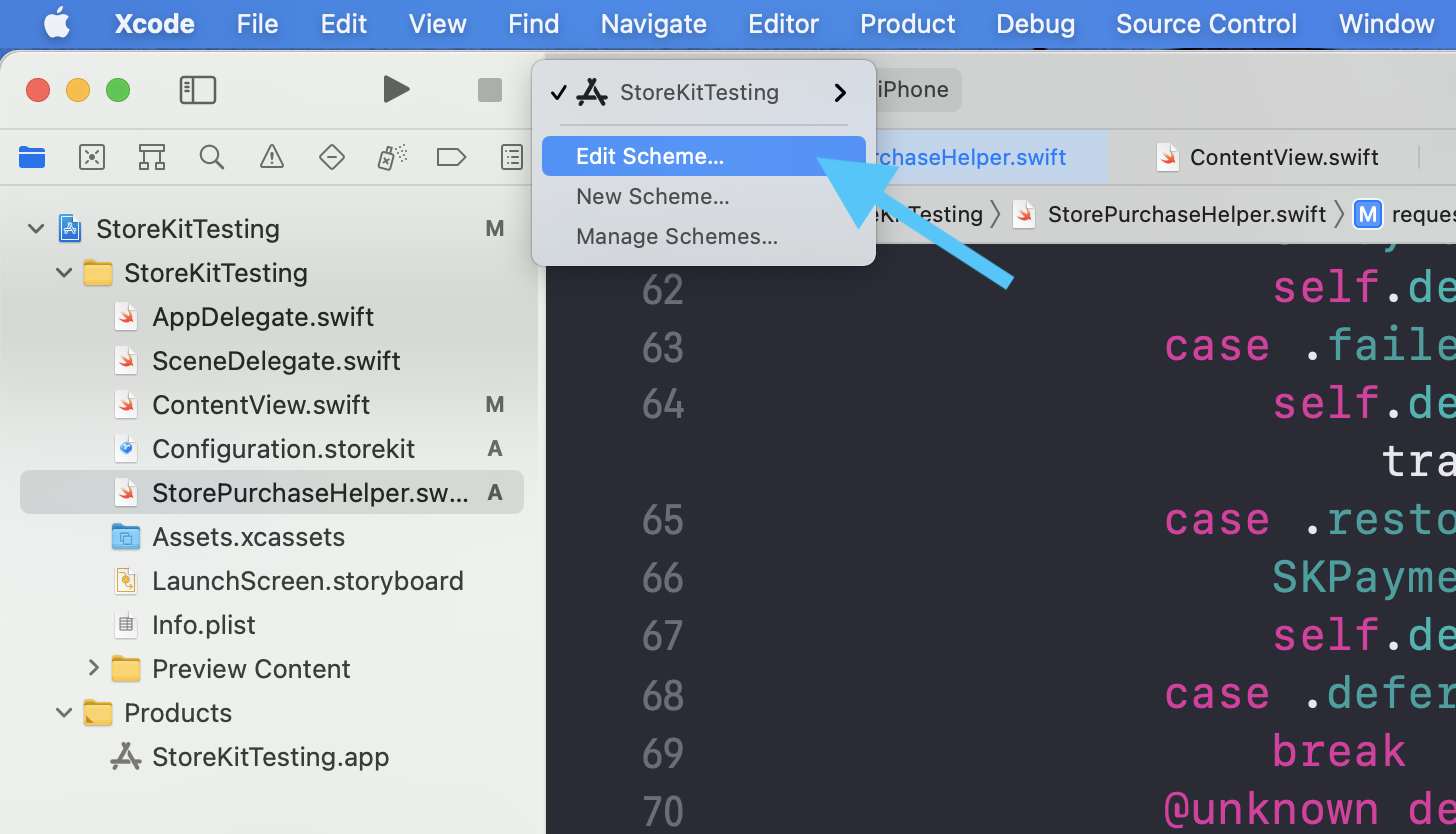
Creating the file is not enough on its own. Xcode also needs to know which run scheme should use it.
This article does this from the app name menu in the toolbar, then opens Edit Scheme.
That is the switch that turns the local StoreKit catalog into the active purchase environment for the app run.
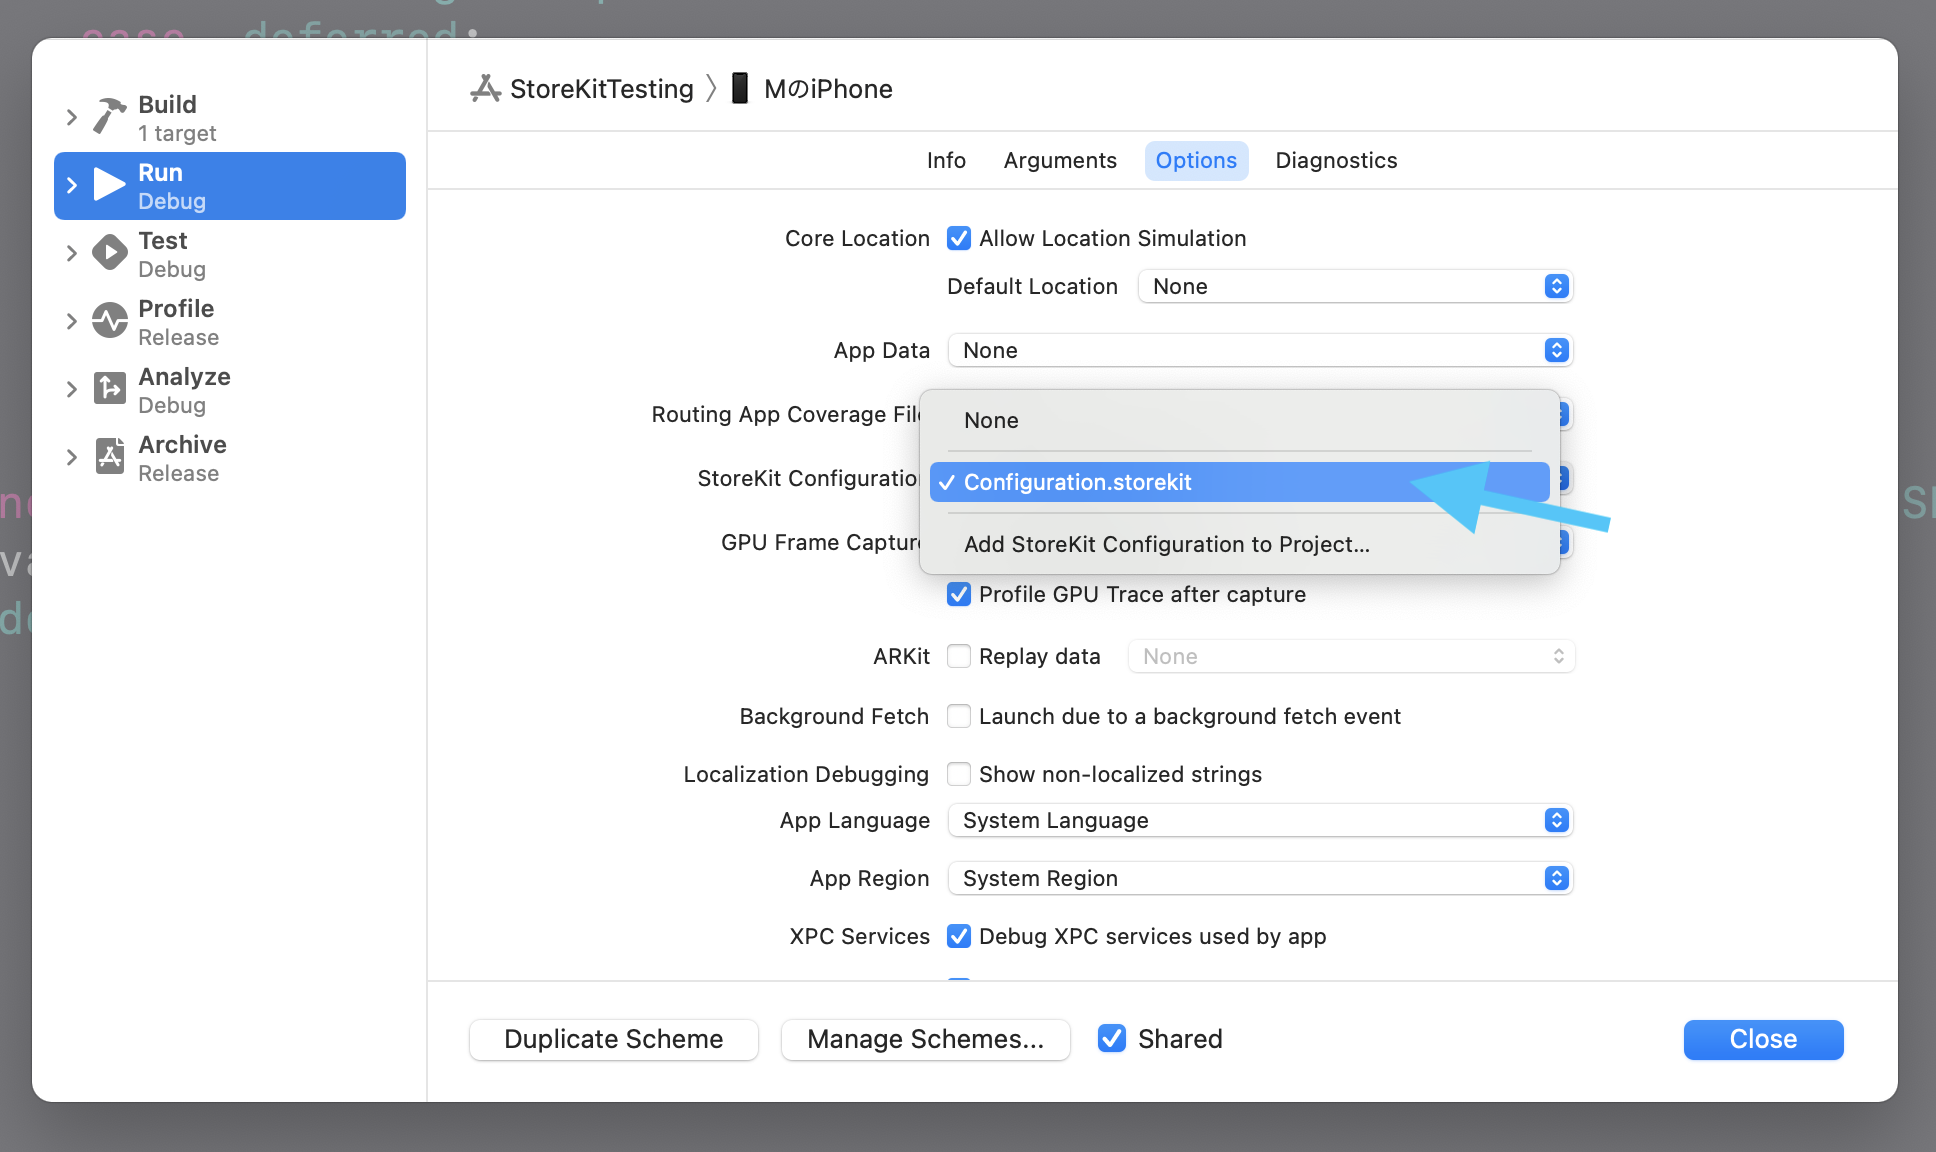
In the scheme editor, find the StoreKit Configuration field and point it at the file you just created.
Once that is set, Xcode knows which local product definitions and transactions to use during the session.
After that, the test loop becomes straightforward: run the app, perform purchases, then inspect the local transaction history in Xcode.
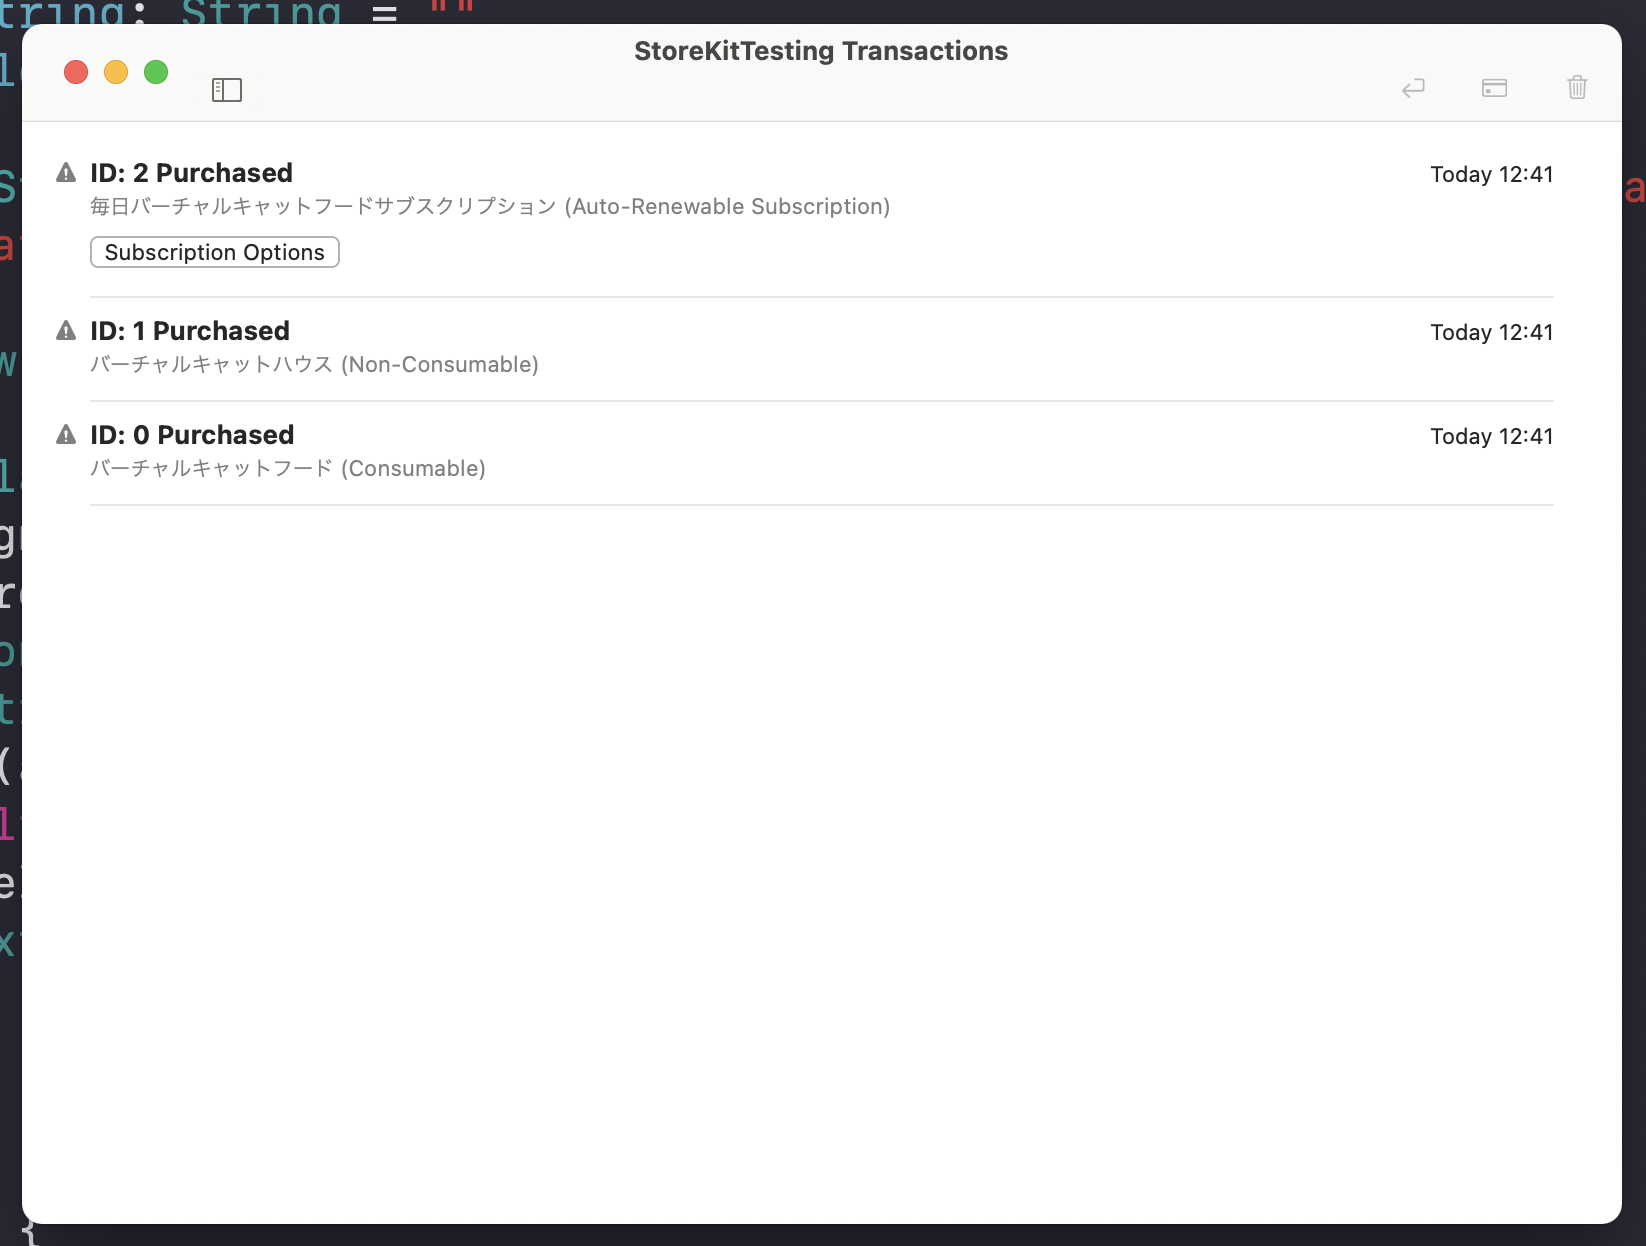
The article shows the small Xcode toolbar control that opens transaction management and receipt history for the active StoreKit testing session. This is useful for checking what happened after repeated purchases, unlock attempts, and subscription experiments.

When you open that window, you can see the purchases performed during the session. That gives you a direct way to verify whether the app's test activity matches the purchase flow you expected.
The main takeaway is that local StoreKit testing removes a lot of friction from early in-app purchase development.
Define a local catalog, match the product identifiers your app expects, attach the file to the scheme, and start buying test products immediately. For many teams, that is the fastest way to get purchase UI and entitlement logic into a dependable state before moving on to broader sandbox and production validation.