This article is really three guides in one: requests, uploads, and trust validation.
This article combines several networking tasks that often show up together in real apps. First, it shows the ordinary request path: build a request, add headers, send it, and inspect the response. Then it moves to multipart upload for sending files. Finally, it covers SSL pinning, which changes the question from "did the request succeed?" to "did I trust the right server in the first place?"
The guide starts with Alamofire because it shortens the request code, then shows a plain URLSession version so the underlying flow
stays clear. That makes this article useful whether you prefer a networking library or want to stay close to Foundation.
Use a request inspection service when you want to verify headers, body shape, and method before hitting a real backend.
One practical detail in this article is how to test safely. Instead of guessing what your request actually sends, point it at
a temporary inspection service such as webhook.site. That lets you verify the request method, headers, cookies,
and payload without needing your production API online.
let urlString = "https://webhook.site/xxxxxxxxxxxx"
guard let url = URL(string: urlString) else { return }
That is especially useful when building requests by hand. Before you debug server-side parsing, first prove that the client request actually looks the way you think it does.
For regular GET and POST work, Alamofire mainly removes ceremony.
The core pieces are the same as with any HTTP client: define the URL, method, headers, and optional parameters, then parse the response. Alamofire compresses that into a smaller surface so the request structure is easier to read.
func sendRequest() {
    let url = "https://webhook.site/xxxxxxxxxxxx"
    let headers: HTTPHeaders = [
        "Authorization": "Bearer ABCD-EFGH-123-456",
        "CatName": "NekoNohe",
        "Cookie": "token=NekoNeko"
    ]

    let parameters: [String: Any] = [
        "name": "axel",
        "favorite_animal": "fox"
    ]

    AF.request(
        url,
        method: .get,
        parameters: parameters,
        encoding: JSONEncoding.default,
        headers: headers
    ).responseJSON { response in
        print(response.response?.statusCode as Any)
        print(response.data as Any)
    }
}
The important lesson is not the library call itself. It is the request shape: URL, method, headers, body encoding, then structured response handling.
Once those parts are clear, switching between Alamofire and URLSession becomes much easier.
Multipart upload is the same network flow plus a body builder for the file and its metadata.
This article uses an image upload example. The file is converted to binary data, appended to multipart form data, and sent along with any extra fields the backend expects.
func requestWith(image: UIImage) {
    guard let imageData = image.jpegData(compressionQuality: 0.8) else { return }

    AF.upload(
        multipartFormData: { multipartFormData in
            multipartFormData.append(
                imageData,
                withName: "file",
                fileName: "photo.jpg",
                mimeType: "image/jpeg"
            )
            multipartFormData.append(Data("axel".utf8), withName: "name")
        },
        to: "https://example.com/upload"
    ).responseJSON { response in
        print(response.response?.statusCode as Any)
    }
}
Conceptually, this is still just a POST request. The difference is that the request body is no longer a plain JSON blob. It becomes a structured multipart payload where files and text fields each have their own part definition.
SSL pinning means the app does not only trust the system certificate chain. It also checks for a certificate you chose in advance.
This is the most security-sensitive part of the article. The basic idea is simple: bundle the expected certificate with the app, then reject a TLS connection if the server does not present what you pinned. In Alamofire, that means preparing a trusted session with a custom server trust manager.
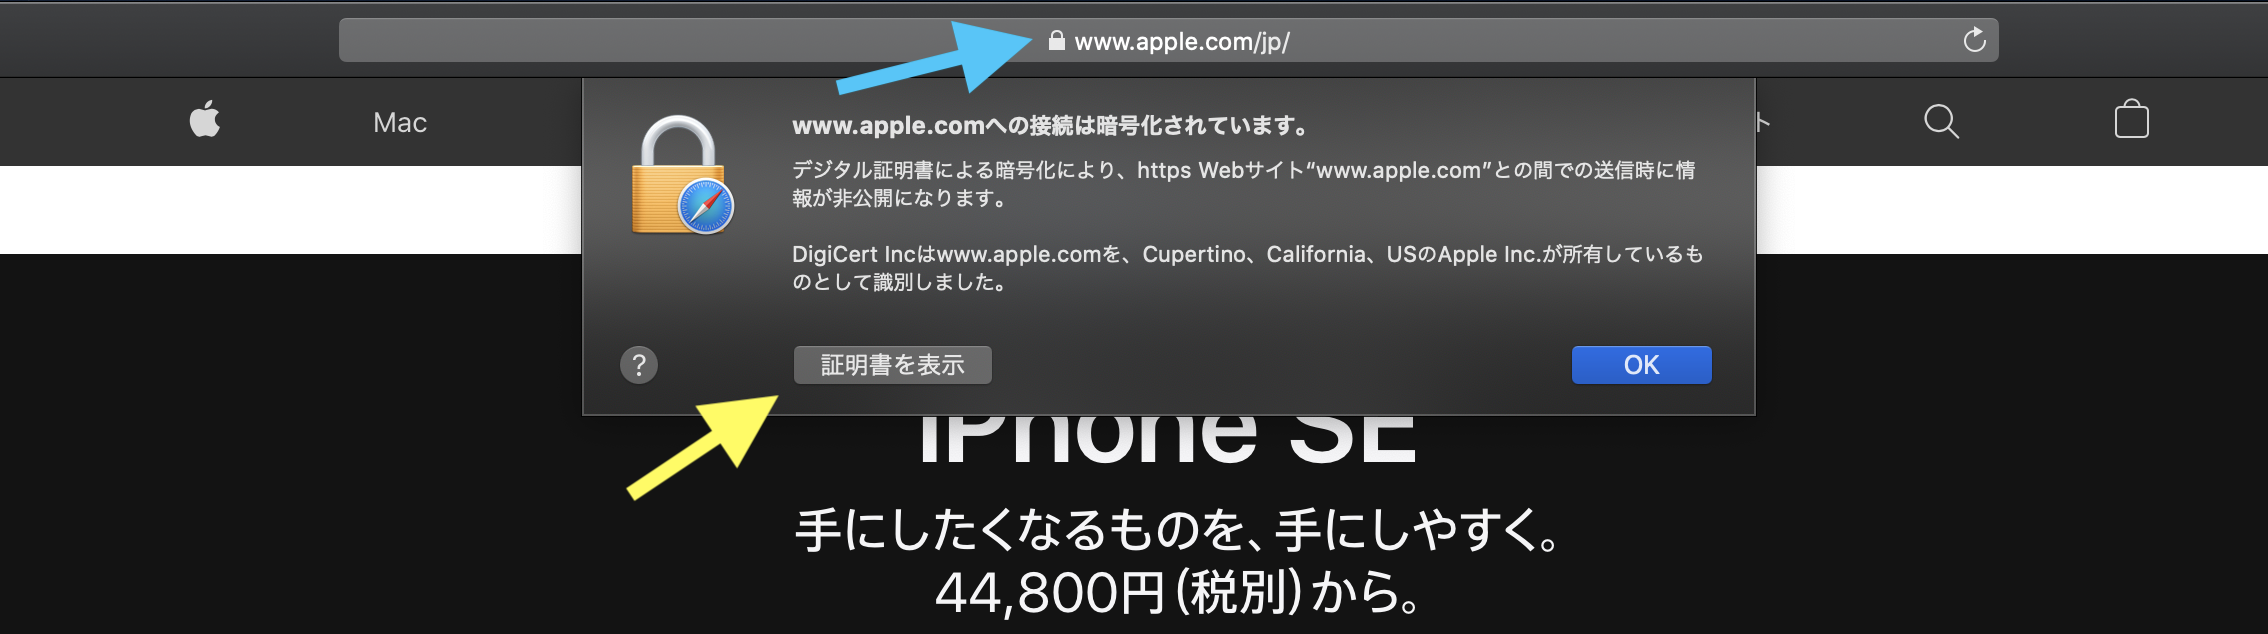
let certificateURL = Bundle.main.url(forResource: "www.apple.com", withExtension: "cer")!
let certificateData = try! Data(contentsOf: certificateURL)
let certificate = SecCertificateCreateWithData(nil, certificateData as CFData)!

let evaluators: [String: ServerTrustEvaluating] = [
    "www.apple.com": PinnedCertificatesTrustEvaluator(
        certificates: [certificate],
        acceptSelfSignedCertificates: false,
        performDefaultValidation: true,
        validateHost: true
    )
]

let session = Session(
    serverTrustManager: ServerTrustManager(evaluators: evaluators)
)
After that, the actual request call looks normal. The difference is that the session now refuses connections that do not satisfy the pinned trust rules. The article also emphasizes the practical workflow: obtain the site certificate first, add it to the app, then build the trusted session around it.

The plain URLSession version makes the same request mechanics explicit: configuration, request, body, task, response.
The Foundation version is longer, but it is valuable because it shows the underlying pieces more directly. You create a session,
build a URLRequest, add headers, attach an optional body, then run a data task.
func sendRequest() {
    let session = URLSession(configuration: .default)

    guard let url = URL(string: "https://webhook.site/xxxxxxxxxxxx") else { return }
    var request = URLRequest(url: url)
    request.httpMethod = "GET"
    request.addValue("Bearer ABCD-EFGH-123-456", forHTTPHeaderField: "Authorization")
    request.addValue("NekoNohe", forHTTPHeaderField: "CatName")
    request.addValue("token=NekoNeko", forHTTPHeaderField: "Cookie")

    let json: [String: Any] = [
        "name": "axel",
        "favorite_animal": "fox"
    ]

    if let body = try? JSONSerialization.data(withJSONObject: json, options: []) {
        request.httpBody = body
    }

    let task = session.dataTask(with: request) { data, response, error in
        if let httpResponse = response as? HTTPURLResponse, error == nil {
            print(httpResponse.statusCode)
        } else {
            print(error?.localizedDescription as Any)
        }
    }

    task.resume()
}
That is why it helps to see both approaches in one article. Alamofire reduces the surface area, but URLSession
makes the mechanics obvious enough that you can reason about either version when something goes wrong.
The most useful pattern here is separation: request construction, upload shape, and trust validation are related, but not the same concern.
A plain GET or POST request is one problem. Multipart upload adds body composition. SSL pinning adds a trust policy on top of the transport. This article is useful because it shows all three in one place without pretending they are the same layer.
That still makes the guide practical now: you can take the pieces you need, whether that is a quick Alamofire request, a file upload path, or the extra certificate validation step for a more sensitive connection.