This article answers a very common question: how do you add Core Data after the SwiftUI app already exists?
Instead of starting from a brand new template, this article walks through the retrofit path. It covers the data model itself, the entity code generation step, the persistence container, SwiftUI environment injection, `@FetchRequest`, and finally the merge-policy setting that keeps write conflicts from throwing exceptions by default.
The sample data model is a simple to-do list with three fields:
todoTaskName,
personName,
and taskDueTime.
That small schema keeps the article focused on the Core Data wiring rather than app-specific logic.
Create the Core Data model file first, then name it after the app so the persistence container can refer to it cleanly.
The first step is creating a new Data Model file in Xcode. The article names it
CoreDataDemo.xcdatamodeld, but the real point is that the model name must line up with the
name you pass into the persistence container later.
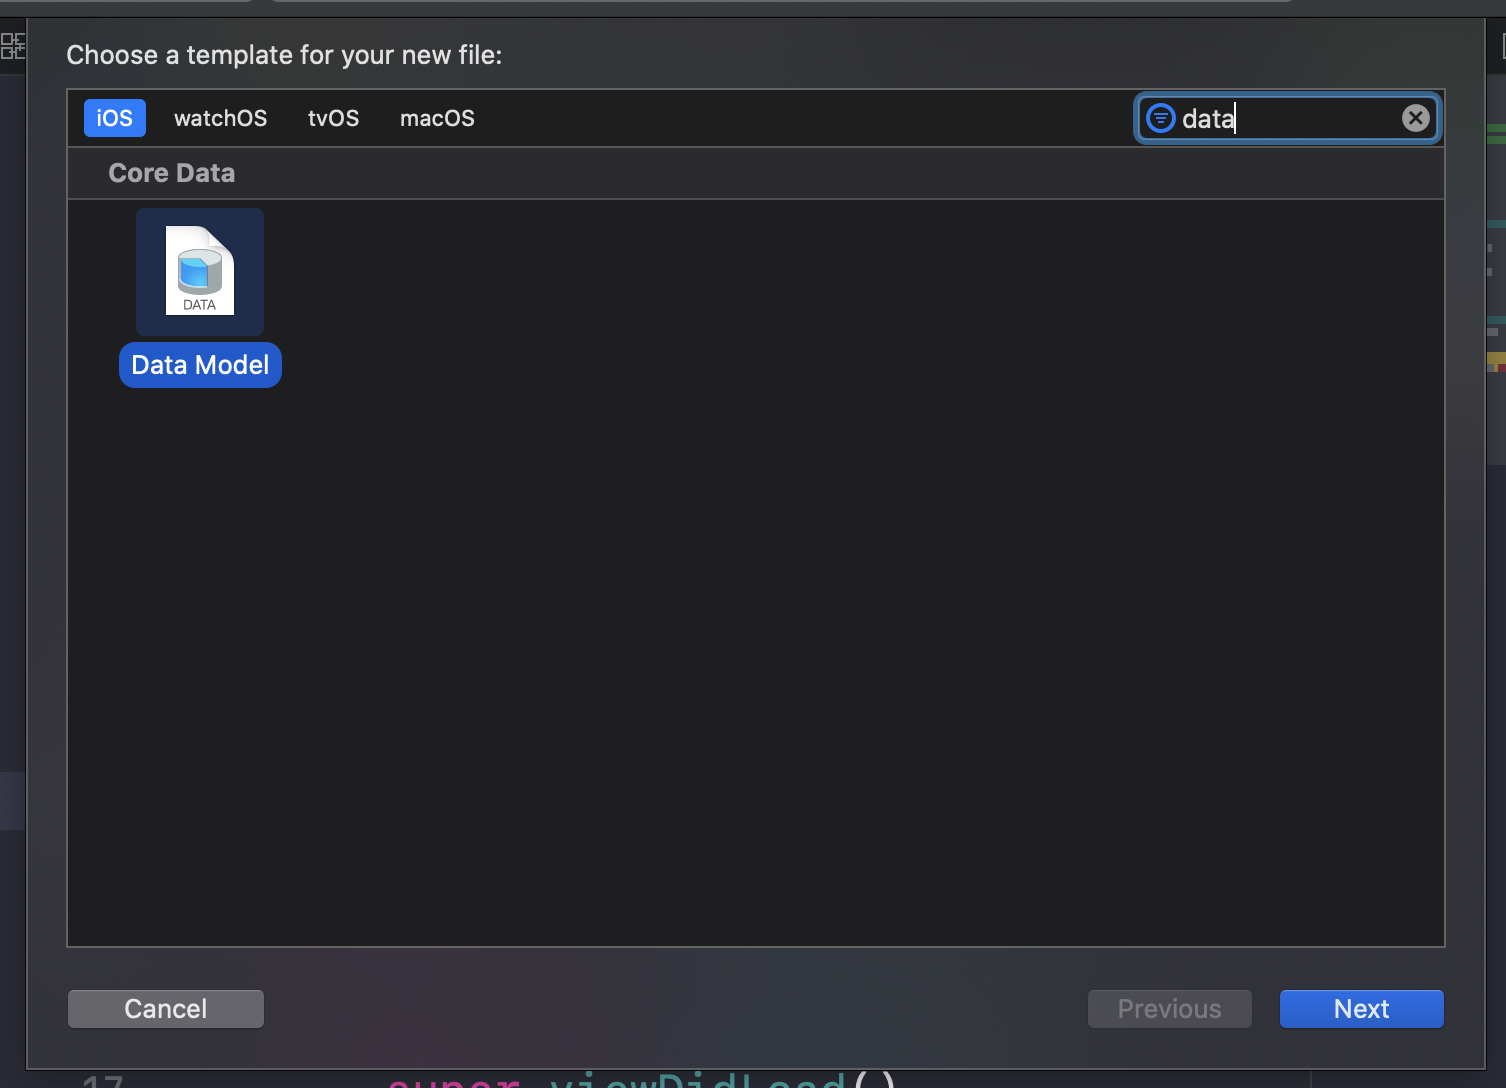
Data Model template when creating the Core Data model file.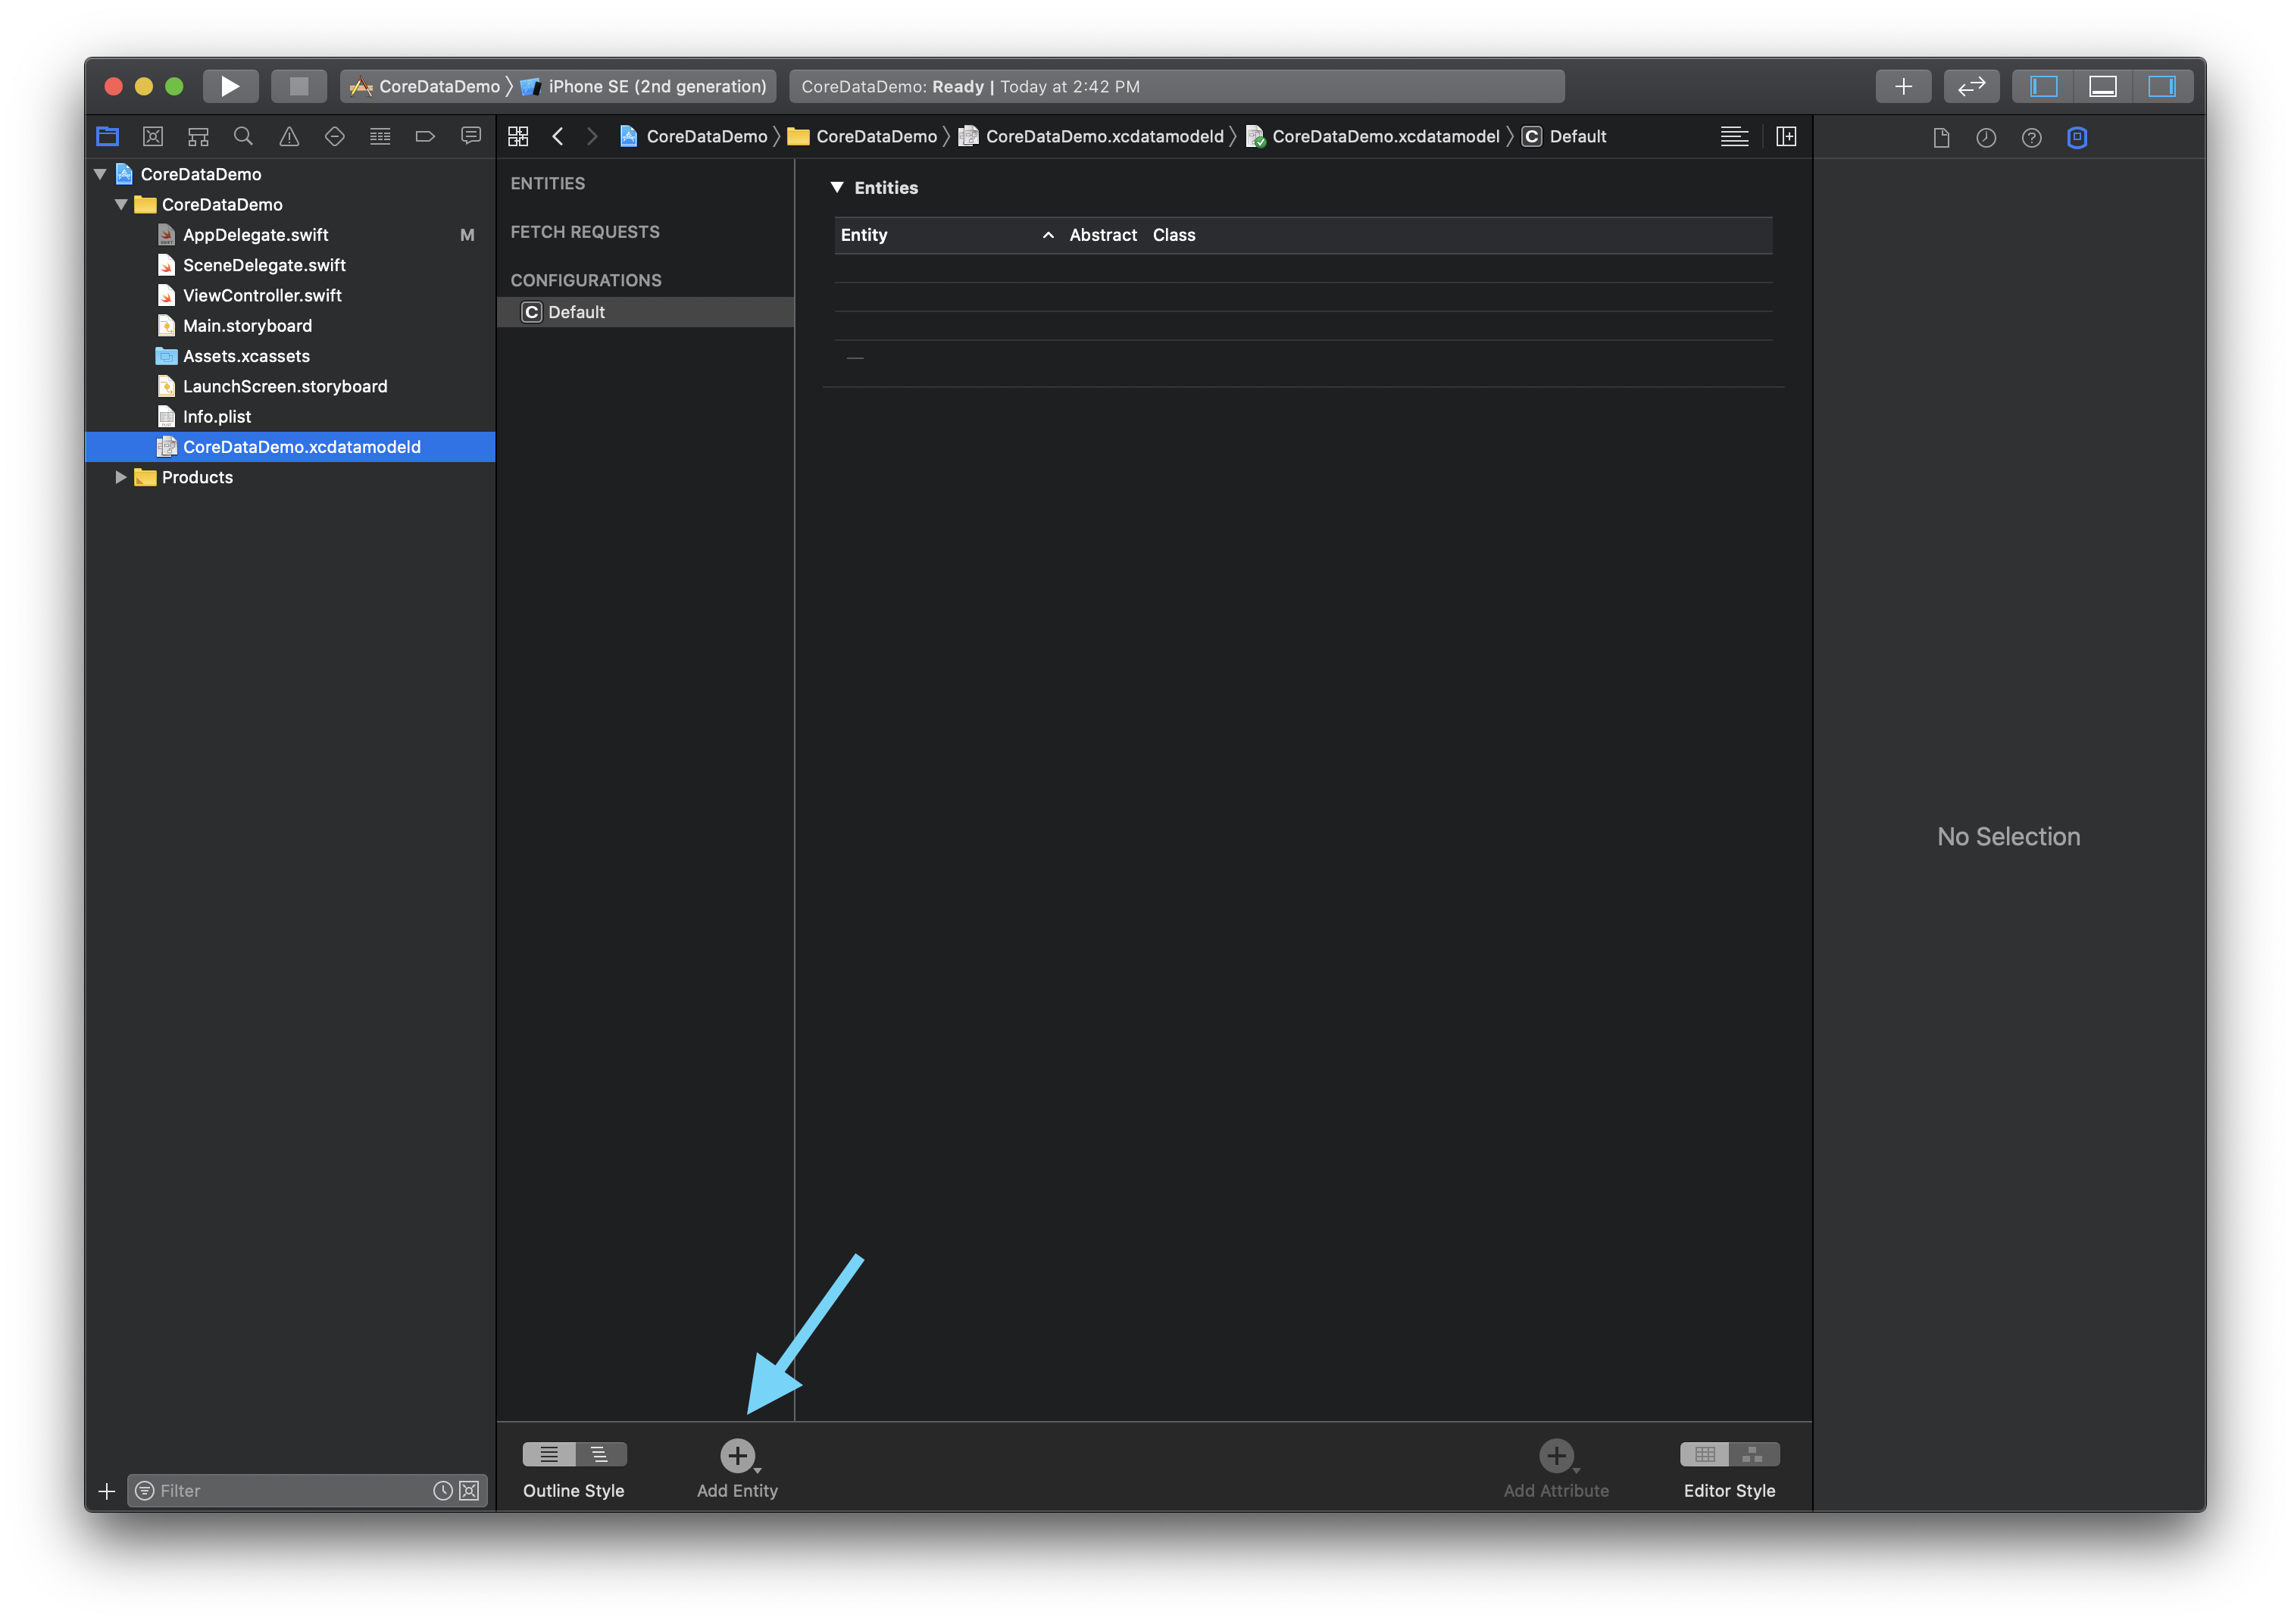
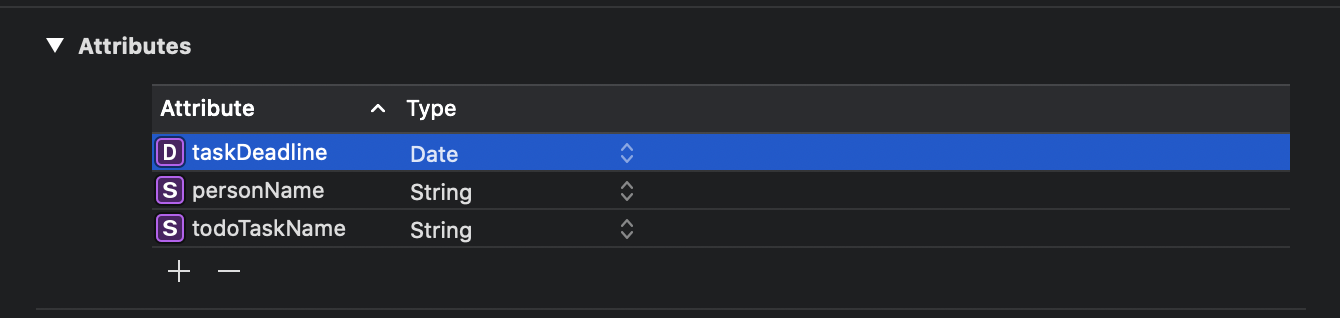
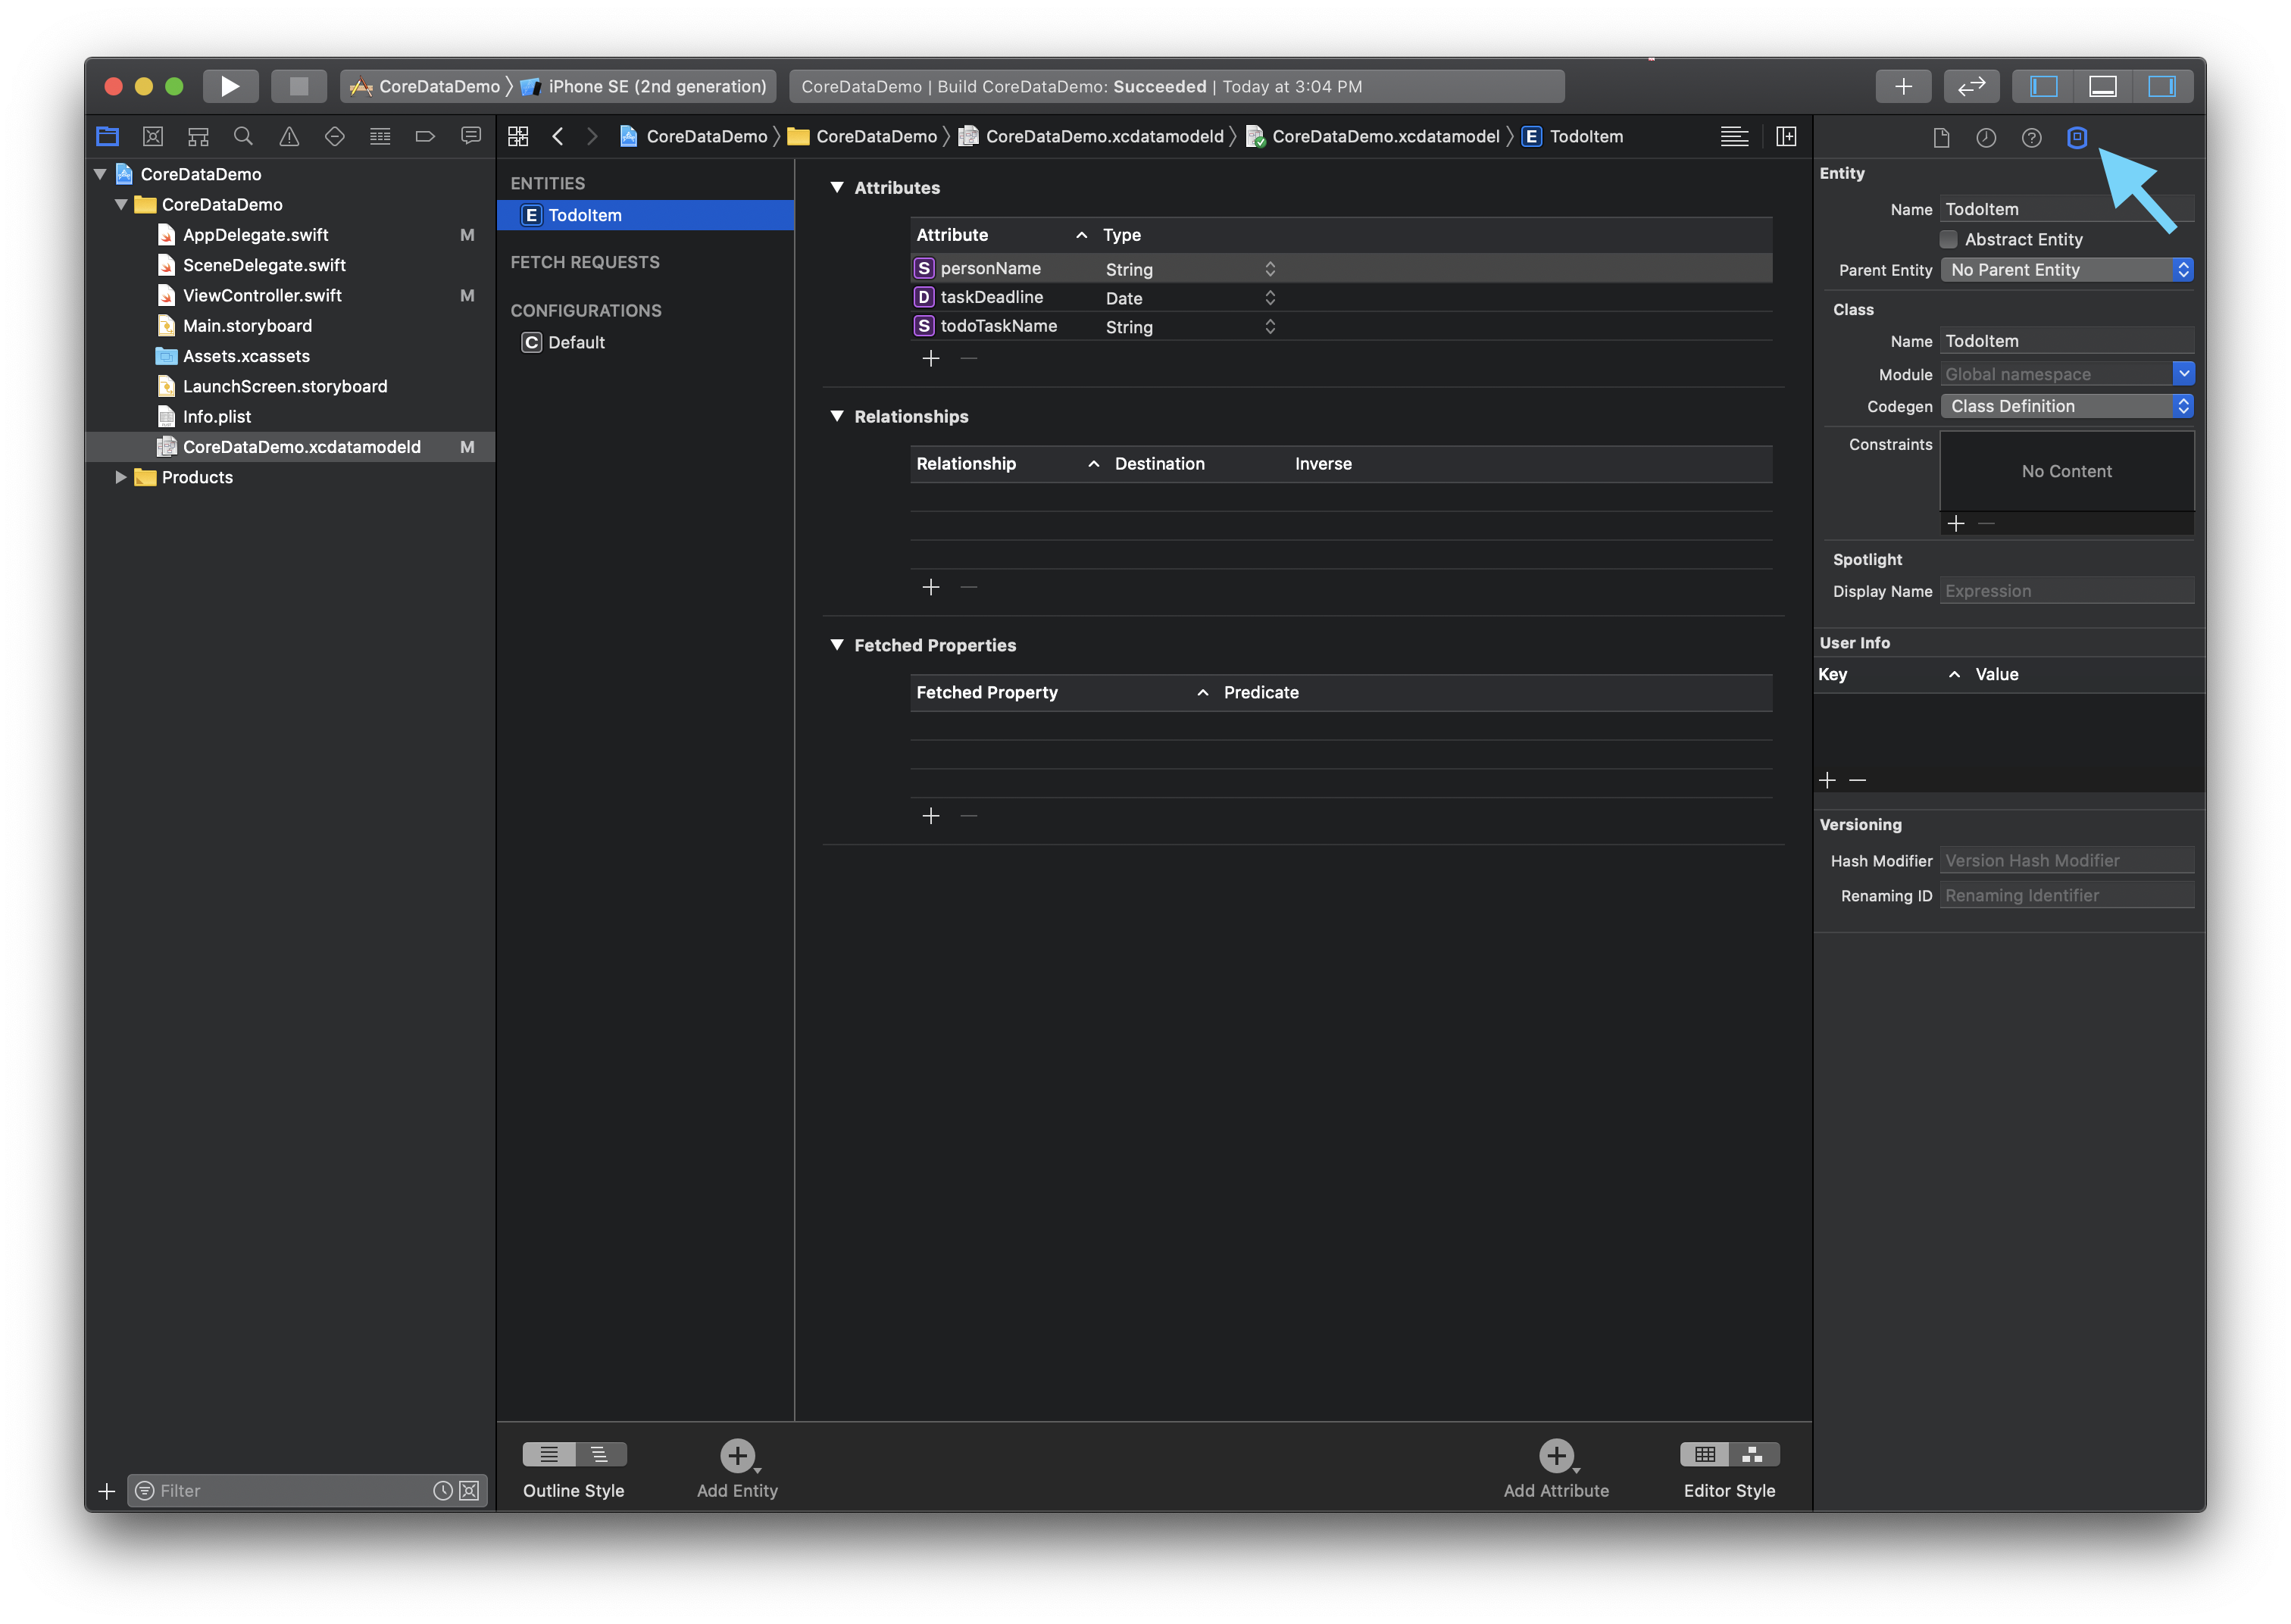
Build the schema by creating one entity, naming it, and then filling in its properties and types.
The article uses a TodoItem entity. After the entity is created, the rest of the schema work
is basic but important: add the fields, assign their types, and confirm the final structure before moving on.
TodoItem
- todoTaskName: String
- personName: String
- taskDueTime: Date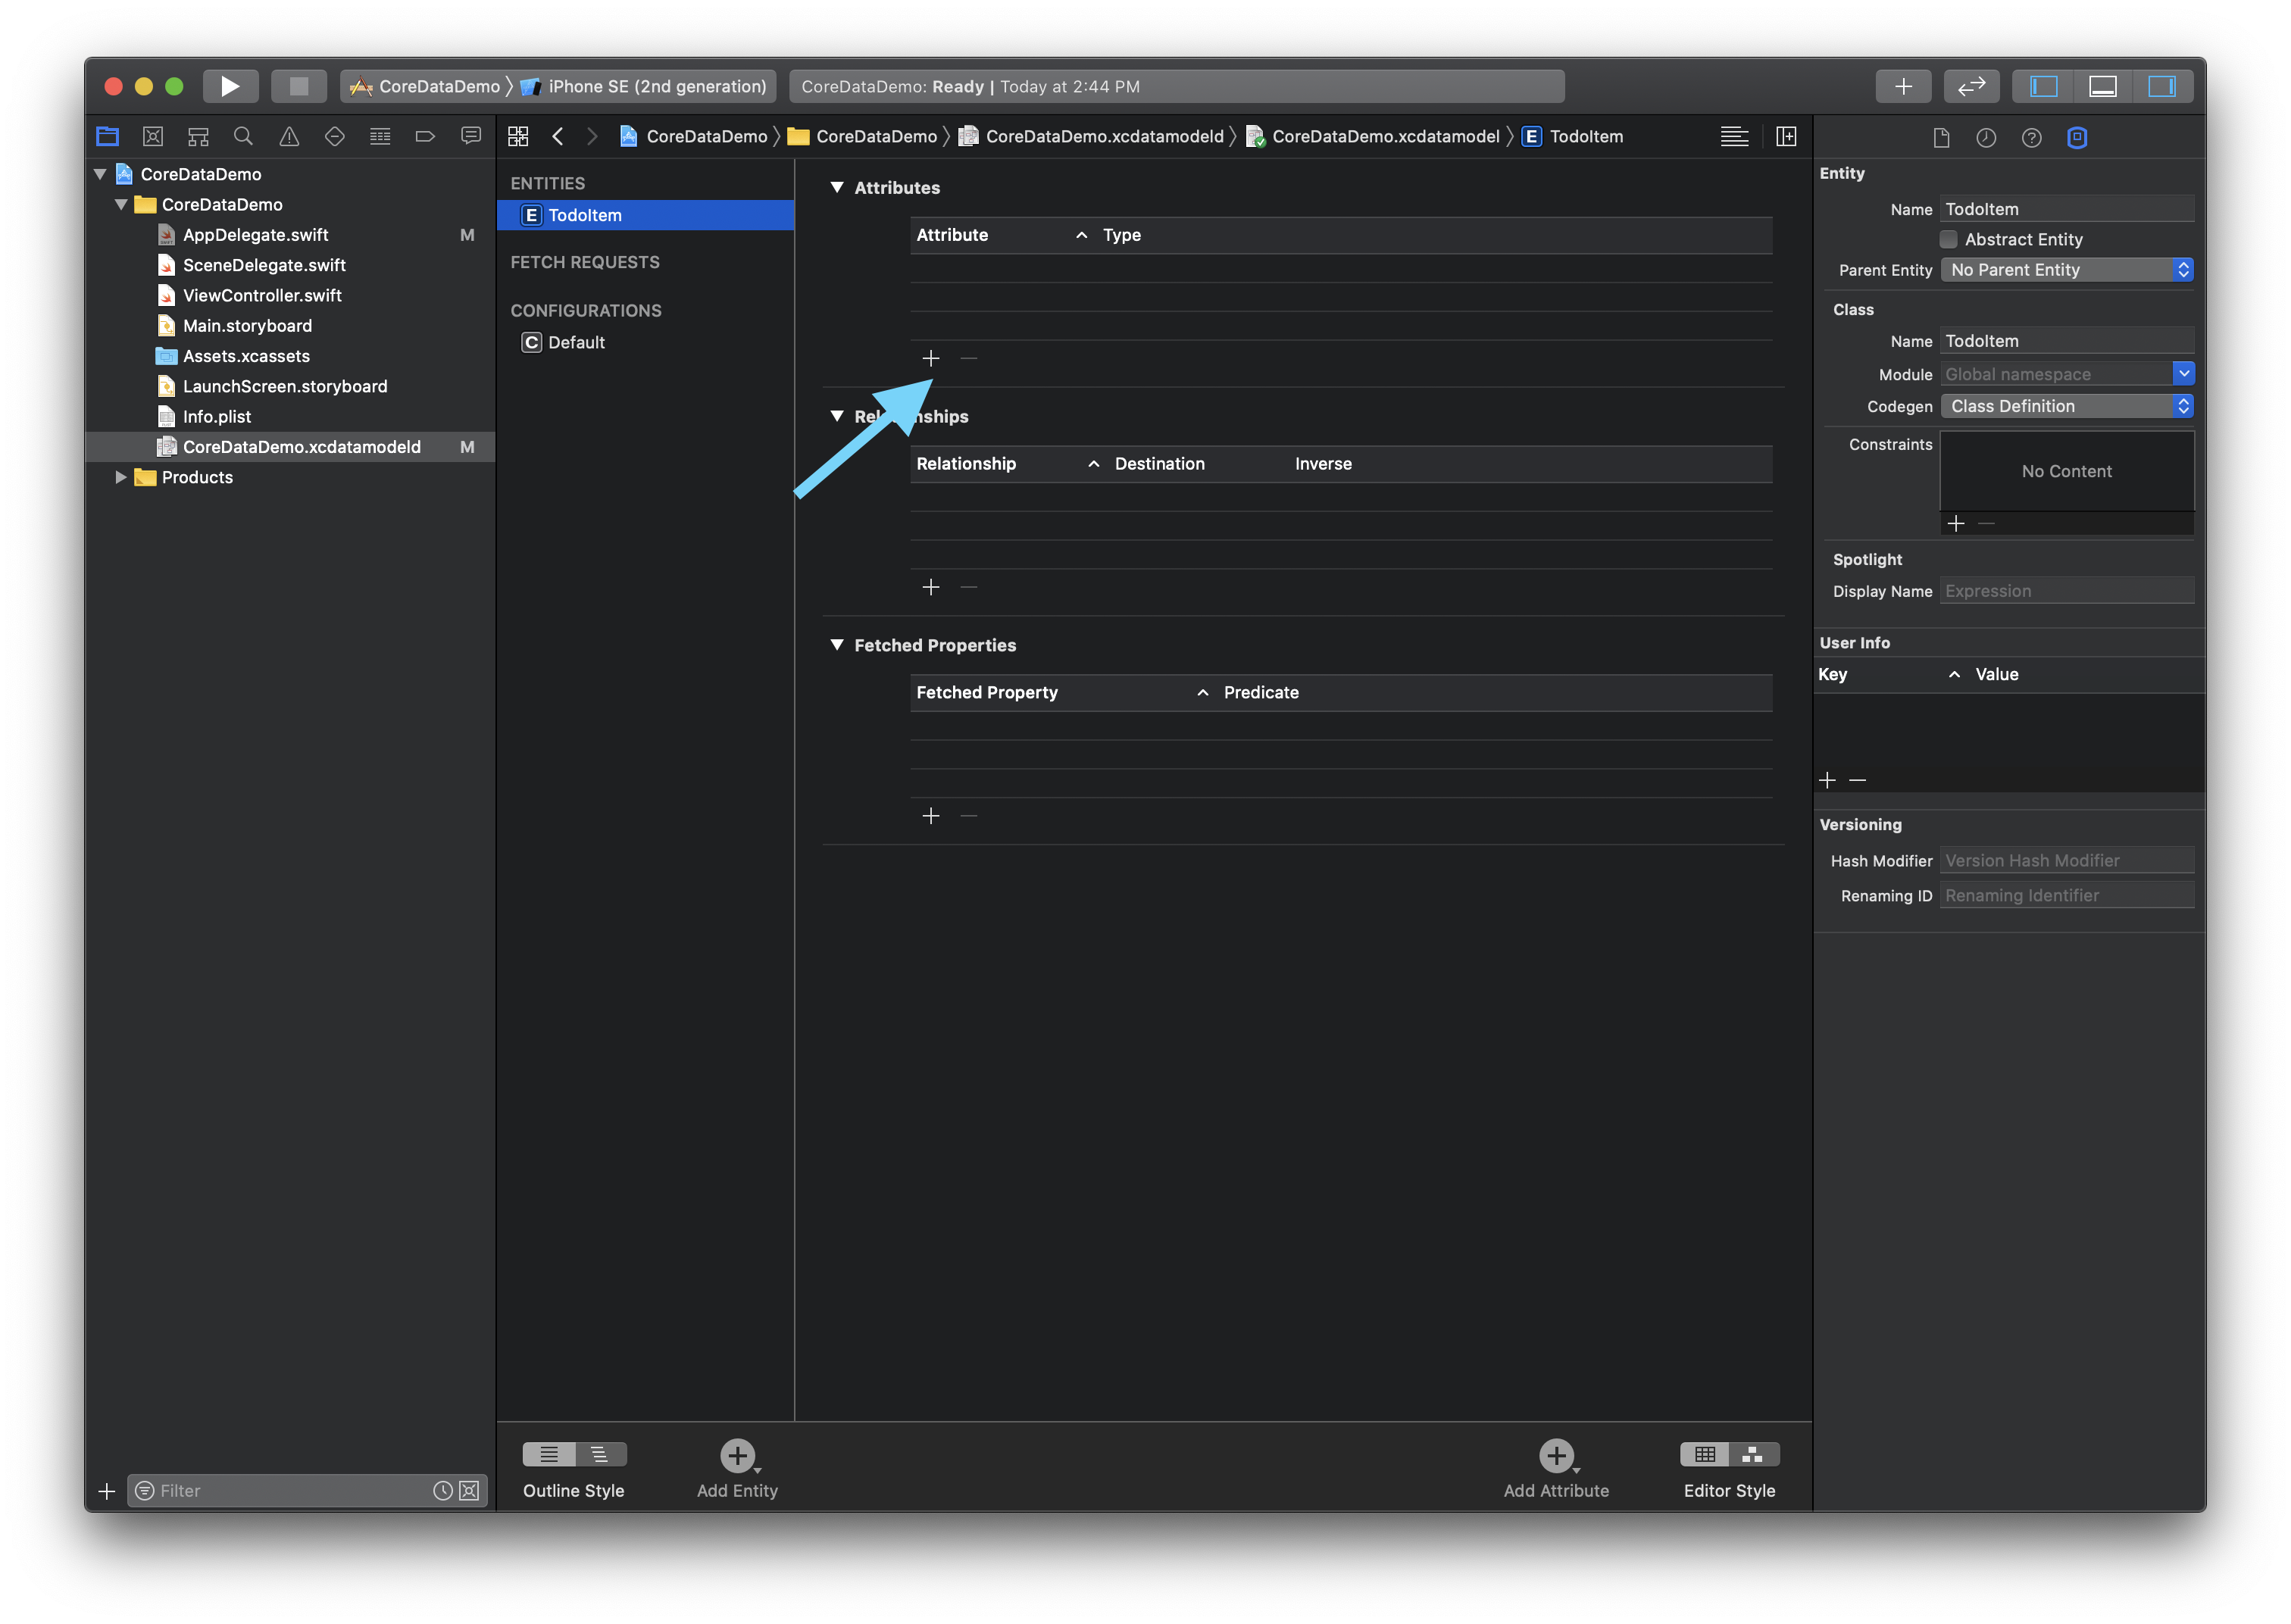

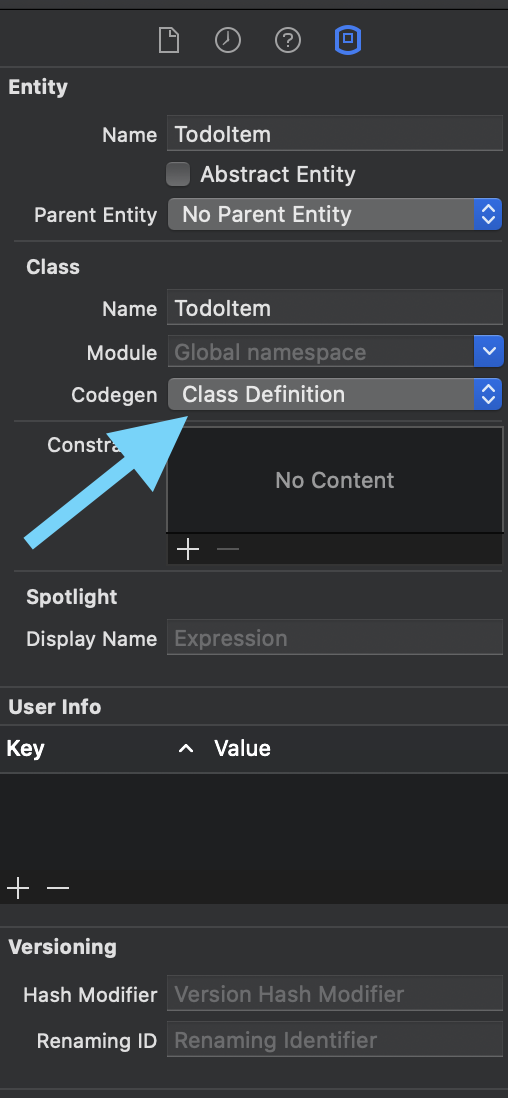
Switch the entity to manual code generation, then ask Xcode to create the NSManagedObject subclasses for you.
The next part of this article is about getting usable entity classes into the project. It opens the
entity inspector, changes Codegen from the default automatic mode to
Manual/None, and then runs the Xcode command that generates the subclass files.
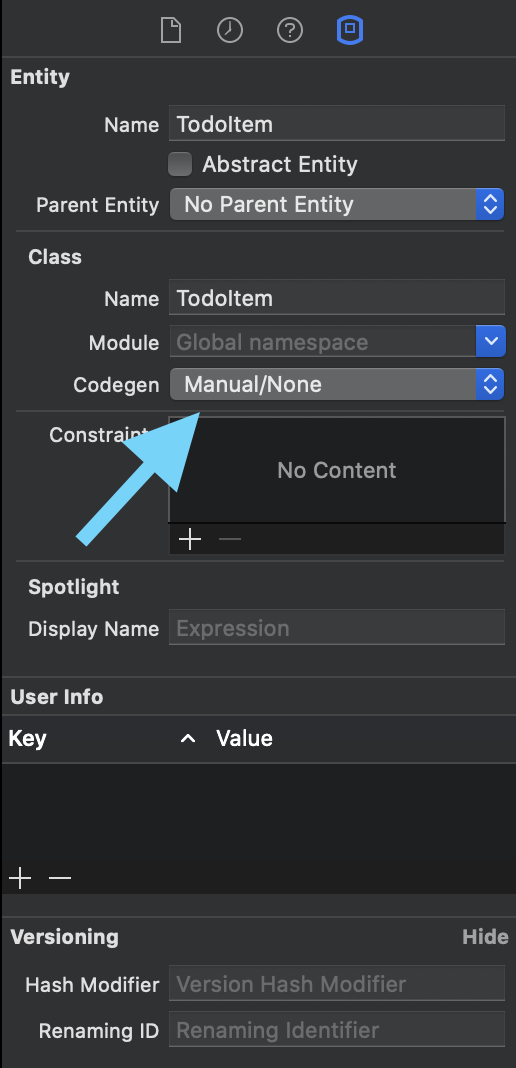
Codegen to Manual/None before generating classes.
Editor > Create NSManagedObject Subclass....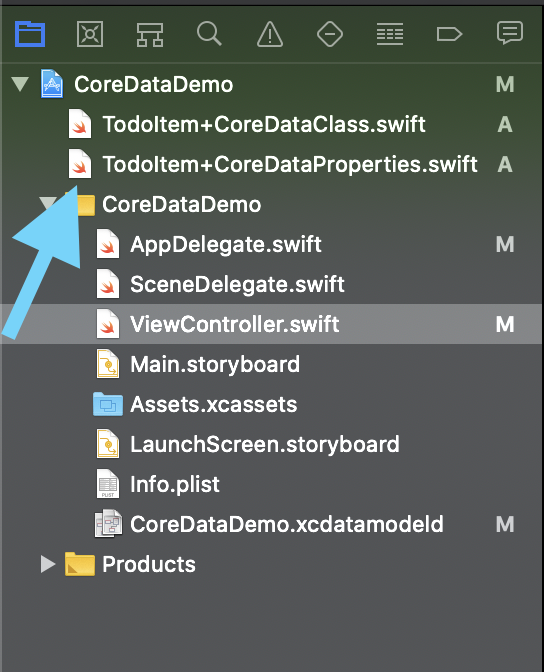
TodoItem directly.Create one persistence controller that owns the container and loads the store during app startup.
The article adds a small helper struct named PersistenceController. Its job is to hold the
shared container, initialize it with the model name, and load the persistent stores one time.
import CoreData

struct PersistenceController {
    static let shared = PersistenceController()

    let container: NSPersistentCloudKitContainer

    init() {
        container = NSPersistentCloudKitContainer(name: "CoreDataDemo")
        container.loadPersistentStores { storeDescription, error in
            if let error = error as NSError? {
                print(error.localizedDescription)
            }
        }
    }
}
The original code uses NSPersistentCloudKitContainer. The bigger point is that the
container's name must match the data-model file you created earlier.
The article then initializes that shared controller from the SwiftUI app entry point:
@main
struct SimpleTODOApp: App {
    let persistenceController = PersistenceController.shared

    var body: some Scene {
        WindowGroup {
            ContentView()
        }
    }
}
For older projects that still use SceneDelegate, the source also shows grabbing the
viewContext there and pushing a SwiftUI root view into a UIHostingController.
func scene(
    _ scene: UIScene,
    willConnectTo session: UISceneSession,
    options connectionOptions: UIScene.ConnectionOptions
) {
    let context = PersistenceController.shared.container.viewContext
    let contentView = ContentView()

    if let windowScene = scene as? UIWindowScene {
        let window = UIWindow(windowScene: windowScene)
        window.rootViewController = UIHostingController(rootView: contentView)
        self.window = window
        window.makeKeyAndVisible()
    }
}After the container exists, inject the managed object context into the SwiftUI environment and read it back where needed.
SwiftUI does not automatically know about the Core Data stack. The article fixes that by attaching the
container's viewContext to the root view:
ContentView()
    .environment(\.managedObjectContext, persistenceController.container.viewContext)
The receiving view then declares the environment value at the top:
@Environment(\.managedObjectContext) private var viewContextThat one environment value is what makes the rest of the SwiftUI Core Data APIs work naturally inside the view tree.
Use @FetchRequest to read records back into SwiftUI and let the UI stay in sync when the store changes.
The article's fetch example sorts the list by taskDueTime and stores the result in a
FetchedResults<TodoItem> value:
@FetchRequest(
    sortDescriptors: [
        NSSortDescriptor(keyPath: \TodoItem.taskDueTime, ascending: true)
    ],
    animation: .default
)
private var items: FetchedResults<TodoItem>
The source explicitly calls out the key-path format here: use
[EntityName].[PropertyName], and change the property to whatever field you want to sort by.
The practical benefit is that SwiftUI refreshes the list automatically when items are inserted, updated, or deleted in Core Data.
Do not stop at the root view. Any child view that creates or edits Core Data objects still needs access to the same environment context.
The article uses a creation view named ToDoItemCreate as the example. When that view is
presented, it also receives the environment value:
ToDoItemCreate(isShown: $showTodoCreateView)
    .environment(\.managedObjectContext, self.viewContext)
And inside that child view, the same declaration appears again:
@Environment(\.managedObjectContext) private var viewContextThe core point is simple: if a view needs to read from or write to Core Data, make sure the context reaches that view through the environment chain.
The final section deals with write conflicts, because Core Data's default behavior is not always what you want in a user-facing app.
The article notes that save conflicts can happen when Core Data tries to write changes that collide with another version of the same object. By default, that can surface as an exception when saving.
The example resolves that by assigning a merge policy to the context:
self.viewContext.mergePolicy =
    NSMergePolicy(merge: .mergeByPropertyObjectTrumpMergePolicyType)
The source then summarizes the common choices:
NSErrorMergePolicyType reports the conflict as an error when saving.
NSMergeByPropertyStoreTrumpMergePolicyType keeps the store-side values.
NSMergeByPropertyObjectTrumpMergePolicyType keeps the in-memory changes on a property-by-property basis.
NSOverwriteMergePolicyType pushes the in-memory object over the persistent store.
NSRollbackMergePolicyType discards the conflicting in-memory changes.
The article's recommendation is the object-trump policy when you want the newest in-memory edit to overwrite the stored version automatically.
This is still a useful retrofit guide because it follows the real integration path: model, entity code, persistence stack, environment, fetches, and conflict policy all have to line up.
The biggest takeaway is that adding Core Data to SwiftUI is not only about the model editor. The app also needs a container, a shared context, environment propagation into the view tree, and an explicit policy for what happens when two versions of the same object collide.