There are really two markdown cases in SwiftUI: text you write in code, and text that arrives later from state or storage.
That split is what makes this article useful. It does not stop at the easy case where the string literal lives directly
inside Text. It also covers the more practical case where markdown comes from a variable, saved value, or user input.
Once you frame it that way, the implementation becomes straightforward. Hardcoded strings can often render directly. Dynamic strings
should be parsed into AttributedString first, then passed back into SwiftUI.
This article focuses on common inline formatting: bold, italic, links, and code spans.
At the time of this article, the practical examples centered on the markdown people reach for first: bold text, italic text, links, and inline code. The post also notes that tapping a rendered link opens Safari.
If the markdown already lives inside the source code, the simplest path is to put it directly in Text.
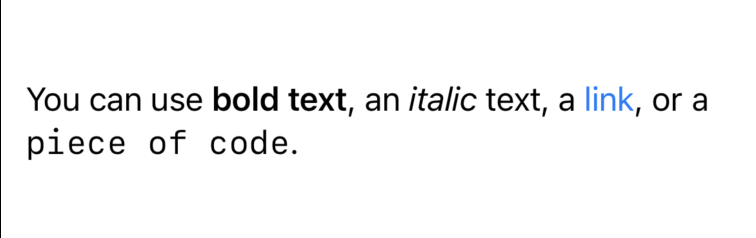
The first example is the low-friction version. A string literal containing markdown syntax can be passed directly to a SwiftUI
Text view, and SwiftUI renders the formatted result.
Text("You can use **bold text**, an *italic* text, a [link](apple.com), or `a piece of code`.")That works well when the copy is static and lives with the view code. It is the fastest path and keeps the rendering logic almost invisible.
When the markdown does not exist as a literal in the view, parse it into an AttributedString first.
The second case is more important in real apps. If markdown comes from state, storage, or a model object, the post wraps
the parsing in a small String extension. That keeps the view code clean and gives you one place to handle parse failures.
extension String {
    func getAttributedString() -> AttributedString {
        do {
            let attributedString = try AttributedString(markdown: self)
            return attributedString
        } catch {
            print("Couldn't parse: \(error)")
        }
        return AttributedString("Error parsing markdown")
    }
}
Then the rendering step becomes simple again:
Text(itemTextContent.getAttributedString())
That is the key bridge between raw string data and SwiftUI display. It lets the rest of the view continue to think in terms of Text.
Once dynamic markdown parsing works, a tiny live editor is just a TextEditor plus a rendered preview.
The final section of this article turns the parsing helper into a small markdown editor. A TextEditor captures the user's
input into state, and a second Text view renders the parsed markdown output immediately below it.
import SwiftUI

struct ContentView: View {
    @State private var userEnteredText: String = ""

    var body: some View {
        List {
            Section("Enter some text here") {
                TextEditor(text: $userEnteredText)
            }
            Text(userEnteredText.getAttributedString())
        }
    }
}
It is intentionally minimal, but that is the point. Once the conversion helper exists, a live markdown preview becomes a very small amount of UI code.
The useful pattern here is not just markdown support. It is separating literal text from dynamic text and handling each one at the right layer.
For hardcoded copy, inline markdown in Text keeps things simple. For model-driven or user-entered content,
AttributedString(markdown:) is the practical handoff point. Once you have that split clear, the rest of the
SwiftUI code stays small and predictable.
That is why this article still works as a quick reference. It gives you the direct case, the reusable parsing helper, and the smallest possible editor example in one place.