The first real step is to stop thinking of visionOS as just another iPad destination.
This article starts from an ordinary SwiftUI app and then adds the pieces that make it feel native on Vision Pro: a real Apple Vision target, window styling, Reality Composer Pro assets, an immersive space, a second 3D inspection window, and entity-targeted gestures.
The end result is not only a static demo. It becomes a small room-scale mini-game where you can spawn robots in the user's space and remove them by selecting the correct entity.
Switch from "Designed for iPad" compatibility mode to a real Apple Vision target first.
A SwiftUI app can appear to run on Vision Pro while still behaving like an iPad app in a floating shell. That mode is fine for quick testing, but it does not give you the proper window behavior or the spatial workflow needed for immersive content.
The practical change is to remove the compatibility destination and add the native Apple Vision target. If part of your codebase or package graph is not ready for visionOS yet, fence the new code with platform checks instead of forking the whole app.
#if os(visionOS) around visionOS-only code paths when third-party packages or older APIs are not available on the headset.
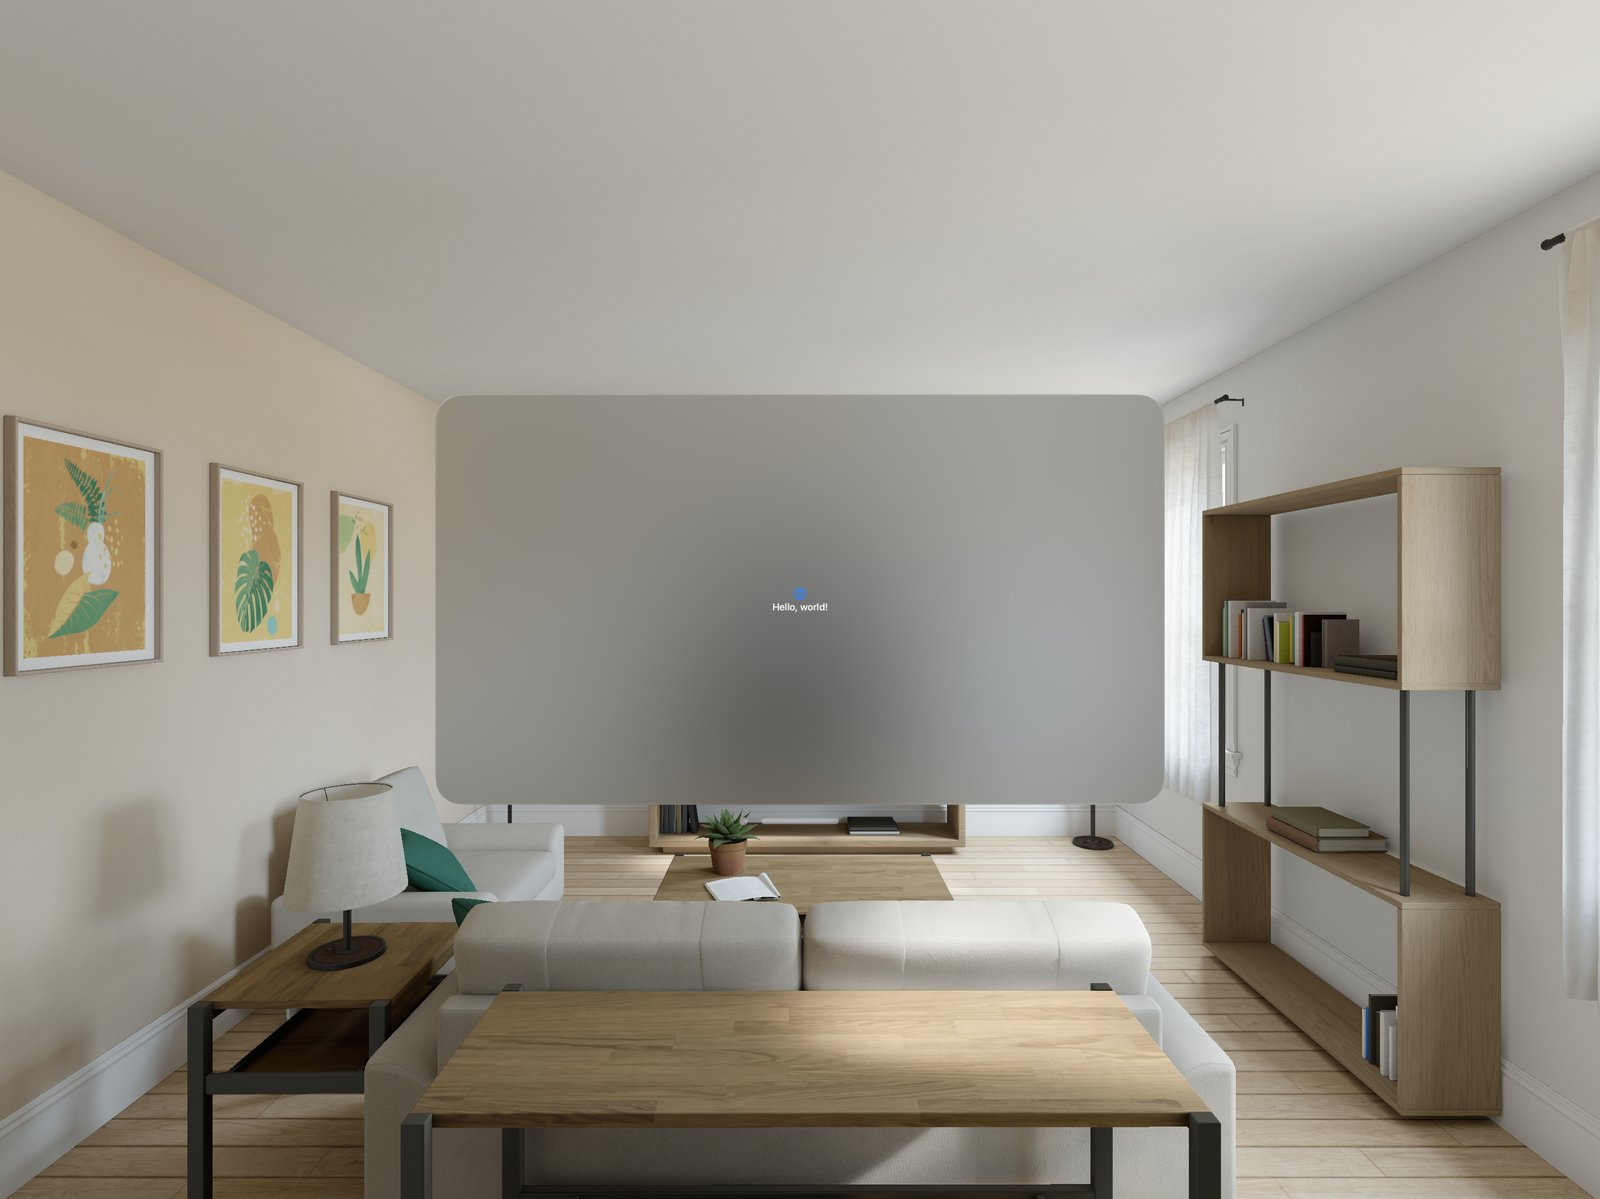
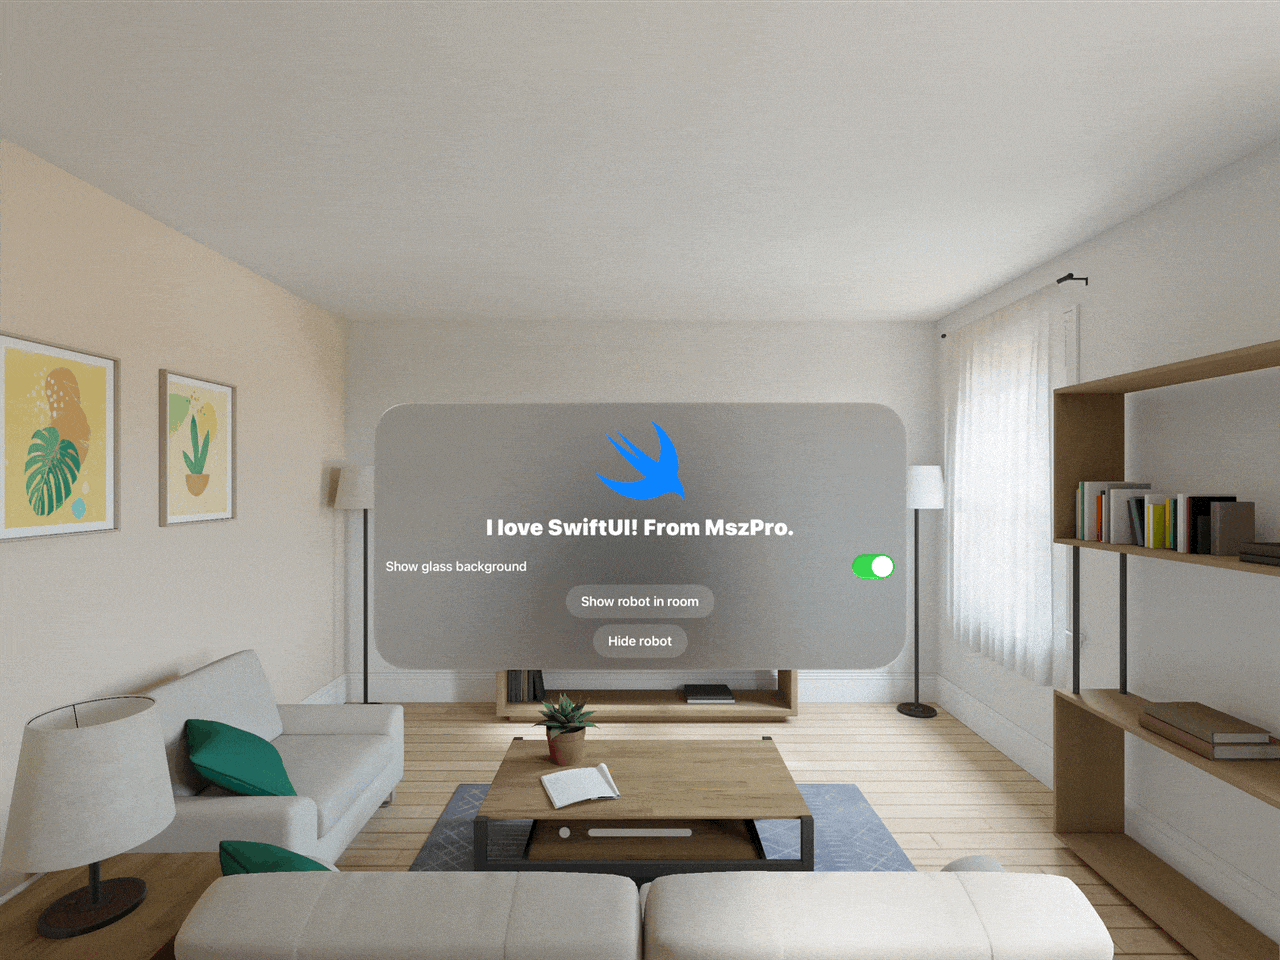
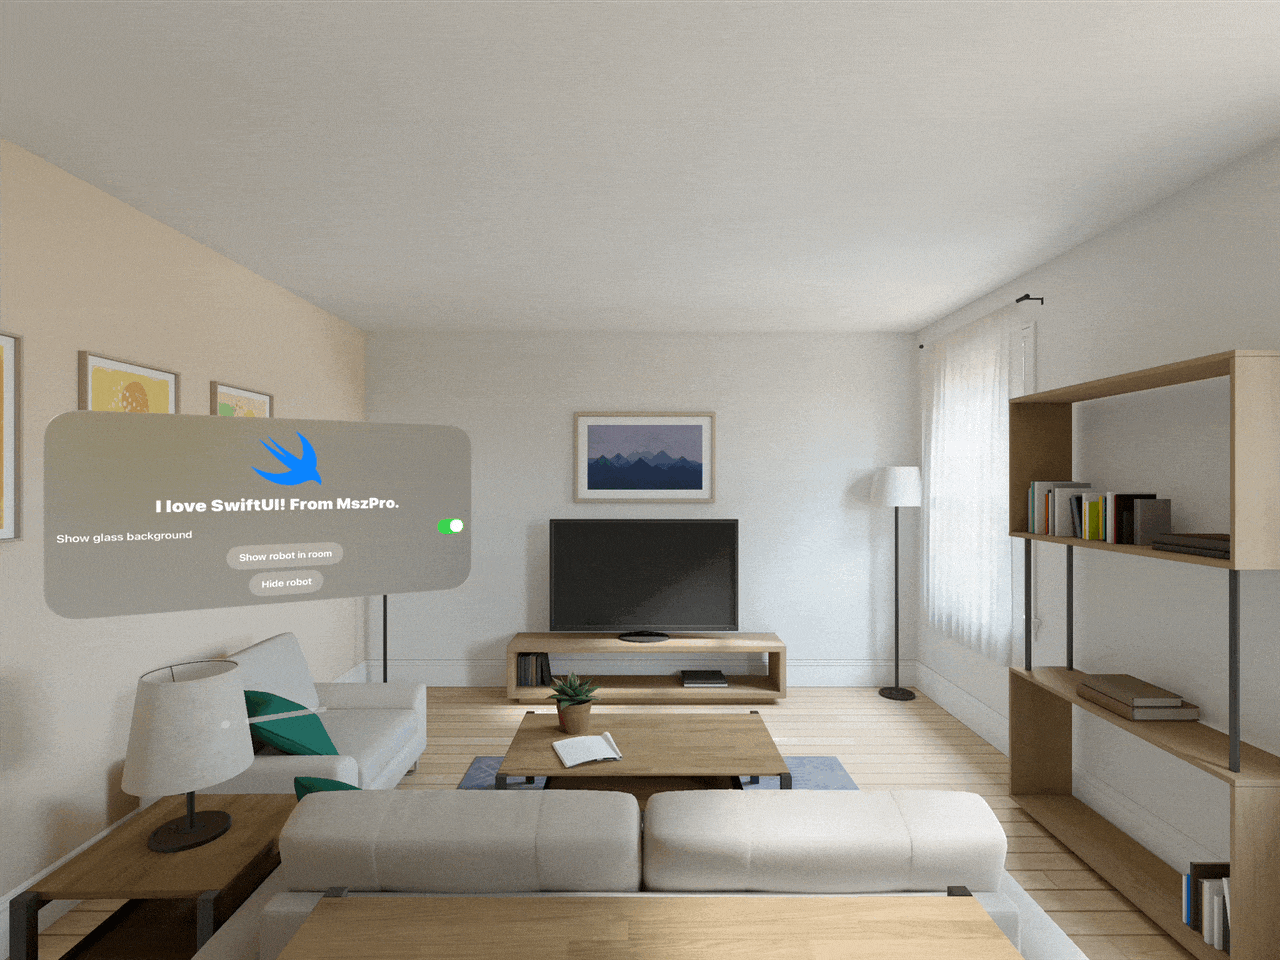
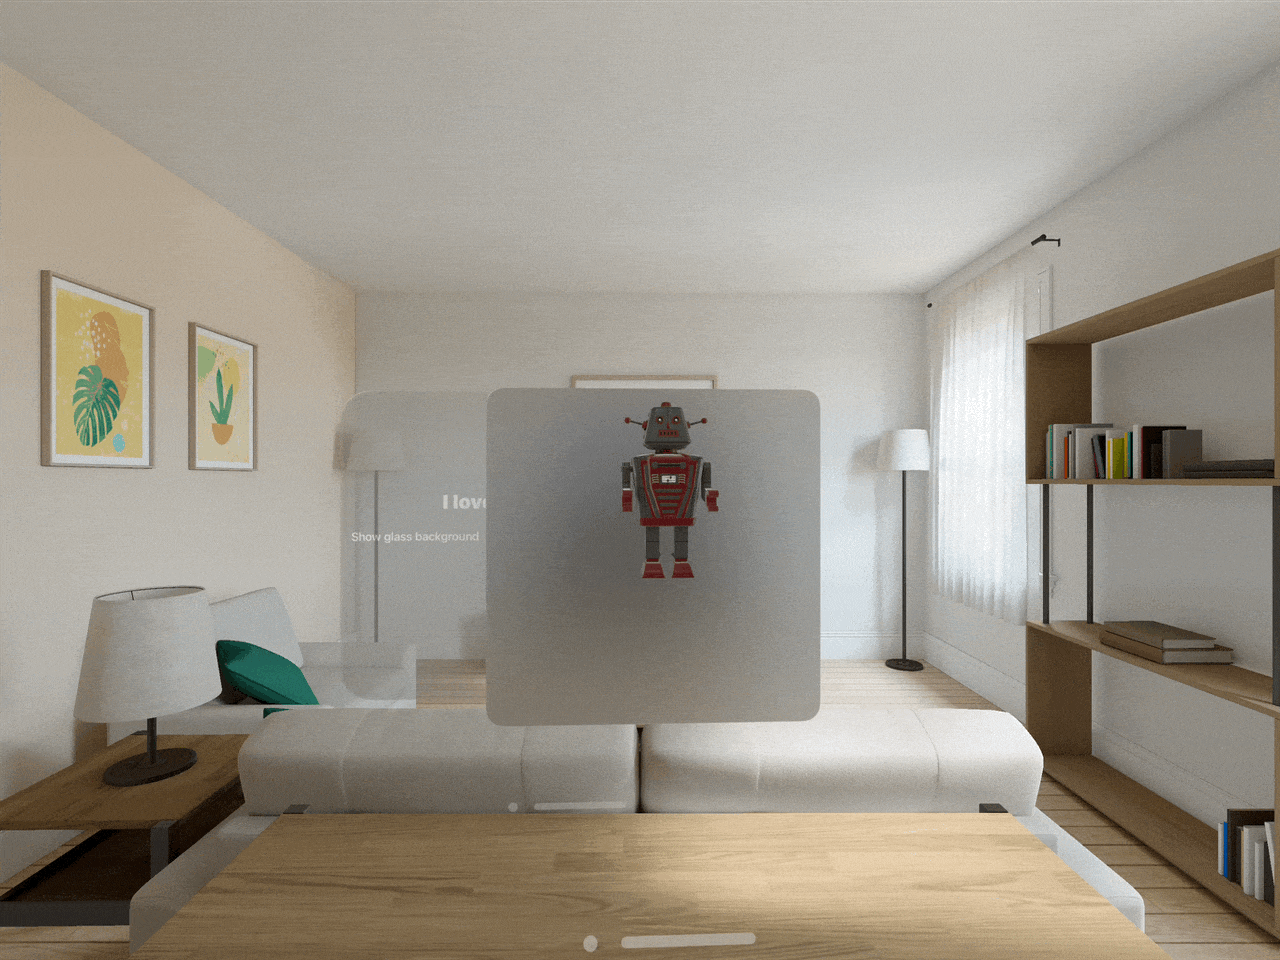
Control the glass effect instead of accepting the default window treatment.
visionOS applies a glass-like background by default. For a purely 2D control window, that can be useful, but it can also work against the interface you want. The article shows both the static and dynamic versions of this control.
WindowGroup {
    ContentView()
}
.windowStyle(.plain)

@State private var showGlassBackground = true

VStack {
    // your 2D controls
}
.padding()
.frame(width: 700)
.glassBackgroundEffect(
    displayMode: showGlassBackground ? .always : .never
)
That combination gives you two levers: .windowStyle(.plain) for the outer window presentation and
.glassBackgroundEffect(displayMode:) for the content itself.
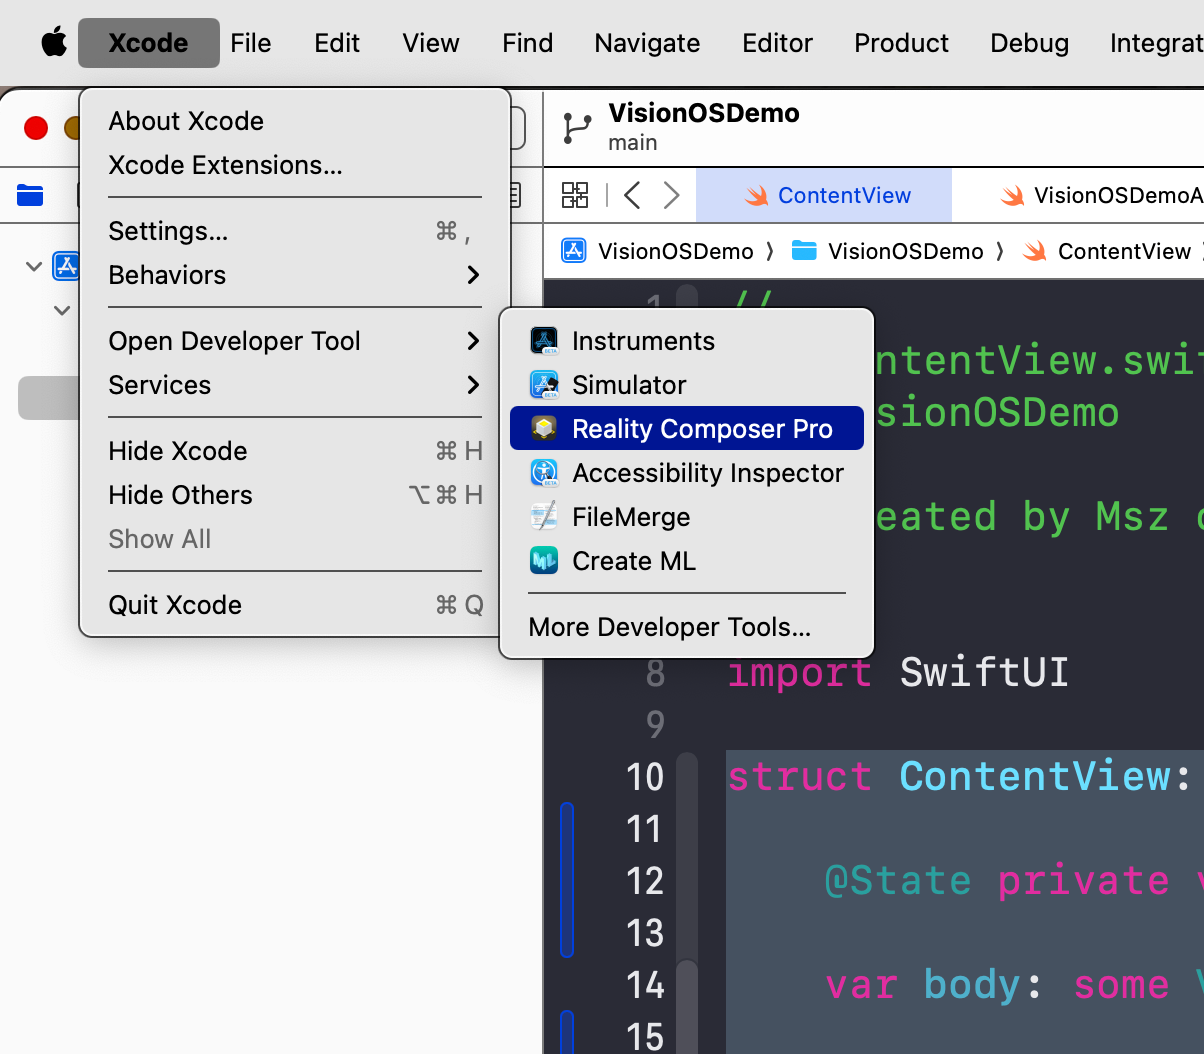
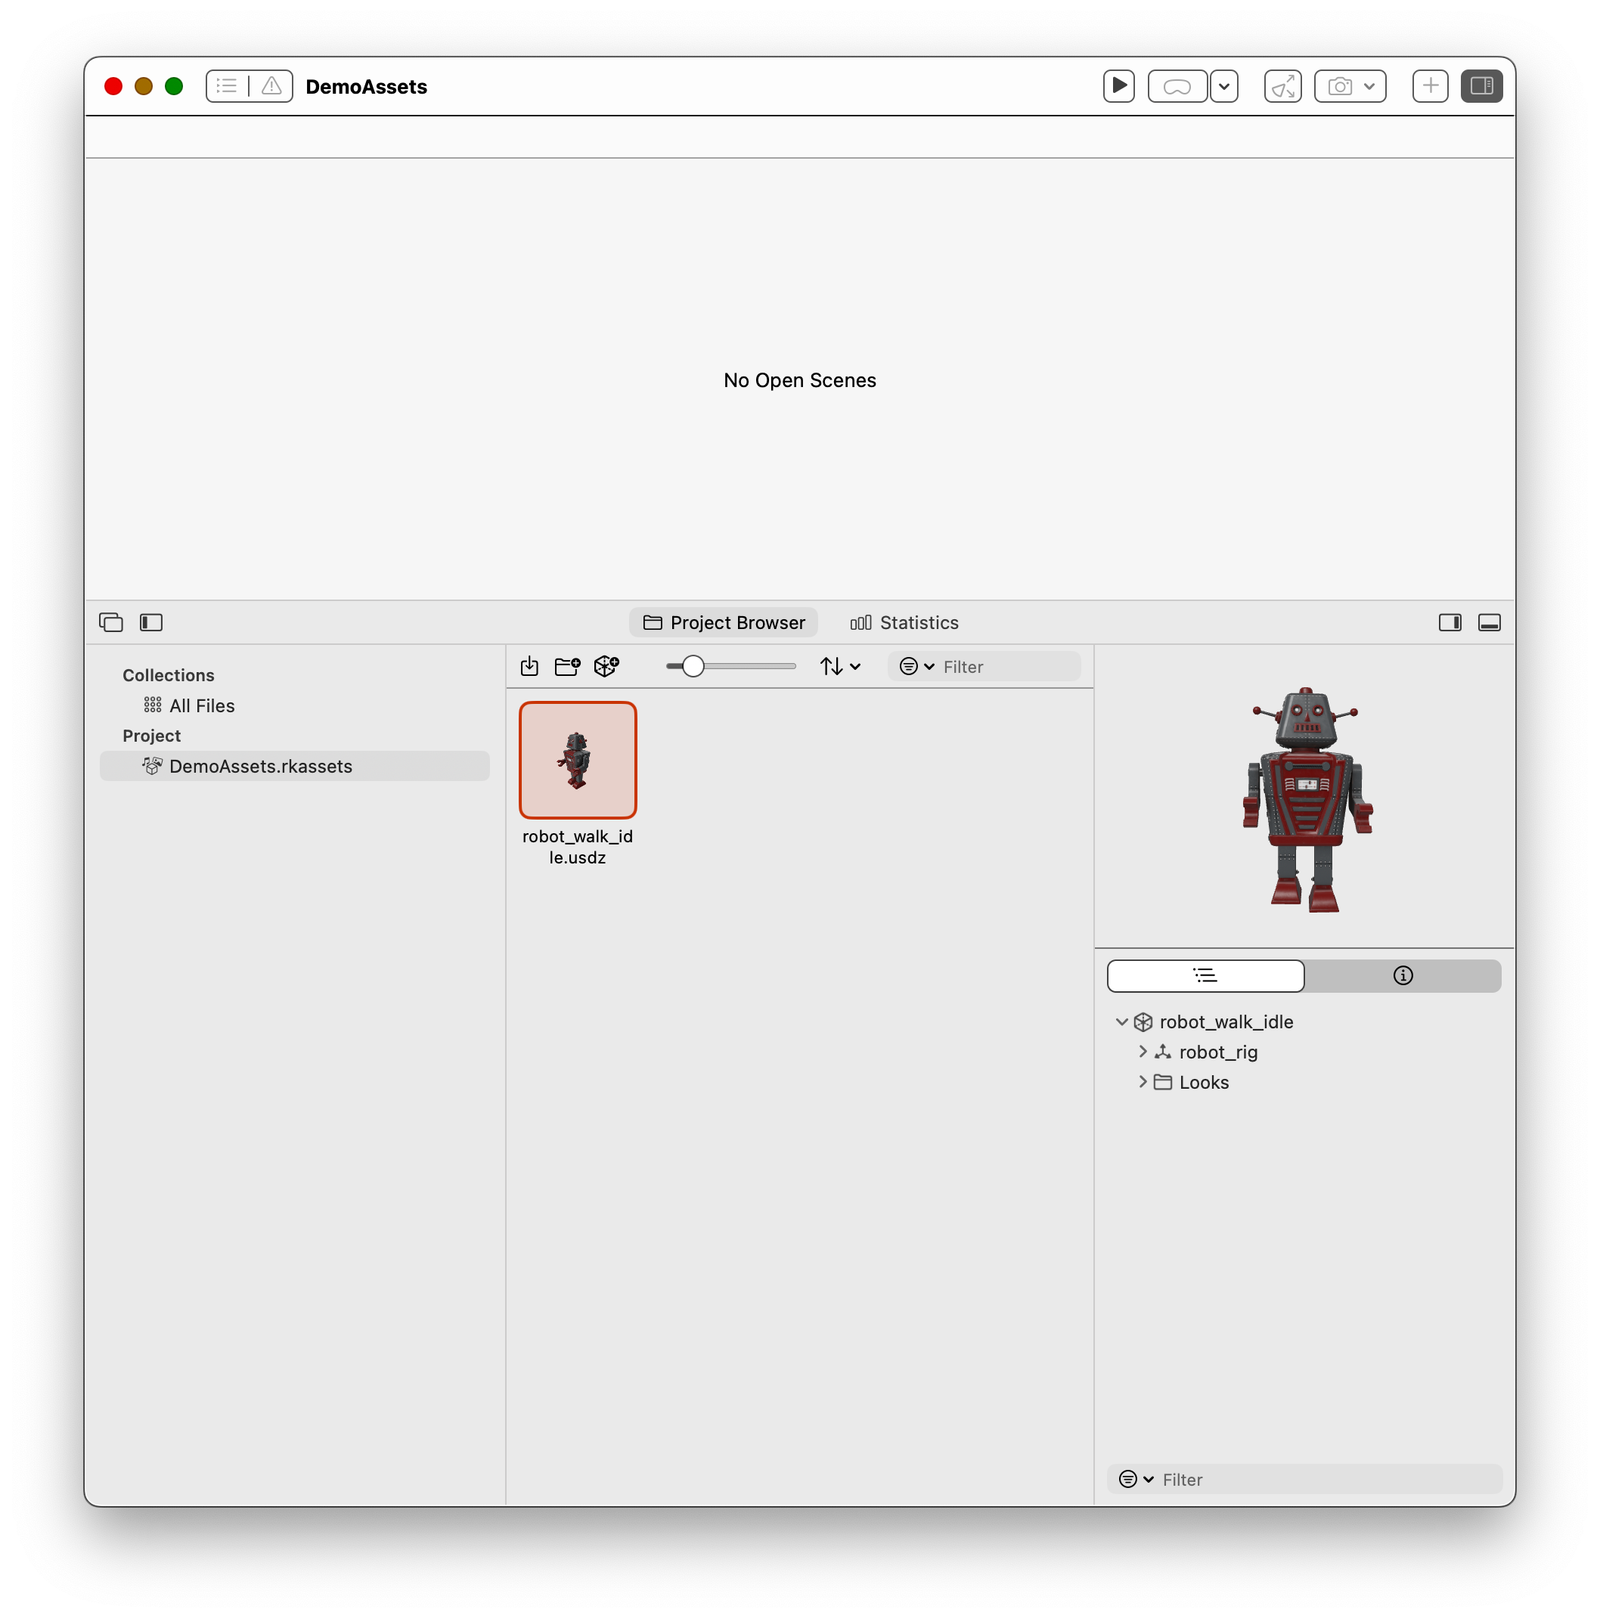
Reality Composer Pro gives you a package you can ship and load like code.
The tutorial uses a robot USDZ asset and places it inside a Reality Composer Pro project. One useful detail here is that the Reality Composer Pro project is really a Swift package, so it can be imported into Xcode as a local dependency and treated like a normal bundle source.
#if os(visionOS)
import RealityKit
import DemoAssets
@MainActor
func loadFromRealityComposerProject(
nodeName: String,
sceneFileName: String
) async -> Entity? {
do {
let scene = try await Entity(
named: sceneFileName,
in: demoAssetsBundle
)
return scene.findEntity(named: nodeName)
} catch {
print("Failed to load \\(sceneFileName)")
return nil
}
}
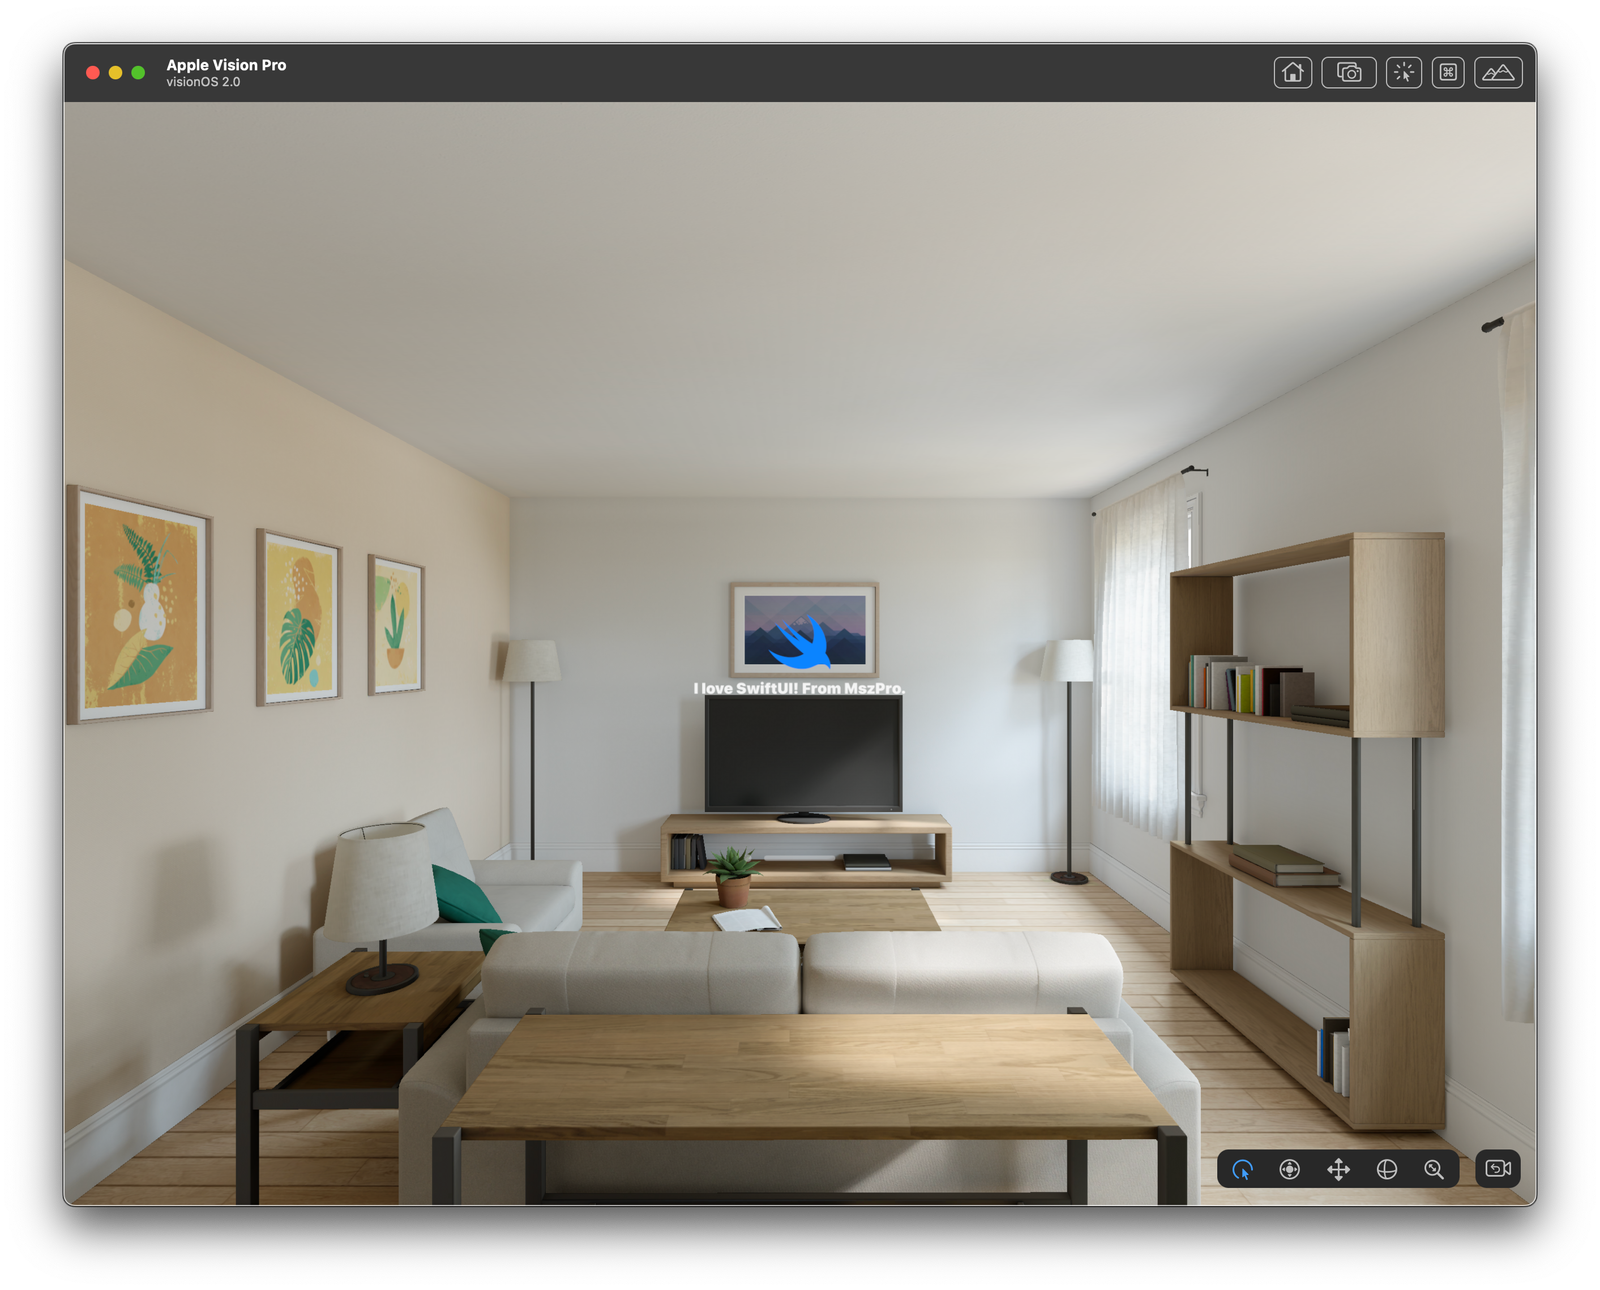
#endifThis is the pattern that unlocks the rest of the demo. Once the asset lives in a bundle and can be found by name, the app can place it in a room, clone it, inspect it in another window, or attach input behavior to it.
Load the entity into a RealityView, scale it, place it, and open that scene from the 2D app window.
The immersive space is where the room-scale part of the demo starts. A dedicated ContentSpace view uses
RealityView to load the robot, scale it down, place it in front of the user, and start its first animation if one is available.
ImmersiveSpace(id: "robotSpace") {
    ContentSpace()
}

RealityView { content in
    guard let robot = await loadFromRealityComposerProject(
        nodeName: "robot_walk_idle",
        sceneFileName: "robot_walk_idle.usdz"
    ) else { return }

    robot.scale = .init(x: 0.1, y: 0.1, z: 0.1)
    robot.position = .init(x: 0, y: 0, z: -3)

    if let animation = robot.availableAnimations.first {
        robot.playAnimation(animation.repeat(),
                            transitionDuration: 0,
                            startsPaused: false)
    }

    content.add(robot)
}
The app opens and closes that immersive space through SwiftUI environment values. This article uses a 2D control panel with buttons to open the room, add random robots, close the space, and launch a separate inspection window.
x moves left and right, y moves up and down, and negative z places content in front of the user. If the model seems missing, scale is usually the first thing to check.
Use a second volumetric WindowGroup when the user wants to inspect one model up close.
The article does not stop at the immersive room view. It also adds a dedicated model-inspection window so the user can rotate the robot directly, separate from the room-scale scene.
struct ARModelOpenParameter: Identifiable, Hashable, Codable {
    var id: String { "\(modelName)-\(modelNodeName)" }
    var modelName: String
    var modelNodeName: String
    var initialScale: Float
}

WindowGroup(for: ARModelOpenParameter.self) { $object in
    if let object {
        RealityView { content in
            guard let arAsset = await loadFromRealityComposerProject(
                nodeName: object.modelNodeName,
                sceneFileName: object.modelName
            ) else { return }
            arAsset.generateCollisionShapes(recursive: true)
            arAsset.components[InputTargetComponent.self] =
                InputTargetComponent(allowedInputTypes: .all)
            content.add(arAsset)
        }
        .dragRotation()
        .glassBackgroundEffect(displayMode: .always)
    }
}
.windowStyle(.volumetric)
.defaultSize(width: 0.5, height: 0.5, depth: 0.5, in: .meters)
The button that launches this window is just as important as the window itself:
@Environment(\.openWindow) plus openWindow(value: ARModelOpenParameter(...)).
When you need less custom UI, the built-in Model3D path is much lighter.
The custom volumetric window is flexible, but it is not the only option. This article also points out that visionOS can render a model preview directly
with Model3D, which is useful when you need a quick viewer instead of a fully custom RealityView-based scene.
Model3D(named: "robot_walk_idle.usdz", bundle: demoAssetsBundle)
    .padding(.bottom, 50)
This is the right tradeoff when you want a built-in preview path and do not need custom gesture handling, scene graph traversal, or extra runtime setup.
To make the robot selectable, give it collisions and an input target, then listen for entity-targeted taps.
In visionOS, the user selects by looking and pinching. That means the entity must opt into input. The article adds collision shapes,
installs InputTargetComponent, and then handles a targeted tap gesture from the surrounding RealityView.
loaded3DAsset.generateCollisionShapes(recursive: true)
loaded3DAsset.components[InputTargetComponent.self] =
    InputTargetComponent(allowedInputTypes: .all)

.gesture(
    TapGesture()
        .targetedToAnyEntity()
        .onEnded { tap in
            var node: Entity? = tap.entity
            while node != nil && node?.name != "robot_root_node" {
                node = node?.parent
            }
            node?.removeFromParent()
        }
)
The parent walk matters because the tapped entity may be a child mesh, not the logical root you want to remove. In the finished mini-game, the app clones the robot into random positions, assigns a stable root name, and removes the whole robot when that root is found.
The finished demo is small, but it covers most of the visionOS basics you need to prototype quickly.
One tutorial ends up touching most of the platform's important seams: platform targeting, window styling, asset packaging, RealityView loading, immersive spaces, volumetric windows, animation playback, and entity-targeted gestures.
This article also included Apple's sample-code license text because the drag-rotation helper is adapted from Apple's own documentation samples. If you follow the complete project closely, keep that attribution chain intact.
For the full code, use the repository linked above: mszpro/VisionOS101.