This article is essentially a field guide to making the simulator behave the way demo screenshots and test scenarios need it to behave.
Most of the commands revolve around xcrun simctl, especially the status_bar override feature.
That is what lets you fix the time, switch between Wi-Fi and cellular styles, change battery status, and generally make the
status bar look intentional instead of whatever the host Mac happened to produce.
The article assumes you are working with a running simulator named iPhone 11 Pro Max, so the commands use that
device name directly. If your simulator has a different name, substitute it in the examples below.
The fastest way to make simulator screenshots look deliberate is to override time, network type, signal strength, and carrier branding.
The first block in this article fixes the status-bar time to the familiar App Store screenshot time:
xcrun simctl status_bar "iPhone 11 Pro Max" override --time '9:41'From there, the post moves into network styling. You can switch the simulator to Wi-Fi, 3G, 4G, or LTE, then adjust the matching signal bars separately.
xcrun simctl status_bar "iPhone 11 Pro Max" override --dataNetwork 'wifi'
xcrun simctl status_bar "iPhone 11 Pro Max" override --wifiBars 0
xcrun simctl status_bar "iPhone 11 Pro Max" override --wifiBars 3

xcrun simctl status_bar "iPhone 11 Pro Max" override --dataNetwork '3g'
xcrun simctl status_bar "iPhone 11 Pro Max" override --dataNetwork '4g'
xcrun simctl status_bar "iPhone 11 Pro Max" override --dataNetwork 'lte'

xcrun simctl status_bar "iPhone 11 Pro Max" override --cellularBars 0
xcrun simctl status_bar "iPhone 11 Pro Max" override --cellularBars 4
The later carrier-name section uses the same mechanism to replace the operator text itself:
xcrun simctl status_bar "iPhone 8 Plus" override \
  --operatorName 'Neko Mobile' \
  --cellularMode active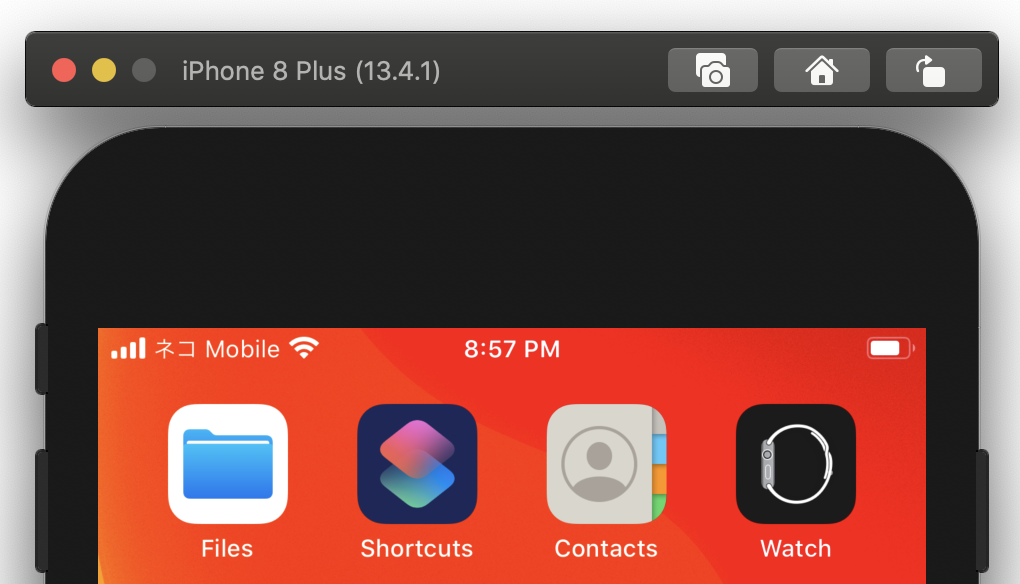
This article shows two paths for dark mode: change it inside the simulator itself, or force it from Xcode while debugging.
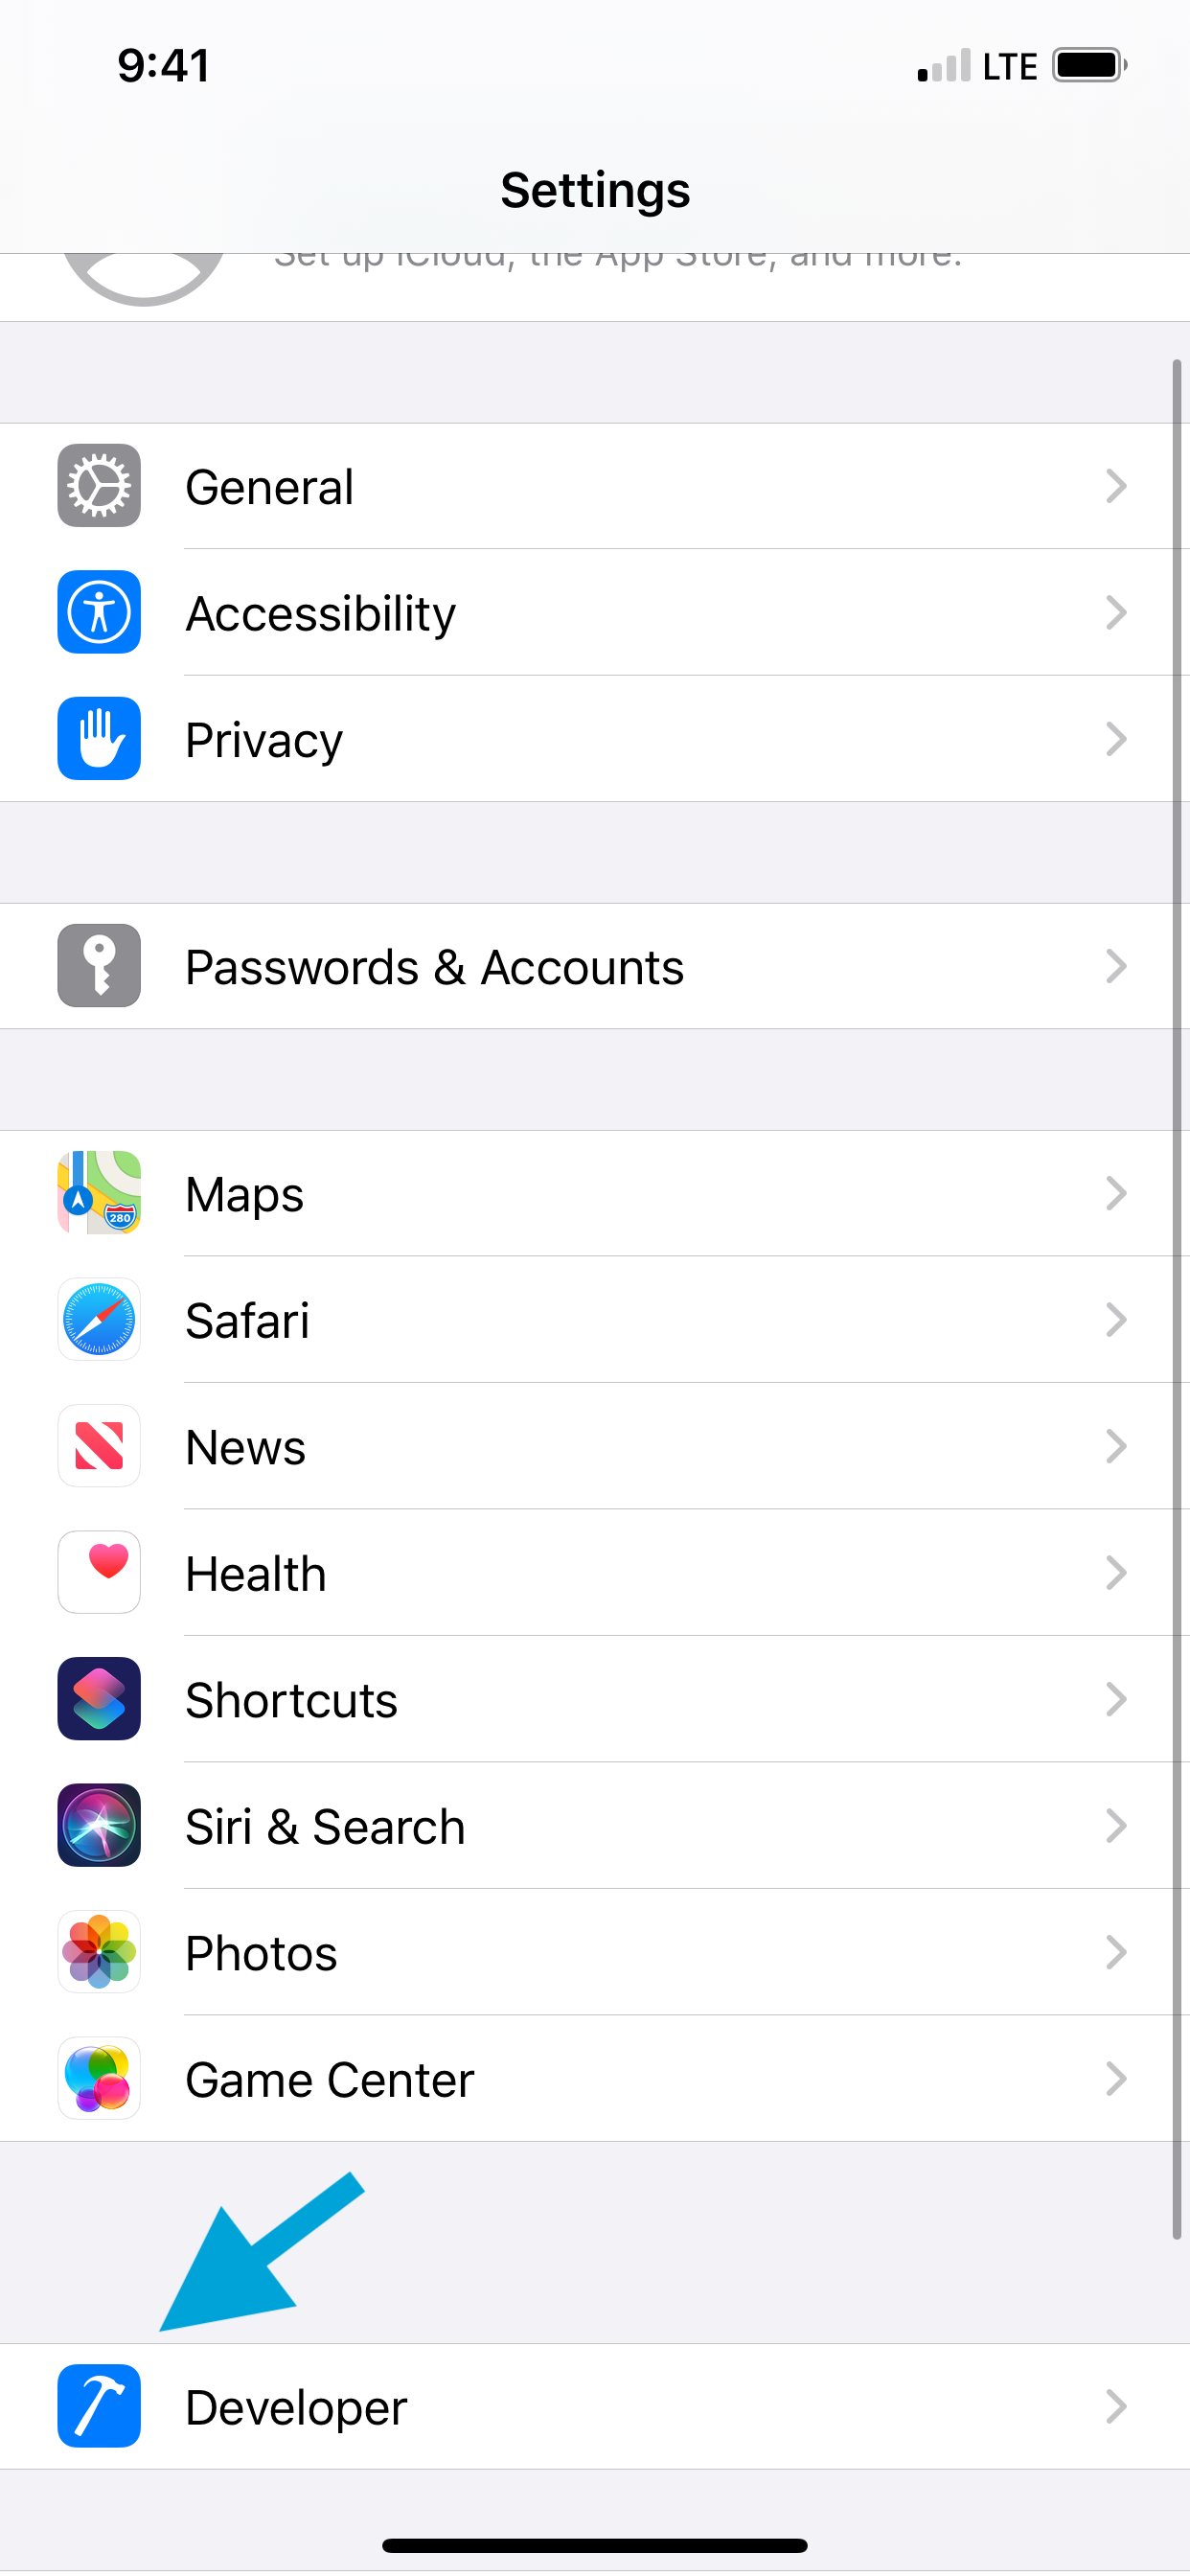
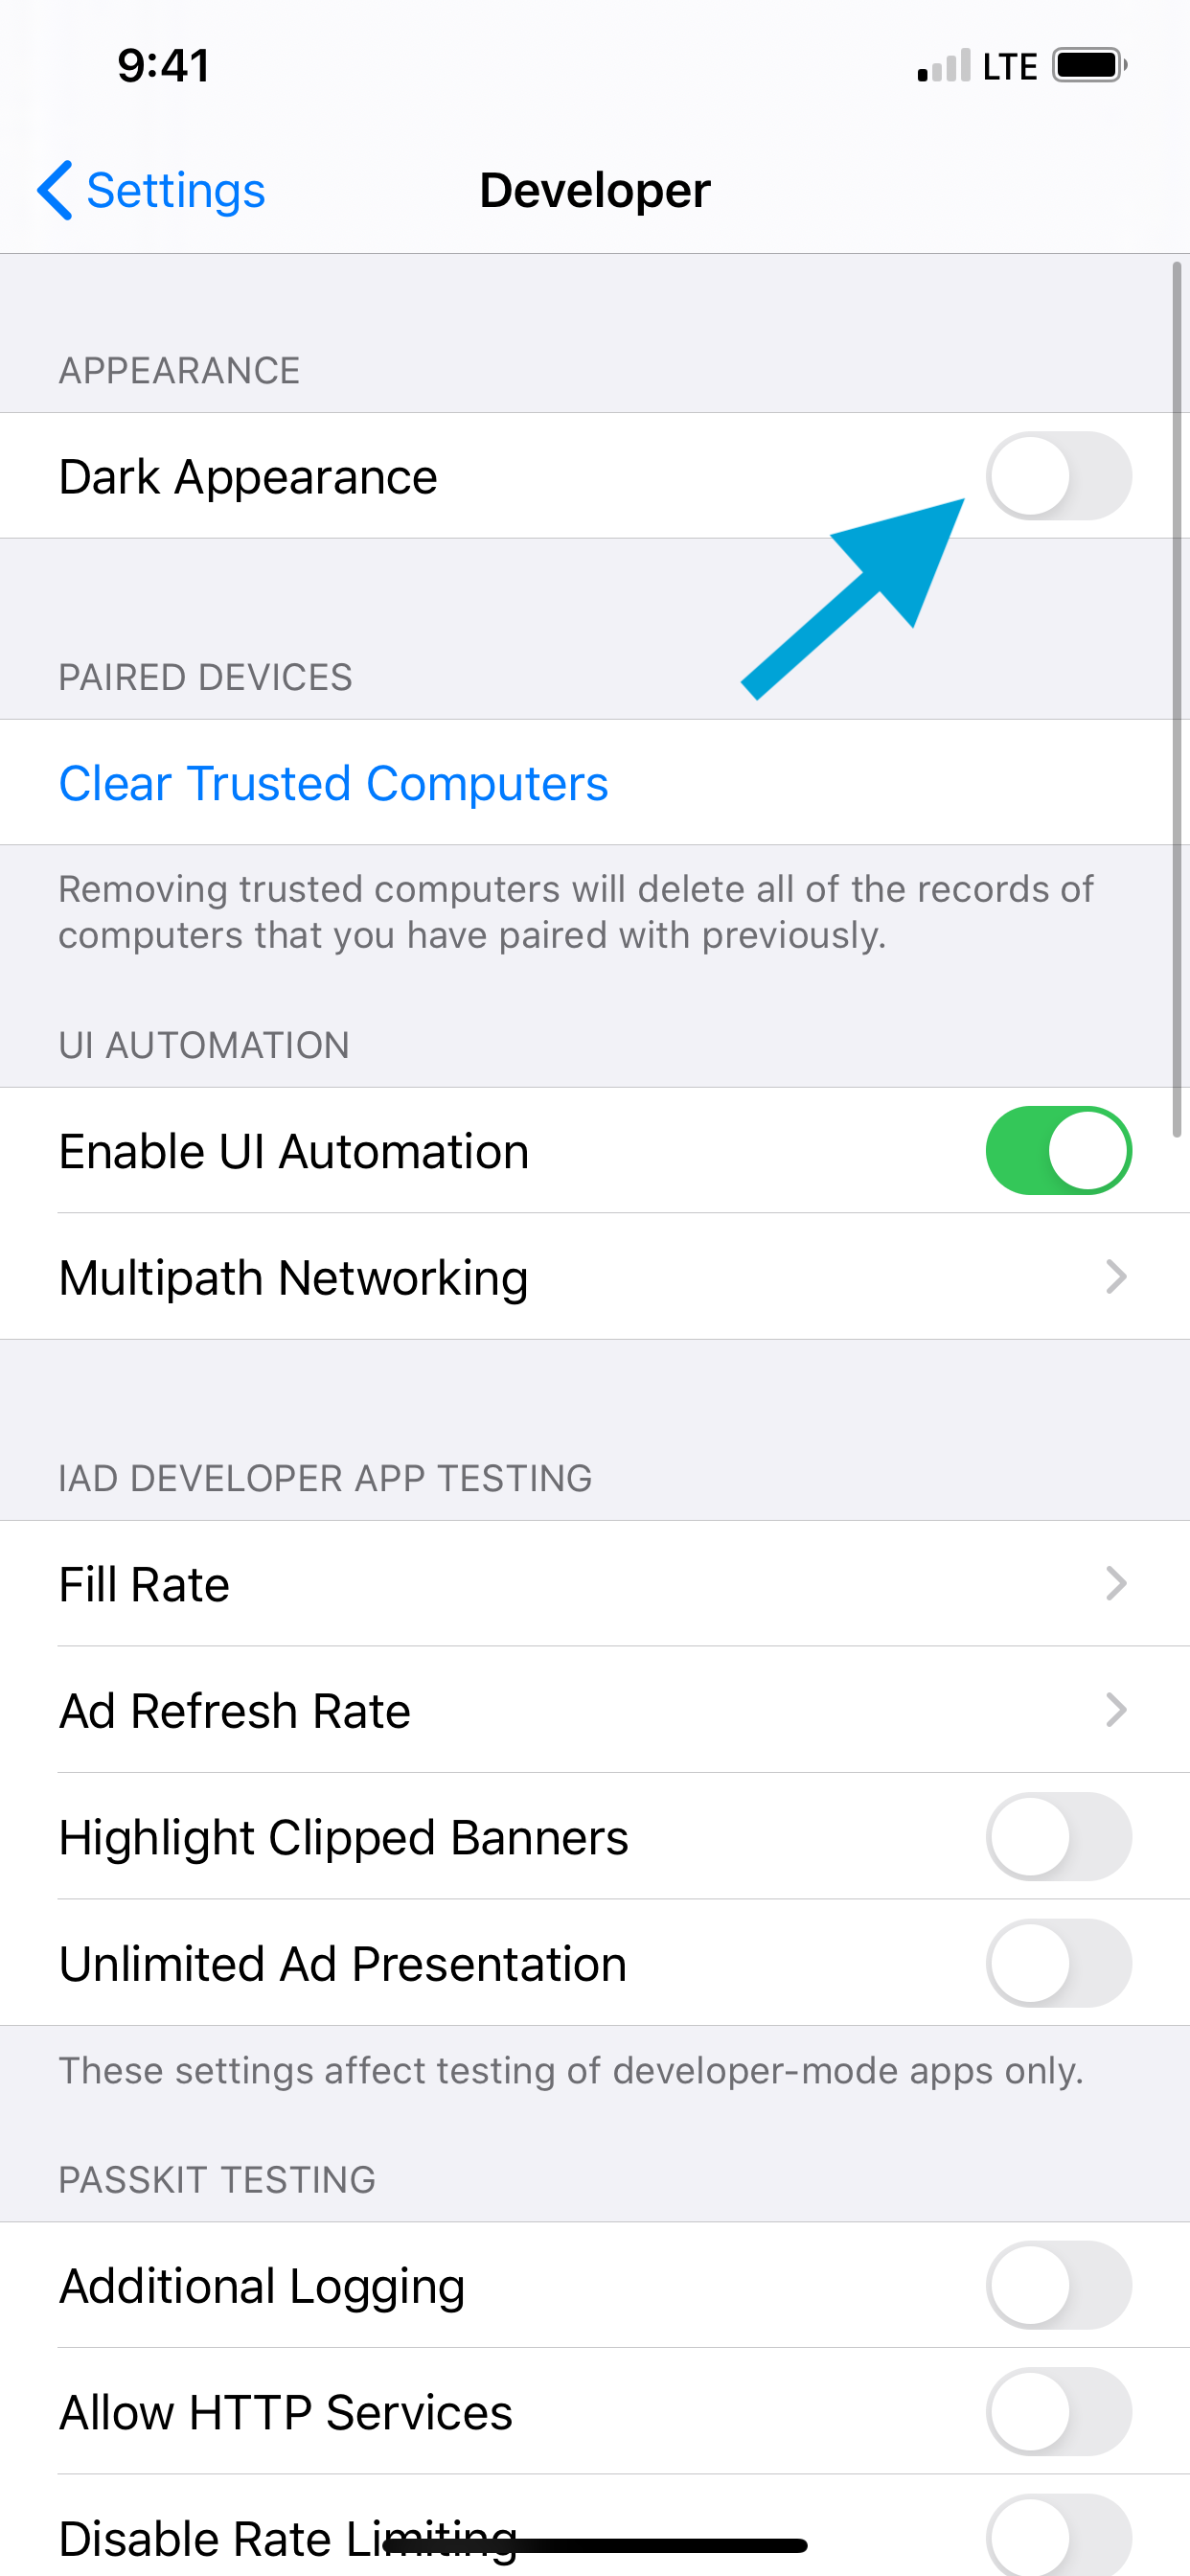
The in-simulator path is a manual workflow through the Settings app and the developer controls. The article walks through
opening Settings, entering the developer area, and enabling Dark Appearances.

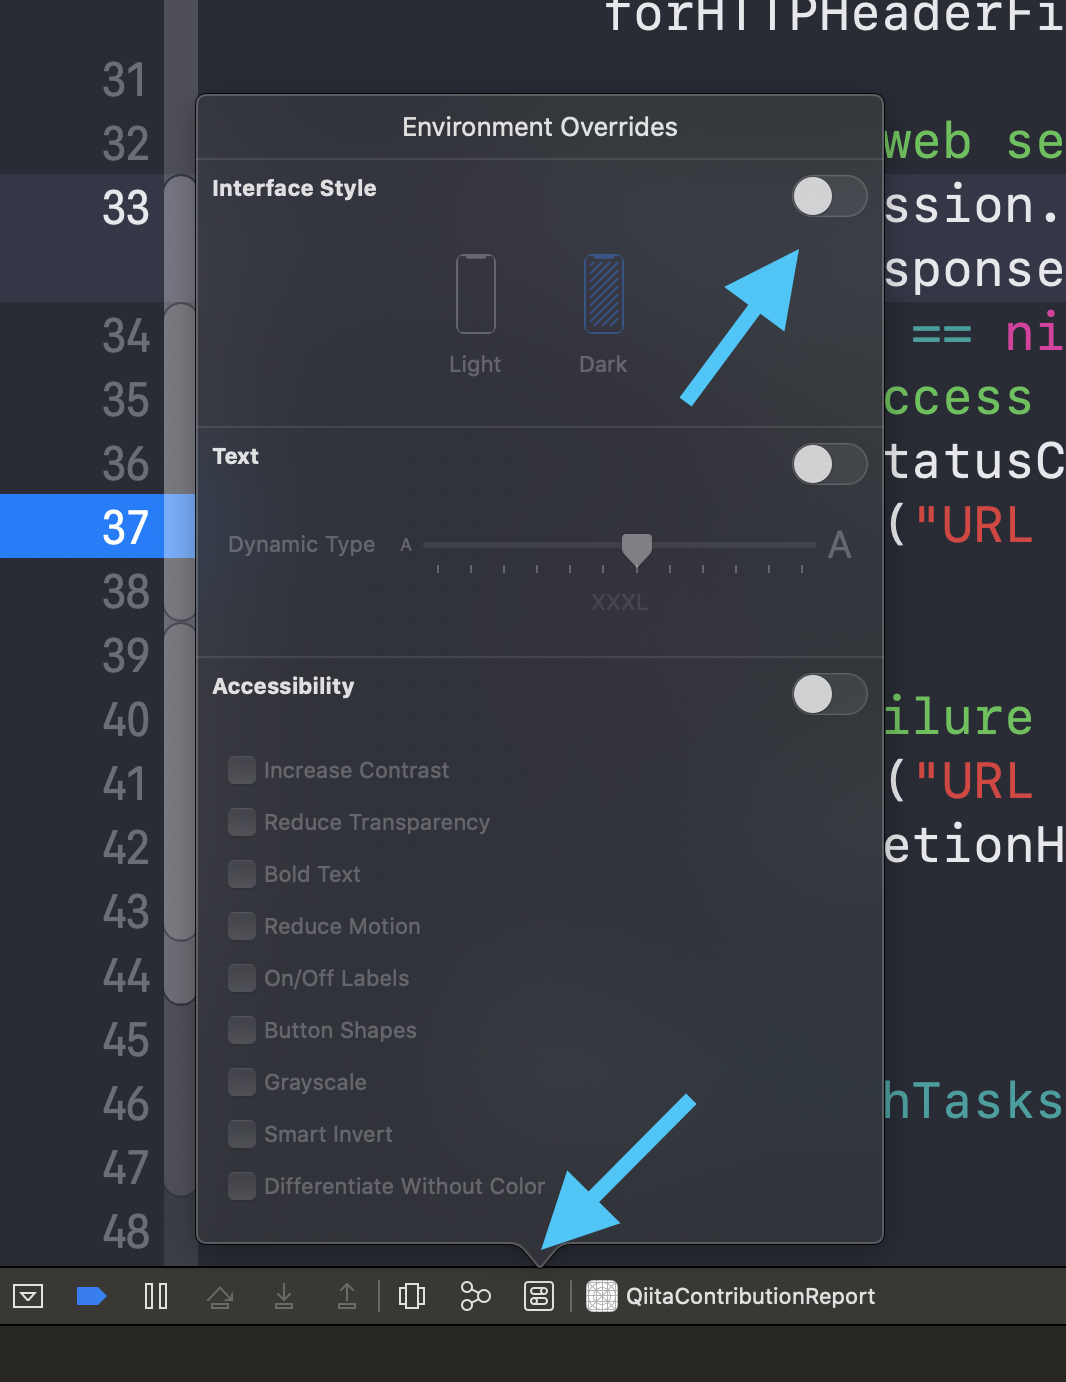
The second path is inside Xcode itself. If the app is already running in the simulator, the article points to
Environmental overrides in the Xcode toolbar and the Interface Style switch there.
Battery state and battery level can both be faked through status_bar override, which is useful for polished screenshots and certain UI tests.
This article separates battery charging state from battery percentage. Charging state can be switched between
charging, charged, and discharging:
xcrun simctl status_bar "iPhone 11 Pro Max" override --batteryState 'charging'
xcrun simctl status_bar "iPhone 11 Pro Max" override --batteryState 'charged'
xcrun simctl status_bar "iPhone 11 Pro Max" override --batteryState 'discharging'
Percentage itself is controlled separately:
xcrun simctl status_bar "iPhone 11 Pro Max" override --batteryLevel 0
xcrun simctl status_bar "iPhone 11 Pro Max" override --batteryLevel 100
Combined with the earlier time and network commands, this gives you most of the knobs needed to stage consistent marketing or documentation screenshots.
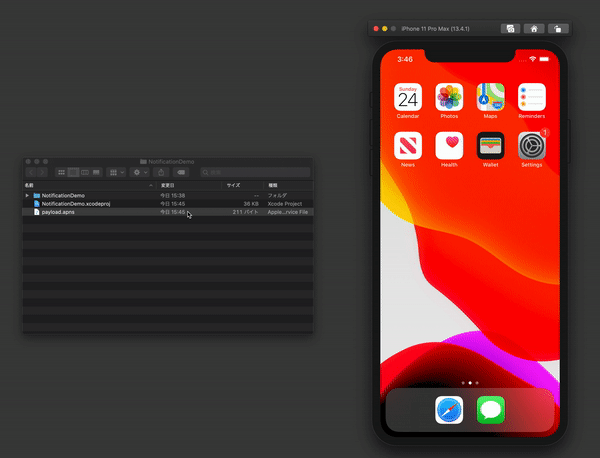
The most practical testing trick in the article is simulator push delivery via a local payload.apns file.
The setup is simple. Start a blank iOS project, enable notification permission in the app, and assume the app bundle ID is
com.demo.notification. Then create a file named payload.apns that tells the simulator which app should
receive the alert and what the alert payload should contain.
{
  "Simulator Target Bundle": "com.demo.notification",
  "aps": {
    "alert": {
      "body": "Nekonohi 🐱🐱🐱",
      "title": "Hello!"
    }
  }
}
After that, the article says to run the app in the simulator, approve notification permission, and drag the
payload.apns file from Finder directly onto the simulator window.
The same section also notes that you can drag image files into the simulator window directly when you need to seed the Photos library quickly.
The article finishes with a few small commands that make demos easier to record and explain.
Screenshots can be taken with Command-S, which saves the result to the desktop. For screen recordings, the post uses
simctl io:
xcrun simctl io booted recordVideo appVideo.mov
That command records the currently booted simulator until you stop it with Control-C, then writes the video to
appVideo.mov.
To make touch interactions visible in demos, the article also enables single-touch indicators with:
defaults write com.apple.iphonesimulator ShowSingleTouches 1This is a small tweak, but it helps a lot in tutorial videos or bug-reproduction clips where viewers need to know exactly where the interaction happened.
If you want a GUI on top of simulator controls instead of memorizing commands, this article points to Control Room.
The recommended GUI option is twostraws/ControlRoom, a macOS app built specifically to control the Xcode Simulator.
This article also leaves a few useful breadcrumbs at the end:
xcrun simctl status_bar "iPhone 8 Plus" override --help to inspect the available override flags directly on your machine.
The linked Stack Overflow posts in this article also help explain where some of these simulator tricks were first surfaced and documented.
The best part of this article is that it treats the simulator as a controllable test surface, not just a place where the app happens to run.
That mindset is still the useful one: set the status bar intentionally, drive appearance and battery state deliberately, feed local push payloads directly into the device, and record demos with visible touches when you need them.
Even if some exact commands evolve across Xcode versions, the workflows in this post are still the right categories to keep in your simulator toolbox.