This article is useful because it stays on the simplest possible path from idea to working classifier.
The goal is intentionally narrow: teach a model to decide whether an anime image looks like a daytime scene or a nighttime scene. That label will be used later in the series to drive automatic wallpaper changes, but this first article is only about getting the trained model file.
There is no custom training code here. The whole workflow lives inside
Create ML, which makes the post useful for people who want to get a
first classifier working before they worry about app integration.
This page is part one of a three-step chain: train the model, run it through Vision, then use the label in a macOS wallpaper app.
The original series breaks down like this:
1. Train a Create ML image classifier from labeled screenshots.
2. Use that model from app code through Vision.
3. Apply the predicted day or night label to a wallpaper rotation workflow.
The later parts are already linked on this site: Part 2 and Part 3.
Open Create ML from Xcode, start a new project, and choose the Image Classifier template.
The article starts from the normal Xcode menu path. Open Xcode's developer tools,
launch Create ML, choose a new project, and then select
Image Classifier. That template is exactly for the kind of folder-based
supervised training used in this tutorial.
Create ML from Xcode's developer tools menu.
Image Classifier template for this project.
Build a folder structure that matches the labels you want the model to learn.
The tutorial's dataset format is straightforward. Make one parent folder, then create two child folders inside it: one for day scenes and one for night scenes. Every image you place inside those folders becomes a labeled training example for that category.
The article uses anime screenshots as the source material and manually sorts them by time of day. The important pattern is not the anime theme. It is the directory layout: one folder per class, with the folder name acting as the label.
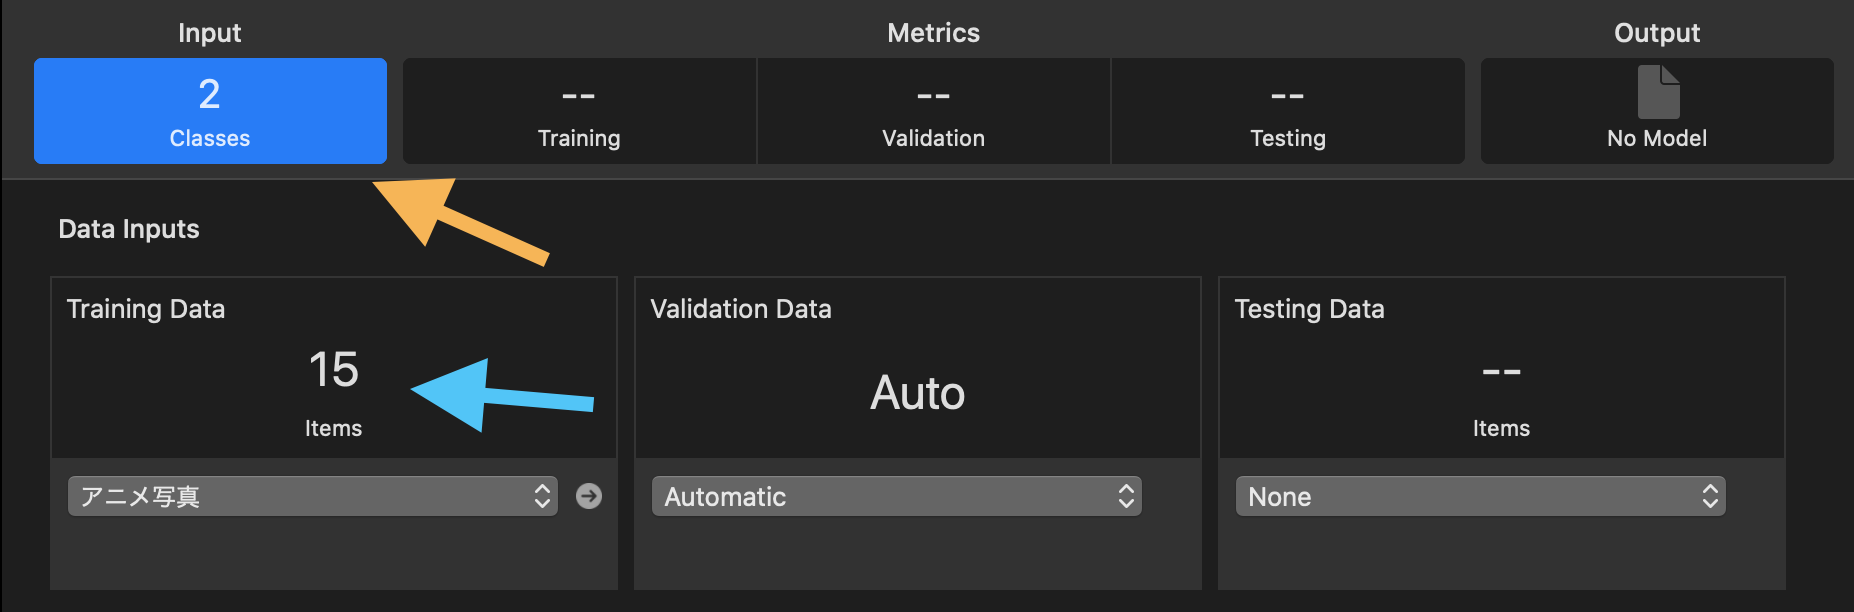
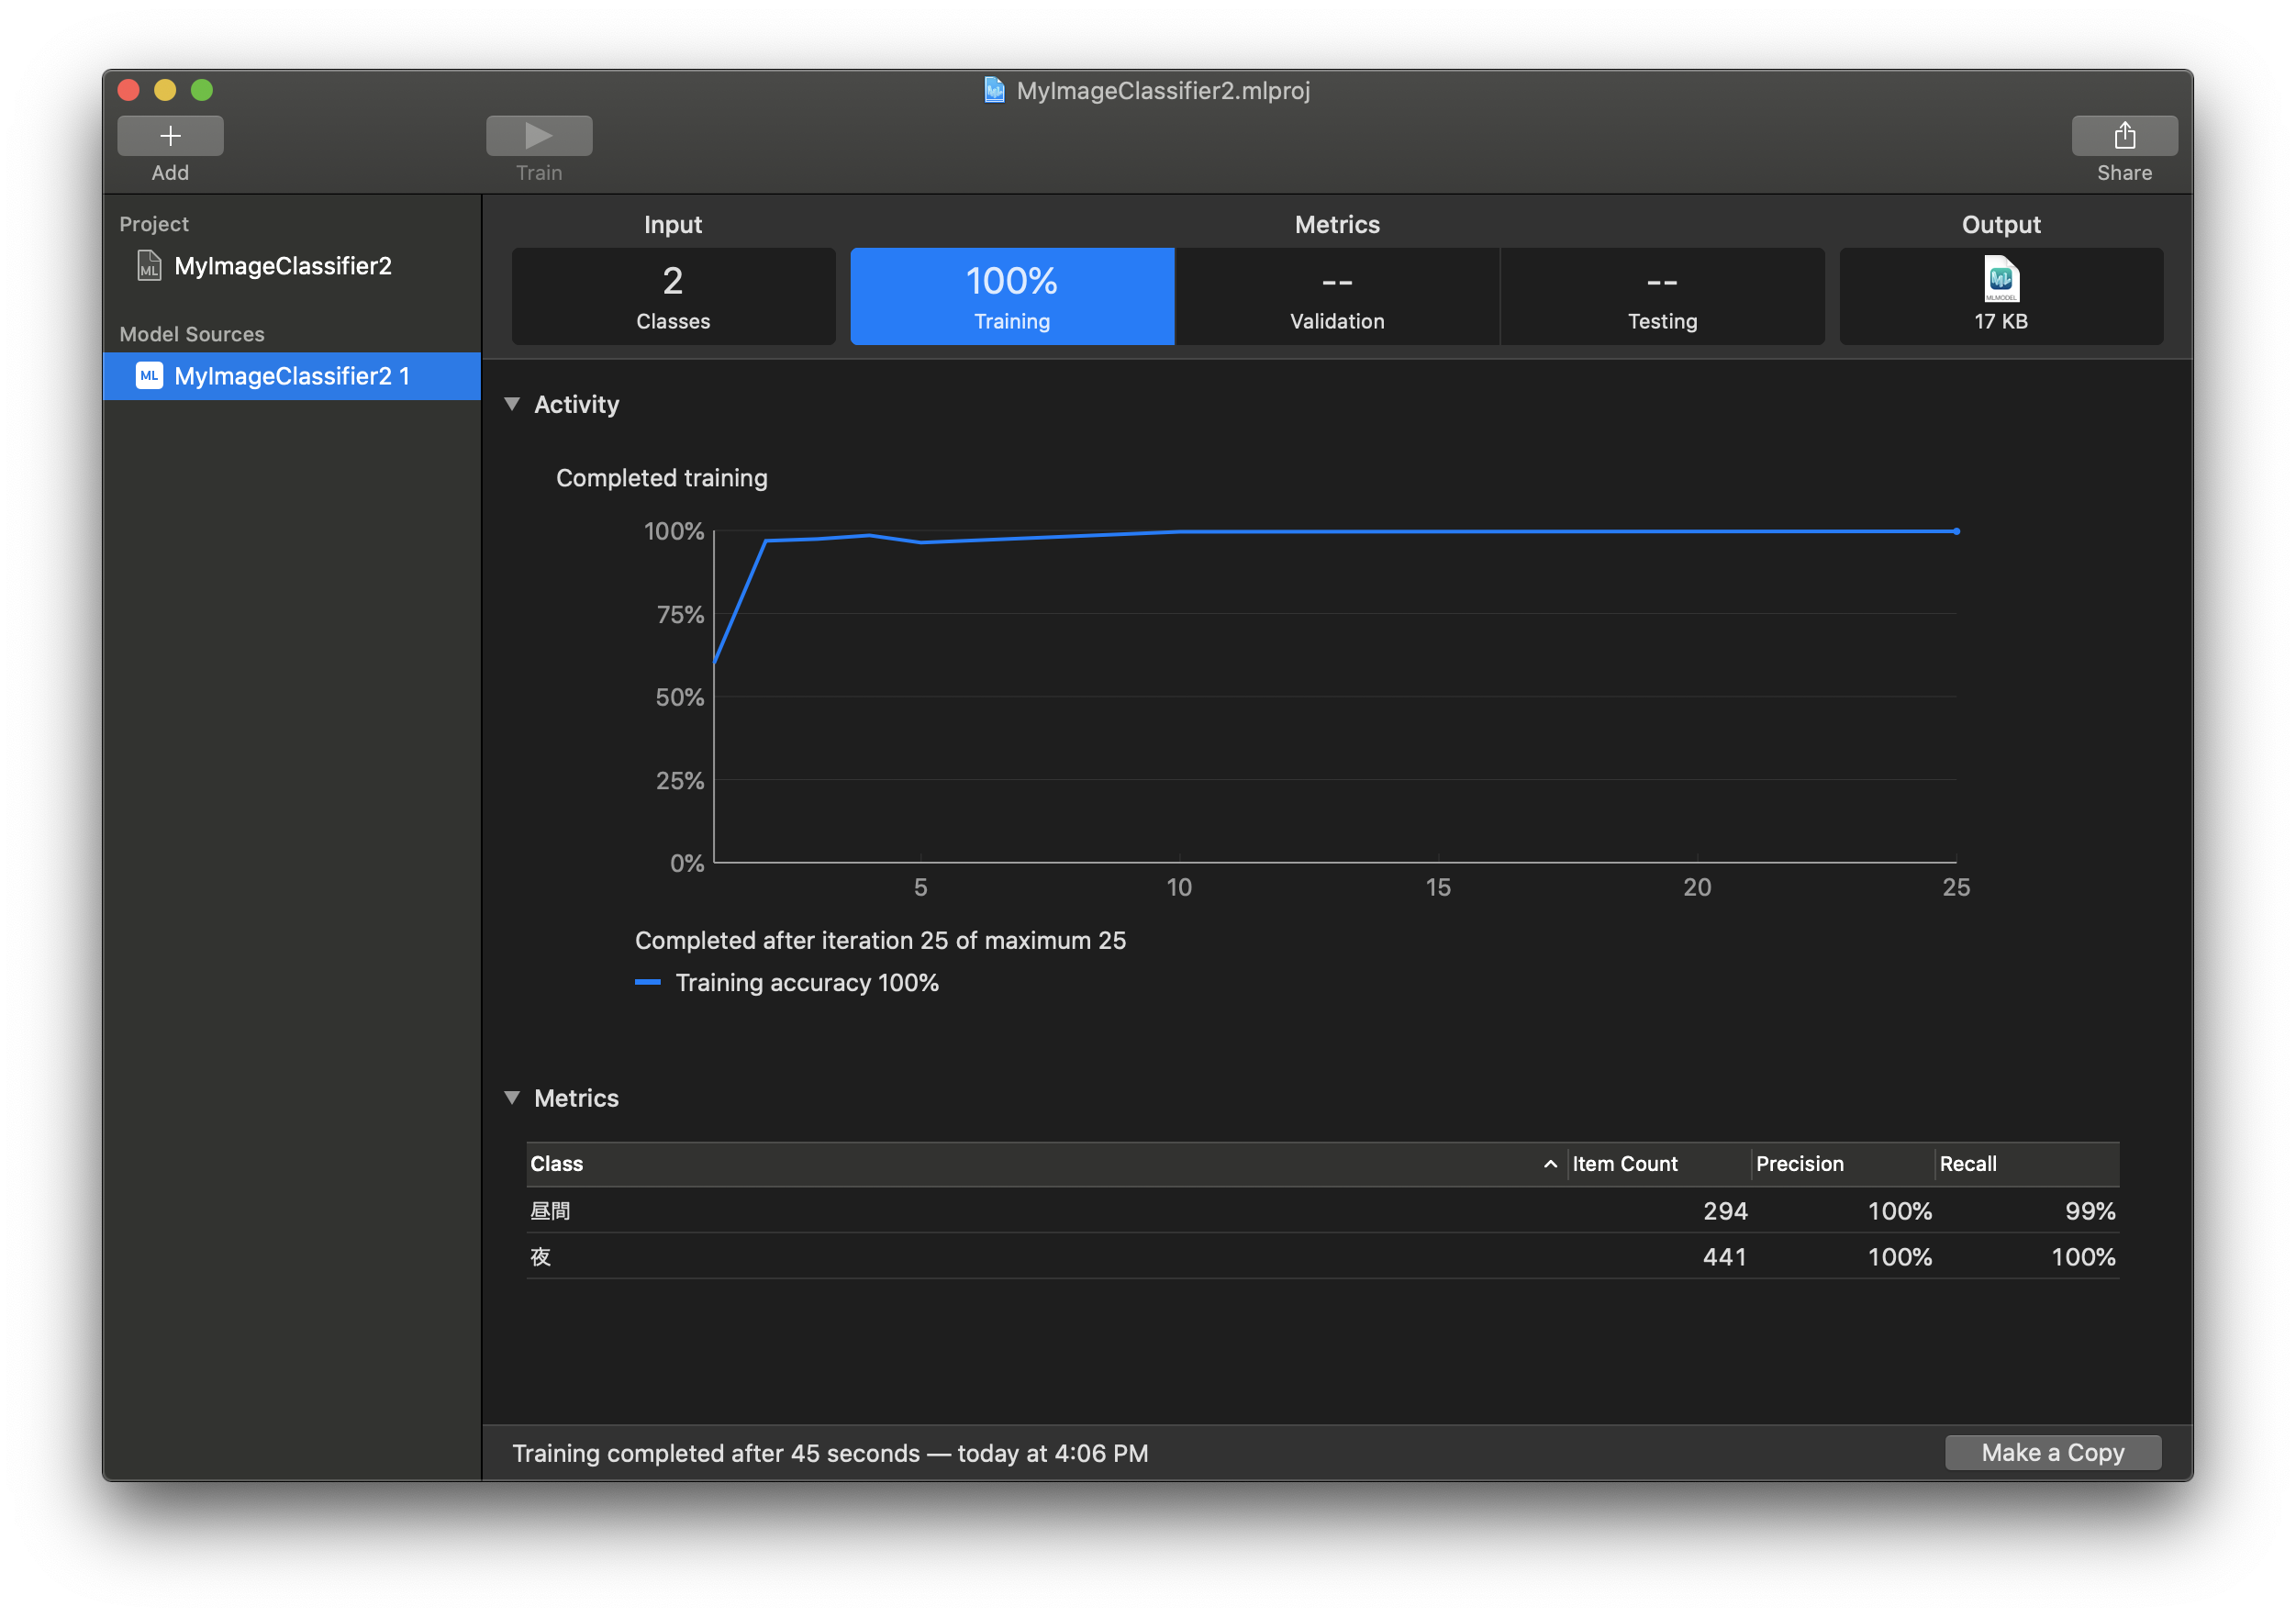
Import the labeled folder, confirm the class counts, and run training inside Create ML.
Once the dataset exists, the workflow stays visual. Pick the training-data folder in
Create ML, let the tool scan it, and check that the number of classes
and the number of images match what you expect before starting the run.
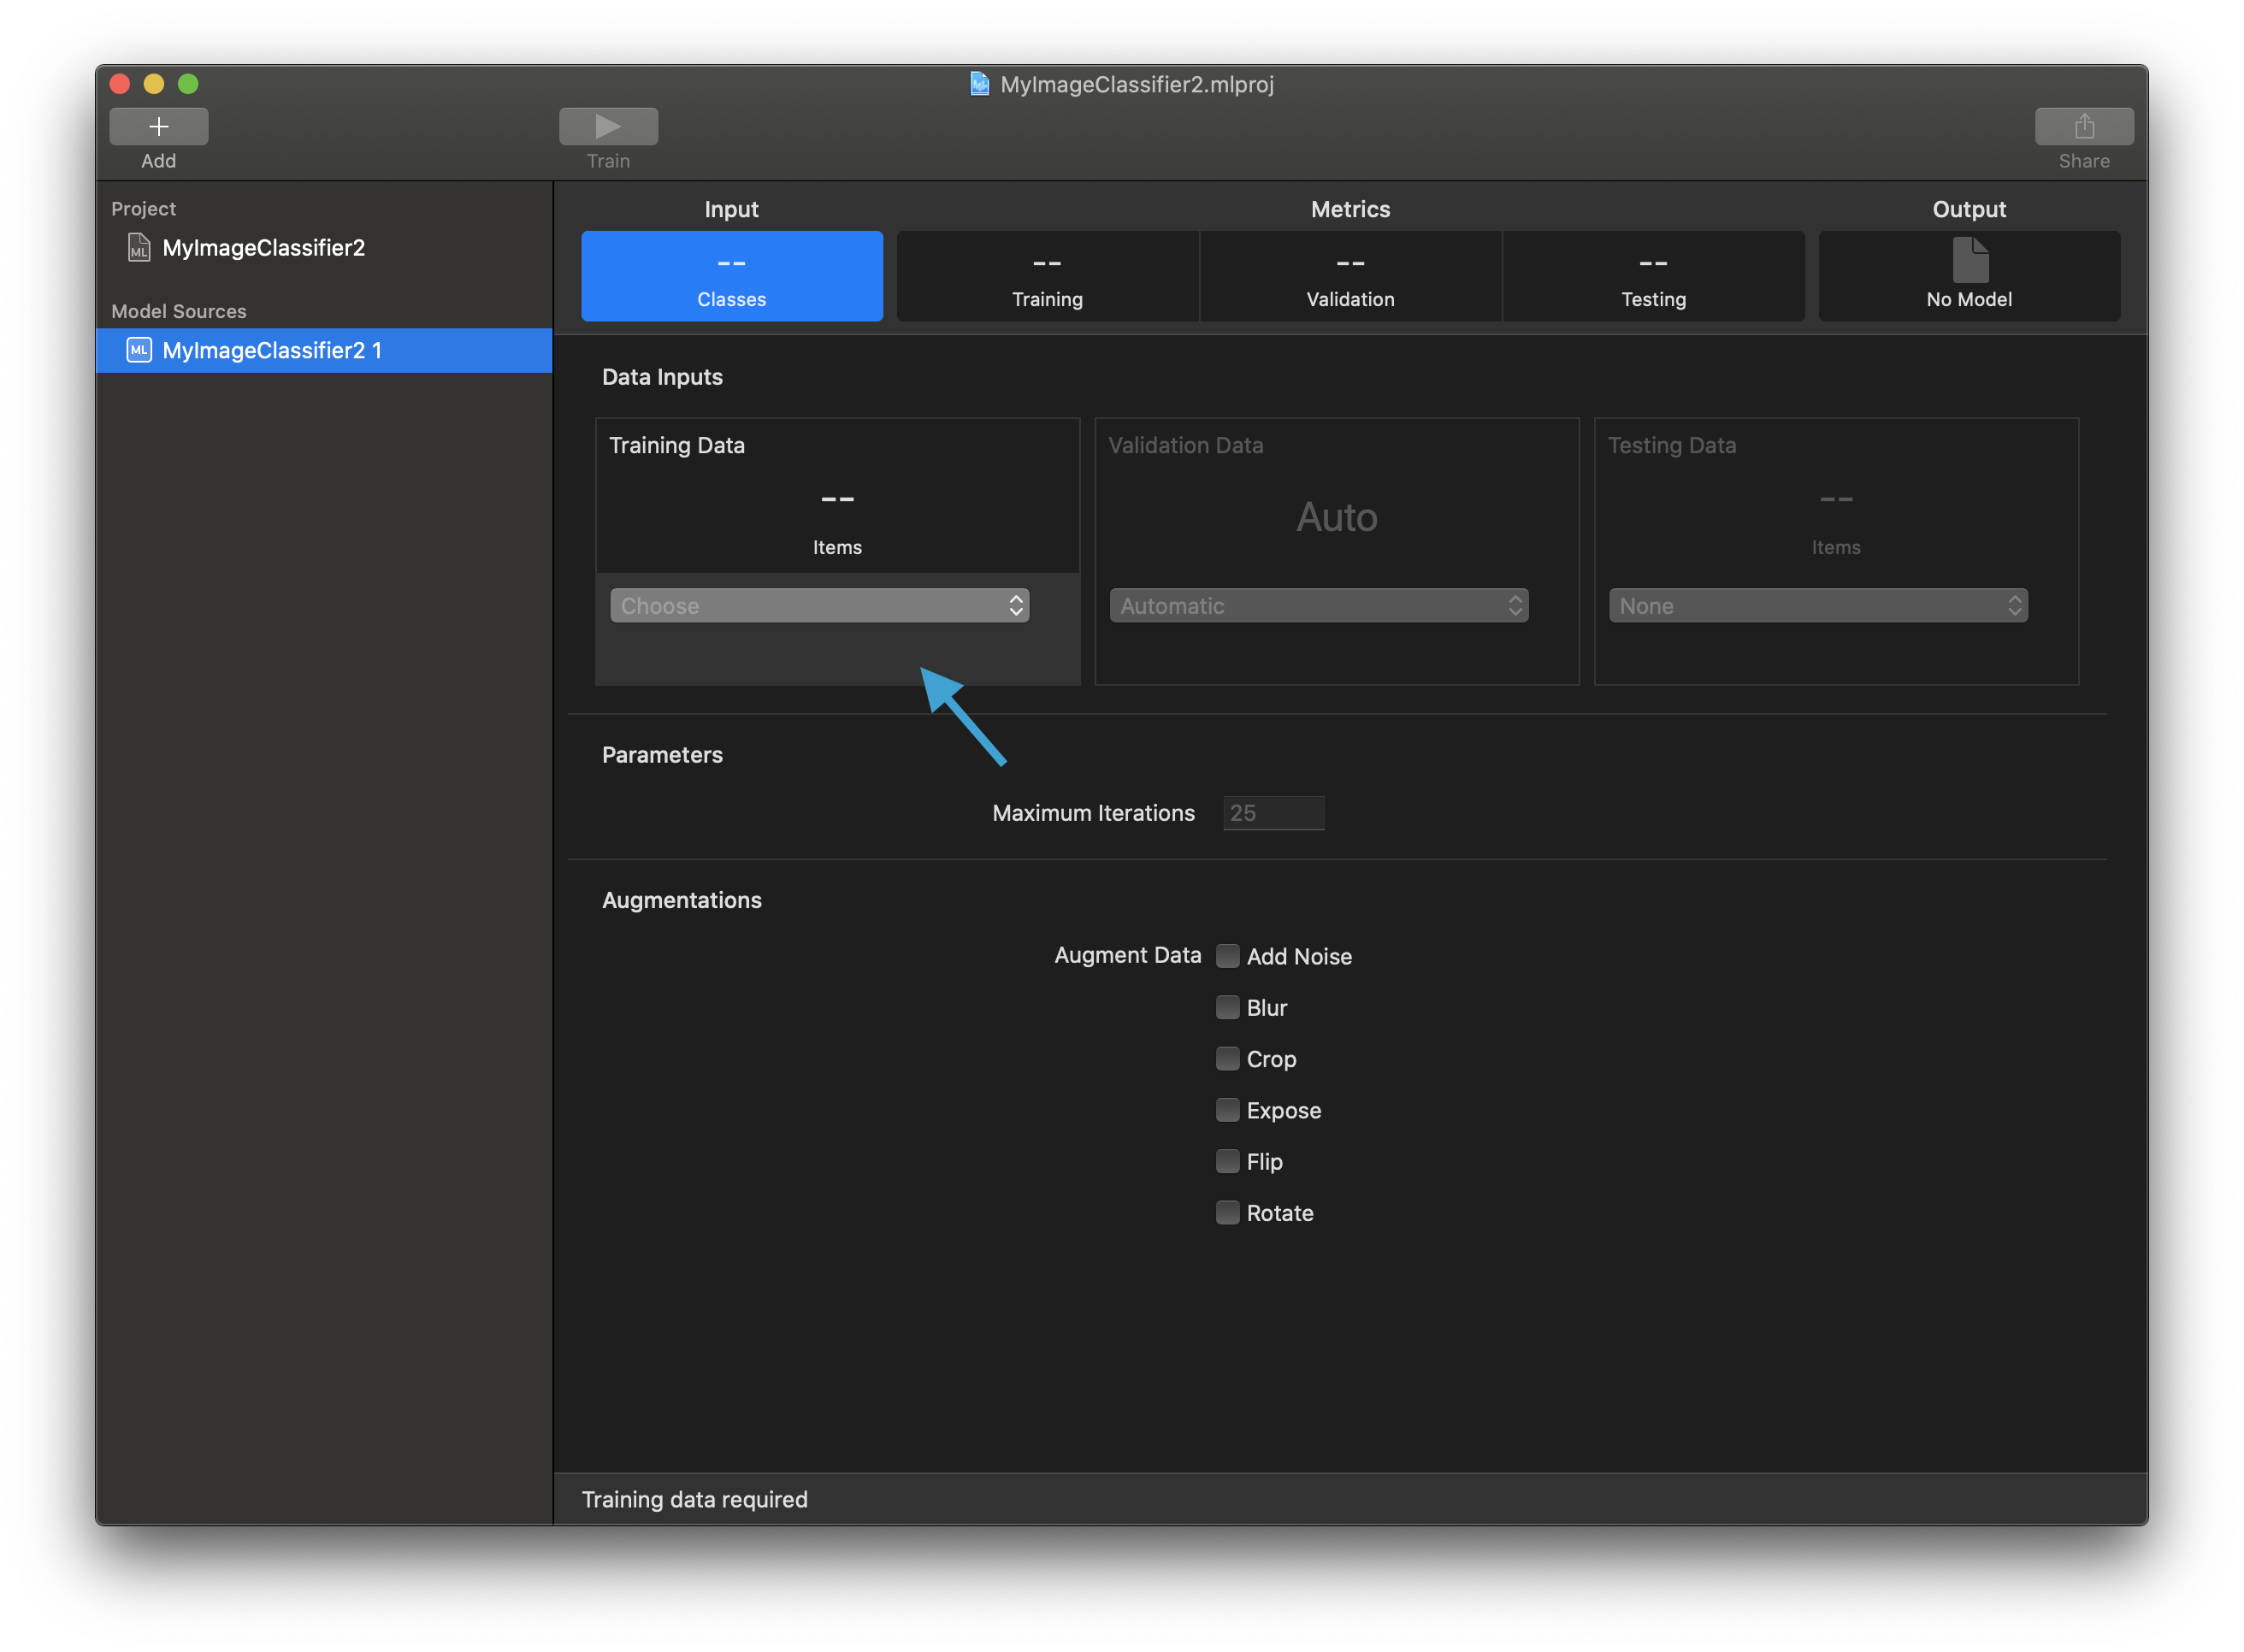
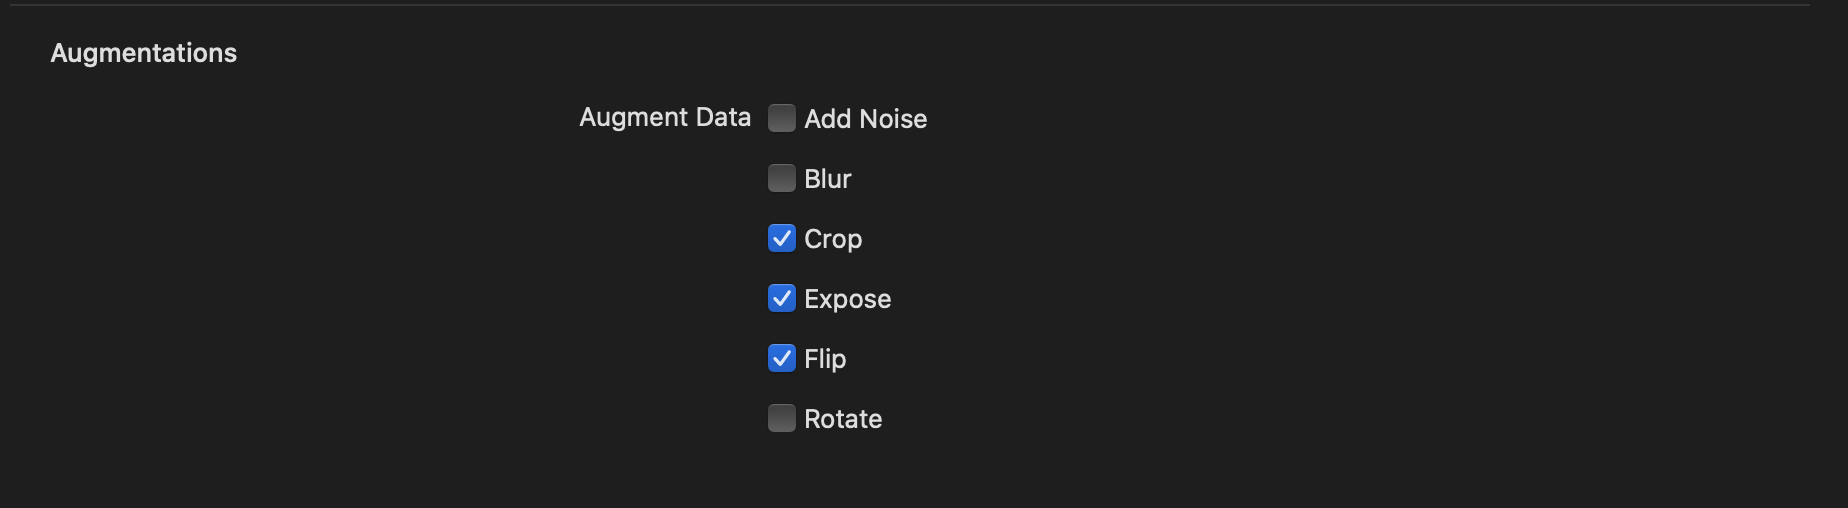
The post briefly calls out the Augmentations area, but it does not turn
into a deep tuning guide. The practical step is to press run and let the first model
finish.
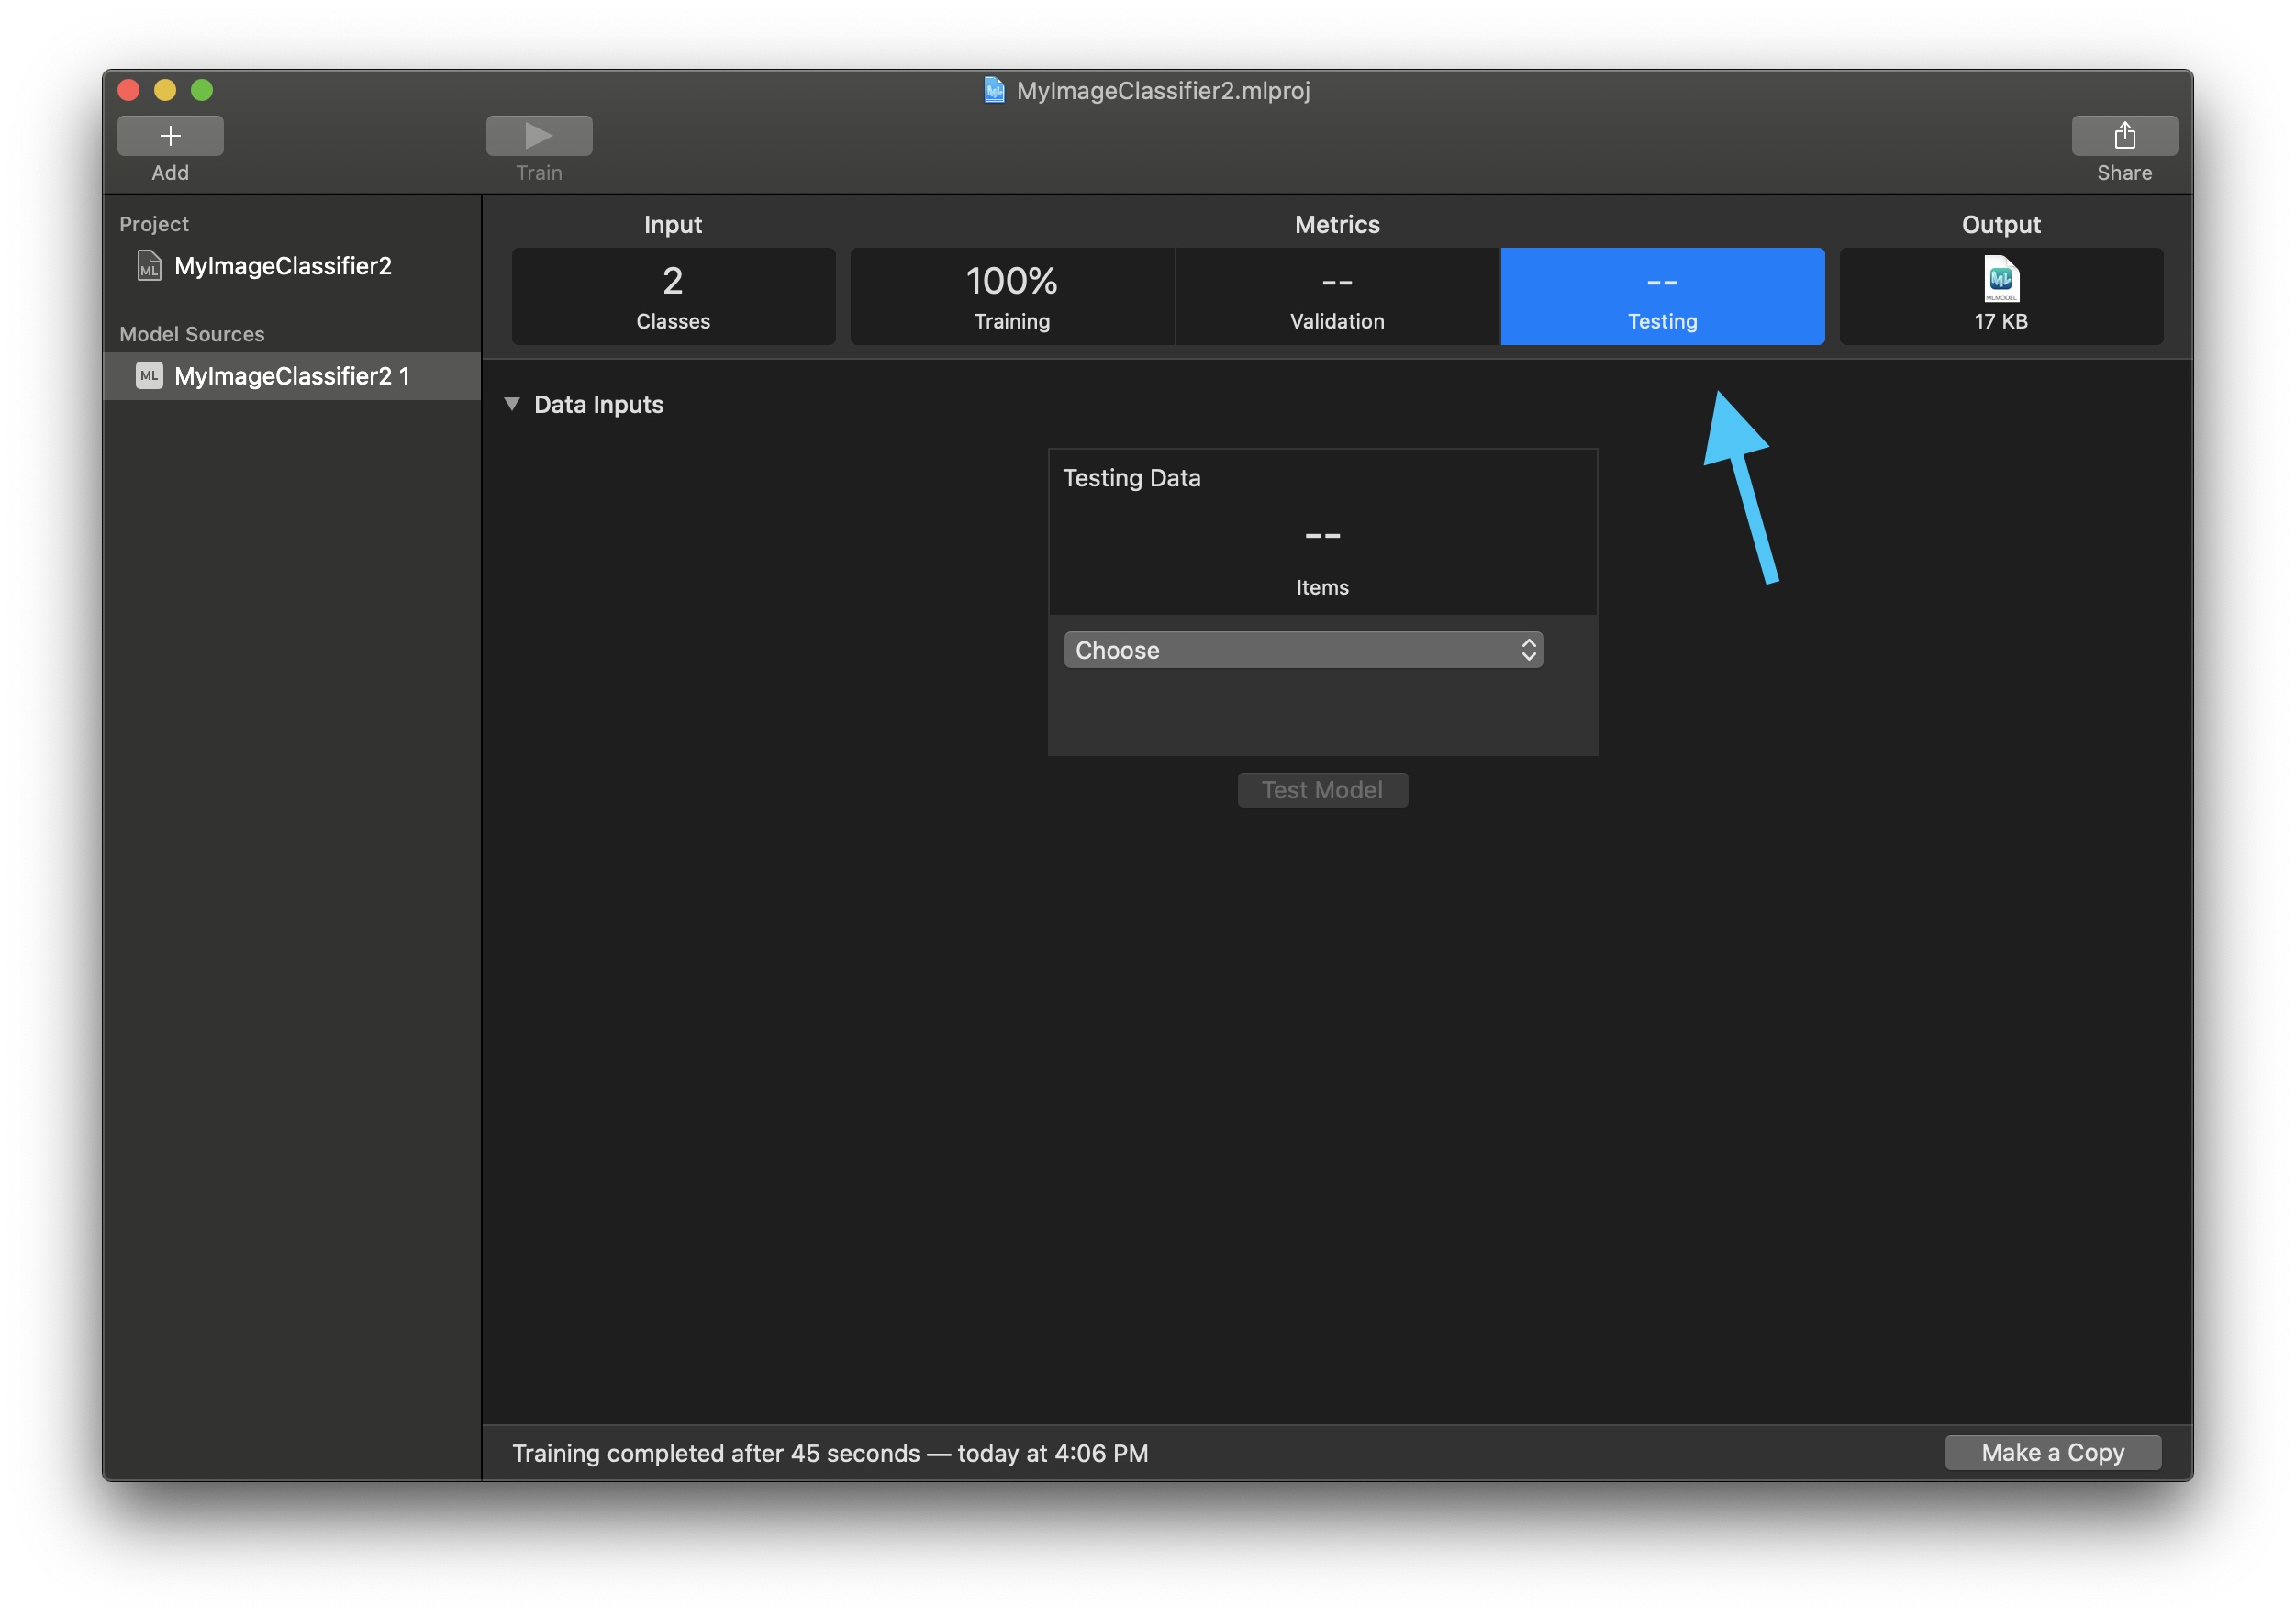
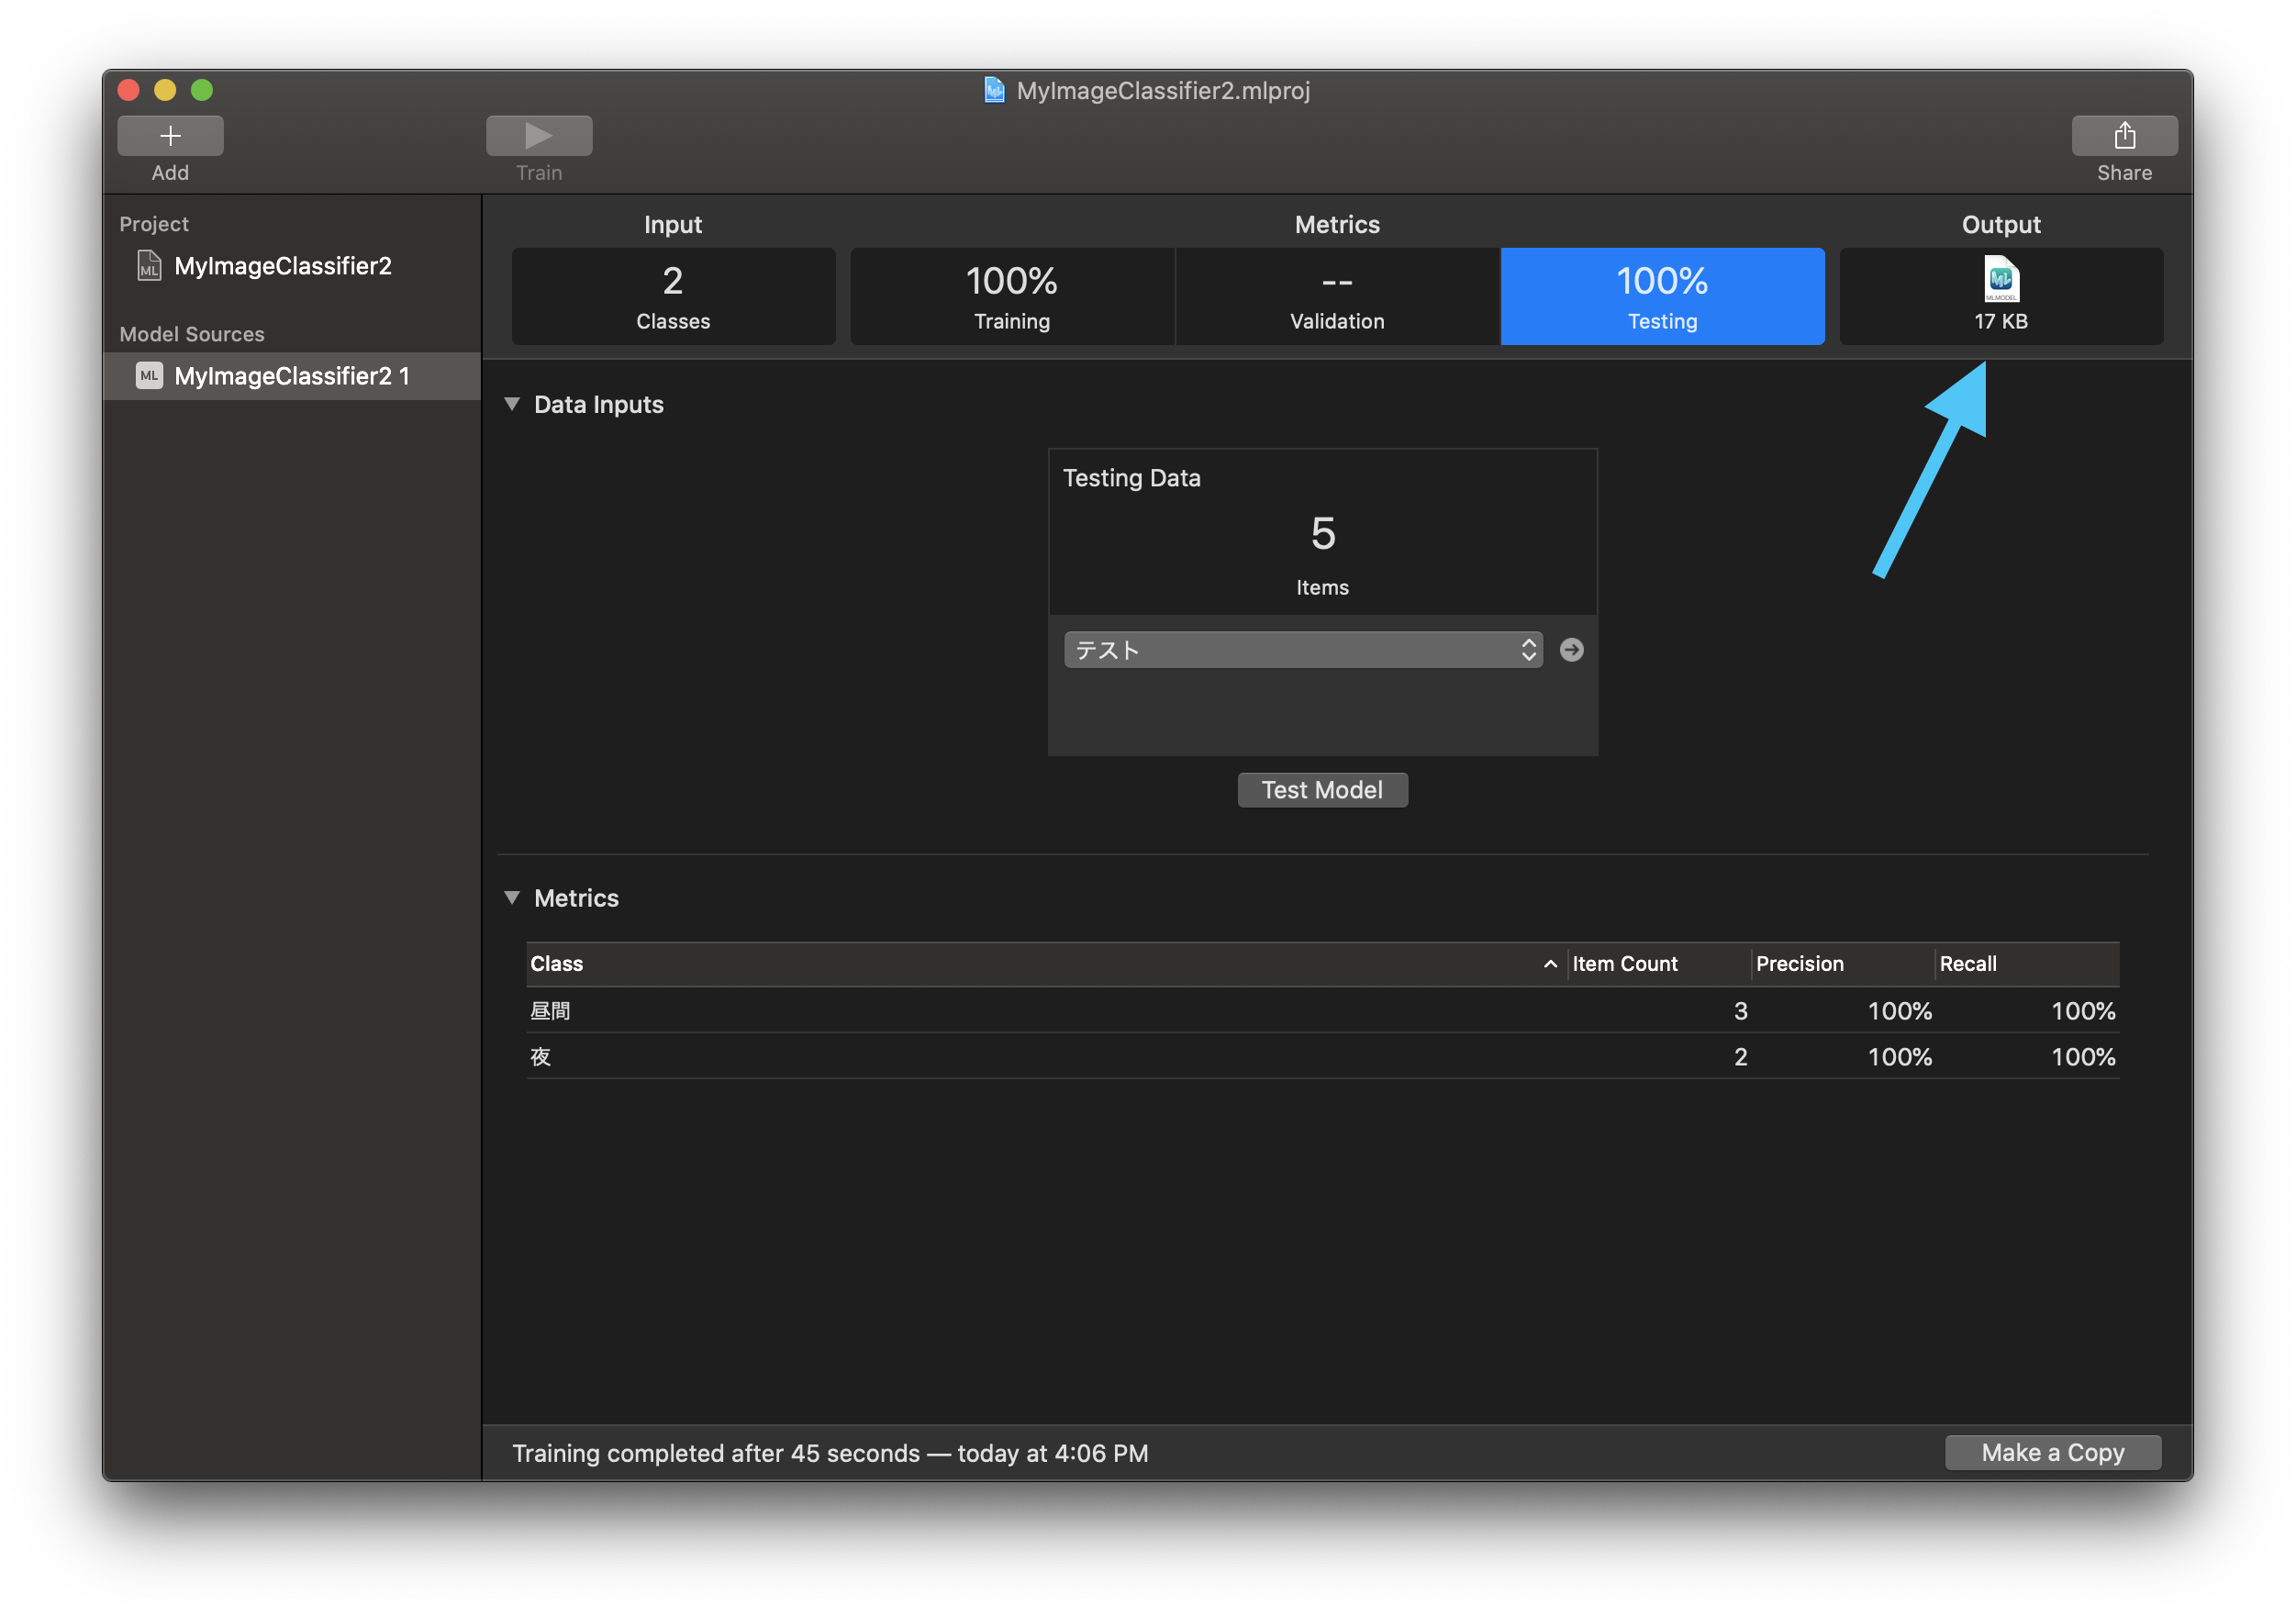
Do not trust the training run alone. Switch to testing, prepare held-out images, and see whether the model generalizes at all.
The testing workflow mirrors the training layout. Build a separate folder for test
data, keep the same day and night category split, and let Create ML
evaluate the trained model against those images.

The article also shows the quick manual check path. You can drag a single image into the output area and inspect the prediction directly without building a separate test batch.
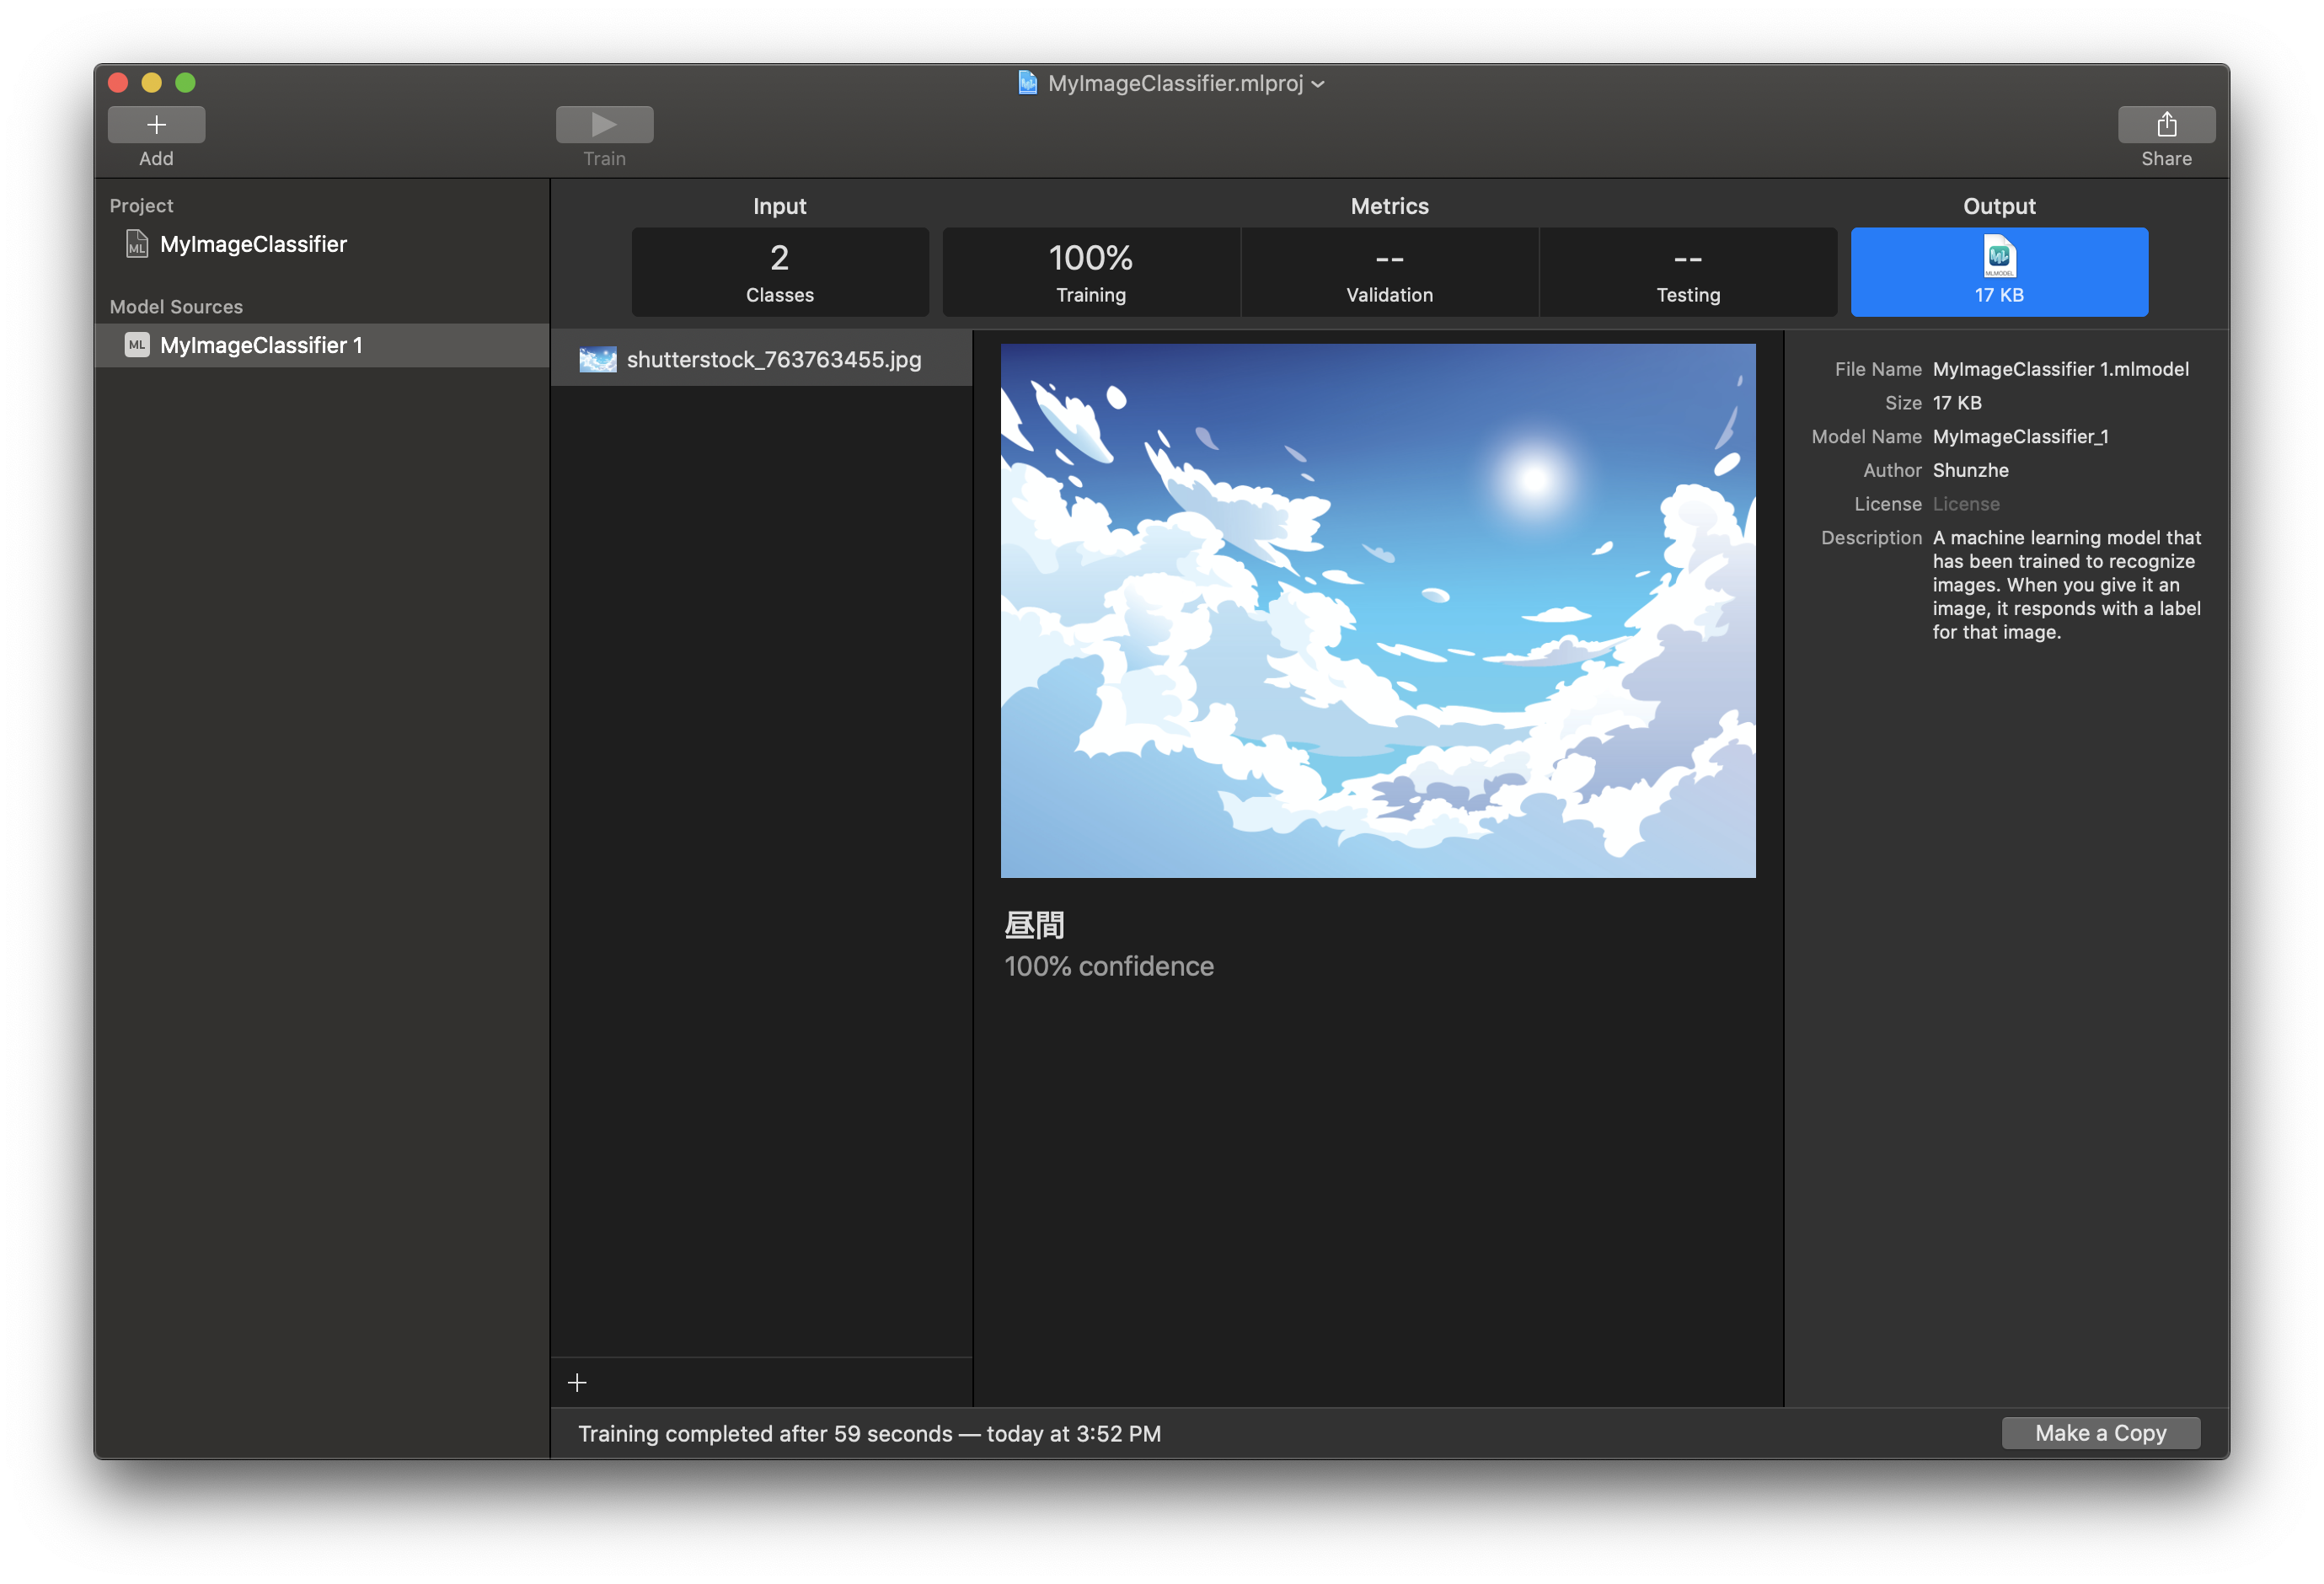
Once the model behaves well enough for the tutorial, drag the generated .mlmodel file out of the output area.
The article keeps exporting simple too. Find the trained model in the output section
and drag it to a folder. That file is what the next article will load into
Vision from code.
The durable lesson from the article is the folder convention and the Create ML workflow, not the specific anime theme.
If you understand how to structure class folders, import them into an image classifier project, test against held-out samples, and export the result, you can repeat the same process for many simple classification problems.
The next step is to stop treating the model as a file and start treating it as part of
an app. That is exactly what part two does with Vision and
VNCoreMLRequest.