Are you using a third party database to keep user’s information? If you are only developing for the iOS platform, you can consider to use iCloud CloudKit with Sign in with Apple.
What will we accomplish?
- Users can sign up your app with “Sign in with Apple”
- Users can sign in again on any of their devices (signed in with the same Apple ID) and you can retrieve the name, email, and other user information you saved.

Let’s get started
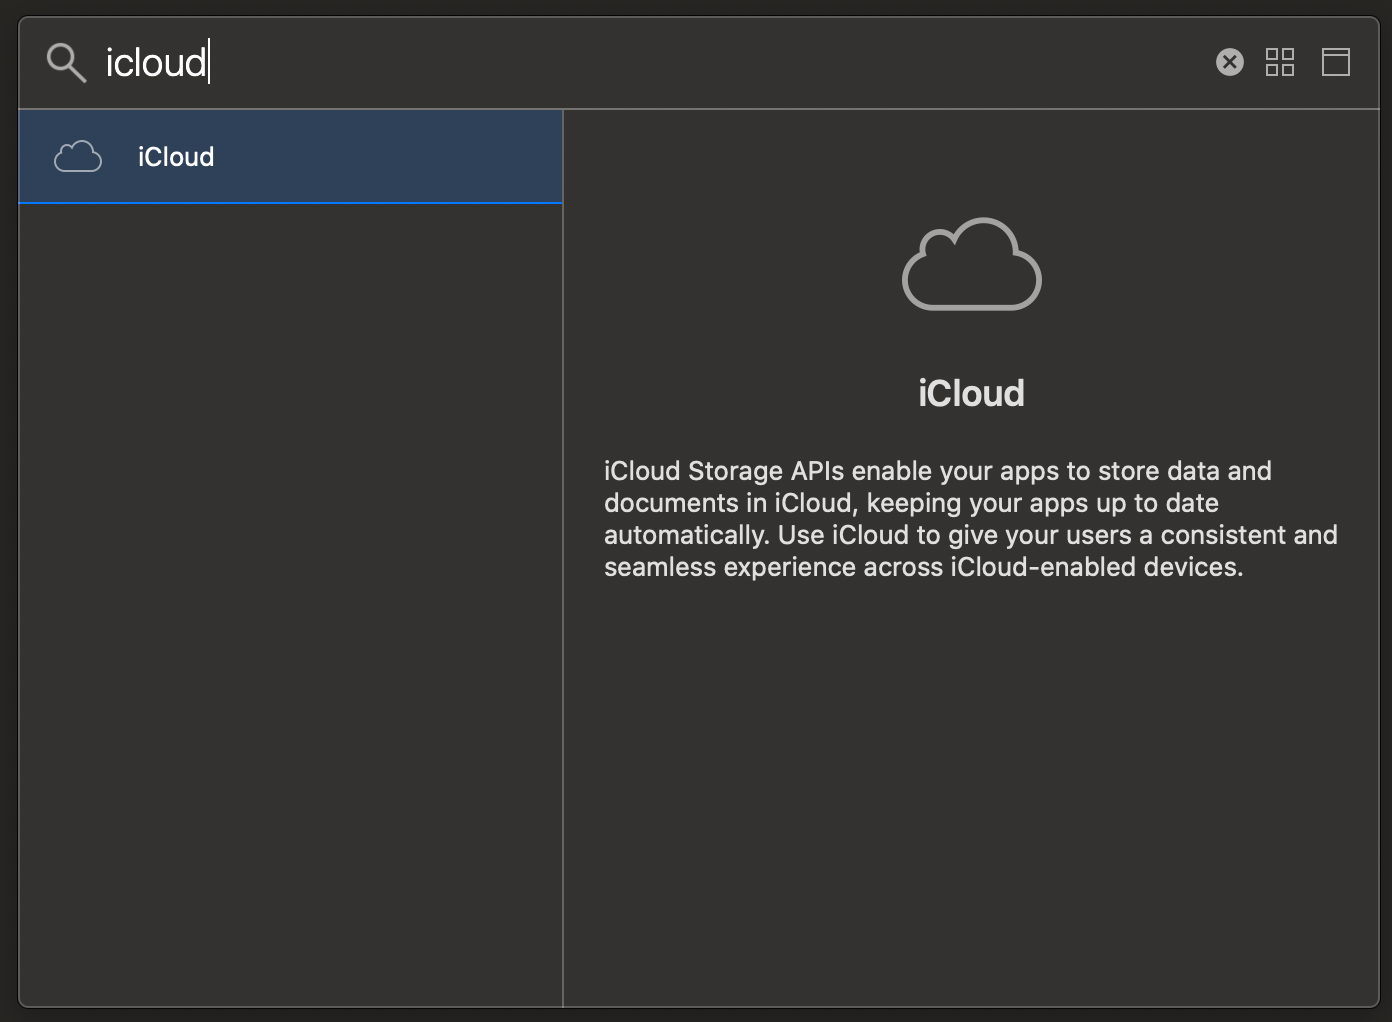
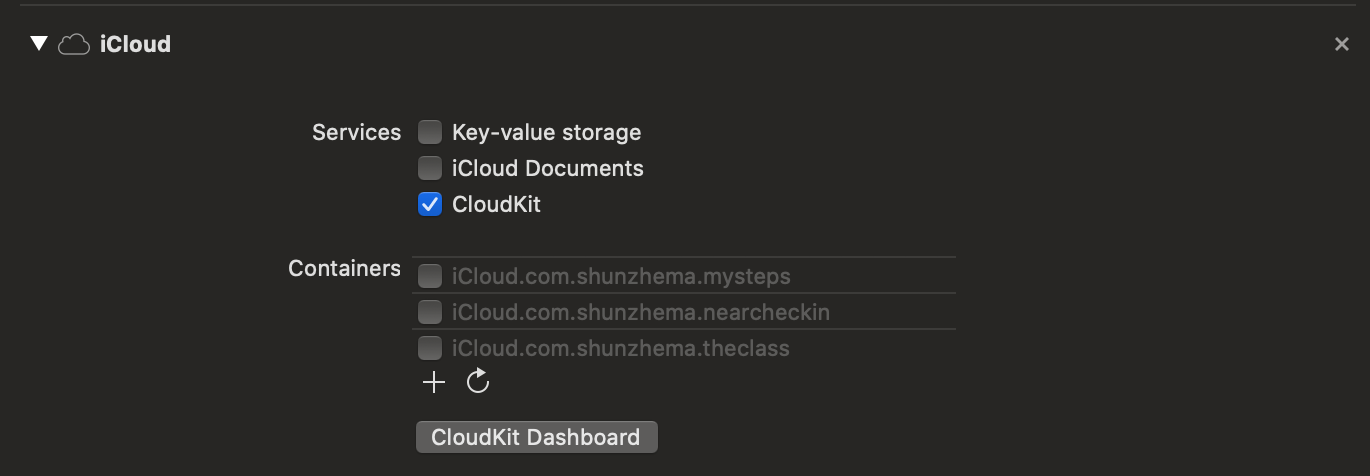
Step 1. Turn on the required capabilities in Xcode project settings. Turn on “CloudKit” in “iCloud”

Now turn on “CloudKit”

Click to toggle one of the existing “Containers” or click the plus icon to add a new one.
Step 2. Set up the CloudKit data structure for storing the user information
- Now click on “CloudKit Dashboard” button or go to http://icloud.developer.apple.com
- Click the name of your application on the left side of the panel.
- Click on Schema

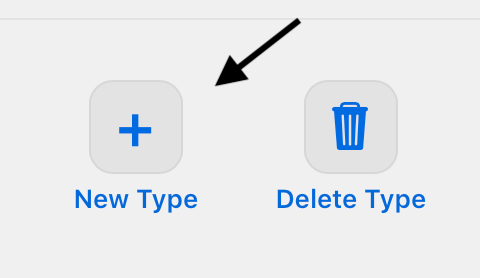
- Click on New Type

Name the type “UserInfo” (same as the type you write in your code), select the type you just created.
Click on “Add field button” on the right and add the following new fields:

“emailAddress” and “name” are both “String”
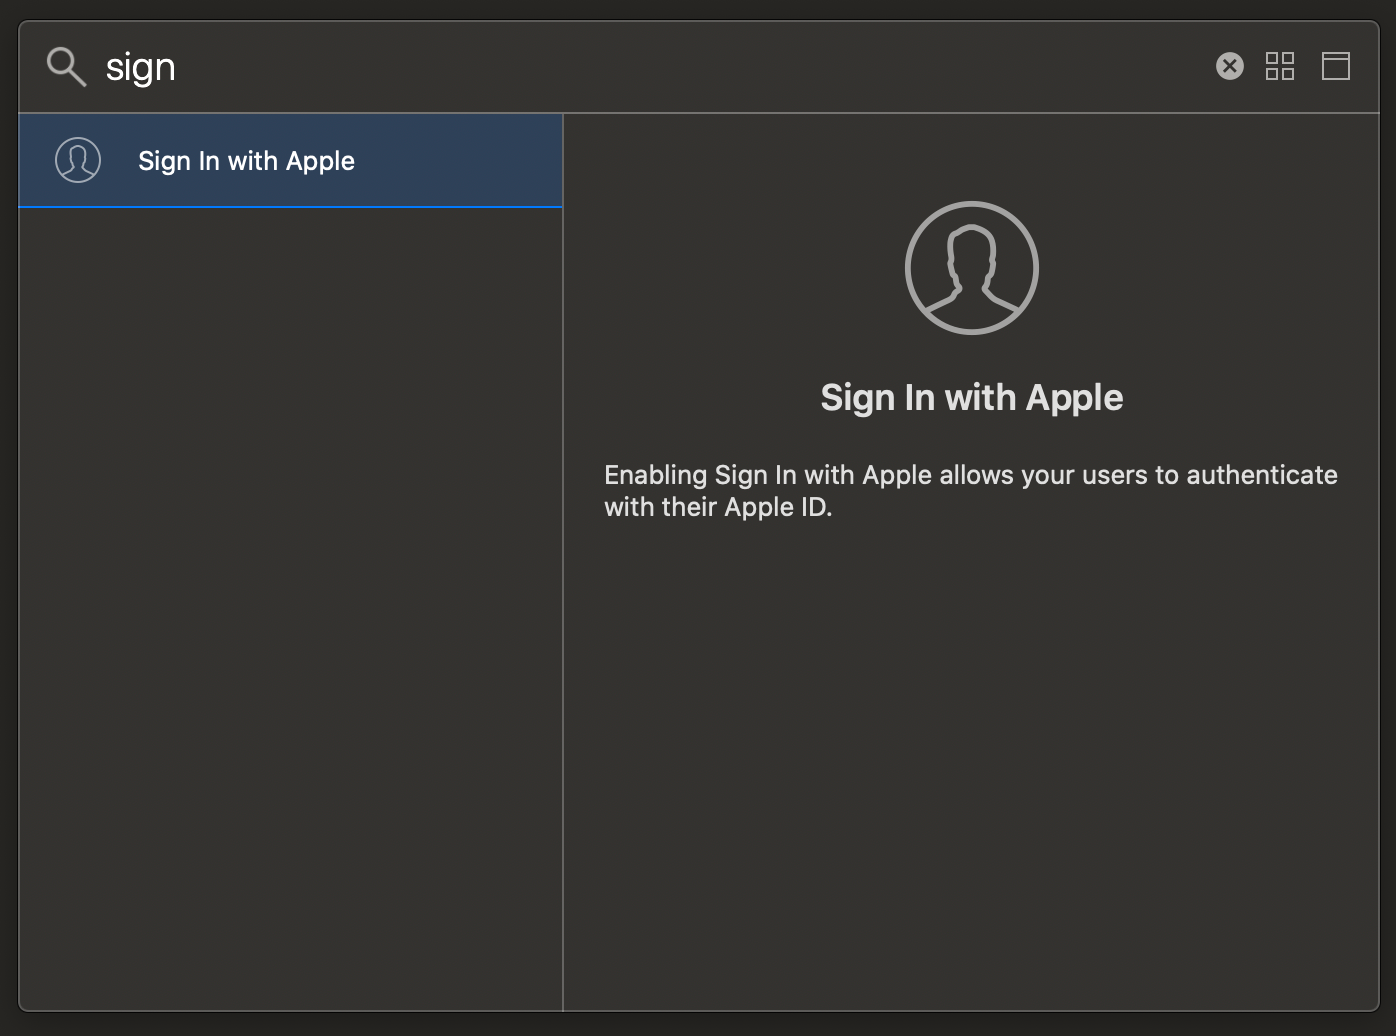
Step 3. Add the capability “Sign in with Apple”

Now your “Capabilities” tab should contain at least these two:

If you are lazy, the below codes can also be obtained here: https://github.com/mszopensource/CloudKitAppleSignInExample/blob/master/loginViewController.swift
Step 4. Create a new login view controller (skip if you already did that)
import Foundation

import UIKit

class loginViewController: UIViewController {

    override func viewDidLoad() {

        super.viewDidLoad()

    }

}
Import the necessary frameworks
import AuthenticationServices

import CloudKit
Add a reference to the “Sign in with Apple button”
@IBOutlet weak var signInBtnView: UIView!
var authorizationButton: ASAuthorizationAppleIDButton!
At here, I am adding thhe sign in button to an existing view called `signInBtnView`. `signInBtnView` has been added using UIStoryBoard here.
Add that button to your view
override func viewDidLoad() {

    super.viewDidLoad()

     authorizationButton = ASAuthorizationAppleIDButton(type: .default, style: .whiteOutline)

    authorizationButton.frame = CGRect(origin: .zero, size: signInBtnView.frame.size)

    authorizationButton.addTarget(self, action: #selector(handleAppleIdRequest), for: .touchUpInside)

    signInBtnView.addSubview(authorizationButton)

}
Handle button click action
@objc func handleAppleIdRequest(){

    let appleIDProvider = ASAuthorizationAppleIDProvider()

    let request = appleIDProvider.createRequest()

    request.requestedScopes = [.fullName, .email]

    let authorizationController =     ASAuthorizationController(authorizationRequests: [request])

    authorizationController.delegate = self

    authorizationController.performRequests()

}
Set up the delegate to receive the result / error
extension loginViewController: ASAuthorizationControllerDelegate {

func authorizationController(controller: ASAuthorizationController, didCompleteWithAuthorization authorization: ASAuthorization) {

    //Success

}

func authorizationController(controller: ASAuthorizationController, didCompleteWithError error: Error) {

    //Failed

    print(error.localizedDescription)

}
Now you should have Sign in with Apple up and running. Test it now in your simulator!
However, we still need to: 1. Obtain user information from the sign-in; 2. Keep or fetch from iCloud
Fetch information from the sign-in
func authorizationController(controller: ASAuthorizationController, didCompleteWithAuthorization authorization: ASAuthorization) {

    if let appleIDCredential = authorization.credential as?    ASAuthorizationAppleIDCredential {
        let userID = appleIDCredential.user
        let name = appleIDCredential.fullName?.givenName
        let emailAddr = appleIDCredential.email
    }
}
Now here’s an important information:
- If it’s the first time a user uses “Sign in with Apple” with your app, you will receive the userID, name, and email address. We will work with CloudKit in later part of this article to save that information.
- If user is returning (signing in instead of signing up), then only the userID will be provided. We will work with CloudKit in later part of this article to learn how to fetch the name and email with the userID.
- Note that userID is always the same for one user
Check if user is signing up (new user) or signing in
func authorizationController(controller: ASAuthorizationController, didCompleteWithAuthorization authorization: ASAuthorization) {

    if let appleIDCredential = authorization.credential as?  ASAuthorizationAppleIDCredential {

        let userID = appleIDCredential.user

        if let name = appleIDCredential.fullName?.givenName,

        let emailAddr = appleIDCredential.email {

            //New user (Signing up).

            //Save this information to CloudKit

        } else {

            //Returning user (signing in)

            //Fetch the user name/ email address

            //from private CloudKit

        }

    }

}
If there is a name and email provided (in other words, user is signing up), we can create a new CloudKit record:
Note that we assign the ‘recordID’ to be the same as ‘userID’ we obtained from “Sign in with Apple” so that we can fetch user’s CloudKit record later.
//New user (Signing up).

//Save this information to CloudKit

let record = CKRecord(recordType: "UserInfo", recordID: CKRecord.ID(recordName: userID))

record["name"] = name

record["emailAddress"] = emailAddr

privateDatabase.save(record) { (_, _) in

UserDefaults.standard.set(record.recordID.recordName, forKey: "userProfileID")
If returning user, we will fetch the name and email:
//Returning user (signing in)

//Fetch the user name/ email address

//from private CloudKit

privateDatabase.fetch(withRecordID: CKRecord.ID(recordName: userID)) { (record, error) in

    if let fetchedInfo = record {

       let name = fetchedInfo["name"] as? String

        let userEmailAddr = fetchedInfo["emailAddress"] as? String

        //You can now use the user name and email address (like save it to local)
        UserDefaults.standard.set(name, forKey: "userName")

        UserDefaults.standard.set(userID, forKey: "userProfileID")

}
Completed code:
mszopensource/CloudKitAppleSignInExample
Also note that you’ll need to deploy the iCloud CloudKit database to production be you publish your app.

