This article talks about setting up your own Bluesky personal data server, so you will hold your follow data, post data, and medias on your own server.
With proper setup, you will be able to follow people on other At Proto instances (like bsky.social); and people on bsky.social can follow you.
Using CloudFlare tunnel
We will use CloudFlare tunnel to prevent your server IP address from getting exposed. This will also avoid the need for a public IPv4 address for your server (so you can easily set up a PDS server on your Raspberry Pie)
To use the tunnel feature, you can register a free CloudFlare account. Using CloudFlare also helps you to prevent some attacks.
Step 1. Set up your server
Make sure your server meets the requirement:
Server Requirements
- Public IPv4 address
- Public DNS name
- Public inbound internet access permitted on port 80/tcp and 443/tcp
Server Recommendations
Operating System: Ubuntu 22.04
Memory (RAM): 2+ GB
CPU Cores: 2+
Storage: 40+ GB SSD
Architectures: amd64, arm64
I recommend you to use an ARM server (like t4g.small).
Then, ssh into your server and run the following commands to update your packages
apt-get update
apt-get upgrade –with-new-pkgs -y
Step 2. Set up the CloudFlare tunnel
Before starting this step, you need to add your domain to CloudFlare. You need to point your NS record to CloudFlare.
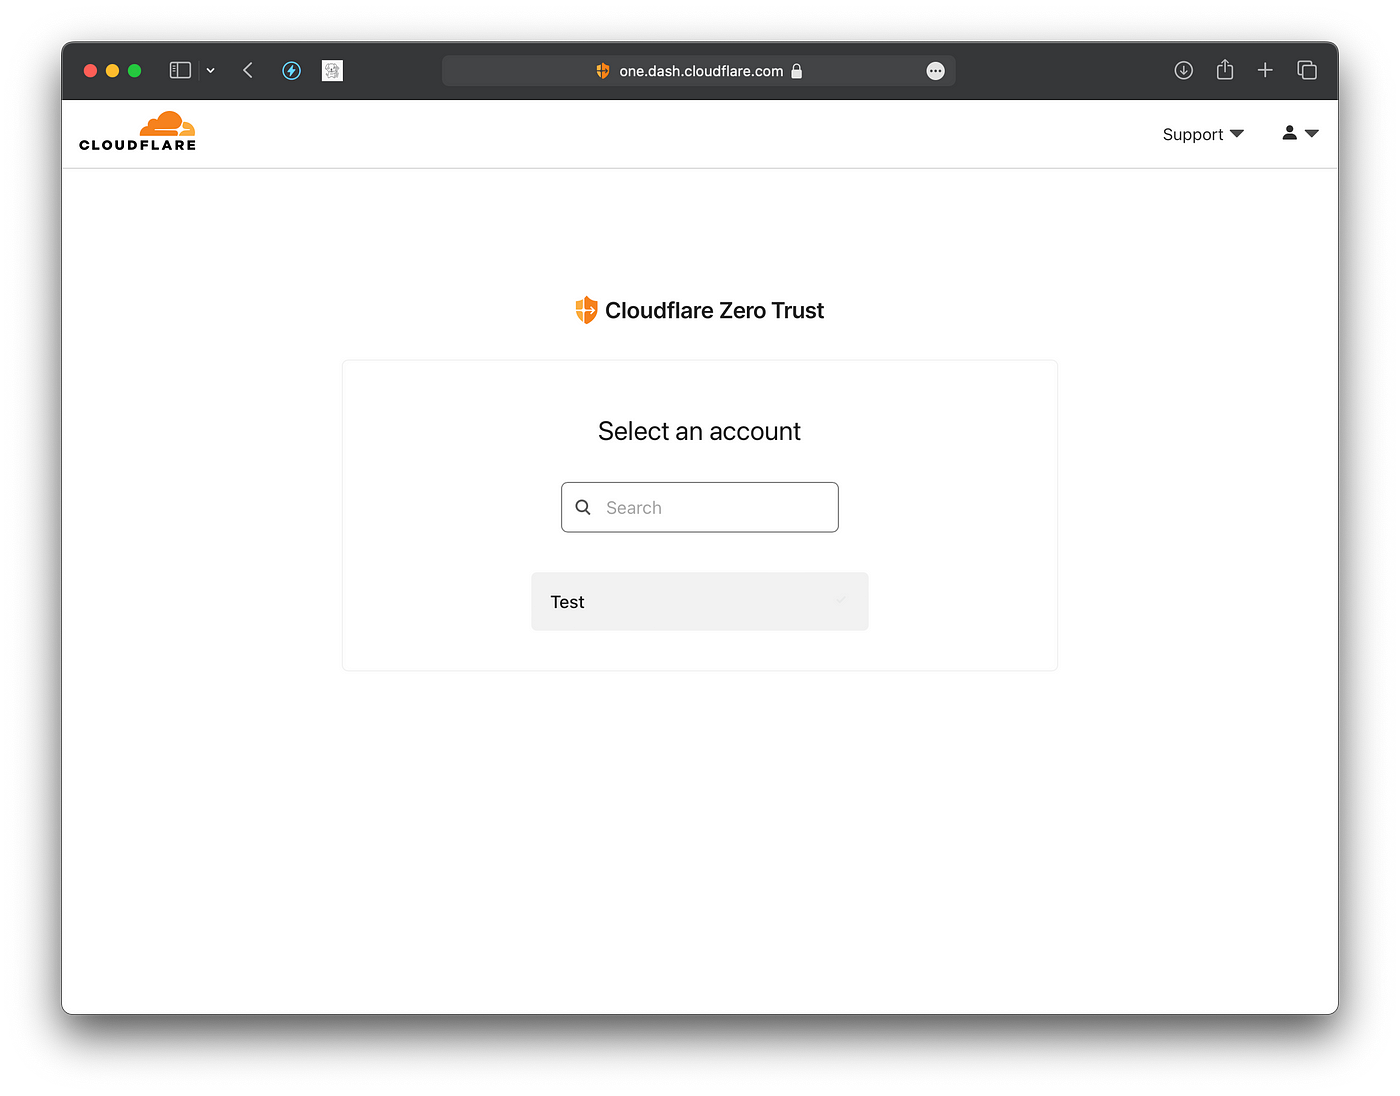
First, access one.dash.cloudflare.com and log into your CloudFlare account. Tap into your CloudFlare zero trust account:
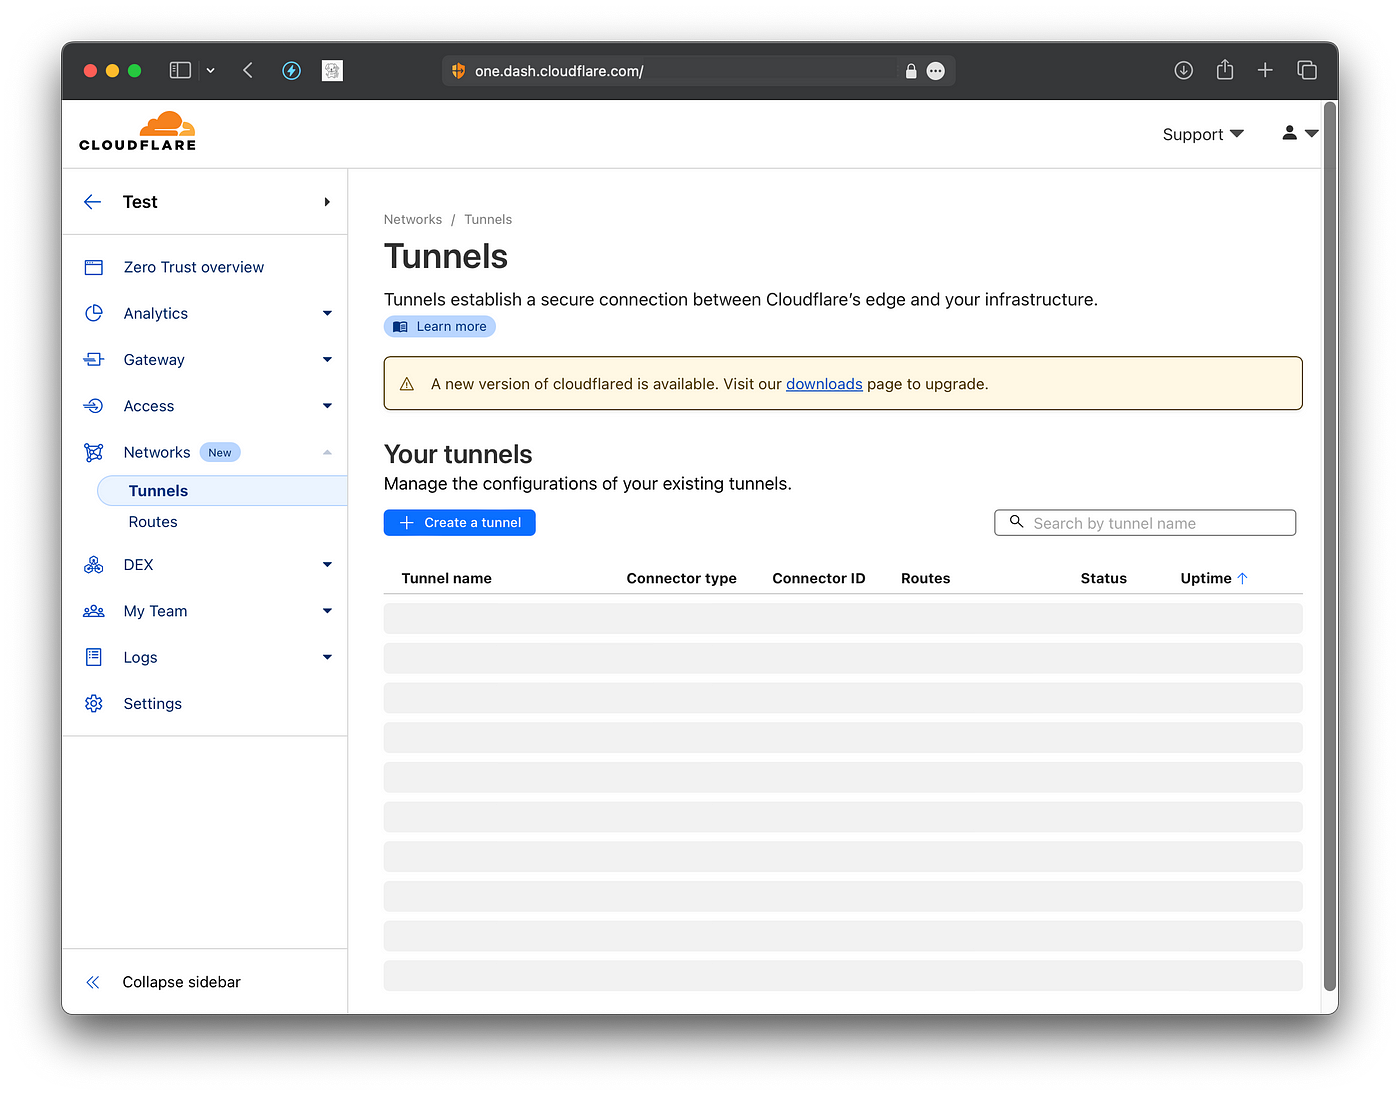
Then, open the “Tunnels” page in the “Networks” tab, and click on “Create a tunnel”
Click to use Cloudflared
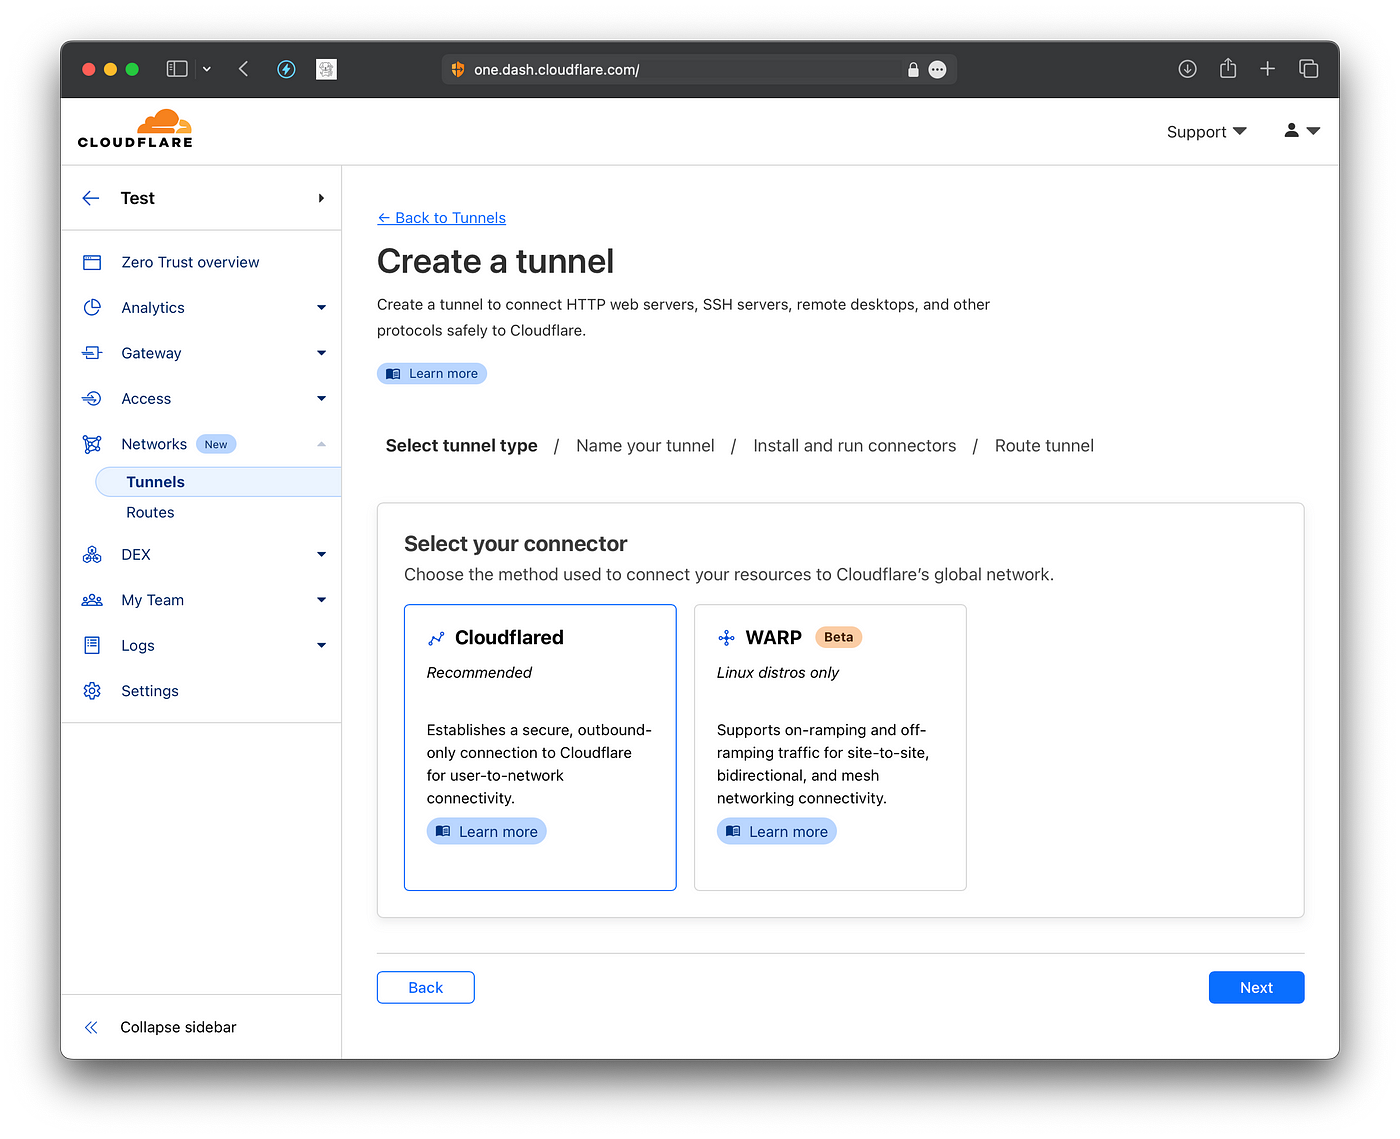
Now, you should tap on “Debian” (since we are using Ubuntu on our server), and tap your CPU type (if you use ARM, tap on arm64-bit )
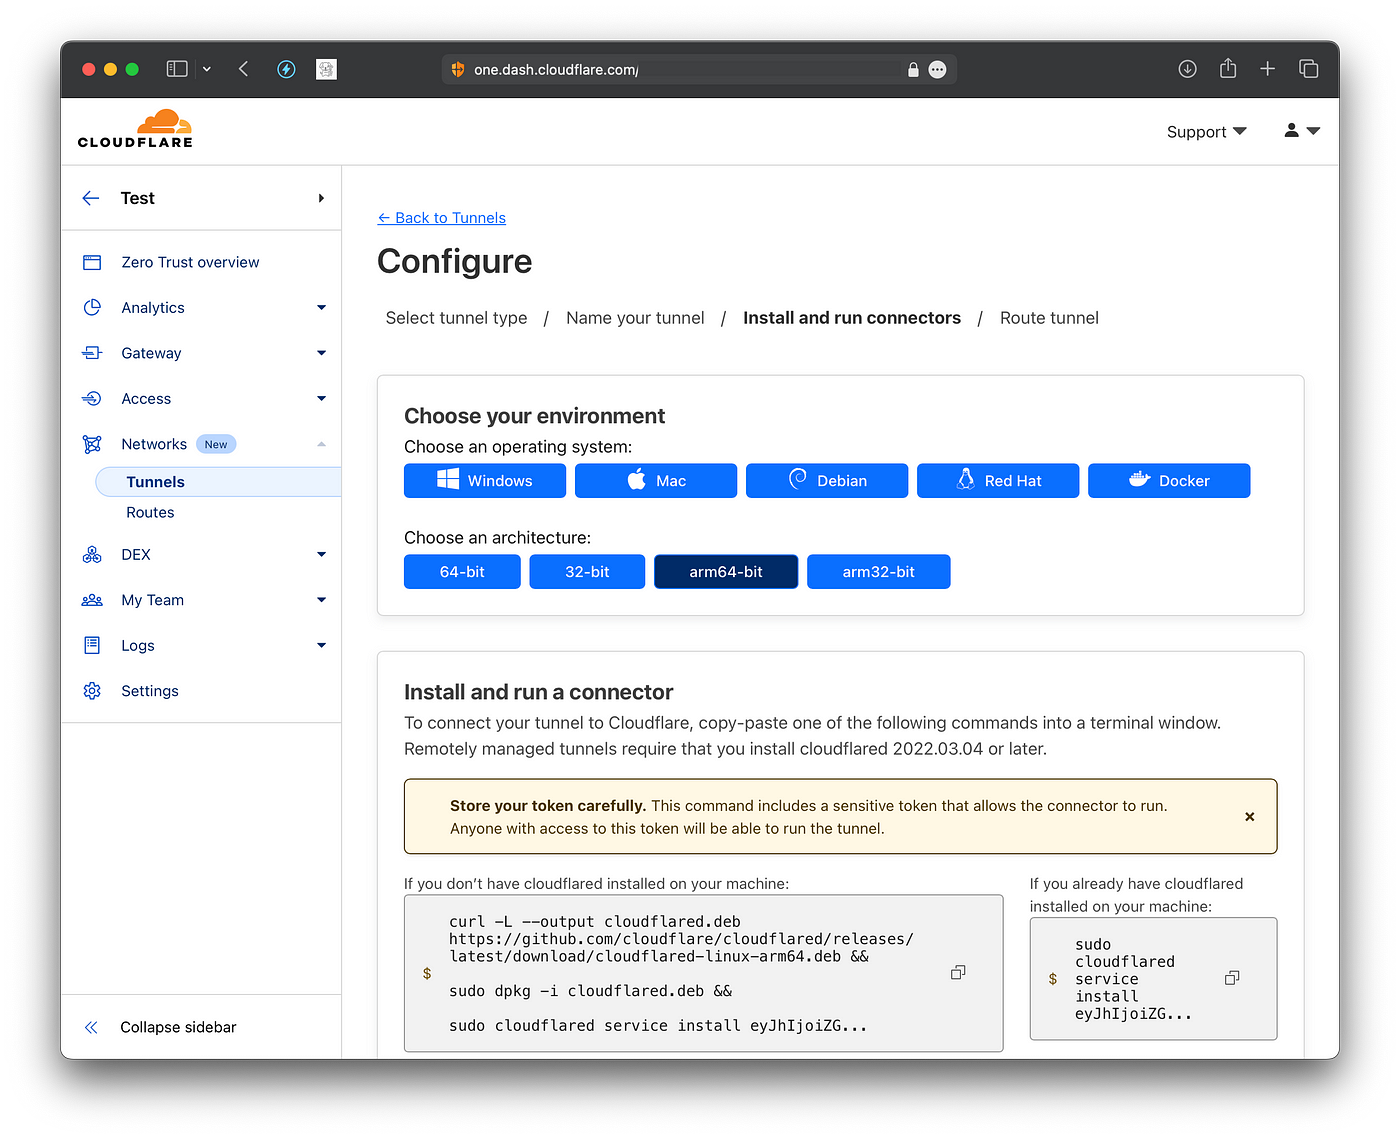
Copy the command with the curl, dpkg, and cloudflard commands into your terminal, this will connect your server automatically to the CloudFlare network.
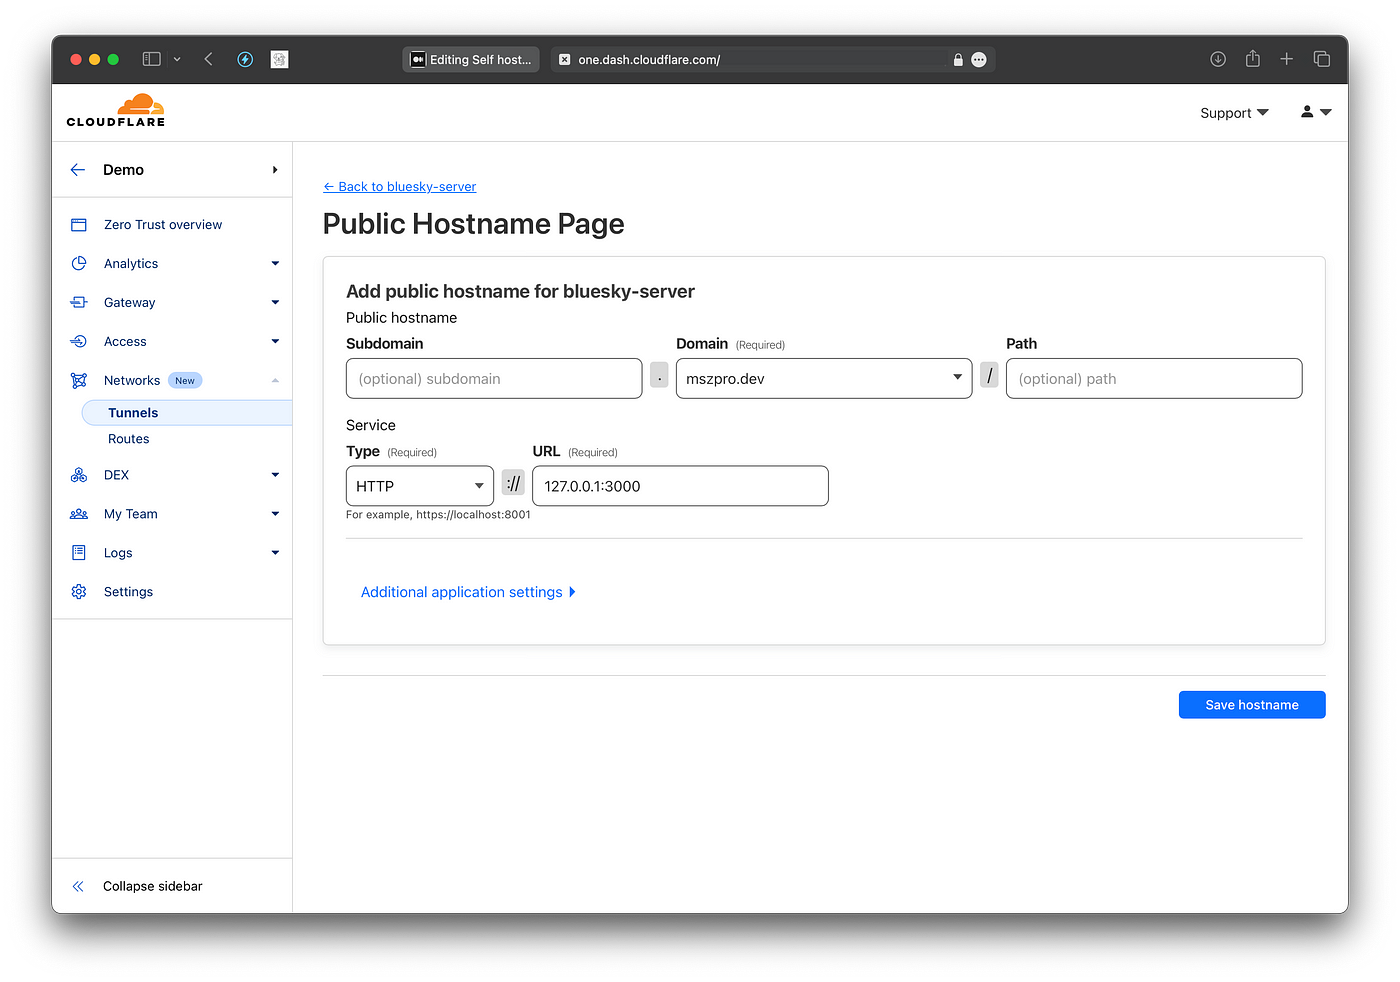
Next, you will add your domain and map it to HTTP://127.0.0.1:3000. By default, the Bluesky PDS uses port 3000 on your local machine with HTTP.
Do not worry about HTTPS, CloudFlare will automatically issue the certificate.
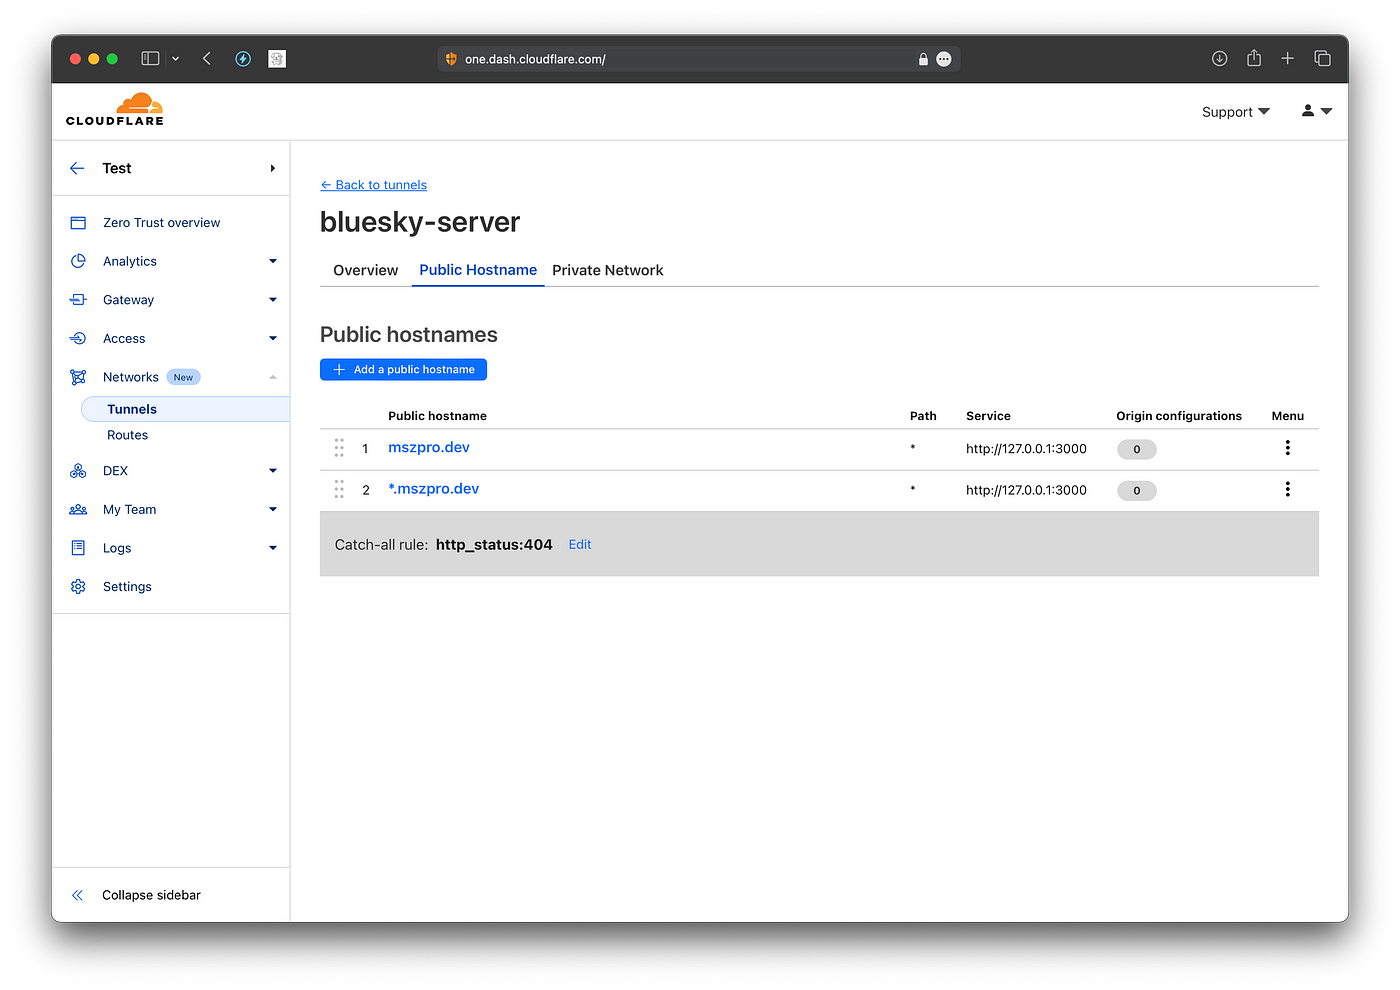
Now, click to open the tunnel entry (in my case, it is called bluesky-server ) Go to the Public Hostname tab, and add a new entry for the wildcard subdomain (since in Bluesky, handles are in the format of domain names, and need to resolve to your server).
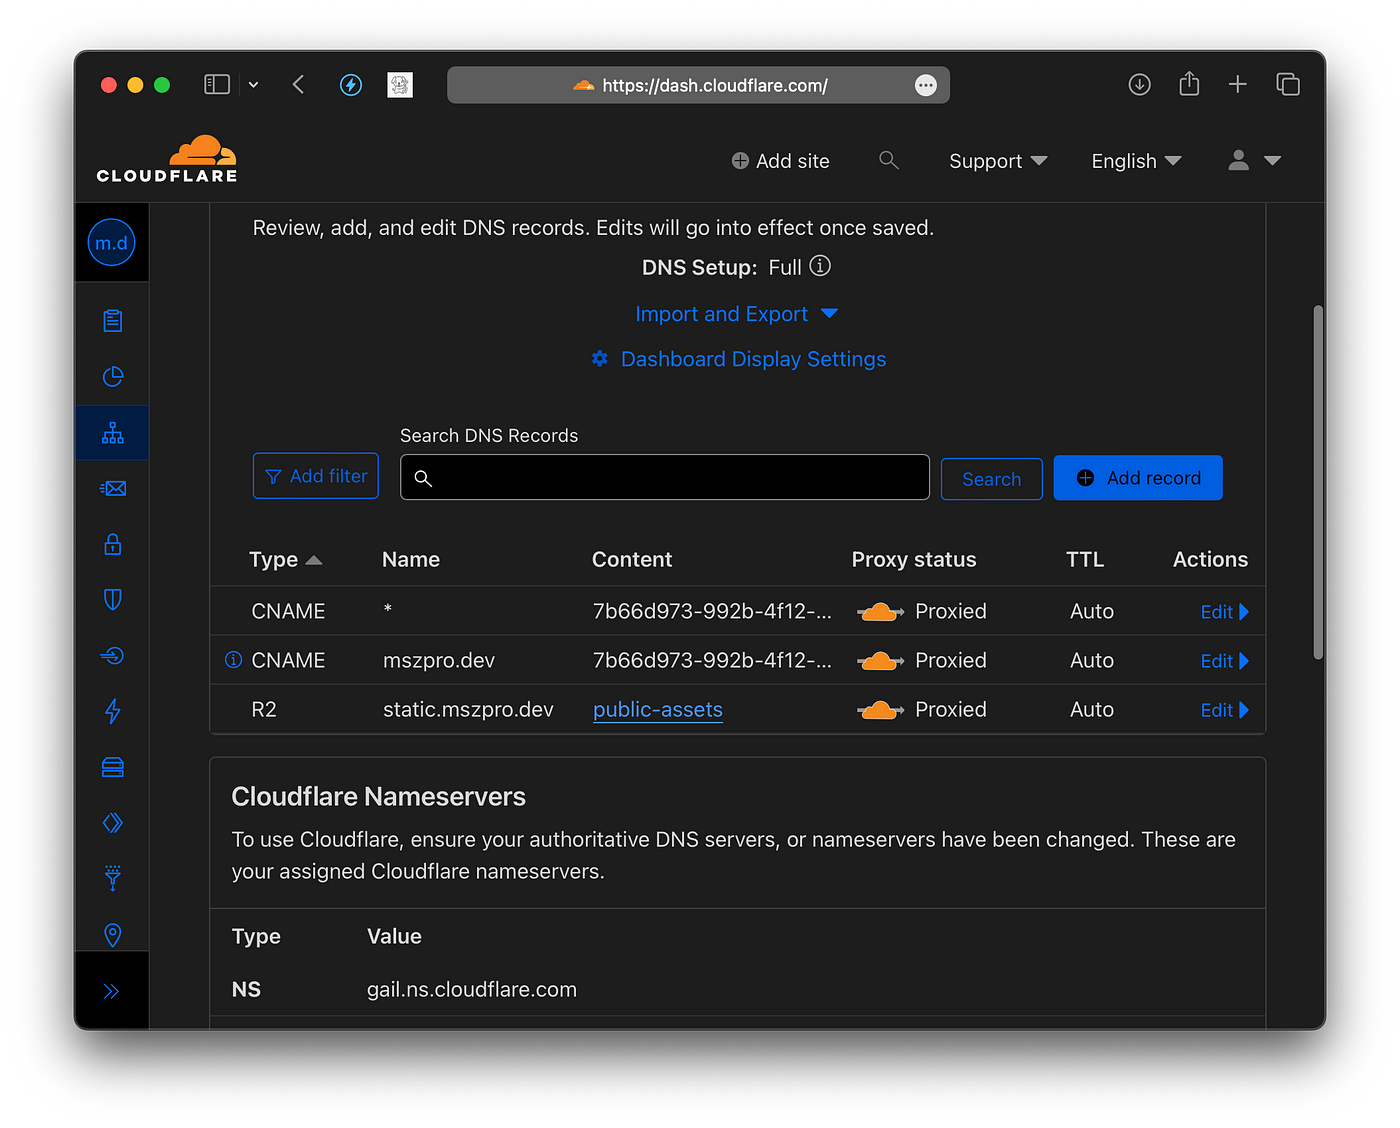
Since CloudFlare does not create DNS record for wildcard tunnel entries, you need to go to CloudFlare dashboard, go to the DNS tab, and add the wildcard CNAME entry (with the key as * mark, and the value the same as the one for the root domain record)
Now, CloudFlare tunnel is setup. Once we set up Bluesky PDS server, you should be able to access your instance via your domain.
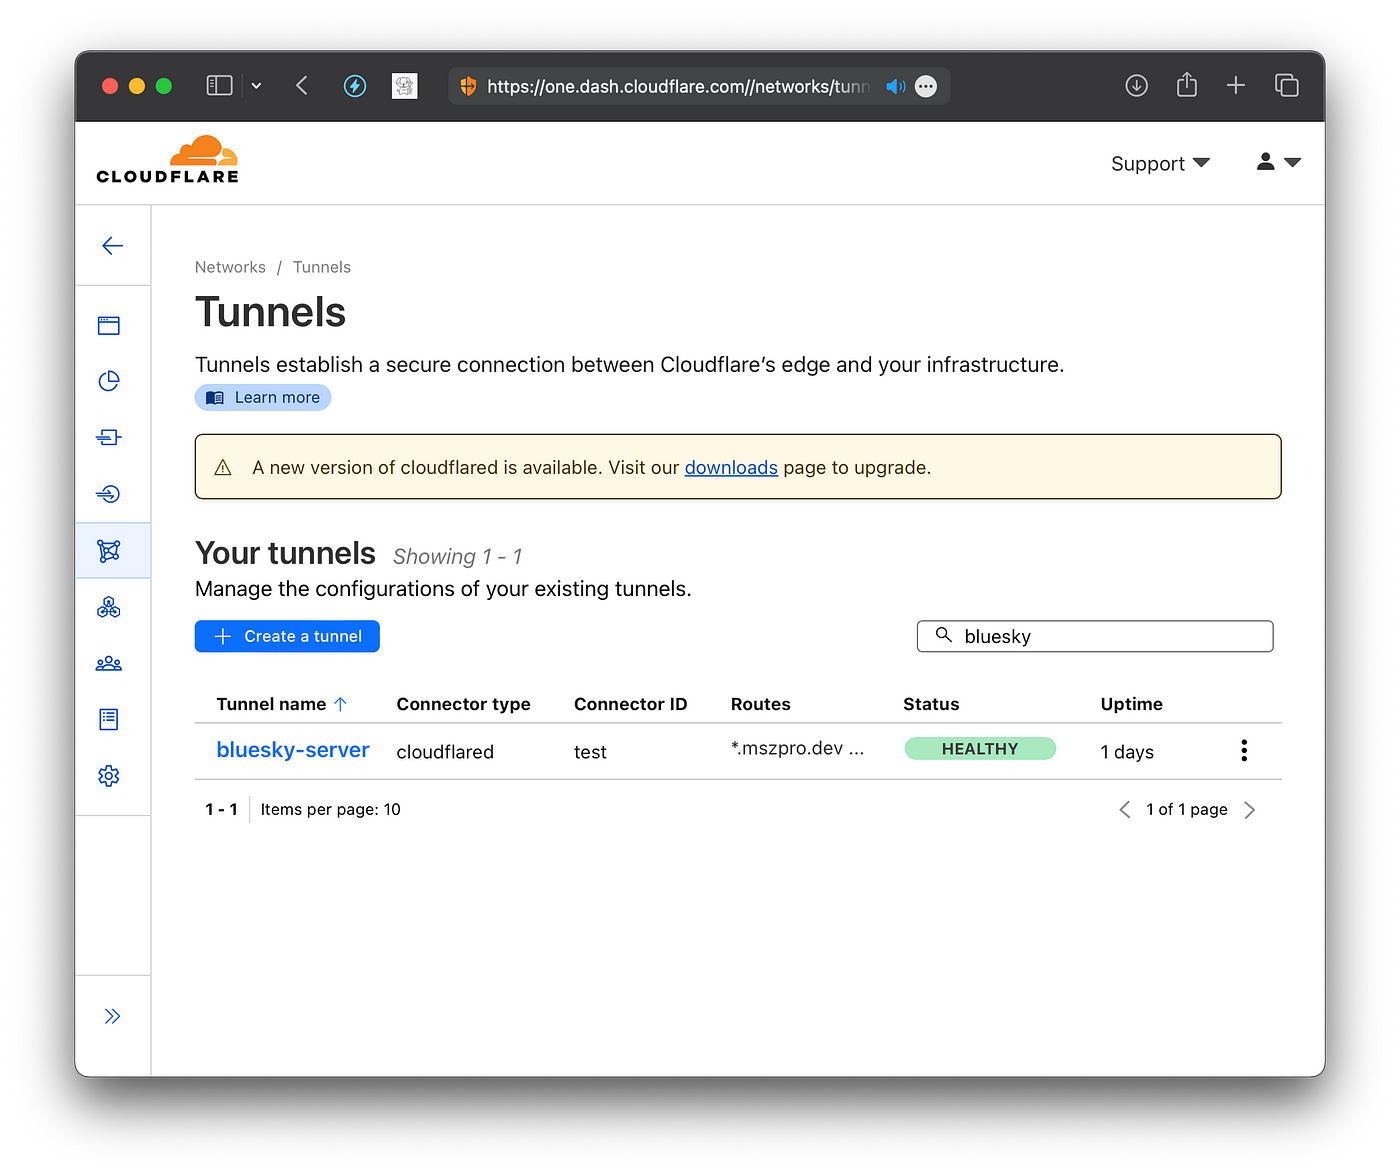
You can also visit the tunnel list on CloudFlare dashboard to check your server status. It should say Healthy
Install PDS server
First, download the installation script:
wget https://raw.githubusercontent.com/bluesky-social/pds/main/installer.shThen, make it executable and run it.
chmod +x installer.sh
sudo ./installer.sh
That’s it. The above script will install the server and run it using docker.
Add a new account
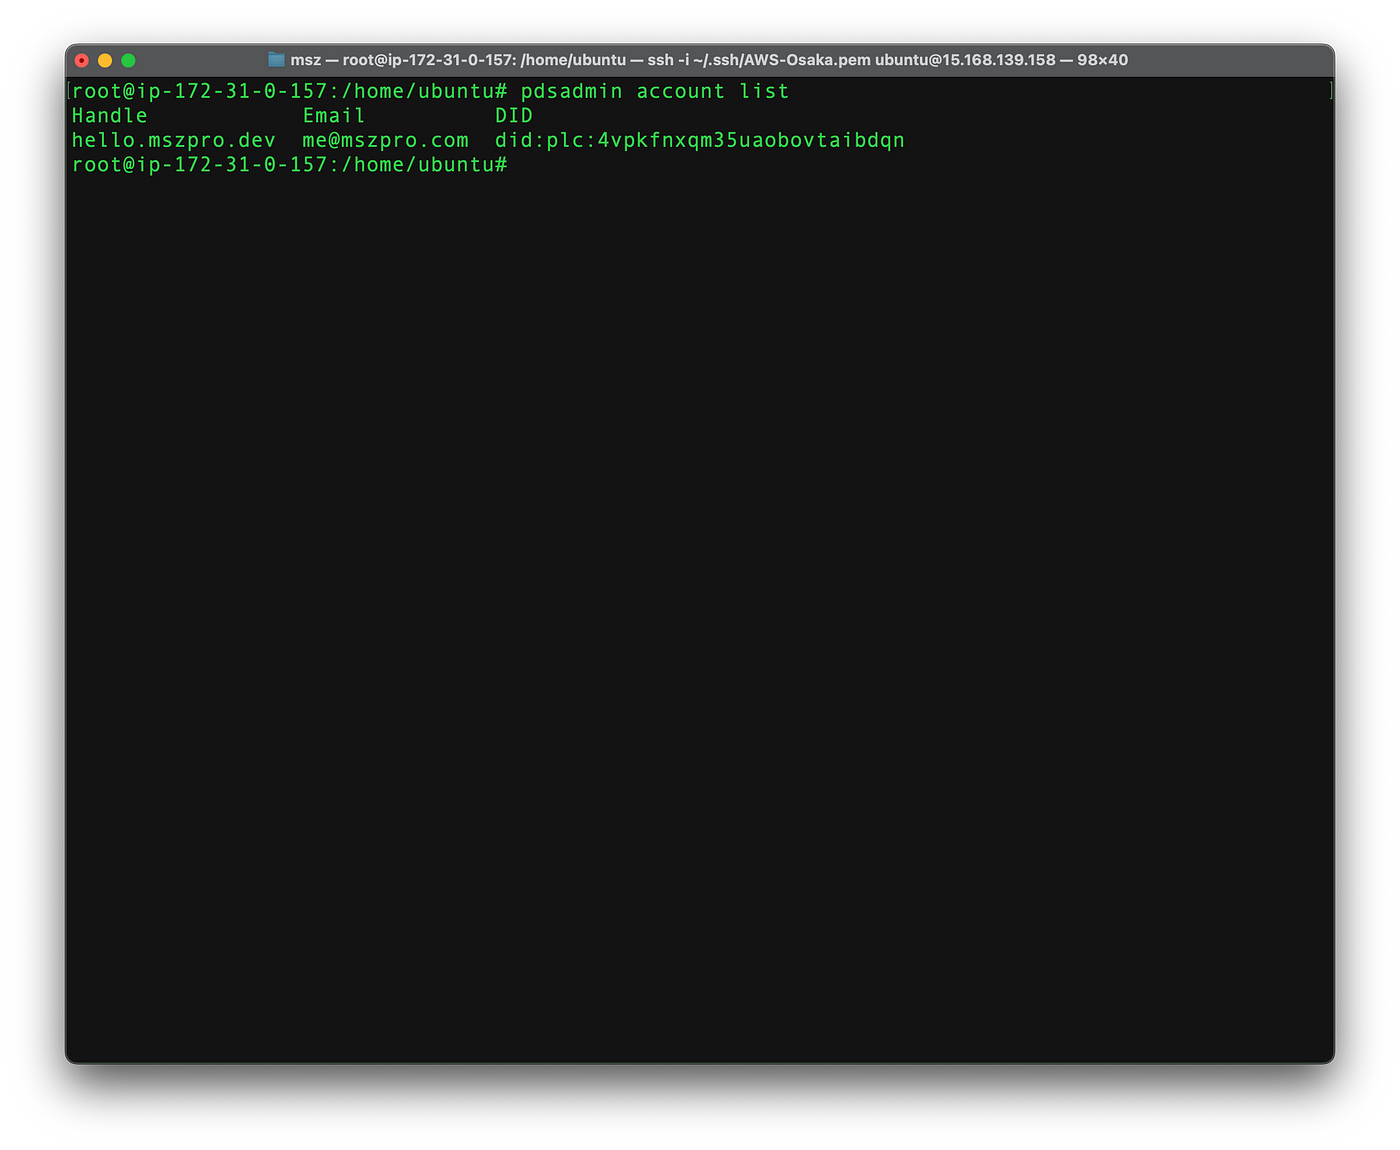
You can create a new account using the bash command:
sudo pdsadmin account createYou can also create an invite code:
sudo pdsadmin create-invite-codeDo notice that you can only have up to 10 accounts if you want to federate with the main Bluesky instance. As stated on Bluesky PDS discord:
The Bluesky Relay will rate limit PDSs in the network. Each PDS will be able to have up to 10 accounts, and produce up to 1500 events/hr and 10,000 events/day. This phase of federation is intended for developers and self-hosters, and we do not yet support larger service providers.
So be careful not to create many accounts.
After adding your account, you might find that your profile cannot be accessed. For me, it works after I rebooted my server.
Registering your PDS
Currently, you need to register your PDS with Bluesky team.
Initially to join the network you’ll need to join the AT Protocol PDS Admins Discord and register the hostname of your PDS. We recommend doing so before bringing your PDS online. In the future, this registration check will not be required.
The application is easy. You join the Discord group, submit a form, and the Bluesky team should add your instance within about a day.
Using your instance
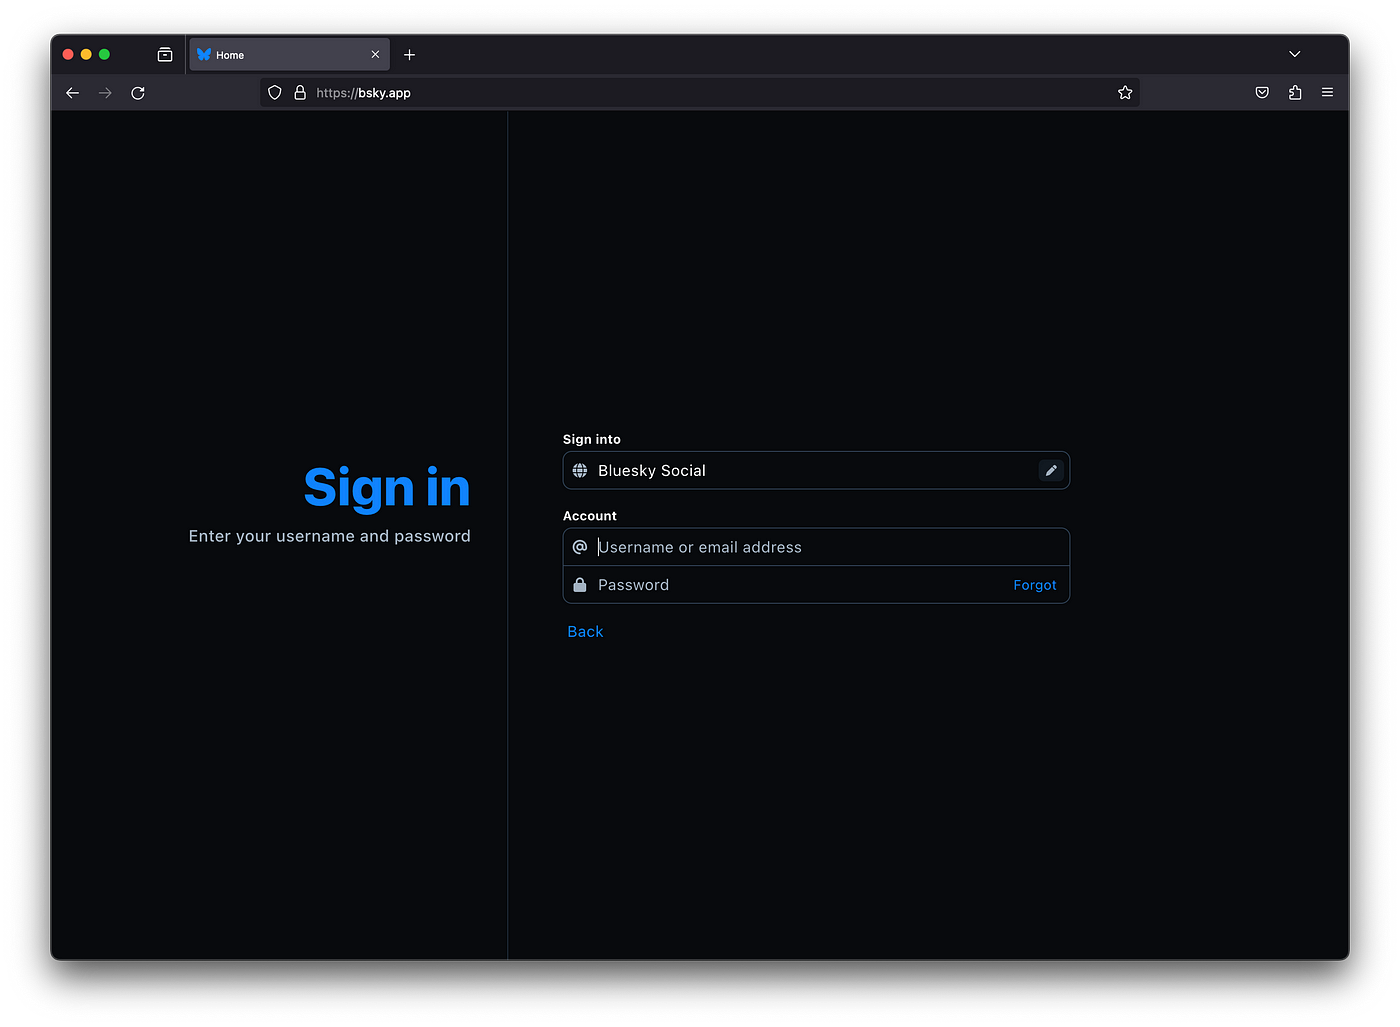
You can log into your instance by using bsky.app, and entering your server hostname manually.
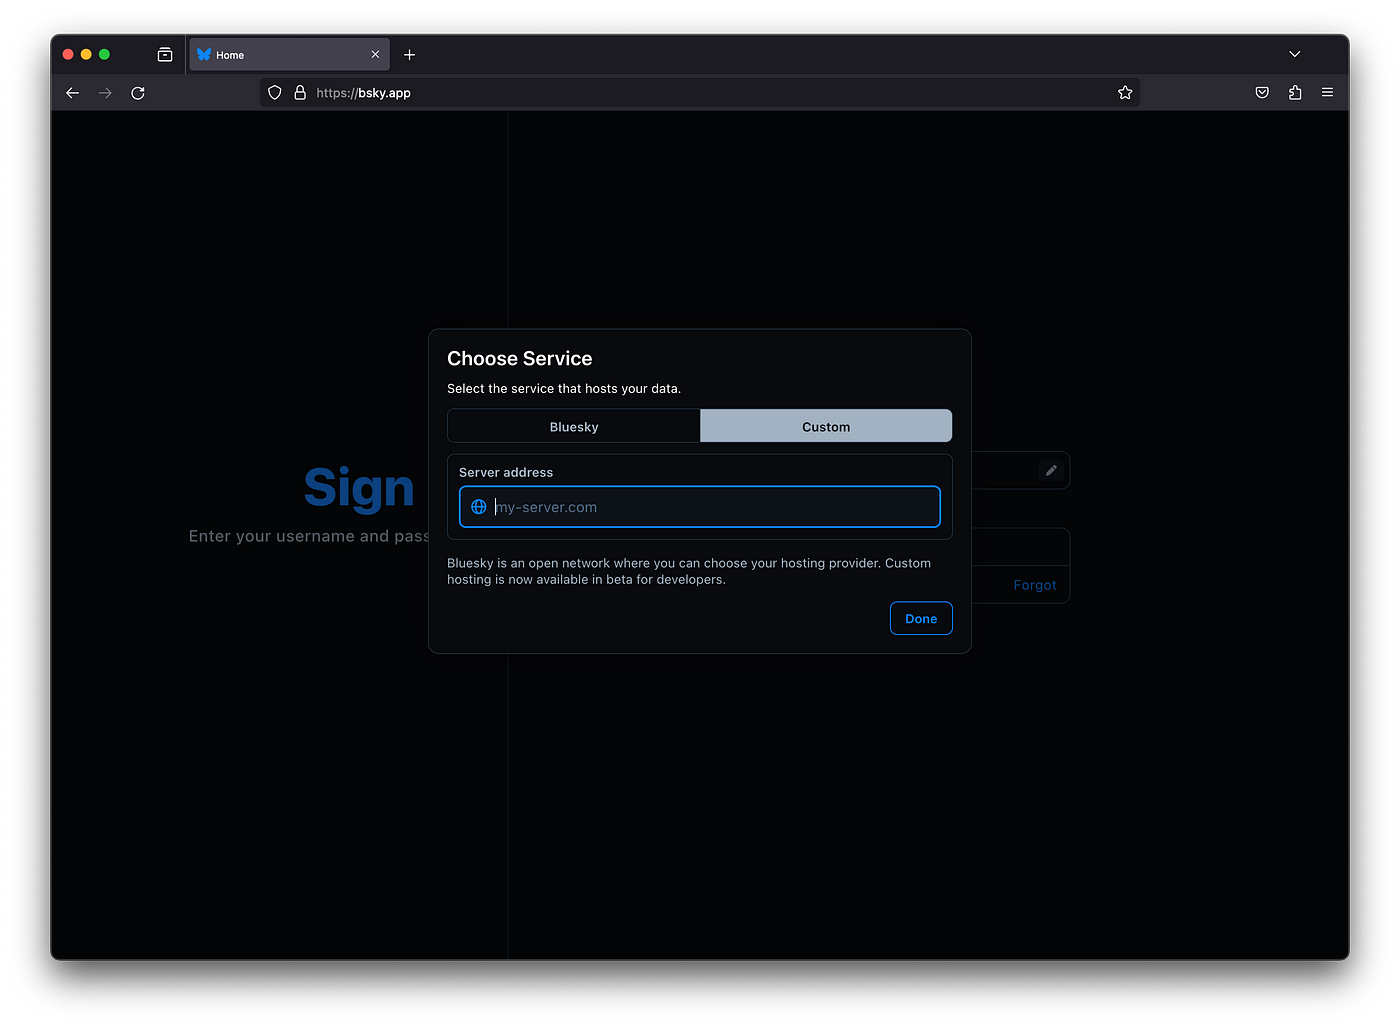
First tap on the pencil icon in the sign into section:
And you can enter your hostname, like mszpro.dev in my example.
Before your request is accepted, you will not be able to follow others on the main Bluesky network; and your account cannot be found from Bluesky social.
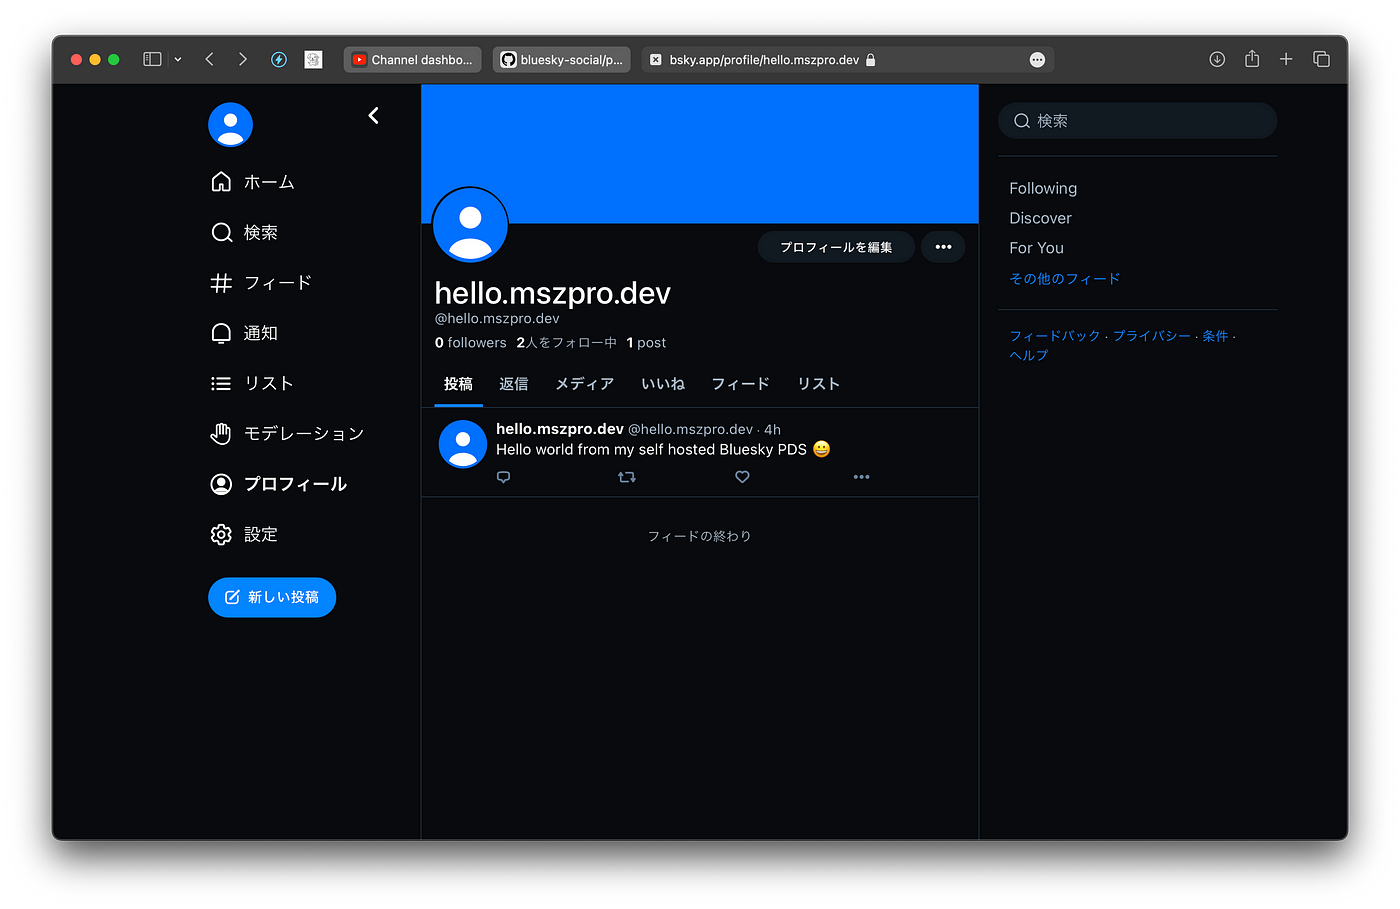
Approved!
After about 6 hours. My request was approved. And I can access my profile on my own self hosted server from bsky.social; and I can follow people on bsky.social from my own self hosted server:
Here are some useful commands:
Check service status : sudo systemctl status pds
Watch service logs : sudo docker logs -f pds
Backup service data : /pds
PDS Admin command : pdsadmin
Thanks for reading!
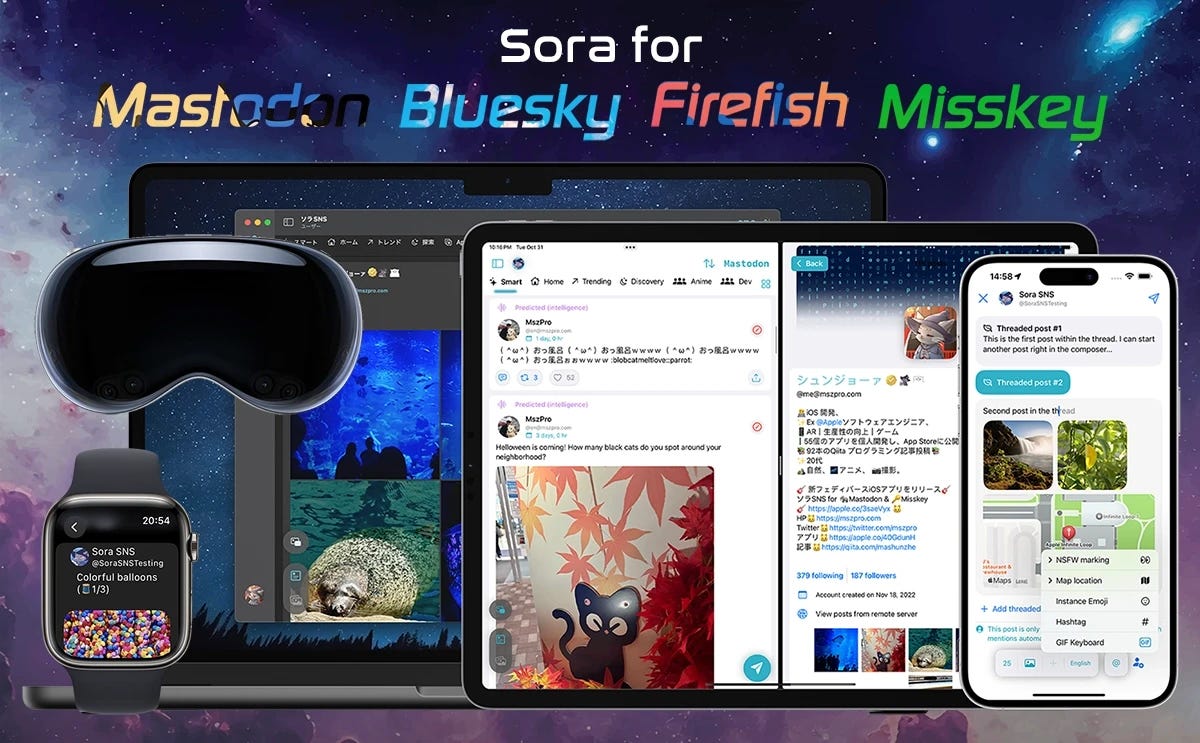
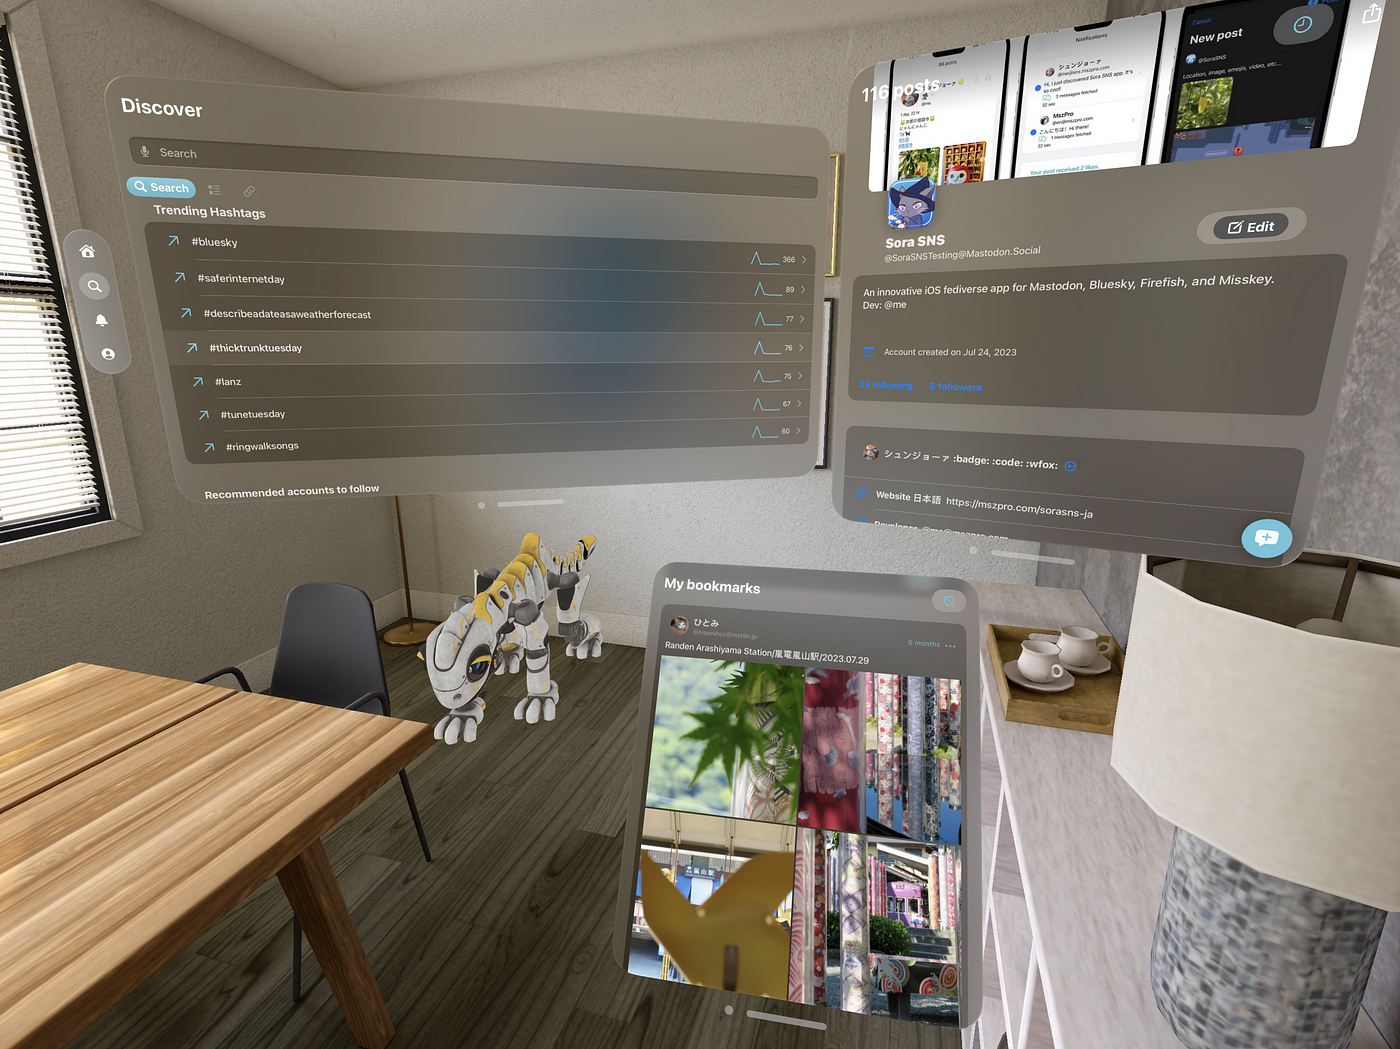
I have indie developed a Fediverse app for Mastodon, Misskey, Bluesky all in one. Featured in a TechCrunch article too!
- Has bookmark and bookmark folder feature
- Local algorithm to mix your custom feeds into your home feed, so you don’t have to switch between them
- works on iOS, WatchOS, VisionOS (native), MacOS