In Photos app, you can long press to extract objects (animals, people) from an image. In this article, we will talk about implementing this same feature using `ImageAnalysisInteraction`, and we will dig deeper to calling `VNGenerateForegroundInstanceMaskRequest` to archive this without using any image views.
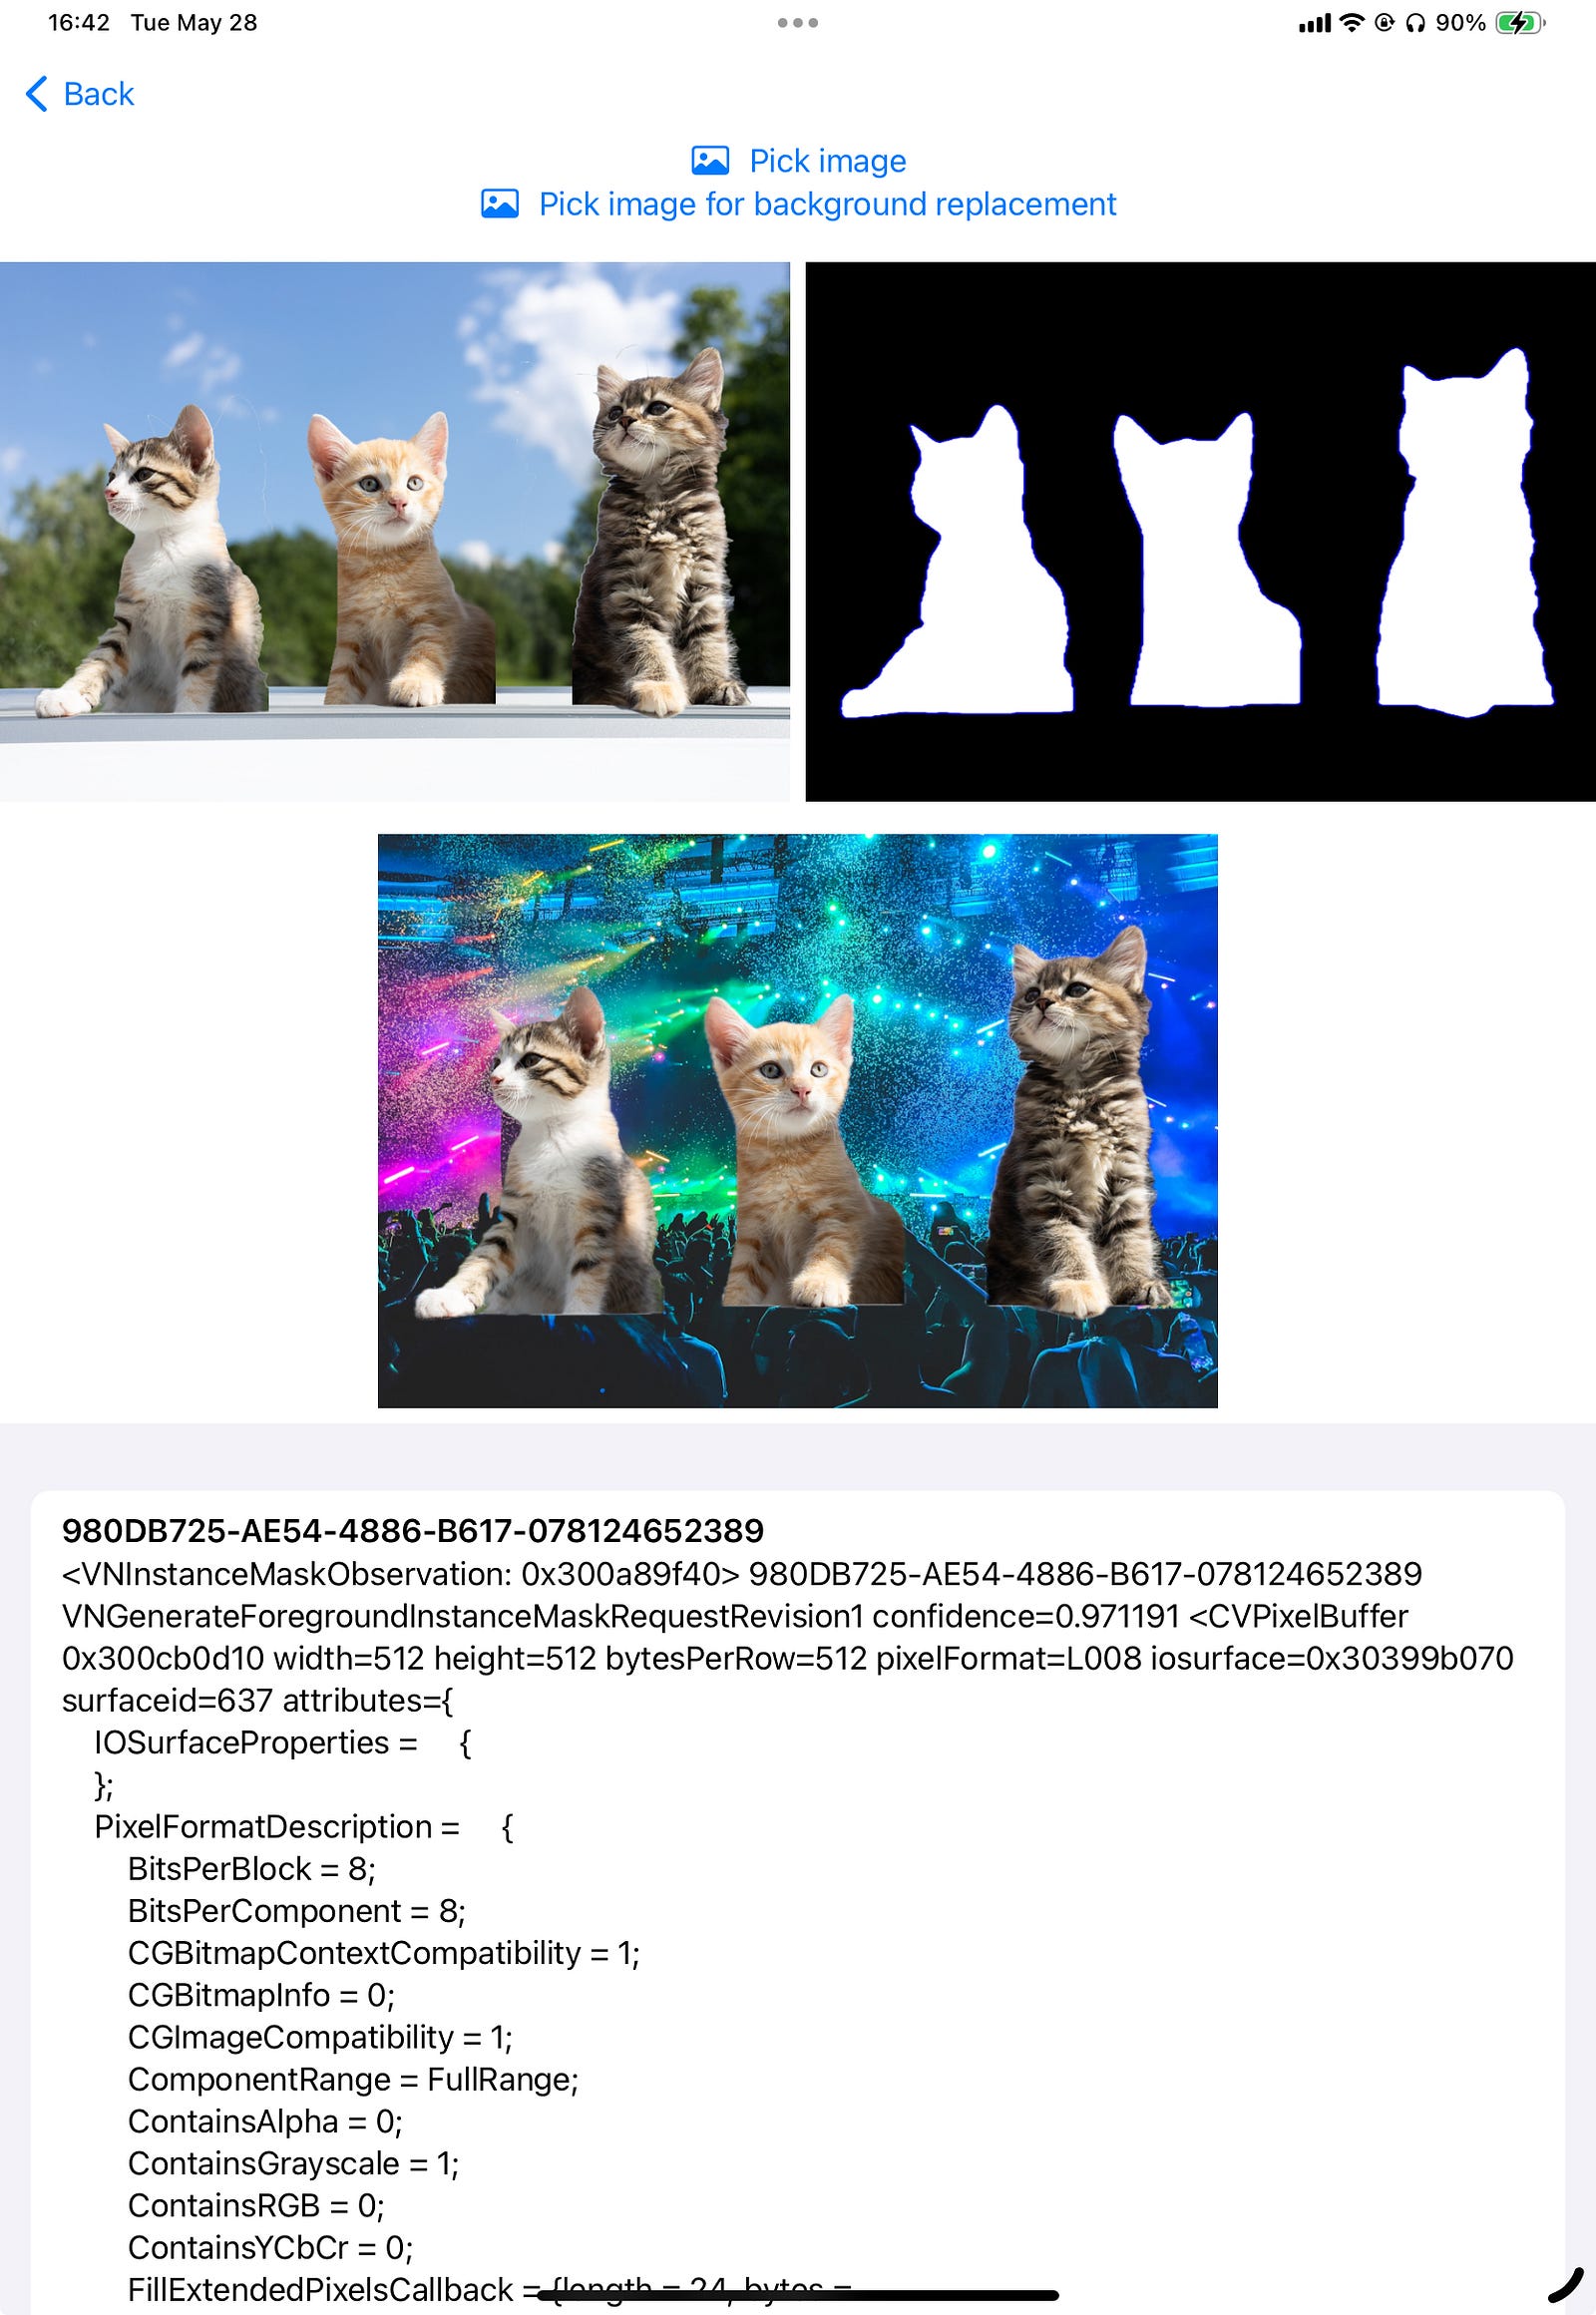
Who says cats cannot party?
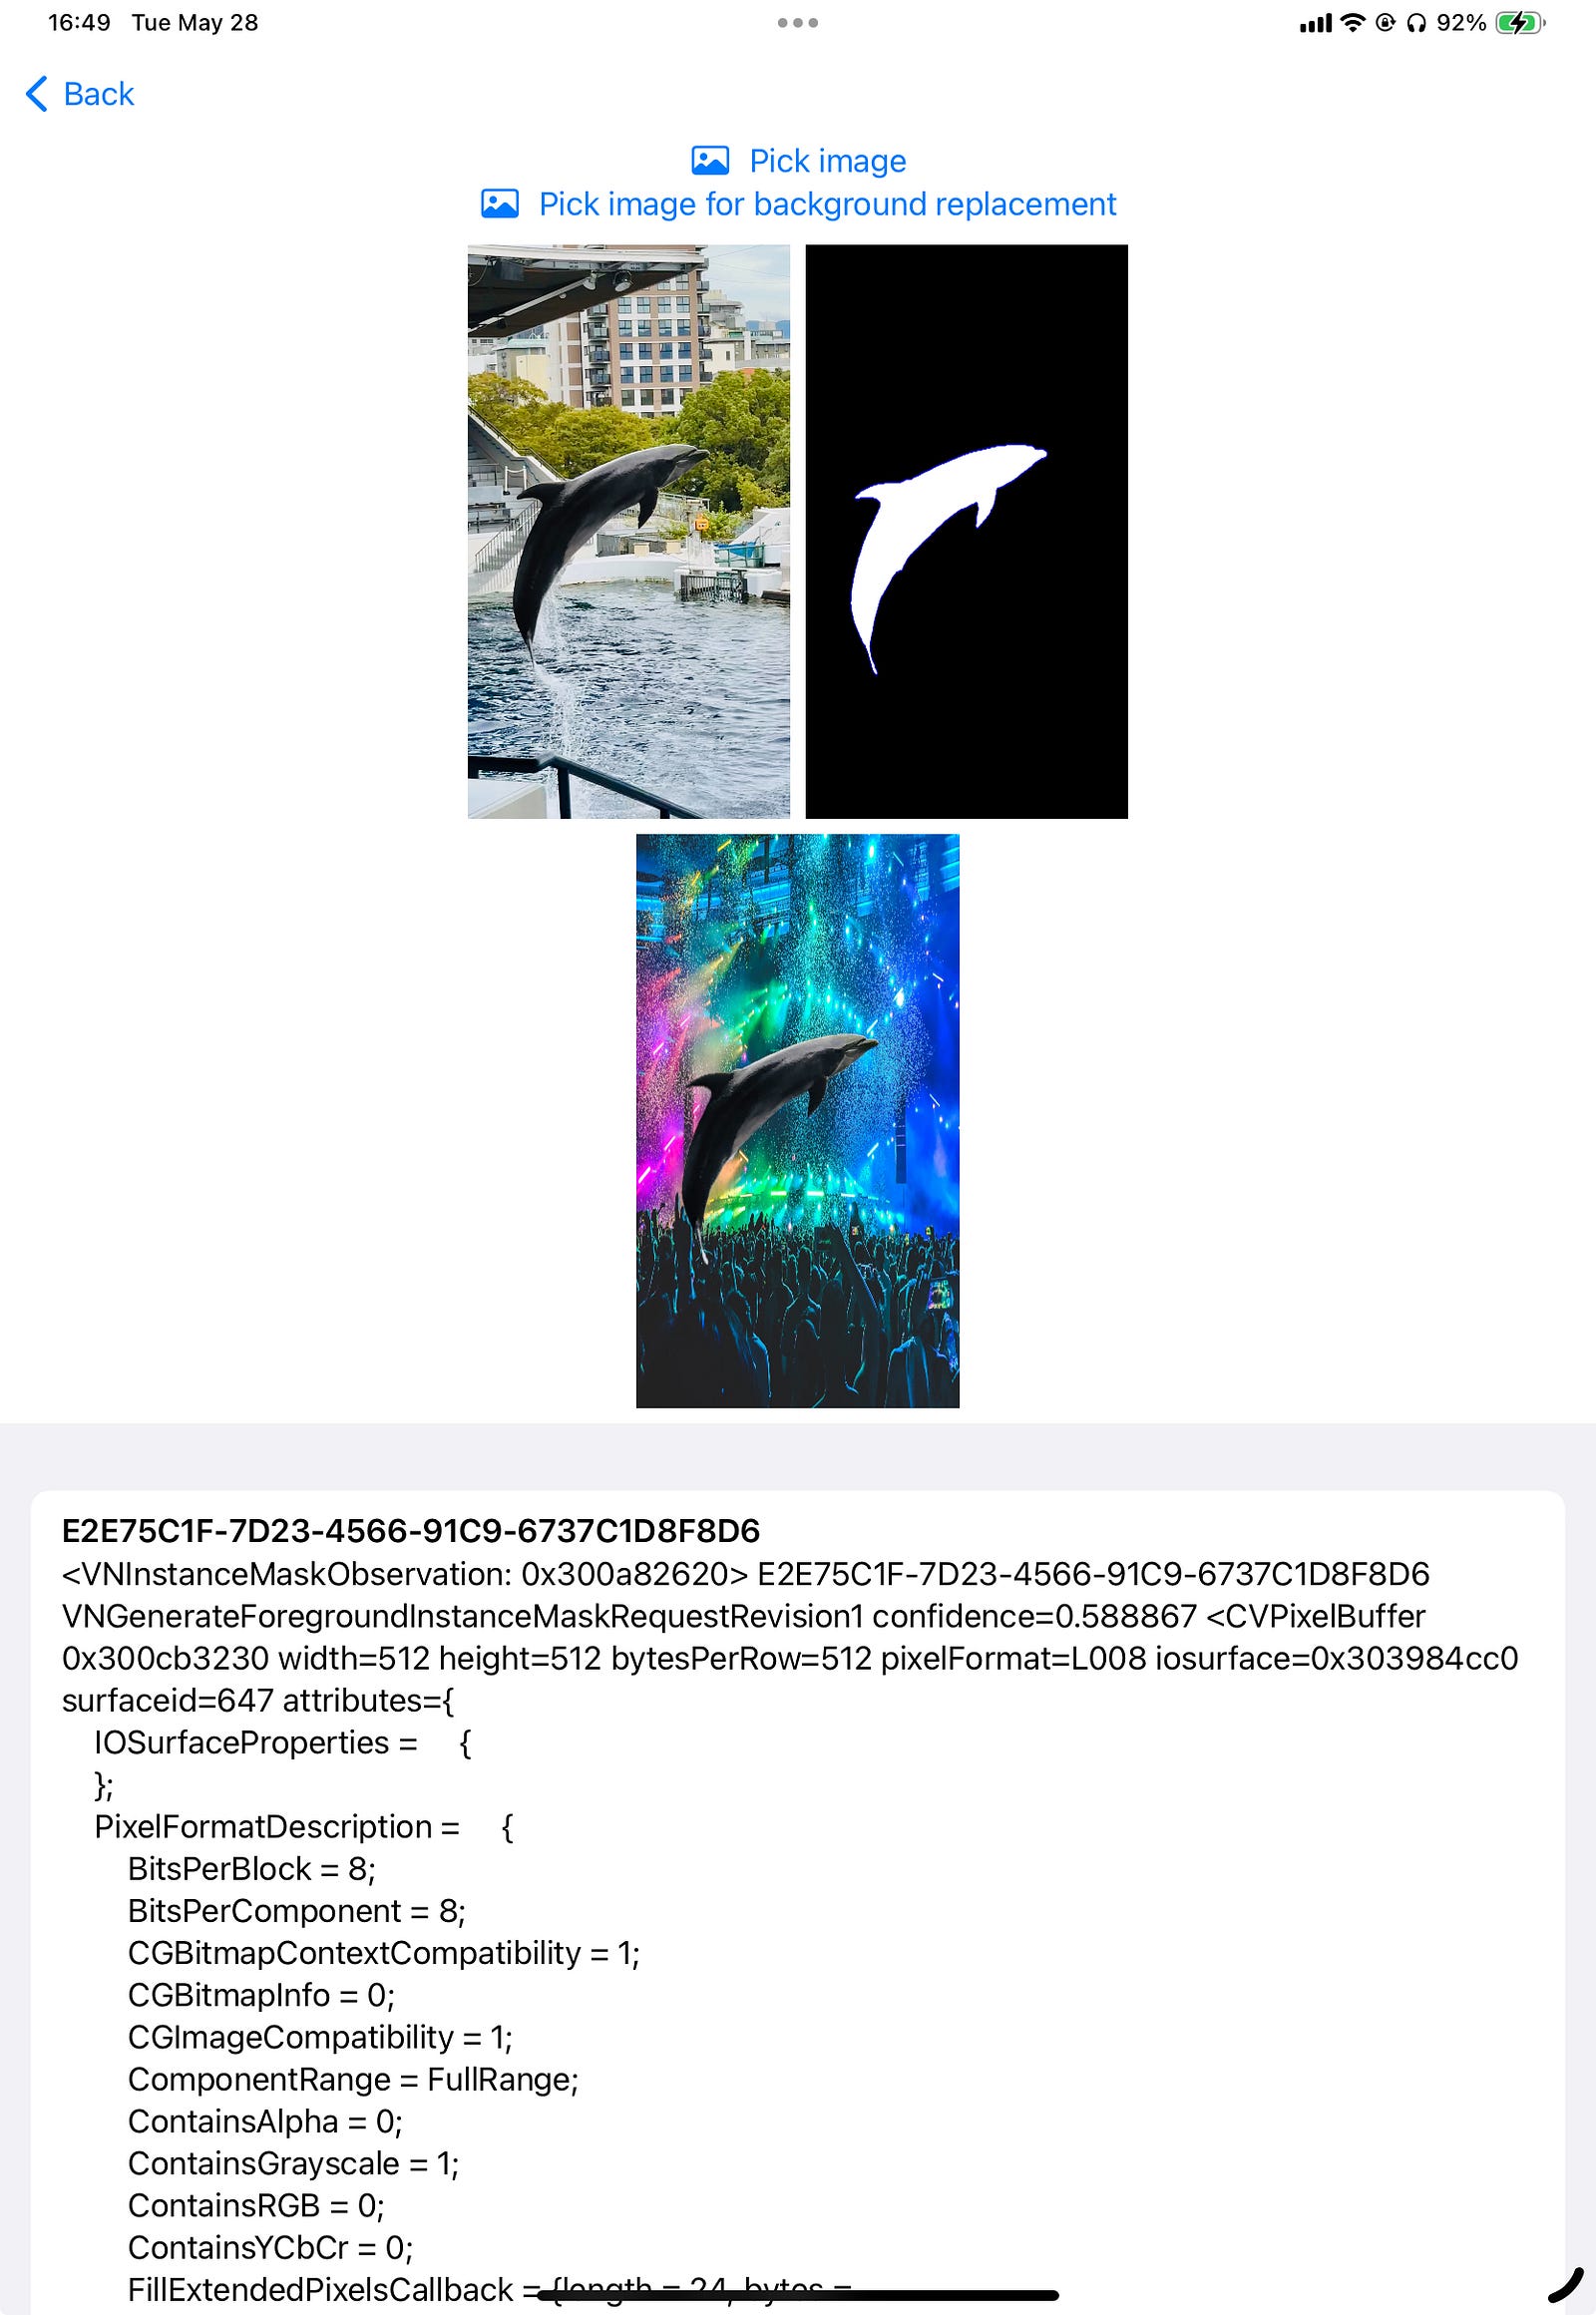
(a demo of extracting the foreground cats and replacing the image background)
This article will apply to both UIKit and SwiftUI applications.
- Detect the objects within a given image
- Highlight different objects in your code
- Get the image of the object
As a bonus of this article, I will also show you how to:
- Get the object at tapped position
- Replace the image background behind the subjects
Notice: The code within this article will not run in simulator. You should use a physical device to test it.
Notice: SwiftUI code follows after the UIKit code
Let’s get started!
Method 1: Attaching image analysis component to UIImageView image view
Detecting objects within an image
To perform image analysis, you will need to add `ImageAnalysisInteraction` to UIImageView
Here, you can set the preferred interaction types. If you use the Apple’s Photos app, you will find that you can not only pick objects within the image, but also texts and QR codes. This is defined using the `preferredInteractionTypes` property. You can provide an array to this property to set which object the user can interact with in your app’s image view.
.dataDetectors means URLs, email addresses, and physical addresses
.imageSubject means objects within the image (the main focus of this article)
.textSelection means selecting the text within the image
.visualLookUp means objects that the iOS system can show more information about (for example, the breed of a cat or dog)
For this article, you can set it to be only .imageSubject
Running image analysis
To run image analysis and check which objects are in the image, you run the below code:
You can also use the `interaction.highlightedSubjects` property to highlight each or all of the detected objects. In the above code, if we set this variable to `detectedSubjects`, it will highlight all the detected objects.
Reading the data from image analyzer
You can read the objects and set which subjects are highlighted in your code by using the `interaction.subjects` property and the `interaction.highlightedSubjects` property.
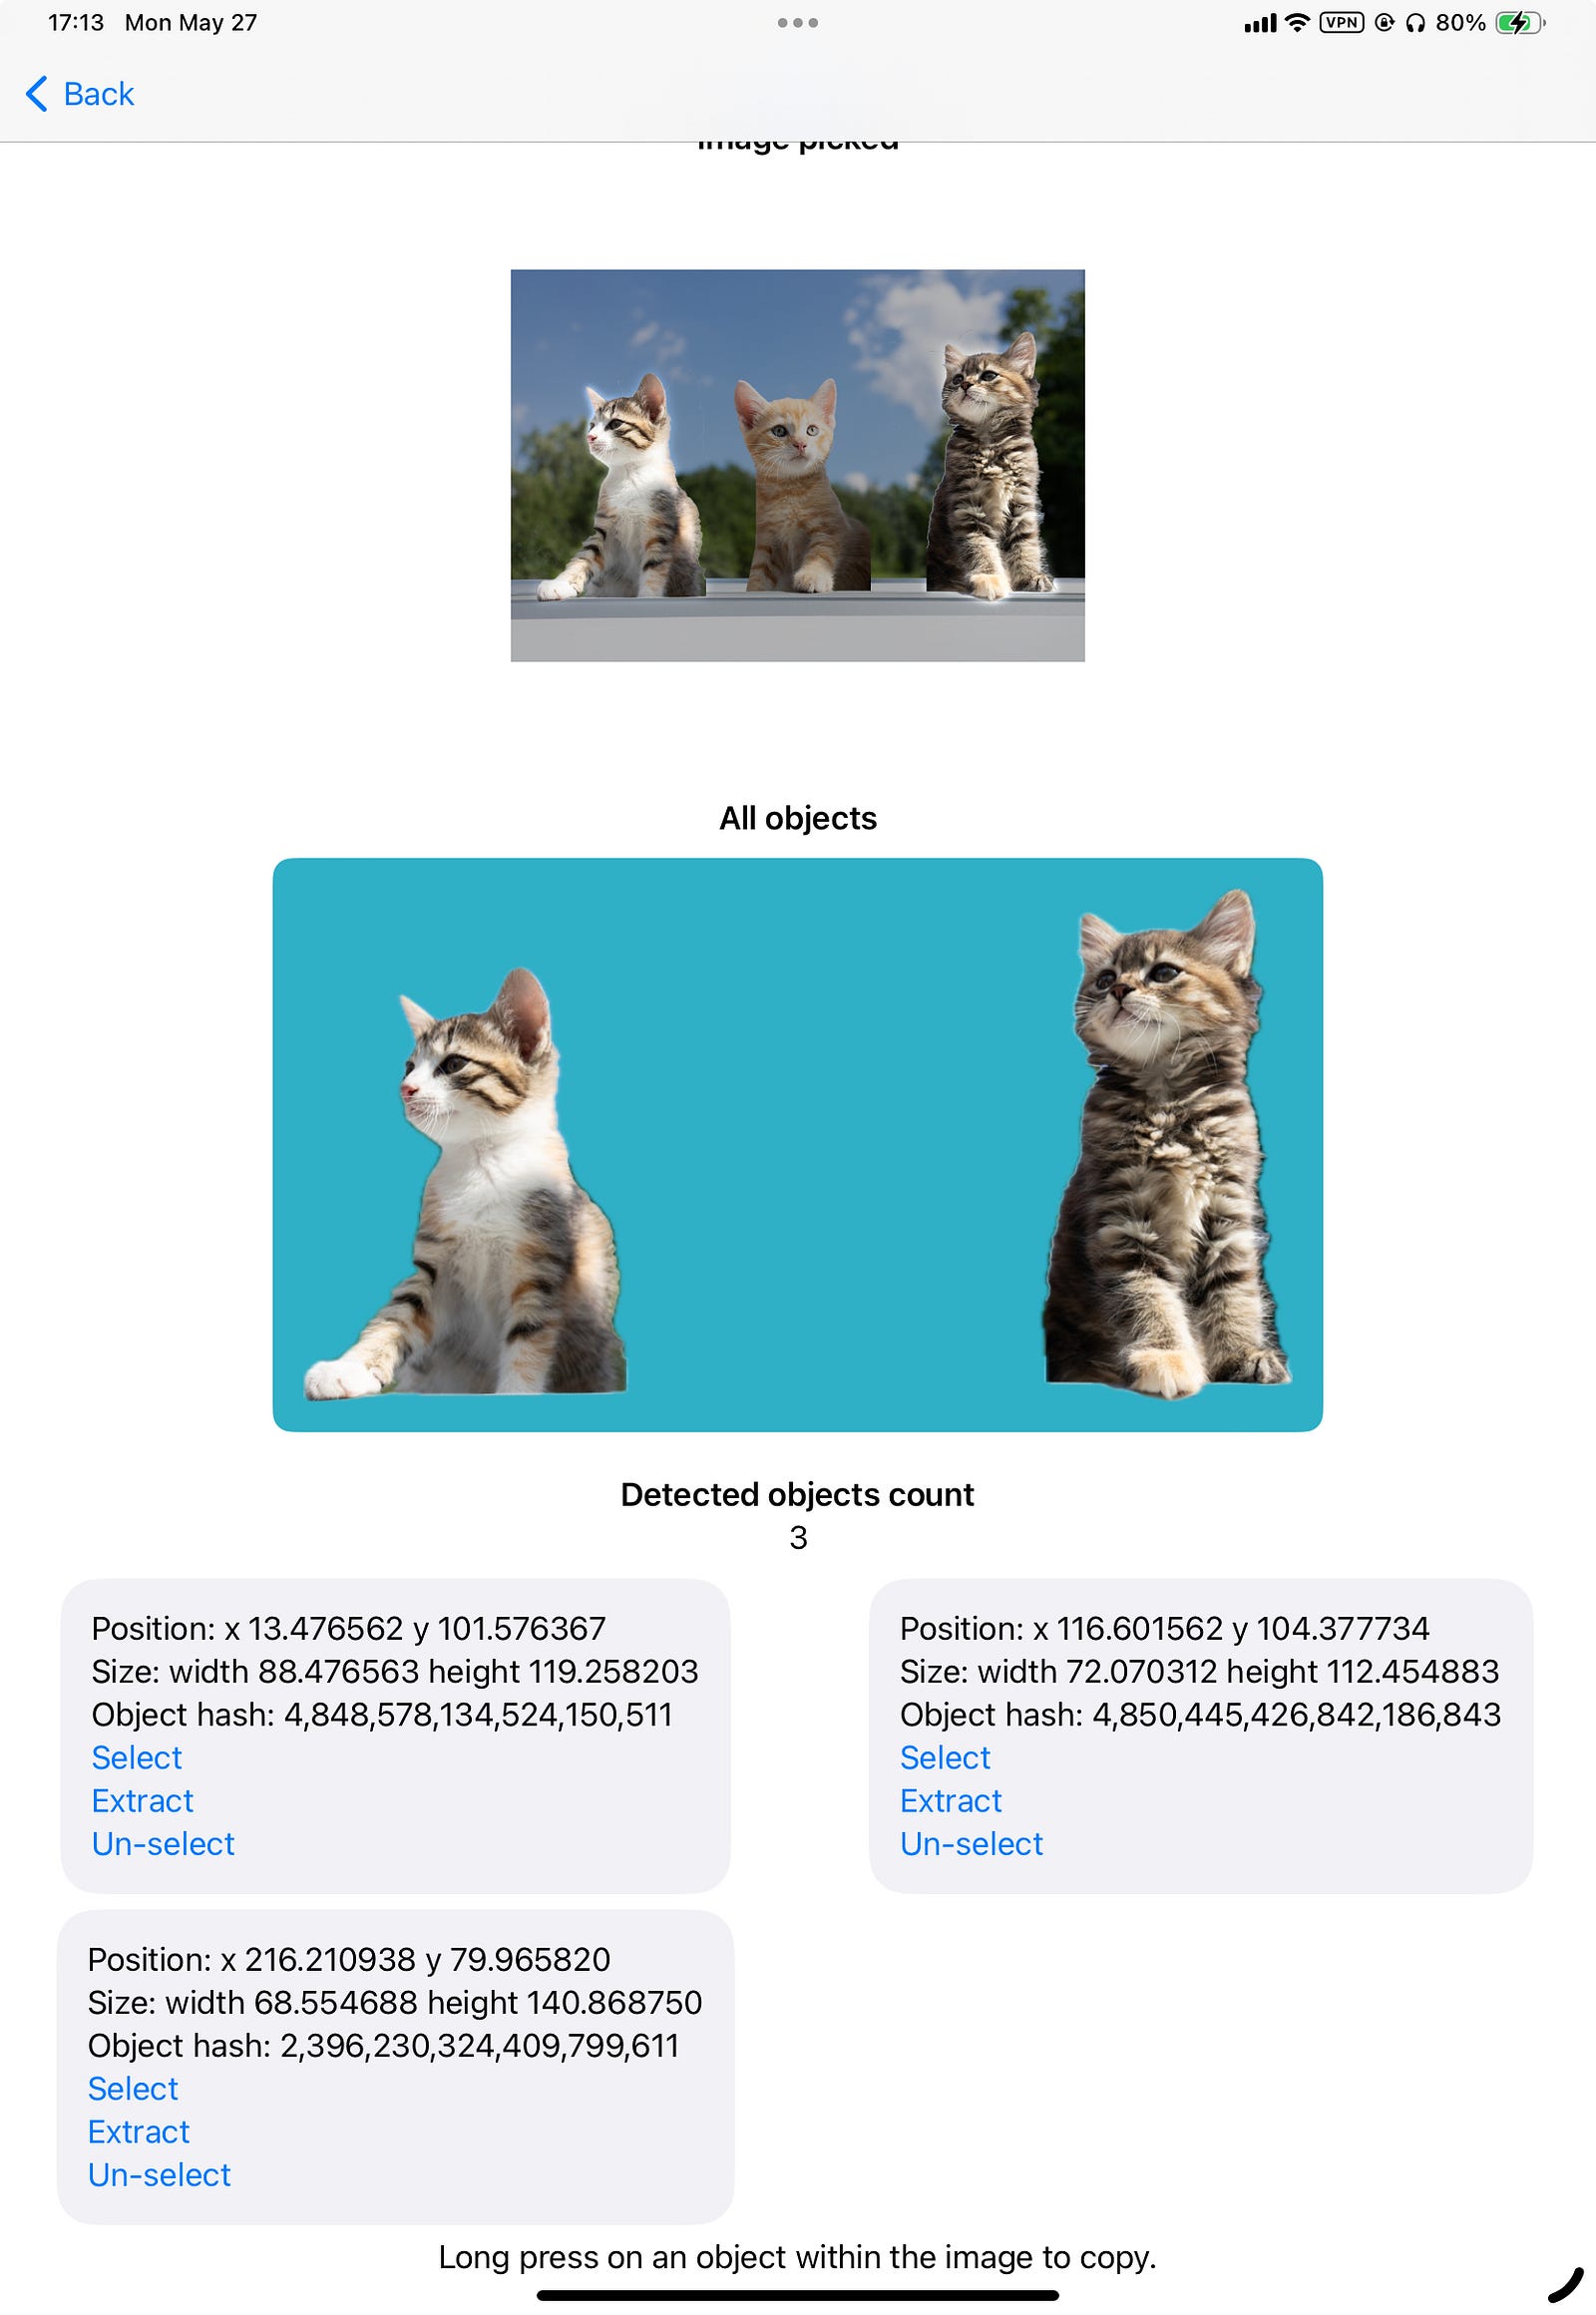
Within each of the subject (which conforms to `ImageAnalysisInteraction.Subject`, you can read the size, origin (bounding box), and extract the image

To access the size and bounding box:
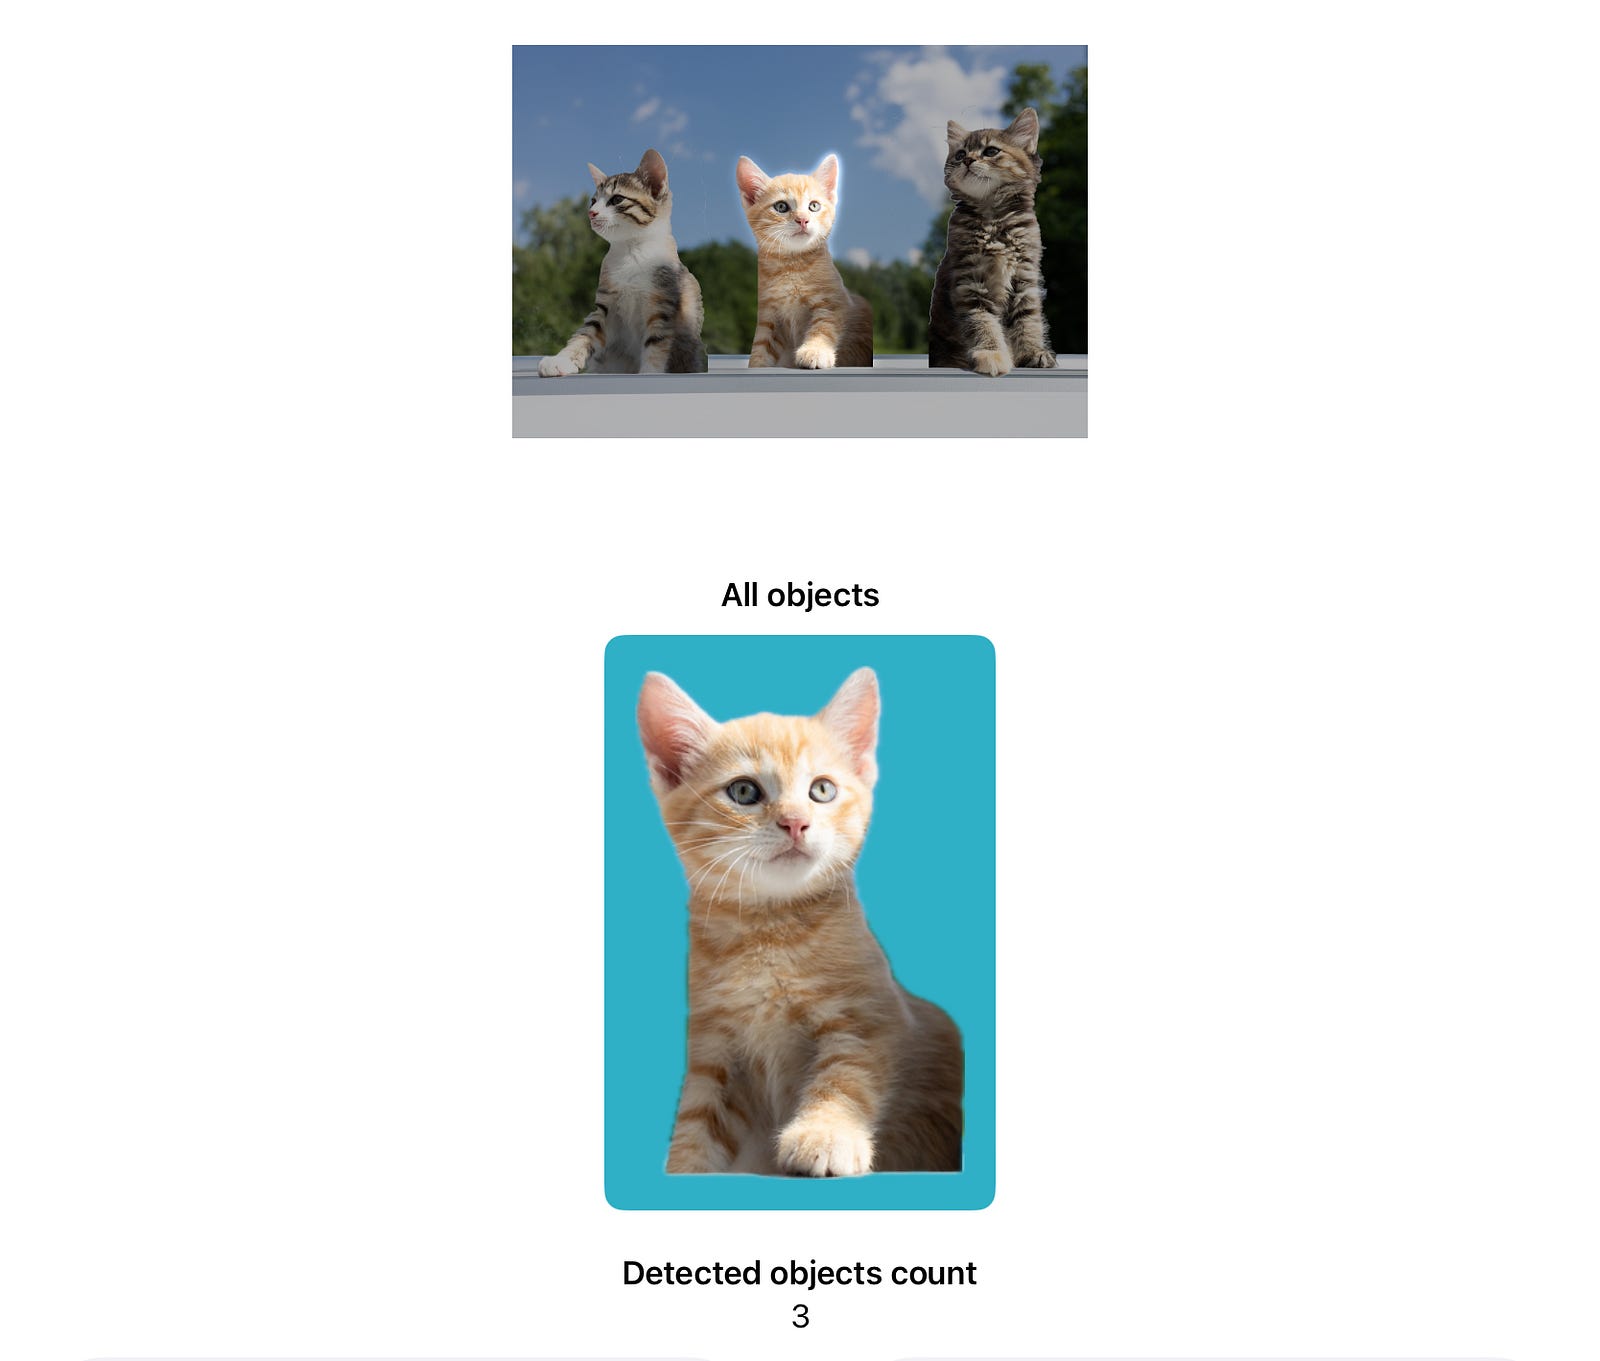
Getting a single image for all highlighted (selected) object
You can also get a single image for any objects combined. For example, I can get an image of the left-most cat and right-most cat:
SwiftUI compatible view
If you want to use the above logic in SwiftUI, we can write 3 files.
Here is the ObservableObject which helps share the data between the SwiftUI view `ImageAnalysisViewModel` and the compatibility view `ObjectPickableImageView`
Here is the compatibility view:
Here is the SwiftUI view:
In the SwiftUI view, you can see that we will call the analyzer class directly. For example, to highlight an object, we use `self.viewModel.interaction.highlightedSubjects.insert(object)`.
Here, we are using .environmentObject view modifier to link the ObservableObject to the compatibility view: `.environmentObject(viewModel)`
Find the subject at tapped position
We can also add a feature to detect which object user tapped on.
First, we will attach a tap gesture recognizer to the image view:
let tapGesture = UITapGestureRecognizer(target: self, action: #selector(handleTap(_:)))
imageView.addGestureRecognizer(tapGesture)
In the handleTap function, we check if there is a subject at the tapped location. Then, we can either extract the image or highlight (or remove the highlight) for the (tapped) subject:
In SwiftUI, we can use the .onTapGesture view modifier directly to read the tapped position:
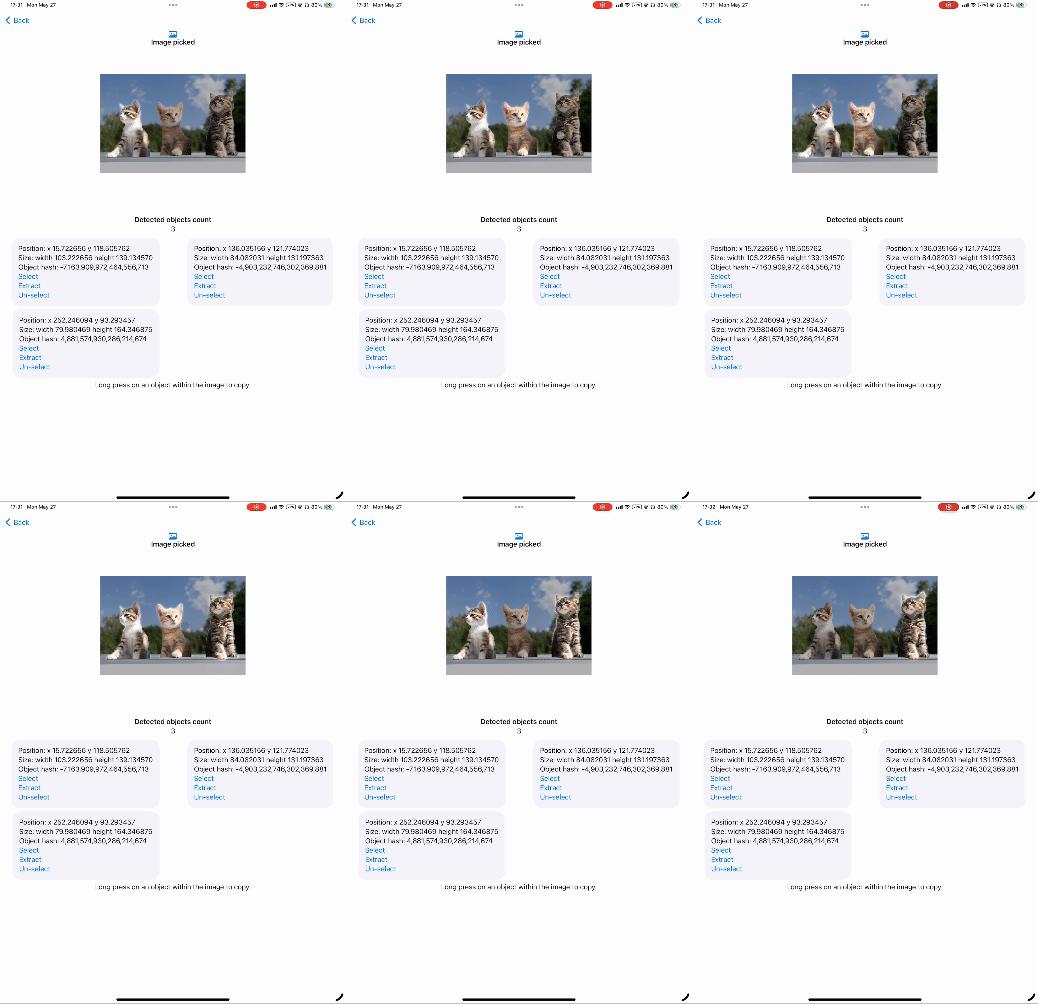
Now, you should be able to tap to highlight or remove the highlight of a subject within the image:
Method 2: Using Vision requests
If you do not want to show the image view, and just want to analyze and extract the objects within an image, you can directly use the `VNGenerateForegroundInstanceMaskRequest`, which is the underlying API that the above function calls.
You can run the analysis like below:
This function takes the user selected (or your application input) UIImage , convert it to CIImage and then runs the Vision foreground object recognition requests.
Extract the masked image
We can get the mask of the objects. As shown below, a mask indicates the pixels that has the foreground objects. Here, the white part indicates pixels that has been detected as the foreground object, and the black part indicates pixels that are the background.
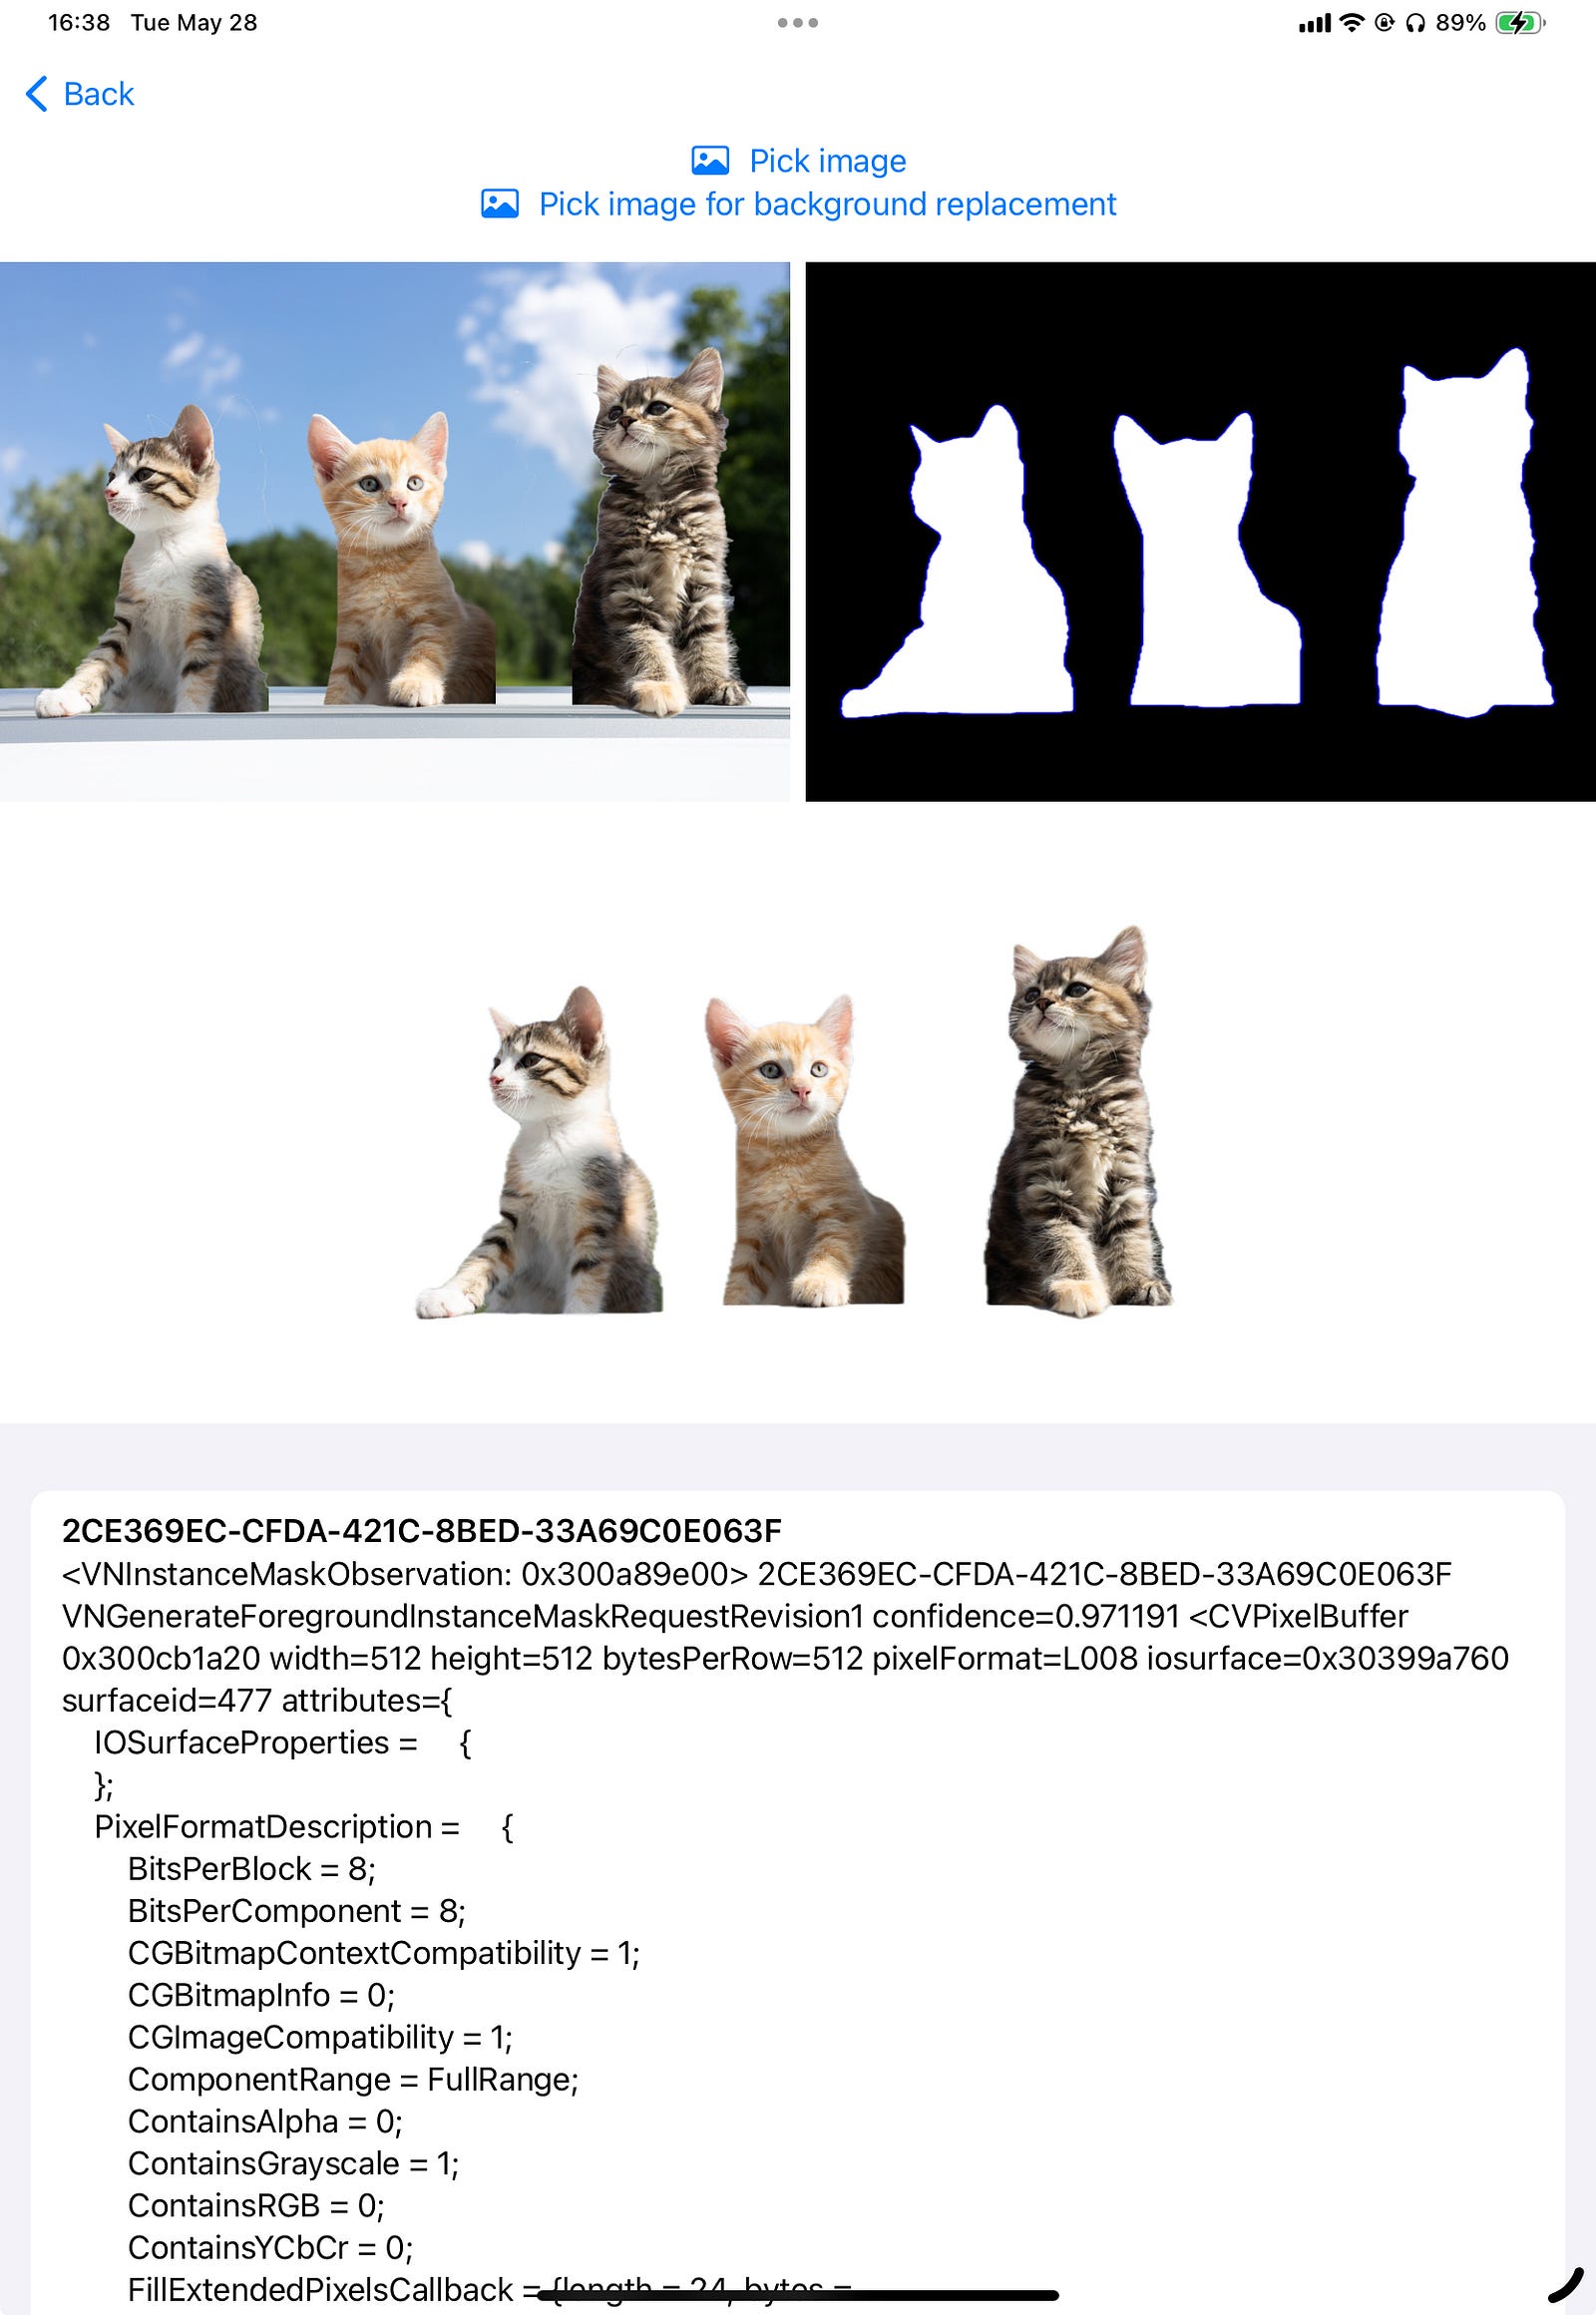
In the below code, `convertMonochromeToColoredImage` function will help generate a preview mask image. applyfunction will help us to apply the mask to the original input image (so we only get an image of cats without the background).
In the apply function, we can also try to supply a background image. I first scale and crop that background image to fit the original image, then, I apply it as the background of the foreground image.

Yep! That’s how I made those cats party!
You can find the full project code (in SwiftUI) here: https://github.com/mszpro/LiftObjectFromImage
:relaxed: [Twitter @MszPro](https://twitter.com/MszPro)
:relaxed: 個人ウェブサイト https://MszPro.com
