The useful part of this article is its framing: iOS data storage is really a set of tradeoffs, not a single API choice.
Saving a preferred city name, a task database, an access token, and a shared public record are all "save data" problems, but they are not the same technical problem. This article is valuable because it puts those cases side by side and shows where each Apple storage layer fits.
This article keeps that structure. It also keeps the most practical parts of the tutorial flow:
switching UserDefaults to iCloud key-value storage, starting Core Data in a new or
existing app, modeling an entity in Xcode, and generating the managed object classes you actually use in code.
The fastest way to read the article is as a routing table for four different storage jobs.
Use UserDefaults when the value is small, local, and preference-like. Use
Core Data when the app owns structured records that need fetching, updating, and deleting.
Use Keychain when the value is secret. Use CloudKit when the data belongs in
Apple's cloud and needs user or app-level database semantics.
UserDefaults. Structured app data: Core Data.
Credentials and tokens: Keychain. Cloud records: CloudKit.
Those are not mutually exclusive. Many real apps use all four at once: a preference in
UserDefaults, secure tokens in Keychain, content cached in
Core Data, and remote sync handled through CloudKit.
This article treats UserDefaults as the right place for tiny pieces of app state, not as a database.
The example use cases are exactly the ones you would expect: onboarding completion flags, a weather app's default city, and other values that can be read and written in a few lines without needing a schema.
// Store a value
UserDefaults.standard.set("Tokyo", forKey: "currentCity")

// Read a value
let currentCity = UserDefaults.standard.string(forKey: "currentCity")
The article's caution still holds even if some details have evolved since 2020: do not treat
UserDefaults as a general-purpose store for large or relational data. The durable design
rule is simple: if you start wanting query logic, records, or migrations, you are already outside the
sweet spot of UserDefaults.
The source shows the lightweight cloud version of preferences too: turn on iCloud key-value storage, then swap in NSUbiquitousKeyValueStore.
This is the simplest way to make small preference values follow the same Apple ID across devices. The
Xcode part is mechanical: add the iCloud capability and enable key-value storage. The code part is even
smaller because it mostly mirrors UserDefaults.
let store = NSUbiquitousKeyValueStore()
store.set("Tokyo", forKey: "currentCity")

let currentCity = store.string(forKey: "currentCity")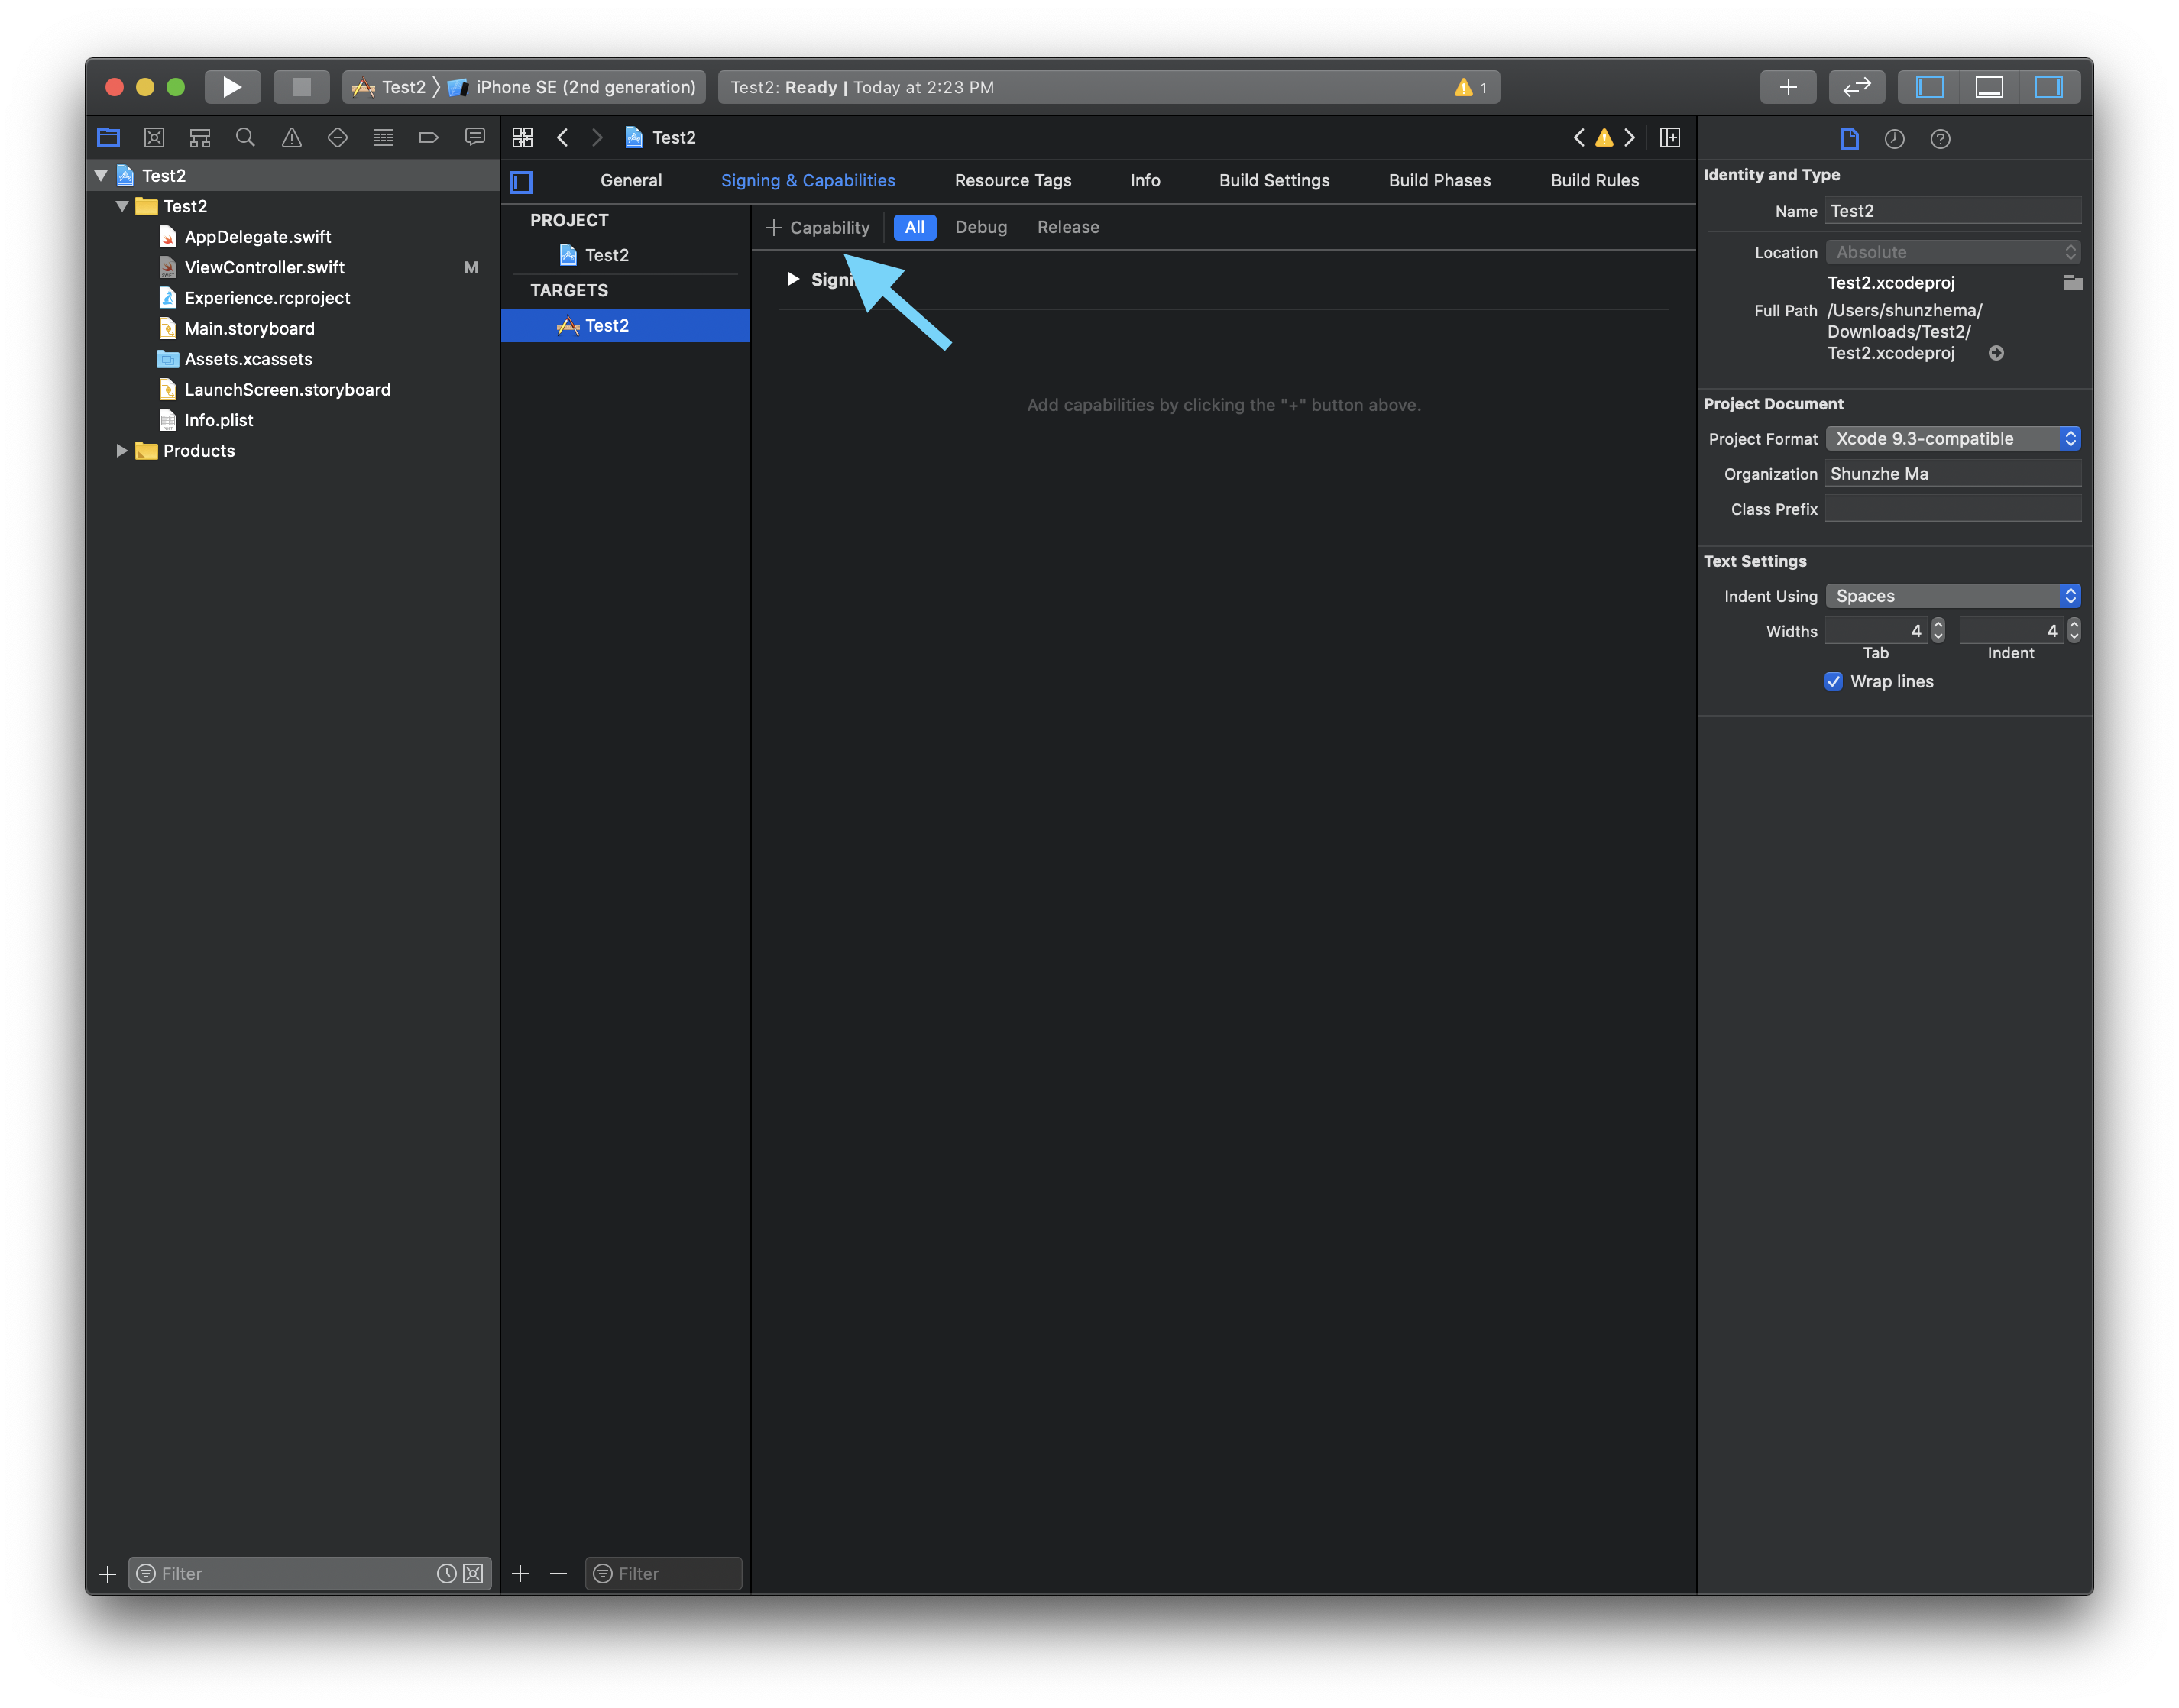
Signing & Capabilities and start by adding a new capability.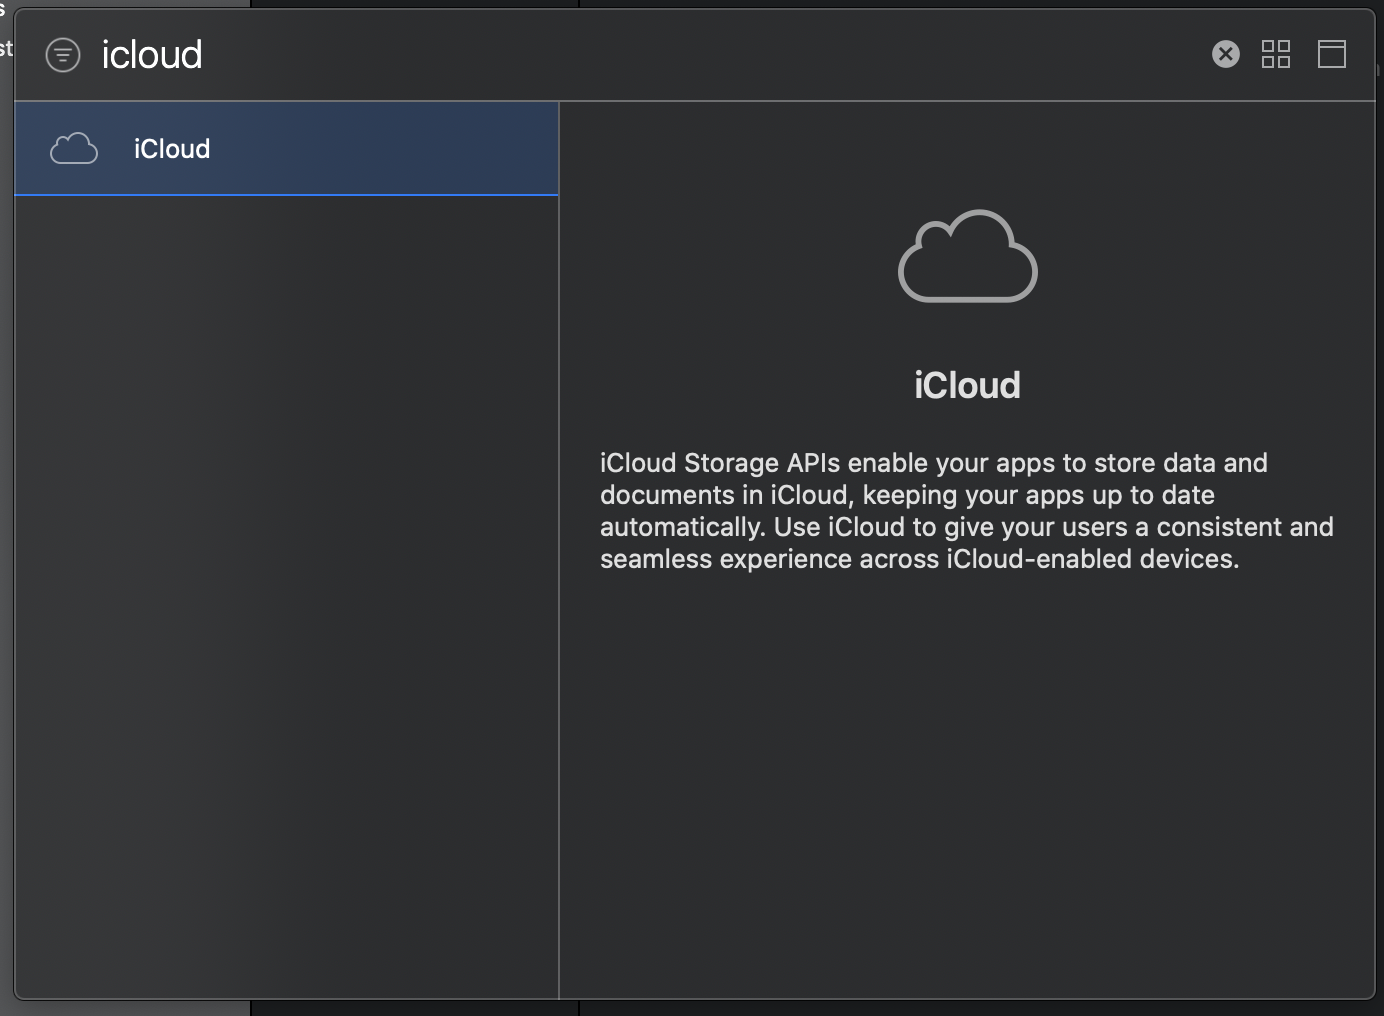
iCloud capability to the target.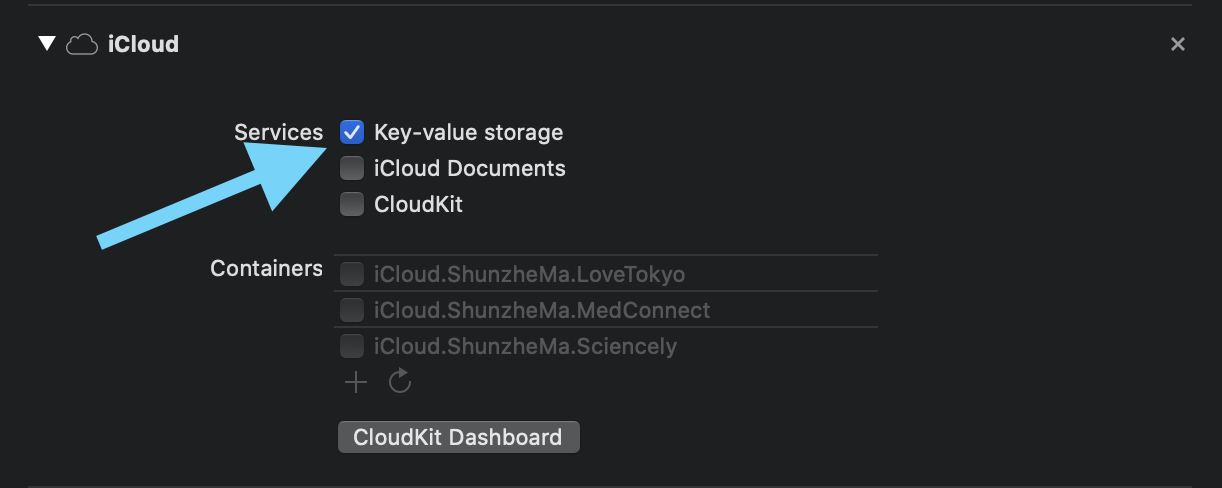
Key-value storage, then point your preference code at NSUbiquitousKeyValueStore.Core Data is where the article moves once the data becomes structured and app-owned instead of preference-like.
The example model is a to-do list, which is a good fit for the framework: you need a schema, repeated
records, fetches, edits, deletes, and the ability to grow the data model over time. That is exactly the
kind of problem Core Data was built for.
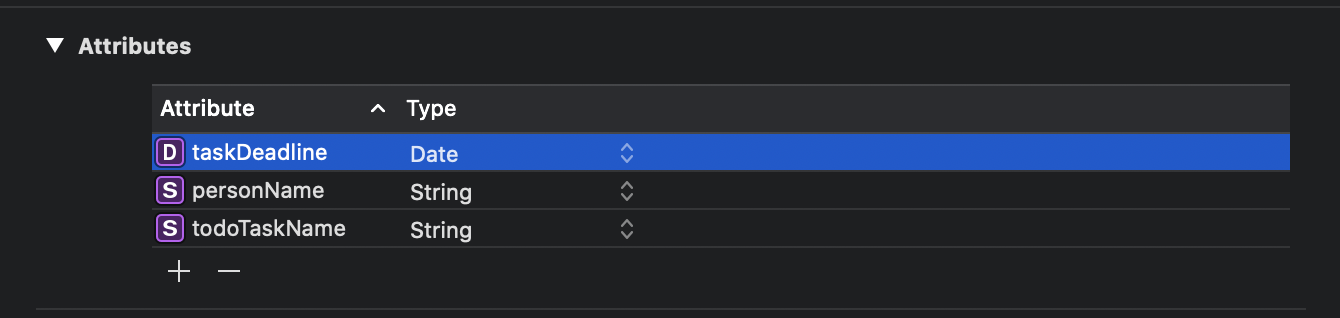
TodoItem
- todoTaskName: String
- personName: String
- taskDueTime: Date
This article also calls out one of the permanent costs of Core Data: once you define a schema, you need to respect schema evolution. Model changes are not free. If you alter the database structure later, you need a new model version and a migration story instead of pretending nothing changed.
The article covers both entry points: creating a new app with Core Data enabled, or retrofitting an app that already exists.
If you are starting from scratch, Xcode can wire up the basic container for you by checking
Use Core Data when the project is created. If the app already exists, the tutorial adds a
new Data Model file manually and then continues with the same model-editing flow.
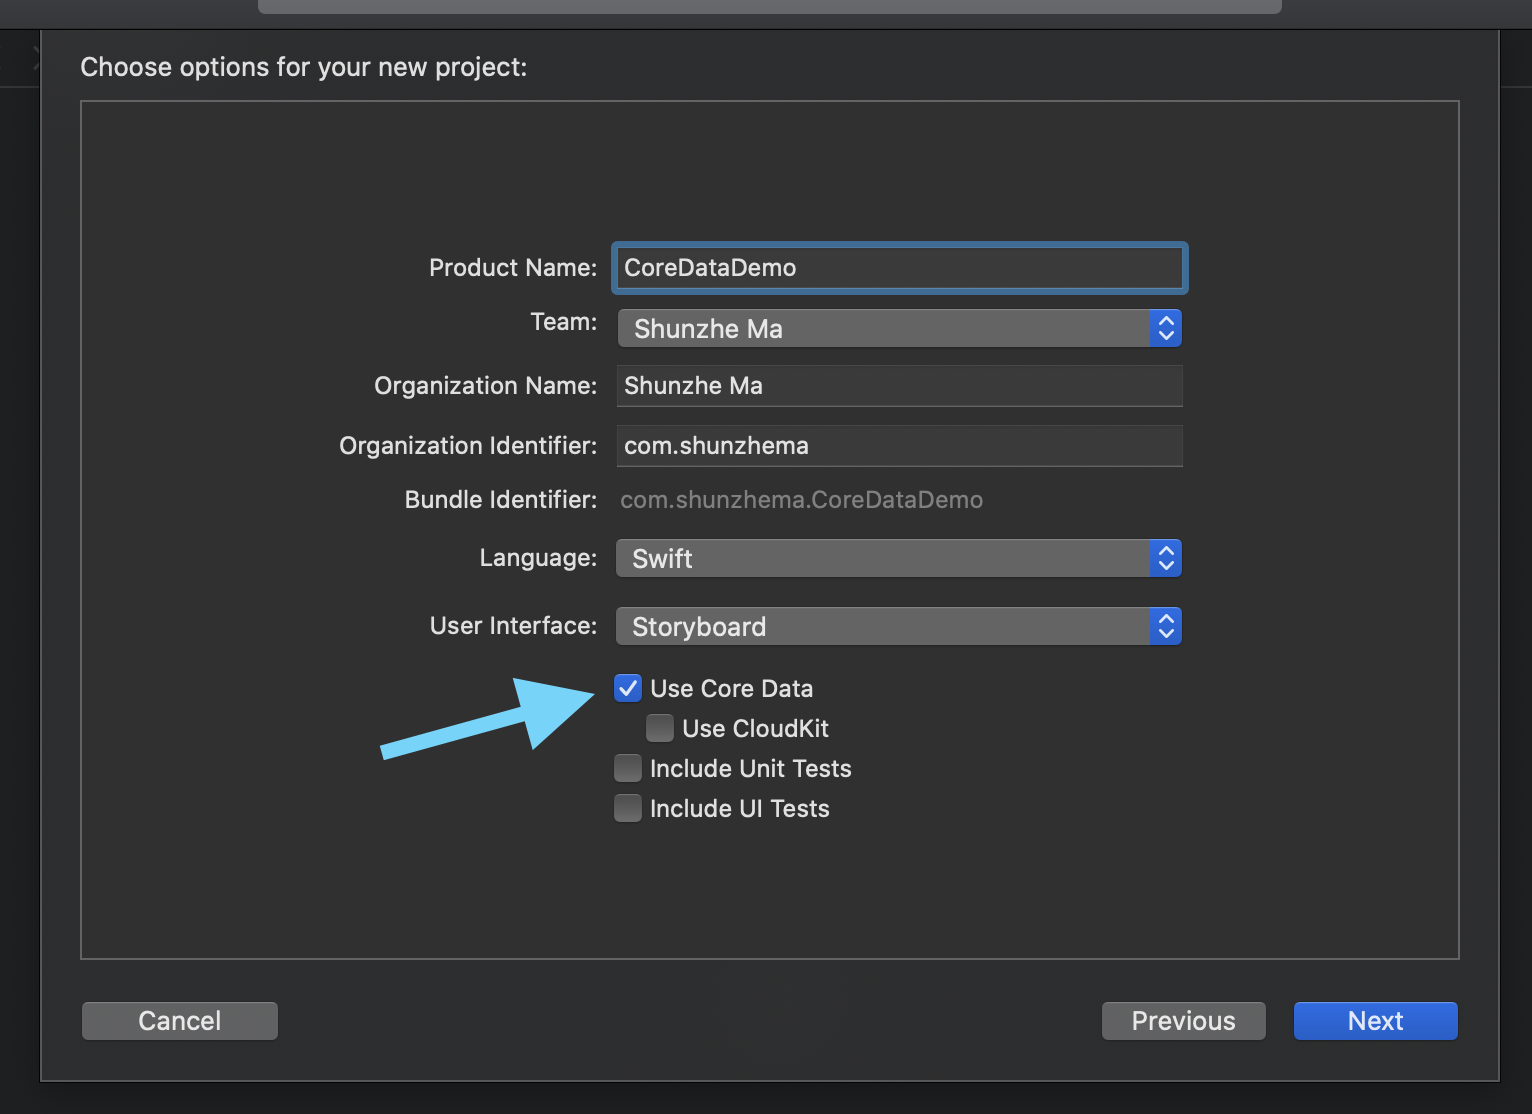
Use Core Data at project creation time.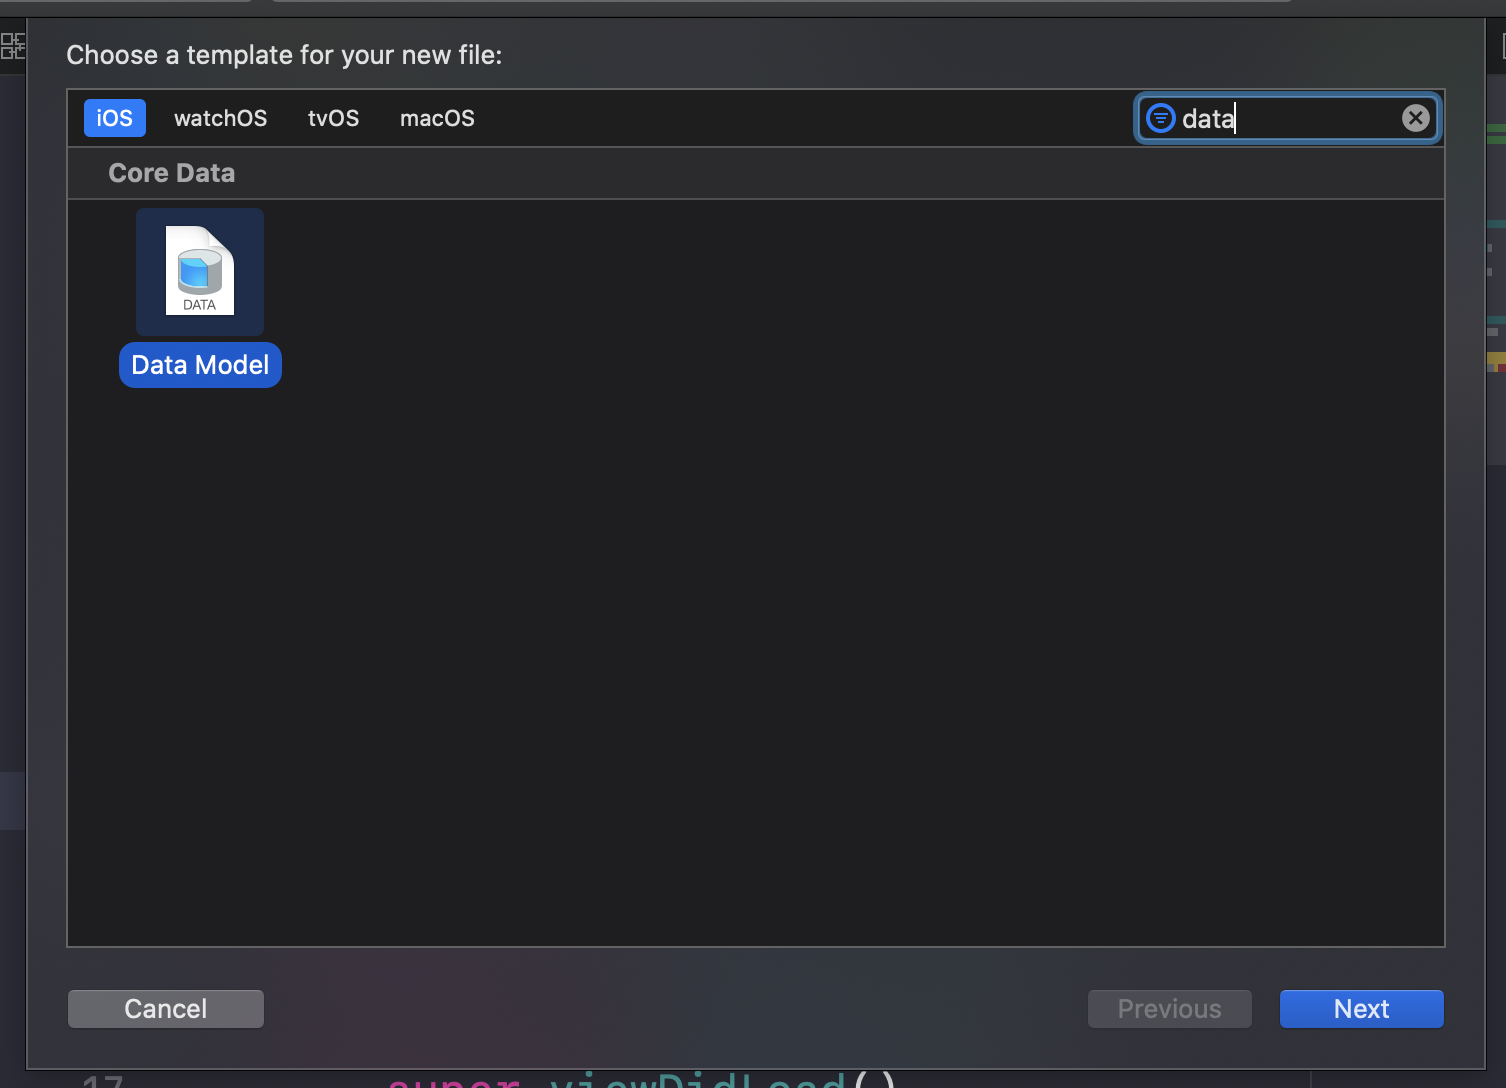
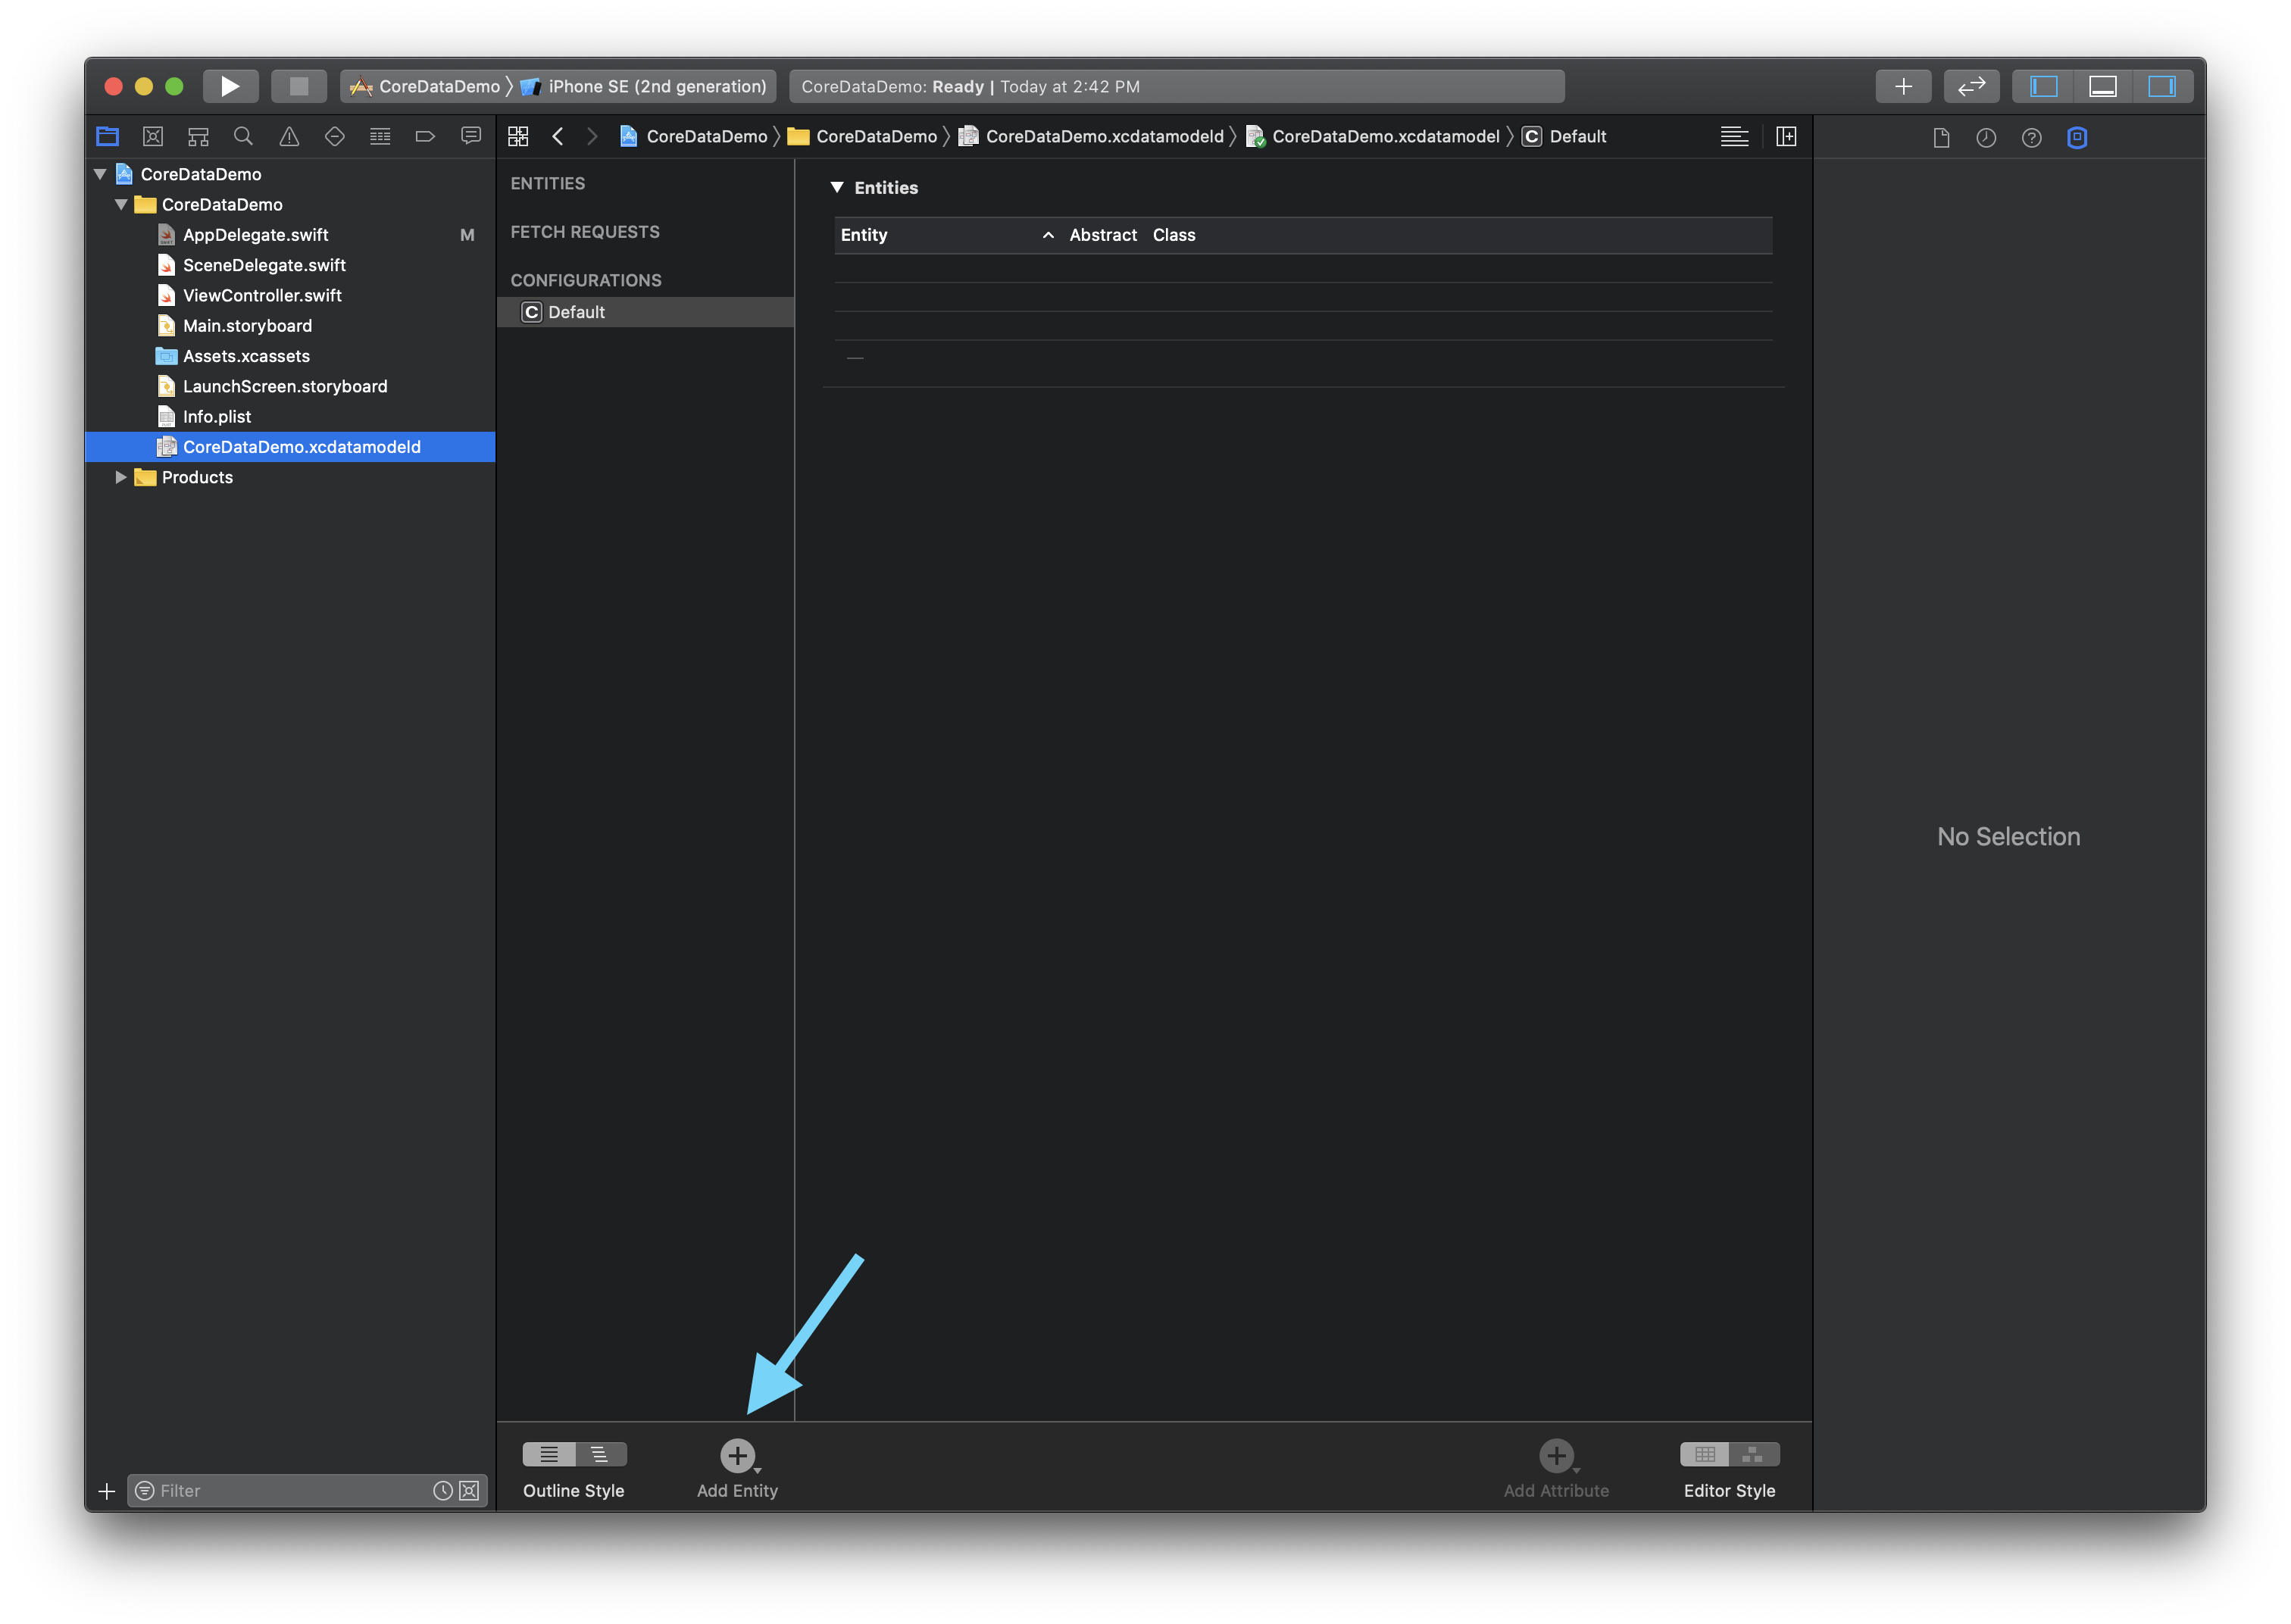
Data Model file manually.Once the model exists, the rest of the job becomes standard Core Data plumbing: define entities, generate classes, load the persistent store, save the context, fetch rows, update them, delete them, and version the model when the structure changes.
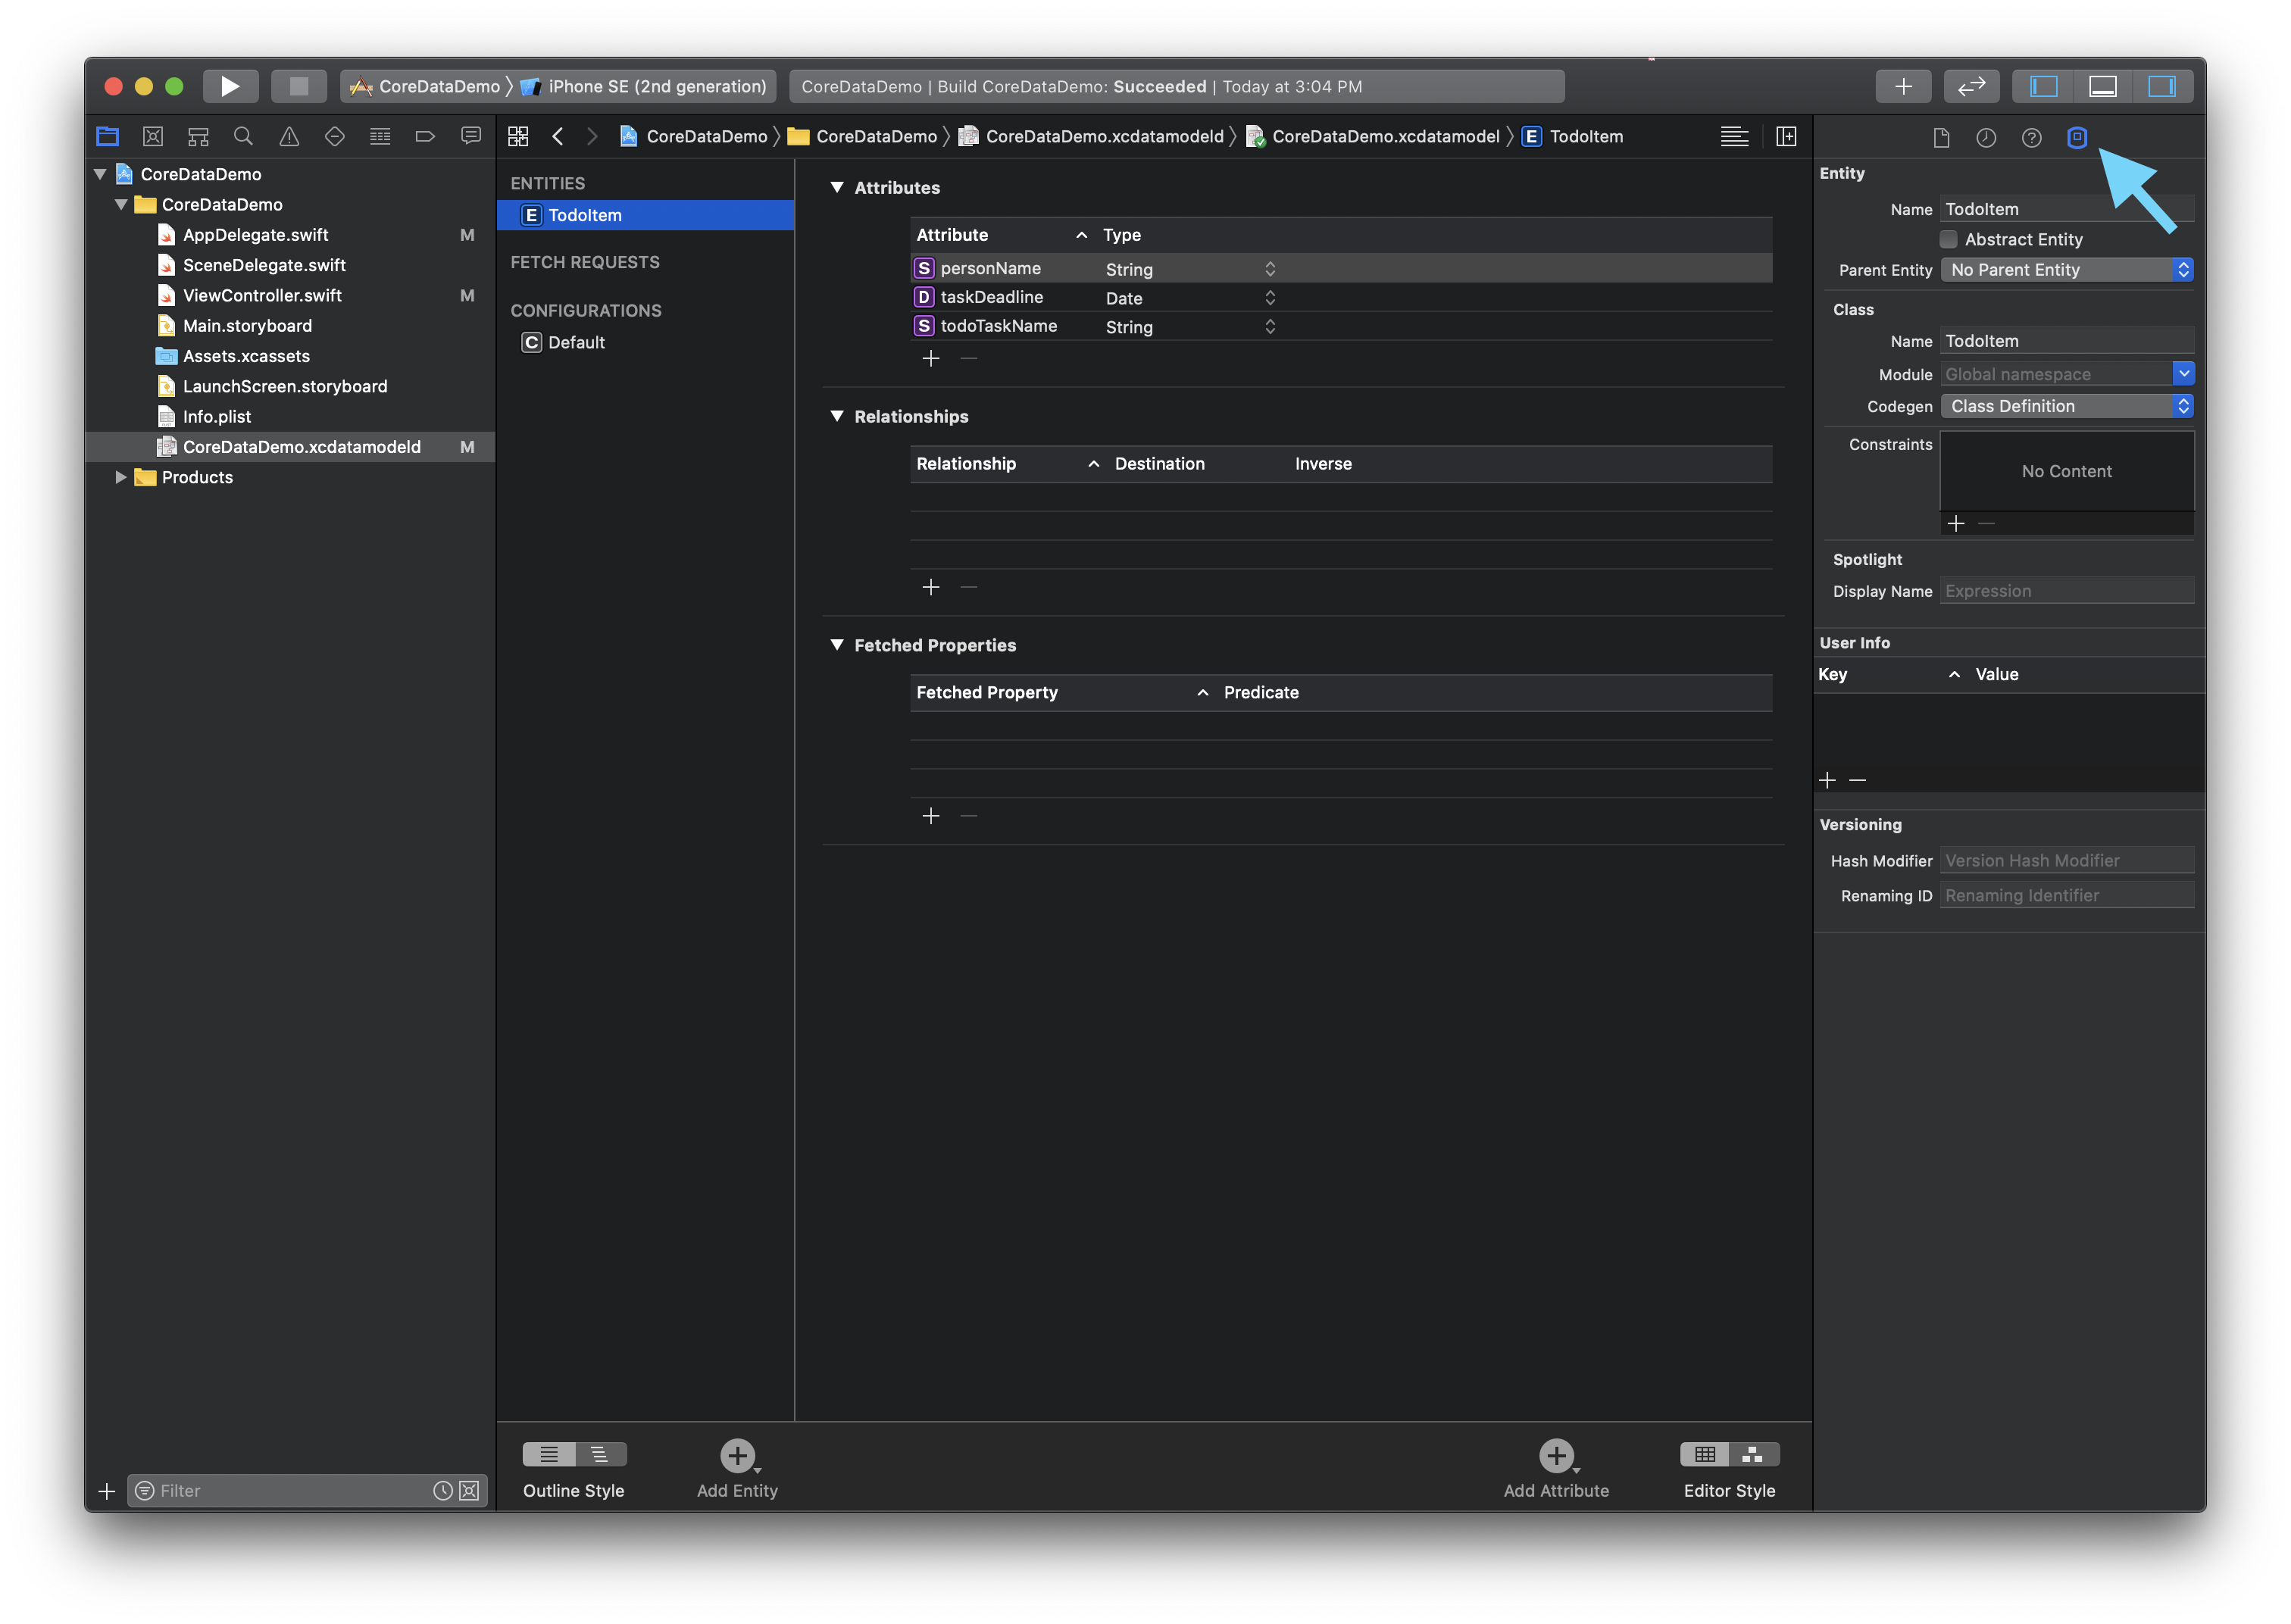
The most useful Xcode walkthrough in the article is the entity-modeling sequence: create the entity, add properties, choose their types, then confirm the finished schema.
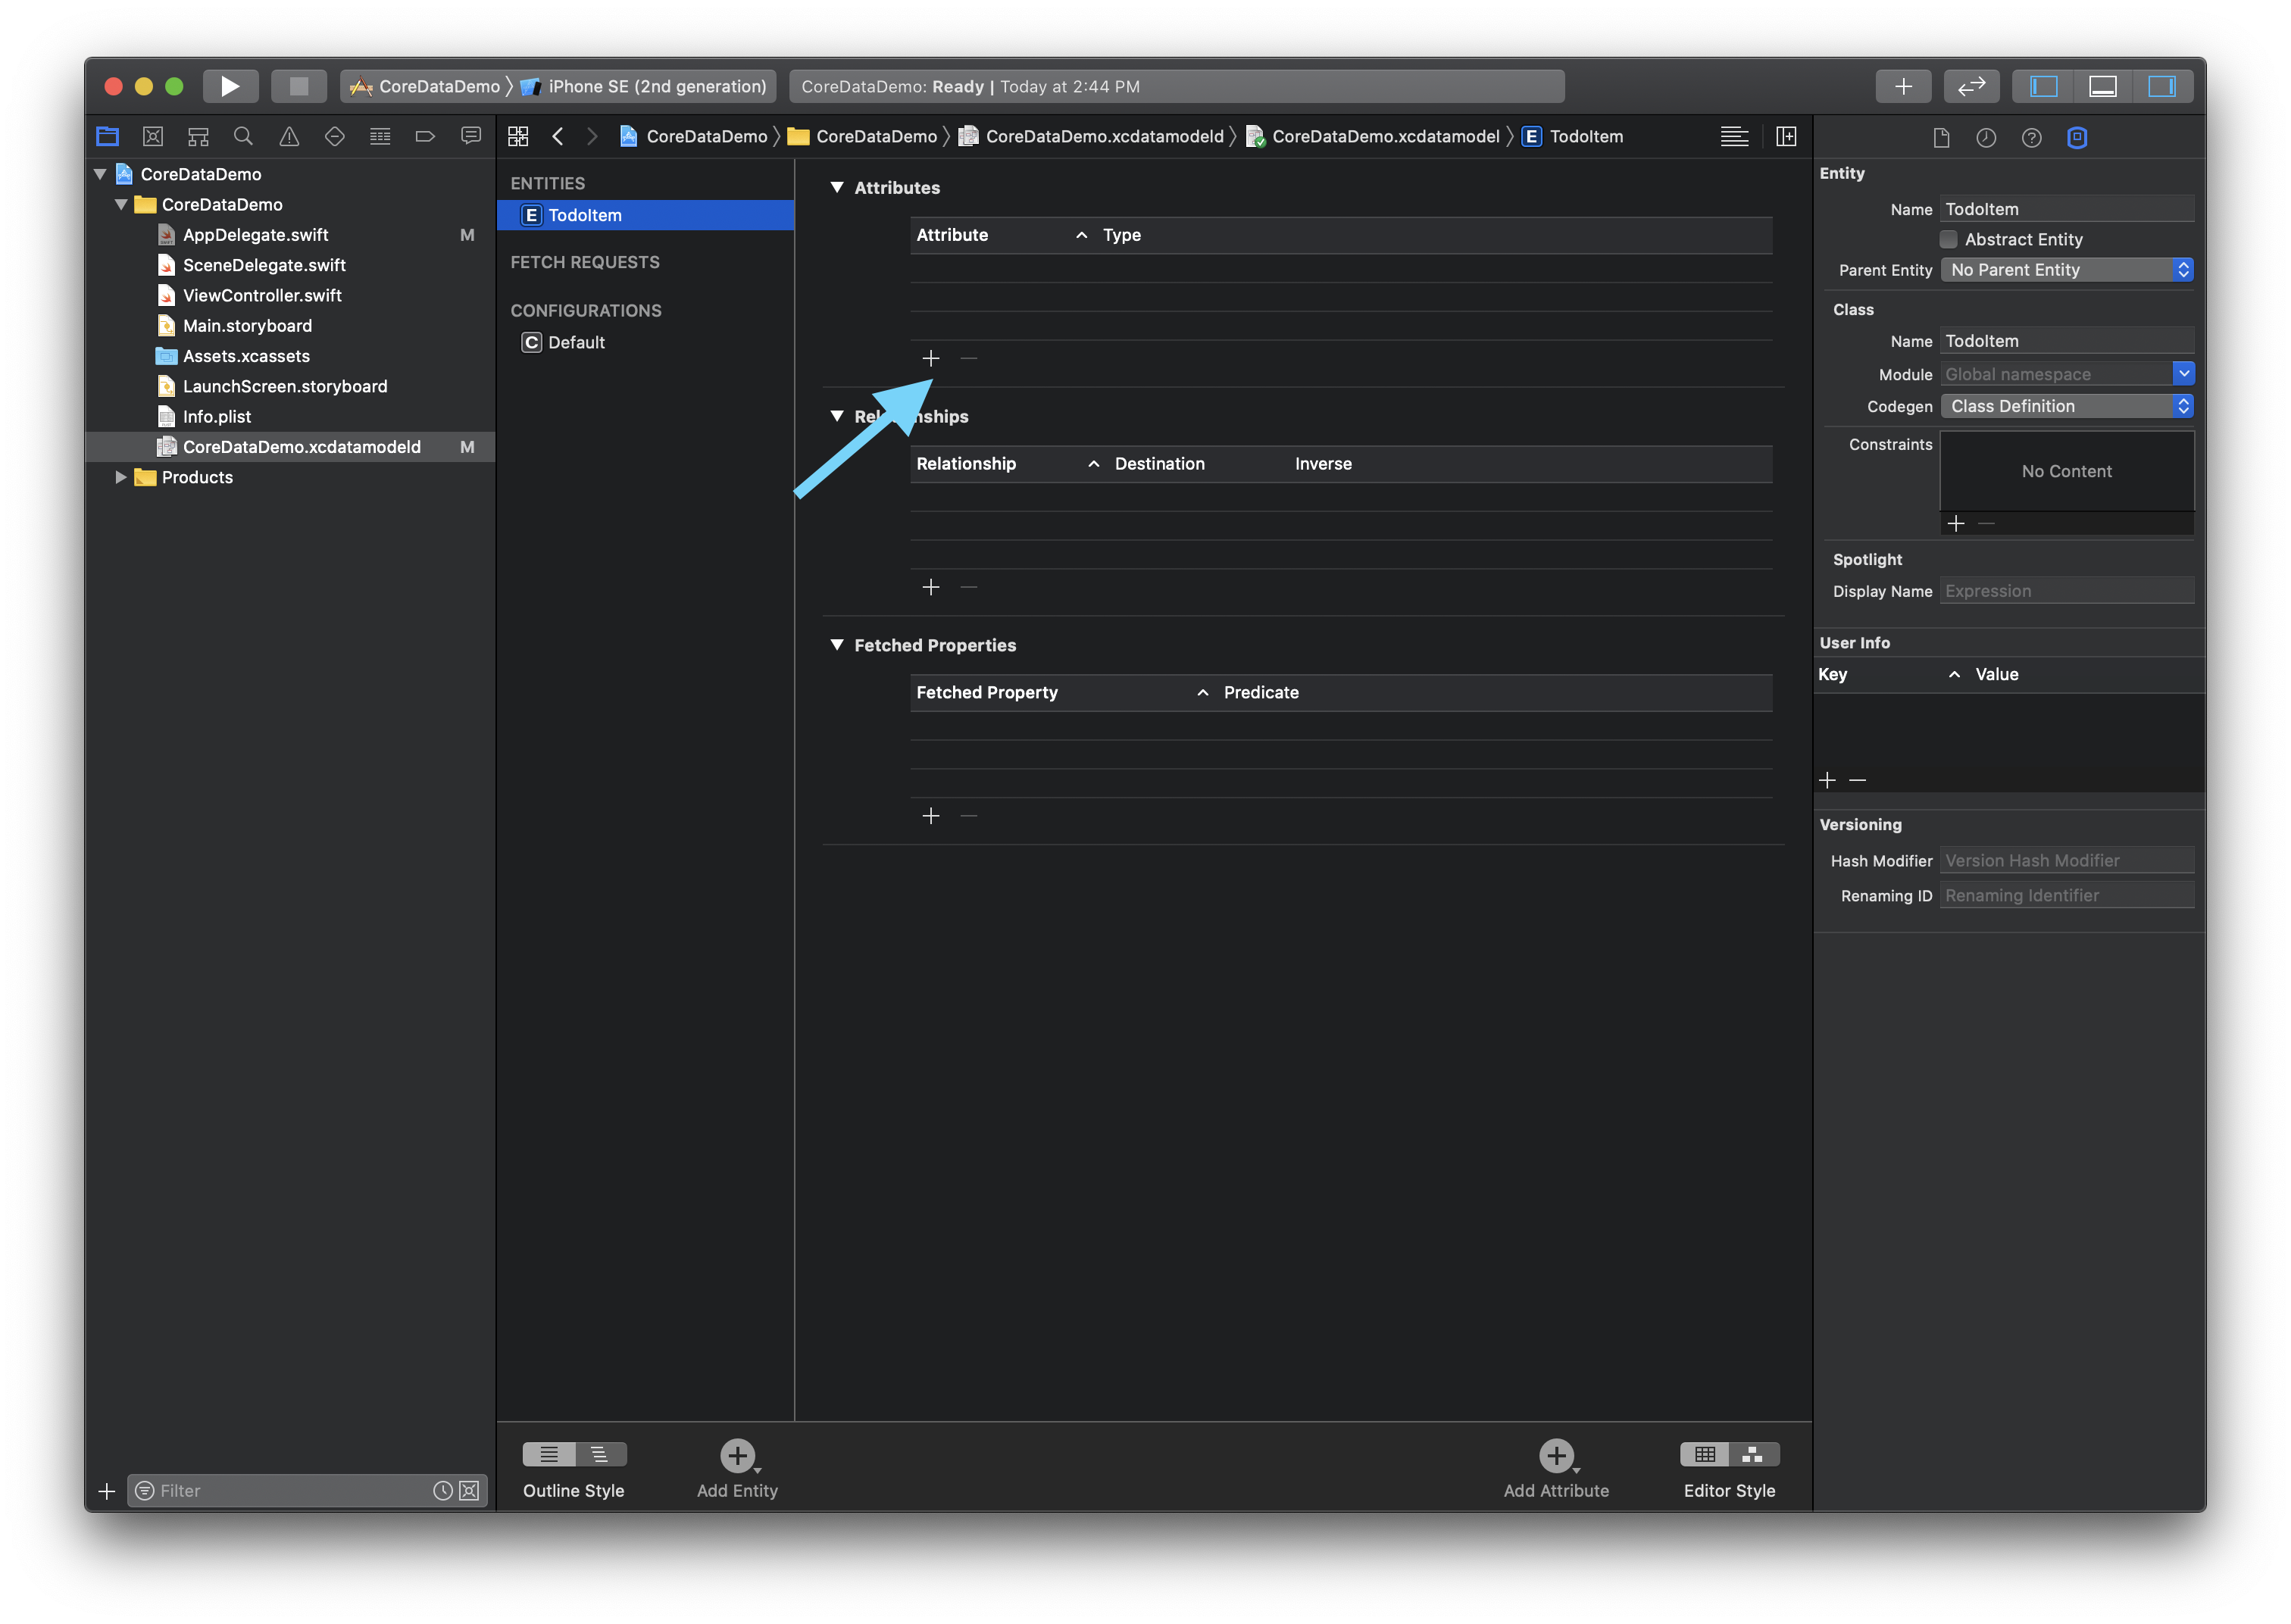
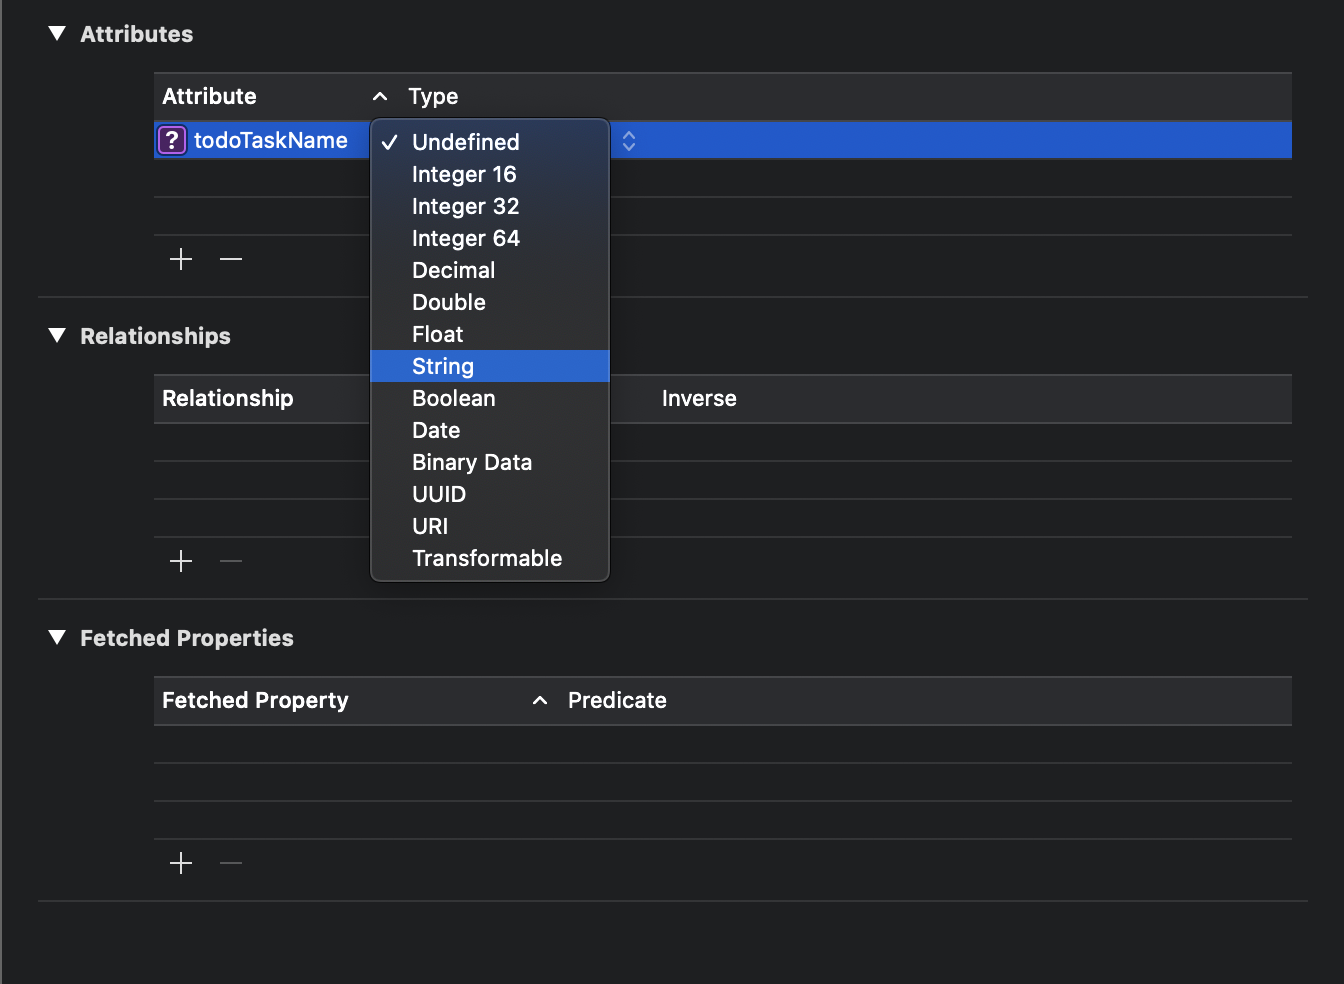
TodoItem model is small, but it shows the full workflow clearly.The later CRUD examples in this article all depend on this model being correct first. That is the real lesson of the section: Core Data is easy once the model is stable, but painful if the schema is vague or constantly shifting.
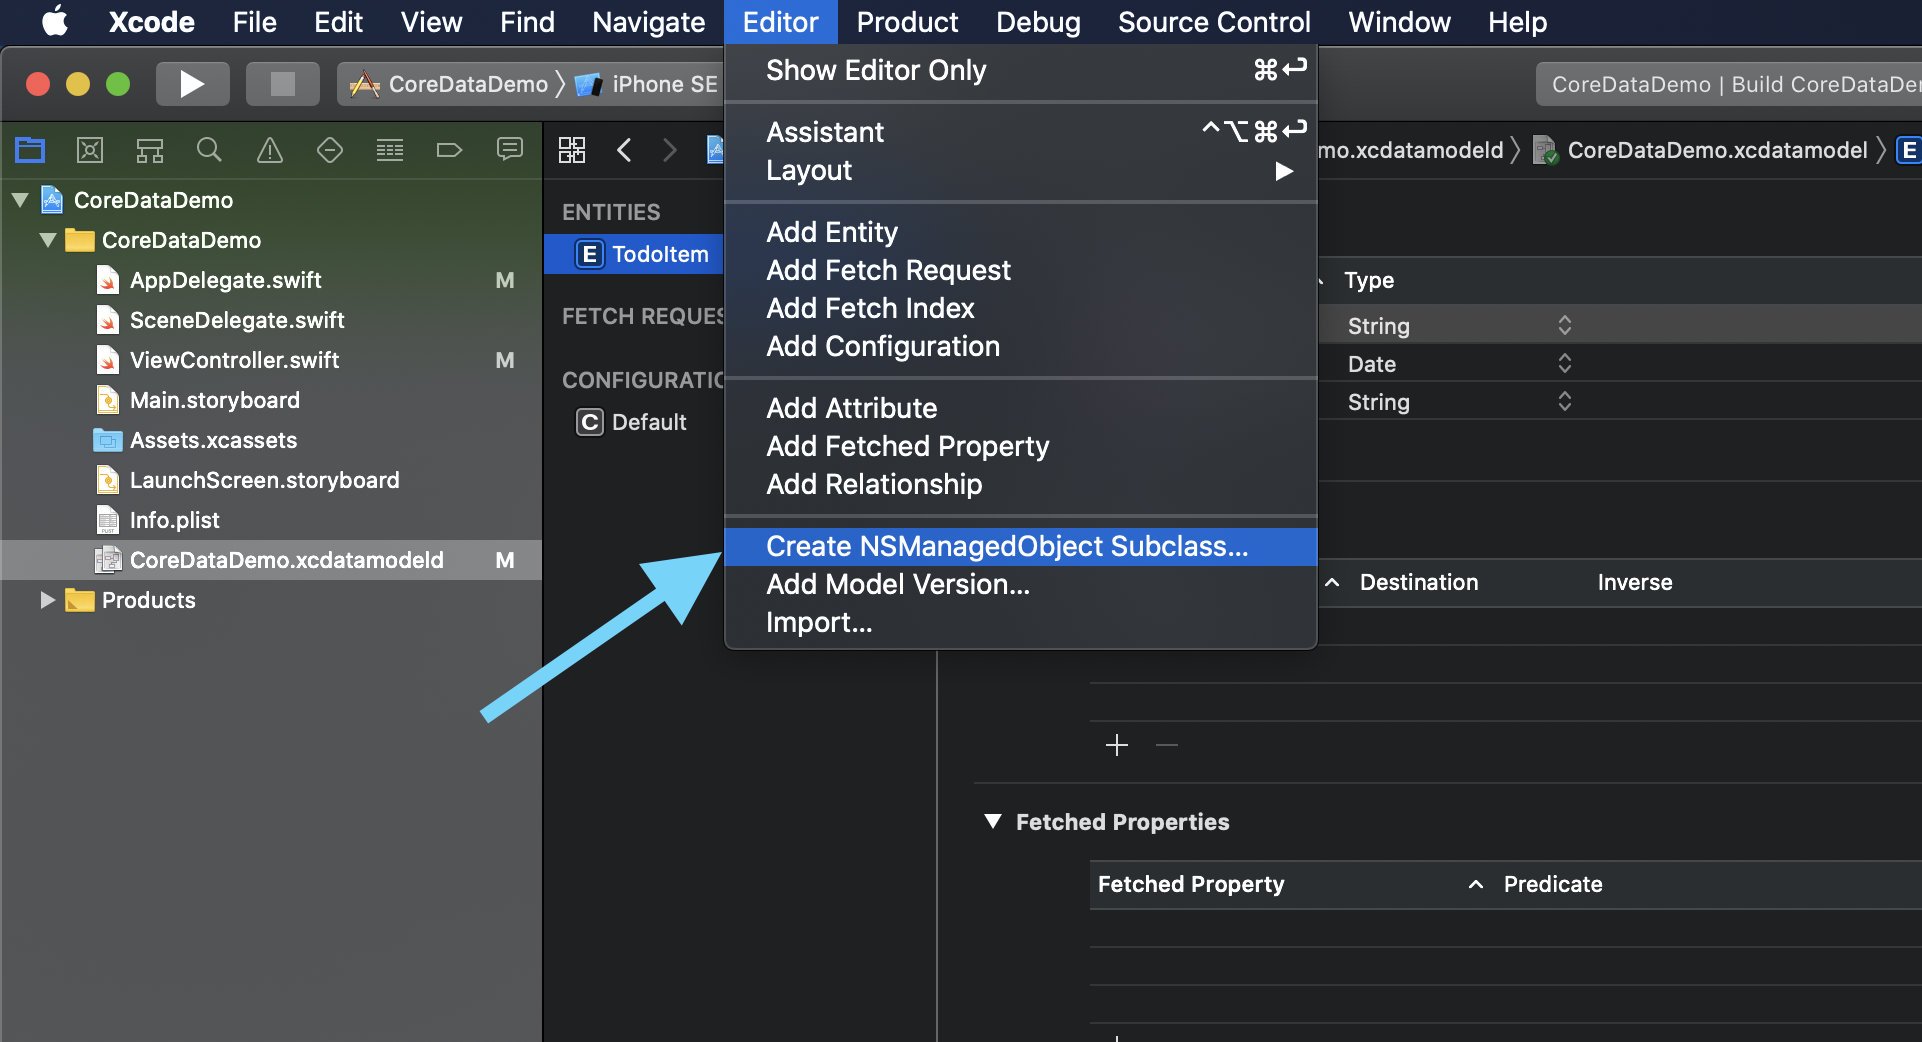
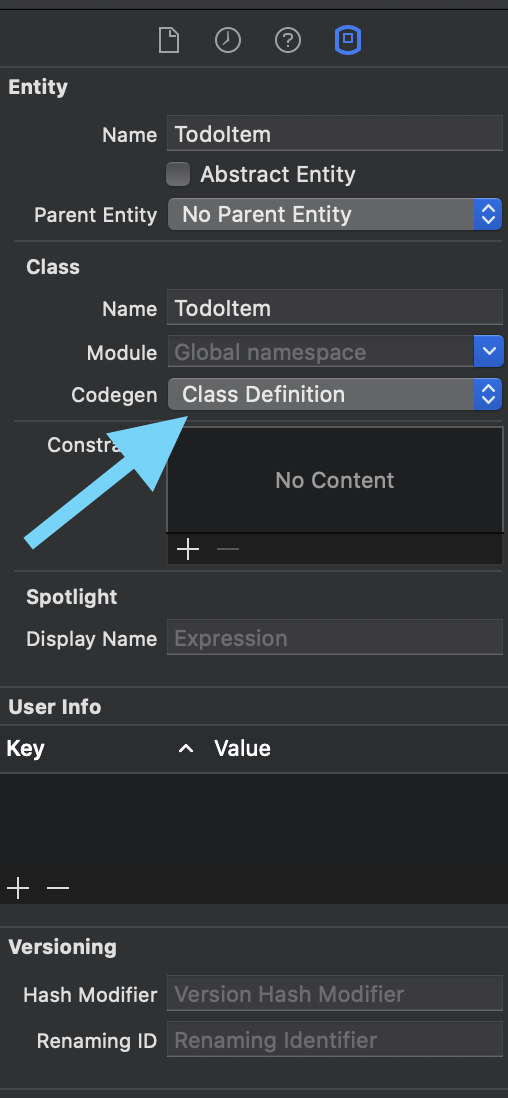
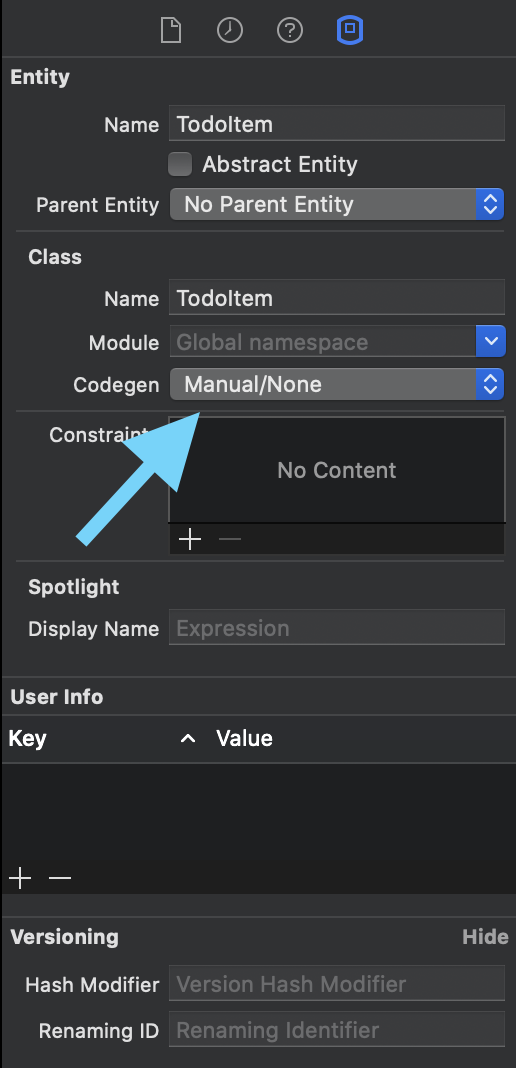
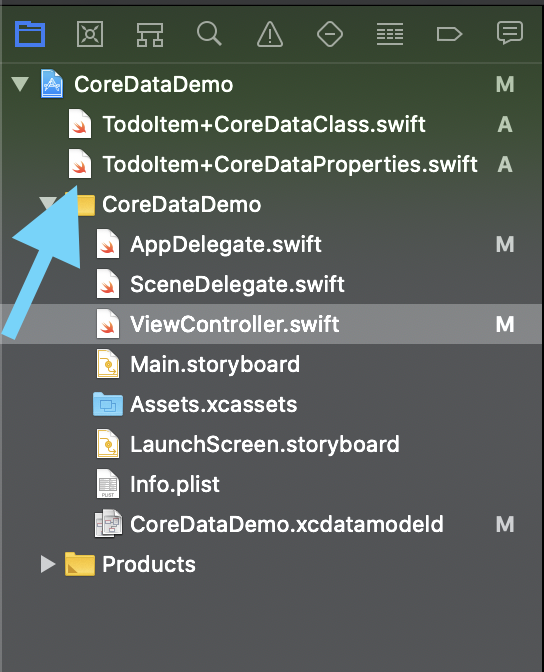
The article then switches from modeling to developer ergonomics: change code generation settings and let Xcode create the managed object subclasses.
In the original flow, you open the entity inspector, look at the Codegen setting, switch
from the earlier automatic setup to the manual mode the tutorial wants, then run
Editor > Create NSManagedObject Subclass....
Keychain is the secret-storage answer in this article: small values, strong protection, and no pretending it is a document database.
The article's guidance is straightforward and still sound. If the value is sensitive, such as a
credential or token, Keychain is a better fit than UserDefaults or a plain
local database. The source also highlights that synchronized credentials can follow the user across
devices when supported by the platform and account configuration.
Its warning is equally practical: store small secrets there, usually strings, not bulk application data. That keeps Keychain aligned with what it is designed to do well.
CloudKit is presented as the actual cloud database option, with different tradeoffs from local persistence.
This article keeps the CloudKit section at a conceptual level, but it makes the important points: CloudKit can store records in private, shared, or public databases; private database usage counts against the user's iCloud storage; public database usage counts against the app's CloudKit quota; and online access is part of the deal.
It also points out one user-facing advantage that matters in real products: when the app is removed and later reinstalled, cloud-backed records can still be fetched again because they were never only local.
The strongest takeaway from this article is not any single snippet. It is knowing which storage tool matches which kind of data.
If the value feels like a setting, start with UserDefaults. If the app owns records and
relationships, reach for Core Data. If the value is secret, use Keychain. If
the data should live in Apple's cloud, model it in CloudKit.
That is why the article still works as a guide years later. The APIs evolve, but the storage boundaries it draws are still the right ones to keep in your head when you are deciding where user data should live.